

I’ll bet you’ve already got some stuff running on AWS and you made it happen using the browser console. But I’ll also bet that you already suspect that clicking your way through layers and layers of configuration pages isn’t always going to be the best approach. If fact, the AWS CLI is a better way that’ll get the exact same work done, but with a whole lot less effort.
Using content adapted from my Pluralsight course: Automating AWS Operations with the AWS CLI, let me quickly demonstrate. Suppose you want to launch an Amazon Linux instance from EC2. To get it up and running, you’ll need to…
- Load the EC2 Dashboard page
- Click Launch Instance
- Select an AMI from the AMI page
- Select an instance type from the Instance Type page
- Set network, IAM, life cycle behavior, and user data settings on the Configure Instance Details page
- Select one or more storage volumes on the Add Storage page
- Add tags on the Add Tags page
- Select or configure a security group on the — wait for it — Configure Security Group page
- And finally review and launch your instance on the page named (what else?) Review and Launch
And don’t forget clicking through the pop up where you’ll confirm your key pair and then heading back to the EC2 Instances dashboard to get your instance data (like IP addresses).
Sound like fun to you? Will it still sound like fun if you’re working with a slow internet connection? And how about if you need to perform variations of this process a half dozen times a week?

Want to see how you’d fire up that configuration using the AWS CLI from a Bash shell (which you can run within Linux, macOS, and now even Windows 10)? Note how I used back slashes to tell Bash that the command isn’t complete yet. Hitting Enter gets the whole mess up and running.
aws ec2 run-instances --image-id ami-04681a1dbd79675a5 \
 --count 1 \
 --instance-type r5d.large \
 --key-name MyKeyPair \
 --security-group-ids sg-007e43f80a1758f29 \
 --subnet-id subnet-970ec9f0 \
 --user-data file://my_script.sh \
 --tag-specifications \
 ‘ResourceType=instance,Tags=[{Key=backend,Value=inventory1}]’
That precise command won’t work for you if you just paste it into your terminal and run it. The security group and subnet IDs are specific to my account, and you probably haven’t got a key pair called MyKeyPair or a script file called my_script.sh. But that does show you that, once you’ve done some basic up-front research to get all the right values and confirmed that it works, you’ll be able to save the command into a script file that you can modify and run whenever necessary. This can drop a five minute process down to a couple of seconds.
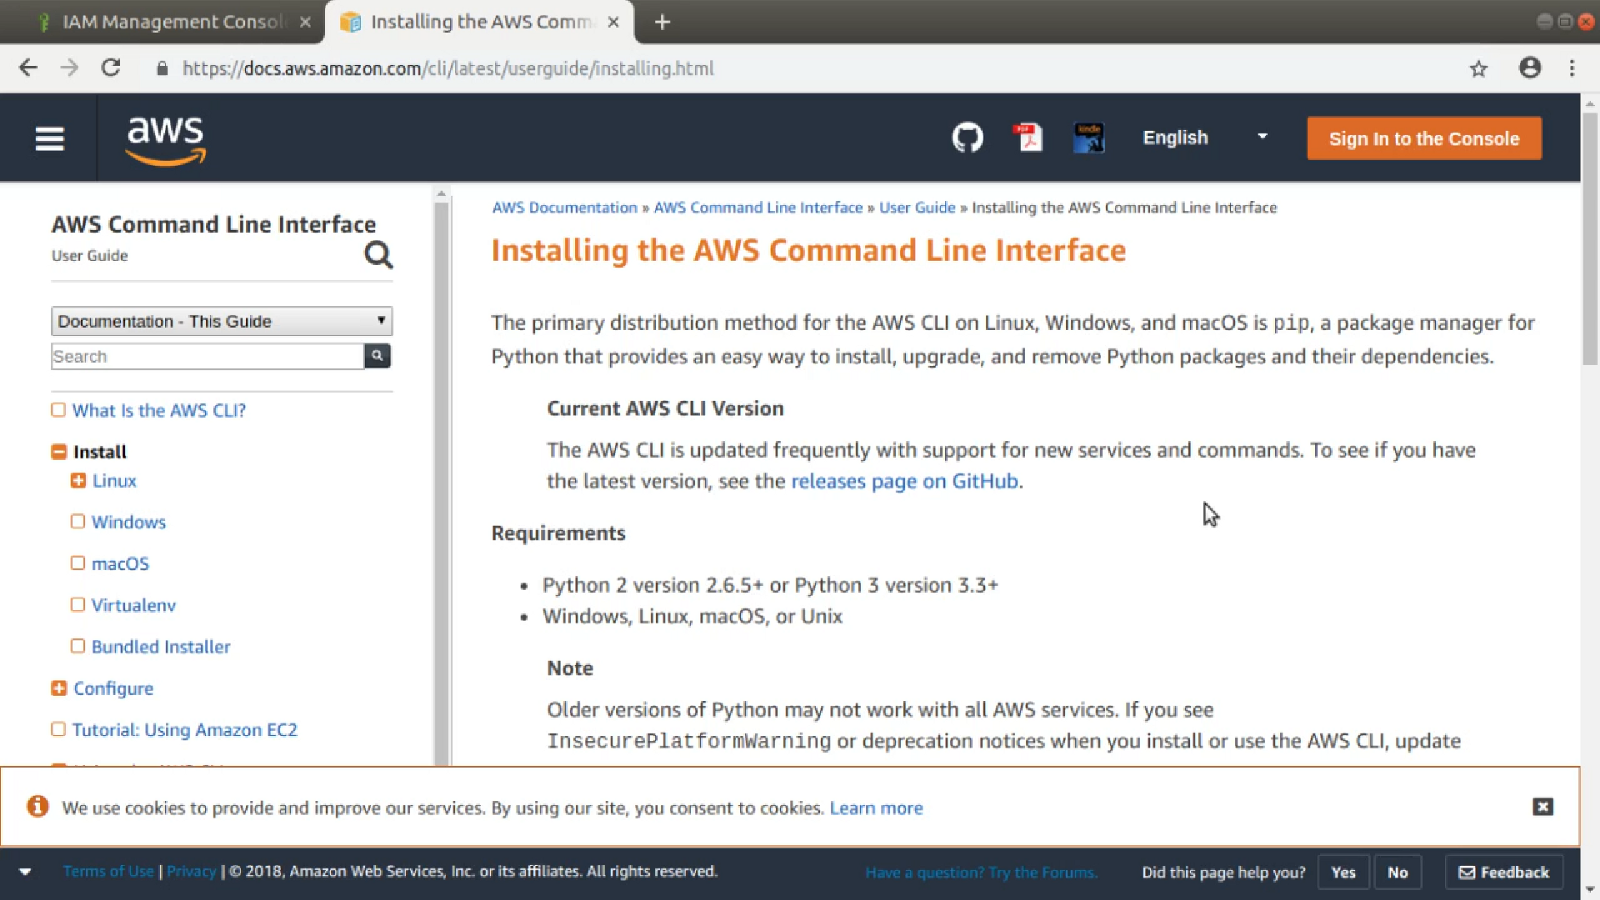
The best place to go for up-to-date CLI installation instructions for your operating system is this AWS documentation page. Your best bet will normally be the Python package manager approach using PIP.
Getting your CLI configured to securely access and administrate your AWS account resources is fairly straightforward. Although you will first need to generate (and copy/record) an access key for your AWS user from the My Security Credentials link in the account drop down menu back in the console. When that’s done, simply type “aws configure” at the command prompt and enter the Access Key ID and Secret Access Key you got from My Security Credentials. You can optionally choose default region and output format values.
worker@workstation:~$ aws configure
AWS Access Key ID [****************KB2Q]:
AWS Secret Access Key [****************W/Cu]:
Default region name [us-east-1]:
Default output format [text]:
worker@workstation:~$
AWS CLI Syntax Patterns
You’re now all set to begin. Let’s start by breaking the command syntax down into its component parts and illustrate how it all works using practical examples. After the aws command prefix, a CLI command is made up of options (which, as the name suggests, are optional), commands, subcommands, and parameters.
aws [options] <command> <subcommand> [parameters]This example will return all the EC2 AMI images officially maintained by Amazon that run the CentOS Linux operating system.
aws --output table ec2 describe-images \
 --filters “Name=description,Values=*CentOS*” \
 “Name=owner-alias,Values=amazon”
It uses the output option, giving it the value of “table” to display text output in tables. The top-level command here is ec2. Most — if not all — top-level commands will invoke specific AWS services. s3, iam, and dynamodb are other examples.
The subcommand is describe-images, which will return data related to all the Amazon Machine Images currently available to use for your EC2 instances. That would return an awful lot of data, as there are many hundreds of AMIs and each one of them is represented by a lot of metadata. So you’ll want to narrow down the search just a bit. For that, I provided two values to the — filters parameter: the image description should contain the word CentOS — capitalizing the c, o, and s since this will be case sensitive, and the owner-alias value must equal amazon.
You’ll often run describe-based subcommands to get important resource IDs that you can then plug into your actual action commands. That CentOS image ID would typically be used as part of an ec2 run-instances command to actually launch an instance.
Besides describe and run, other common subcommands will begin with verbs like create, delete, enable, disable, modify, request, stop, and terminate.
Options include region, output, and profile — which you’ve already seen — plus dry-run, which will do nothing, but instead display the output your command would generate if it were actually run. This can be very useful when you’re not sure you’ve got the syntax quite right. Let’s try running that ec2 run-instances command from above, but this time adding dry-run.
S3 Example
It’s time for a little S3 magic. I’ve got a business that needs a simple website without any database access or javascript bells and whistles. Just some regular, run of the mill, HTML5 goodness. So I’m going to create, carefully configure, and populate my bucket so that it’ll work as a static website — or, in other words, so that incoming traffic will automatically be directed to the index.html file I’ve created.
Although it won’t play any role in this demo, I’m eventually going to want to set up a .com domain name in Amazon’s Route 53 that points to the site, so I’ll need to create an S3 bucket with exactly that name — .com and all. I make a bucket using mb and a globally unique bucket name.
aws s3 mb s3://mysite548.comThe bucket will have to be publicly readable, so I’ll use s3api put-bucket-acl, along with the bucket and acl parameters. The latter of those will take the value public-read.
aws s3api put-bucket-acl --bucket mysite548.com --acl public-readNext I’ll use s3 sync to move all the contents of my current local directory up to my bucket. I’ve created three files: index.html is the default web page and error.html will be the page that’s loaded when a non-existent resource is requested. There’s also a small image to help prettify the demonstration. The acl public-read parameter will give the files themselves the same permissions as the bucket.
aws s3 sync . s3://mysite548.com --acl public-readFinally, I’ll define the purpose of those html files for S3 using “s3 website”. The index-document and error-document parameters simply point to the relevant files. You don’t need to use those specific filenames, by the way, that’s just me. I’ll confirm that operation using s3api get-bucket-website.
aws s3 website s3://mysite548.com/ --index-document index.html --error-document error.html
aws s3api get-bucket-website --bucket mysite548.com
What’s Next?
The command syntax of the AWS CLI is fairly intuitive. Nevertheless, you will often need help getting it exactly right. As I show in the Pluralsight course, you can get excellent guidance from the help system at the command line, or from the AWS online documentation. My Learn Amazon Web Services in a Month of Lunches book also contains useful guidance and examples.
This article is an excerpt adapted from my new Pluralsight course, Automating AWS Operations with the AWS CLI.