

Providing a table of contents helps preview and prioritize content when writing lengthier articles. But not every platform makes it easy to add one. How can we implement one when we lack first class tooling?
Want to skip ahead of the “what” and “why”? Jump to the “how”!
What we’re going to create
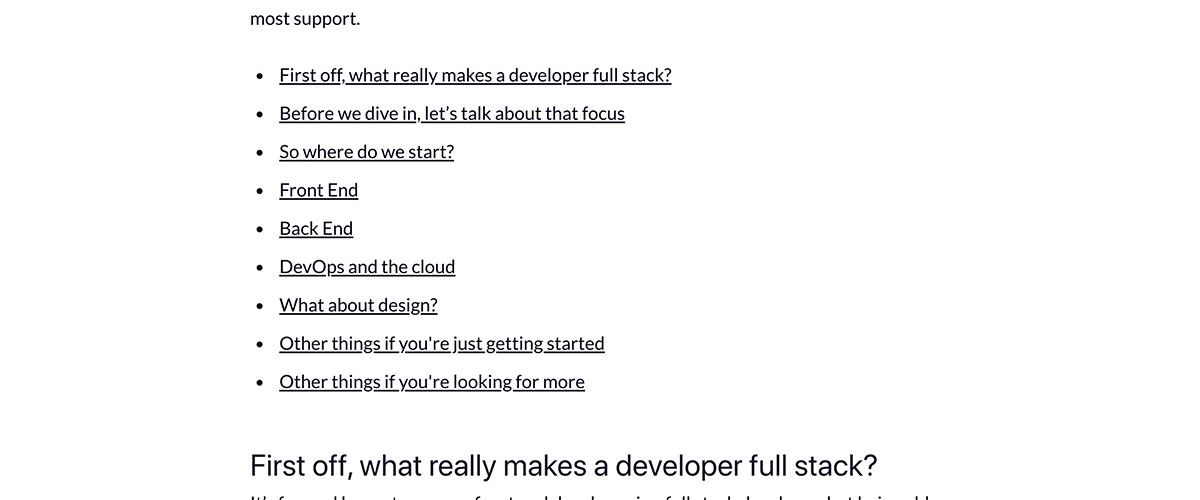
For the purposes of this article, we’re going to use freeCodeCamp.org's content manager for visual and demonstration purposes. freeCodeCamp/news uses the blogging platform Ghost at the time of writing this, but this method can really apply to any article you write.
Why is this helpful?
Providing a table of contents helps improve the experience that the people reading your article will have.
It gives readers a preview of the article
Jumping into an article, at least a lengthy one, can be a big time commitment. No one wants to spend 20 minutes of their morning only to figure out a post they dove into hasn’t actually answered their questions. Or that it's a rehash of something they’re already an expert on (although differing perspectives can still be helpful).
By providing this preview, you can help people get a sense of what to expect as they start to read. It allows them to prioritize their time with the other list of articles they have to read.
It provides anchor points to jump down to specific content
Similar to providing a preview, maybe someone wants to read a specific portion of the page. Maybe it’s because they can skip the first few bits of a tutorial or they are coming in from a link a coworker shared in Slack.
The point is, people can use the table of contents to jump down to the parts that are more important to them.
Bonus: it helps you as an author
Providing a table of contents might not help for many practical reasons, but it's an additional tool for you to prioritize and understand the content of your post. It serves as a high level outline that you can refer to when making sure the flow of your story actually makes sense.
What it doesn’t do
Unfortunately, this is a manual process. This table of contents isn’t going to magically update any time you tweak your content. So make sure to be vigilant during the editing process and update any broken links or add and remove any changes before you publish.
How can we add a table of contents?
Content headers and anchor links
The key to this solution is to utilize the built in id attributes applied to content headers in the HTML when building a post page. Using these attributes allows us to create an anchor link that will jump the browser’s scroll position down to the location of the element with that id.
A basic example of the HTML looks like this:
<ul>
  <li><a href=“#my-id”>Link to My ID</a></li>
</ul>
<article>
  <p>Super long content</p>
  <h2 id=“my-id”>Important Thing</h2>
  <p>Important content</p>
</article>
In the above, we can see our article contains some basic content (imagine it's much longer than the above) with an h2 that follows with our important content.
By providing our h2 with the id attribute, we can now create a link by setting the href to the pattern of #[id] that will jump to that element in the page.
Now, when creating this in our blogging platform, we don’t necessarily need to worry about writing this HTML. But we do need to understand how to find the id in order to create our links.
Finding our header ID
We can use our browser’s developer tools (Chrome, Firefox) to pretty easily find our precious id attributes to create our links.
Using your favorite browser, find the headline that you’d like to use, right-click the text, and then select “Inspect” (or “Inspect Element”) from the bottom of the context menu.
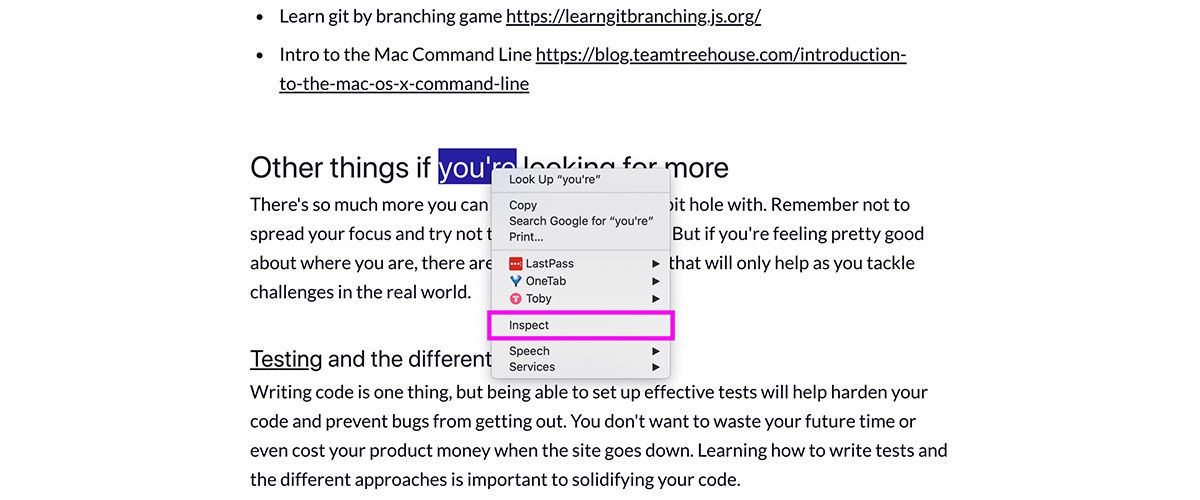
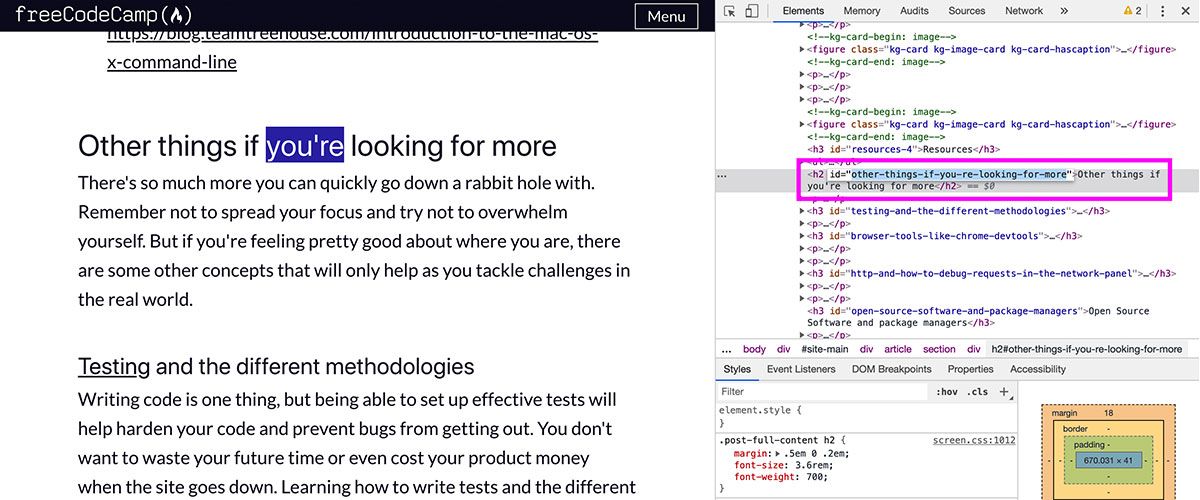
From there, you’ll notice that a panel pops up from either the bottom of the page or to the side. The placement of this panel doesn’t matter too much – it’s just a user setting. But we can now see the HTML of the page we’re looking at with our header element highlighted.

After finding our header in the HTML, find the id attribute. Double click the contents of it, and copy the value which we’ll use in a little bit.
Creating a link to our header
Since we’re going to create a table of contents, let’s open our post’s editor page and scroll to the top of the page.
The first thing we want to do is start a list, which we can do by typing an asterisk * followed by a space when starting a new content section.
Next, write what you want your link to say. Most commonly in table of contents, the link is exactly the same text as the header itself.
After it says what you want, highlight the entire line, and a little context menu will appear above your selection.
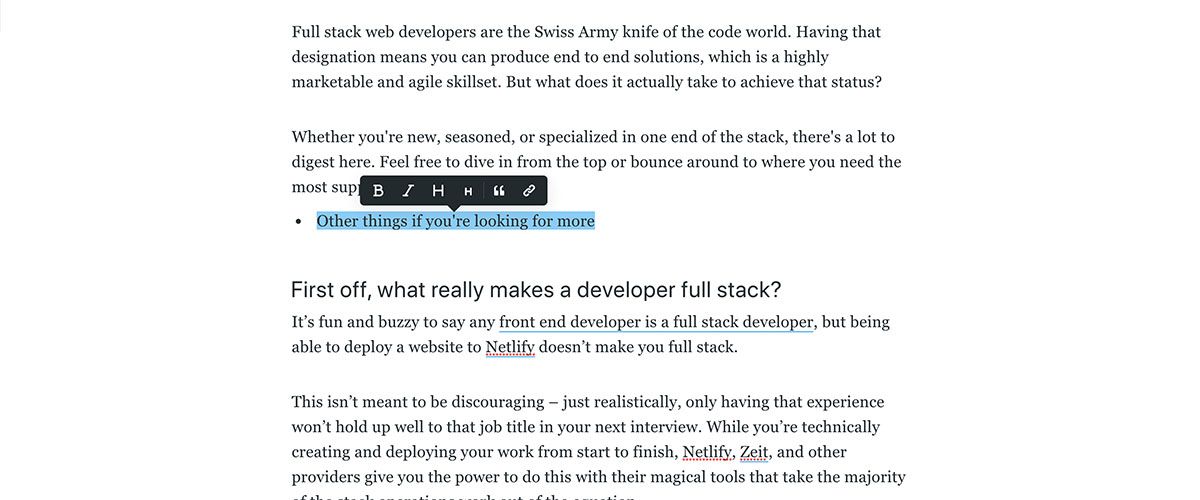
Select the little link icon and the context menu will turn into a text field. Type into the text field a hashtag # followed by the contents of the id attribute that you found on your header above.
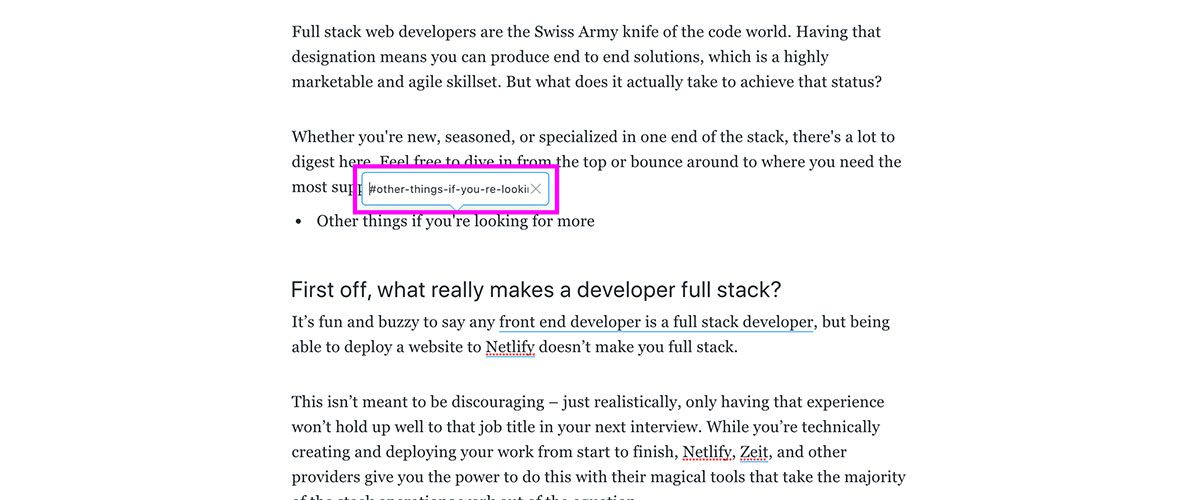
Hit the Enter key and success! We have a link.
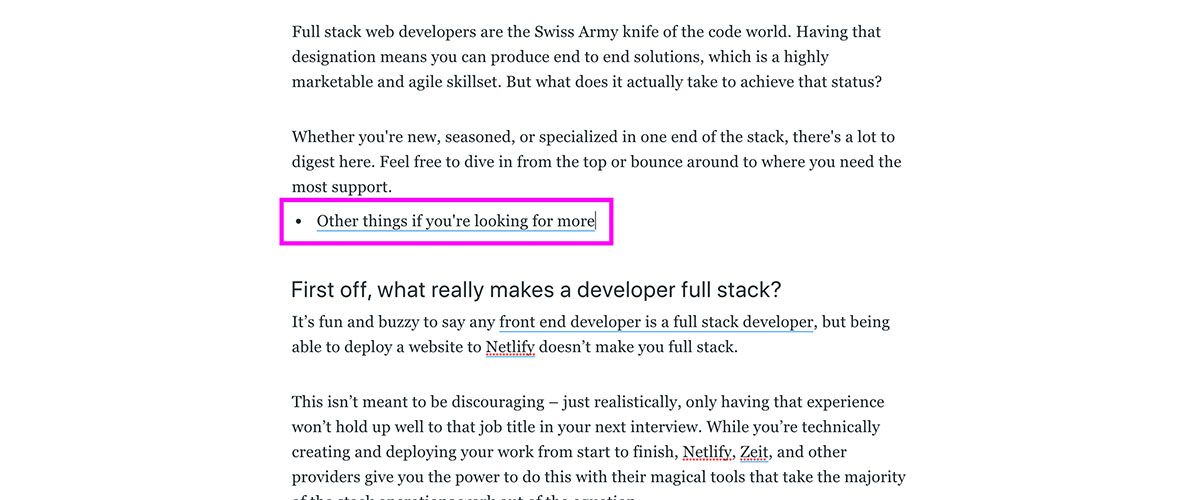
Repeat the steps above and create 1 link for each top level header that you'd like to link to.
Don’t feel like you need to go overboard, though. Typically you’ll see blog posts include only the top level headers of the page, so don’t feel like you need to include every sub header. Ultimately – do what you’re comfortable with.
Testing and previewing your table of contents
Once we’re done adding all of our links, we can preview or view our post and test that our links work.
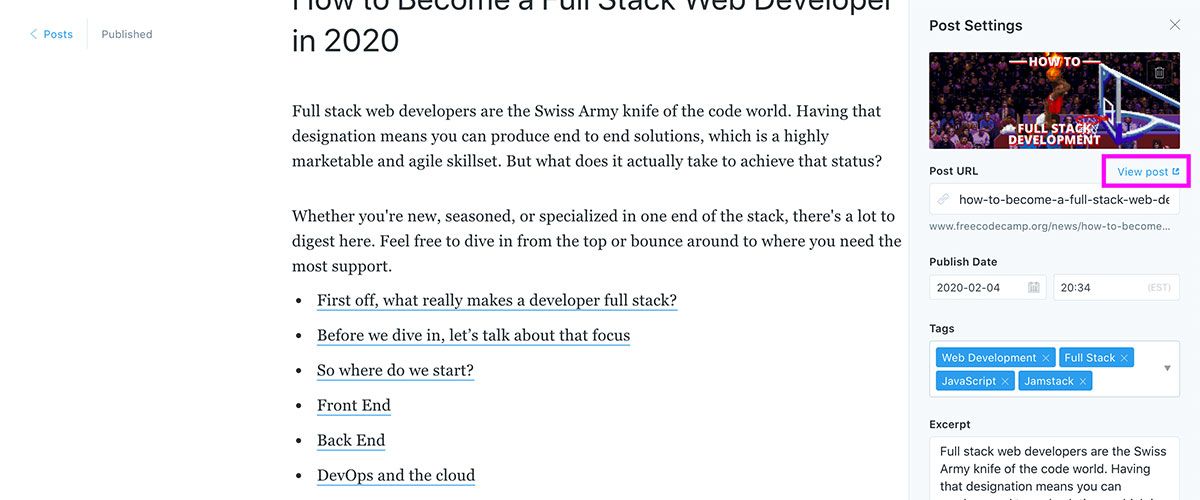
After opening your preview or page, scroll to your table of contents or link and click it to test.
Success!
More tools for authoring
A table of contents is just one way to help readers enjoy your hard work. What other tools do you use that are important to your workflow? Are there any others you’ve seen but maybe not sure how to implement on your own?
Share with us on Twitter at @colbyfayock and @freecodecamp!
