

Elastic Beanstalk is an orchestration service that allows users on the AWS platform to deploy web applications easily. It caters to any setup you might need to run an application in the cloud.
Orchestration simply means that it automates the workflow processes that occurs in order to deliver resources as a service on the cloud.
In this tutorial, we will be walking through the simple steps to set Elastic Beanstalk up locally. Setting it up locally means that we will be able to interact directly with AWS from the terminal and push our deployed applications to the cloud via the commands provided by EB .
Benefits of Elastic Beanstalk
Elastic Beanstalk allows your data to persist after the elastic cloud compute instance is terminated. Data stored on the volume are still accessible.
Also, it helps you avoid component failure by offering high availability and durability.
How to Install the Elastic Beanstalk CLI
The Elastic Beanstalk CLI is a command line interface that allows users to create, setup, and manage processes on Elastic Beanstalk.
To install EB in our local environment, we need to check out the open-source aws-elastic-beanstalk-cli-setup project. There we'll find installation guides to help with the process.
Step 1:
Clone the repository into our local environment. If you don't have a Github account, you can sign up here.
git clone https://github.com/aws/aws-elastic-beanstalk-cli-setup.gitStep 2:
In this section we have to download zlib and configure it. Zlib is a library used for compression and decompression. EB leverages this feature when it needs to compress and decompress data (strings, structured in-memory content, or files).
brew install zlib openssl readline
CFLAGS="-I$(brew --prefix openssl)/include -I$(brew --prefix readline)/include -I$(xcrun --show-sdk-path)/usr/include" LDFLAGS="-L$(brew --prefix openssl)/lib -L$(brew --prefix readline)/lib -L$(brew --prefix zlib)/lib"
Step 3:
Once the installation is done, we'll export and setup paths for the environment variables for zlib. Run the following in the command line:
$ export LDFLAGS=$LDFLAGS:-L/usr/local/opt/zlib/lib
$ export CPPFLAGS=$CPPFLAGS:-I/usr/local/opt/zlib/include
$ export PKG_CONFIG_PATH=$PKG_CONFIG_PATH:~/usr/local/opt/zlib/lib/pkgconfig
To view if the paths were correctly set, run this command:
$ echo $LDFLAGS $CPPFLAGS $PKG_CONFIG_PATHStep 4:
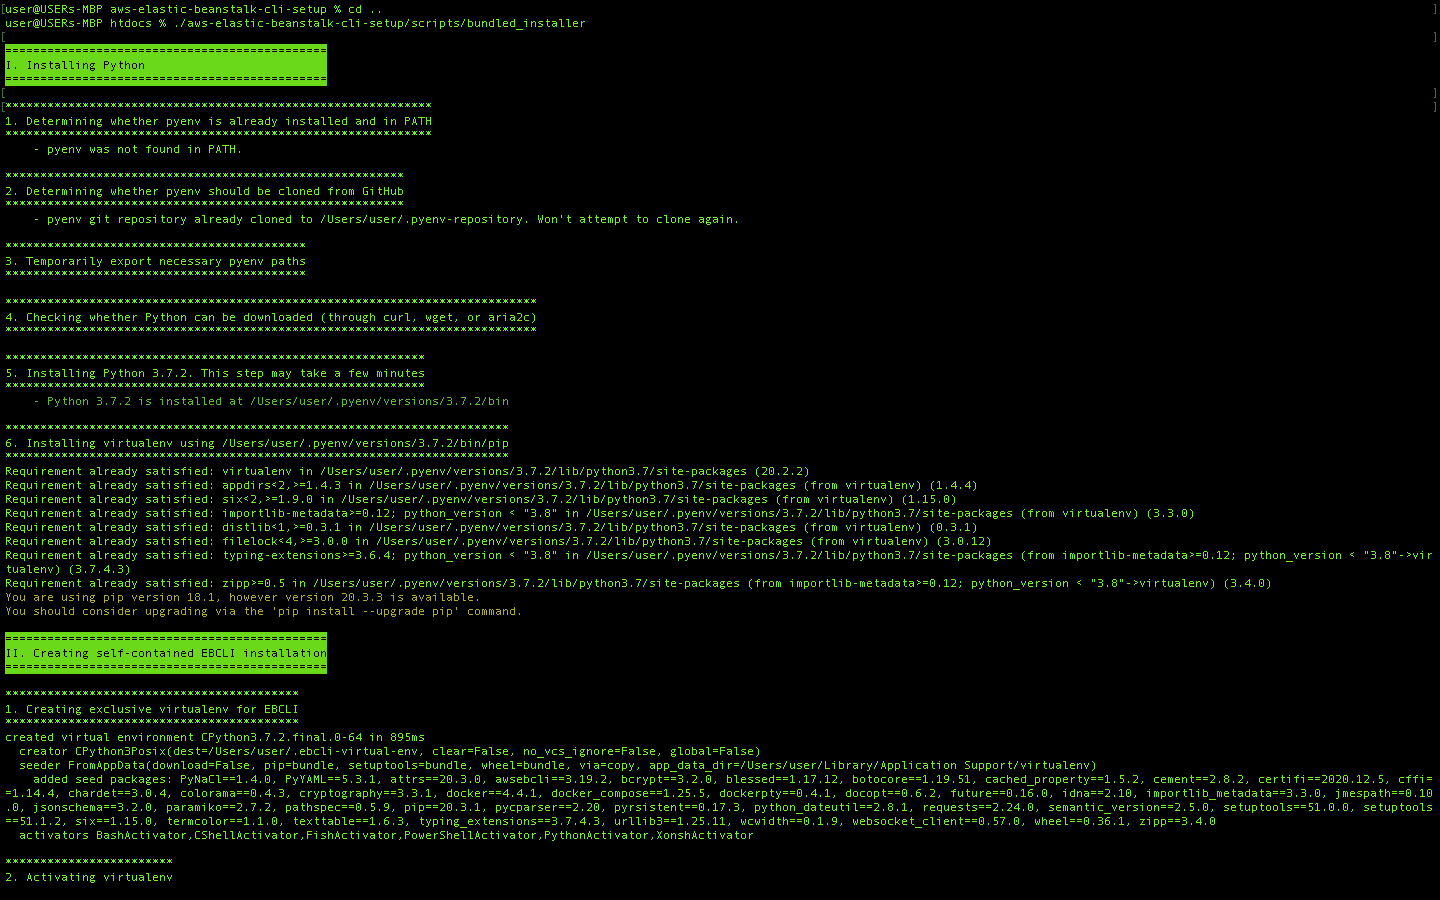
Back in our terminal where we pulled the repository, we need to run the bundled installer with the code below:
$ ./aws-elastic-beanstalk-cli-setup/scripts/bundled_installerOnce the process is complete you'll see an output that looks something like this:
Step 5:
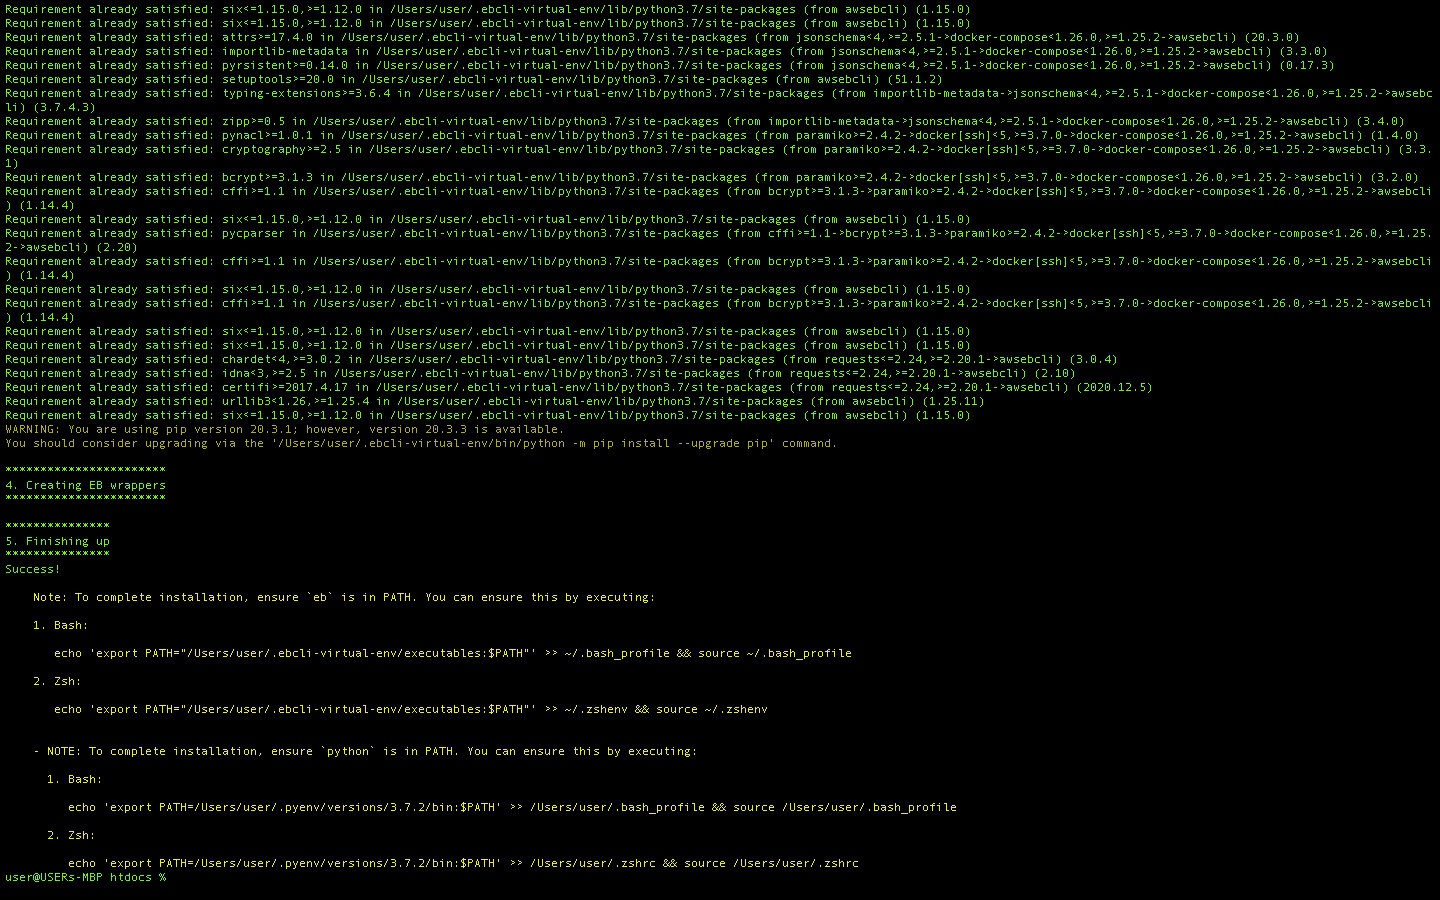
To complete the installation process, we need to add eb and python to our environment path as well. We can do this by running this code in the terminal:
$ echo 'export PATH="/Users/user/.ebcli-virtual-env/executables:$PATH"' >> ~/.bash_profile && source ~/.bash_profile
$ echo 'export PATH=/Users/user/.pyenv/versions/3.7.2/bin:$PATH' >> /Users/user/.bash_profile && source /Users/user/.bash_profile
Once we are done adding the paths, we can now try to initialize an Elastic Beanstalk and see if we get a list of selected regions. Run this in the terminal:
$ eb initAnd you should see the following:
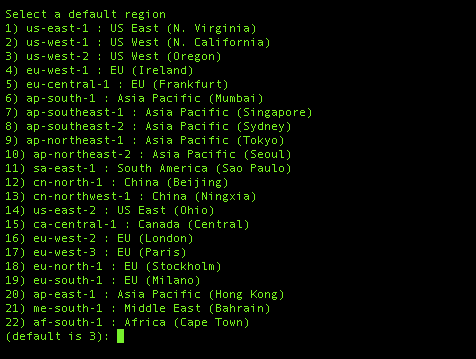
Voilà! We have a list of regions that we can choose from and we can add our credentials from an S3 bucket on AWS. We can also run other EB commands such as eb create, eb deploy, and a lot more.