
by Rafael Belchior
The voice memo’s BFF — how to make Speech2Text easy with Machine Learning
Do you think recording voice memos is inconvenient because you have to transcribe them? Do you waste your precious voice memos because you never write them down? Do you feel like you are not unlocking the full potential of what you record?
Yeah, that sucks. ?

I’m a Computer Science masters student. As I think that all work and no play makes me a dull boy, I’ve decided to invest some time in doing something different. Where? In the student’s group to which I belong, by interviewing a professor.
I’ve talked to professor Rui Henriques, a teacher assistant @ Técnico Lisboa and researcher @ INESC-ID. He is an expert in Data Mining and Bioinformatics. The 20 minutes interview turned into almost a full hour conversation.
Rui is not only a brilliant academic but also a very honest, cheerful and easy going person, which made it very easy. I learned a lot while talking to him, and I’m sure you also can. The interview will be online soon enough. ?
Anyway, I had a problem and a need. I wanted to save time by not having to transcribe the whole interview. The idea was to invest only twenty to sixty minutes in order to skyrocket performance when it comes to transcribing. This is not limited to interviews, of course. You can transcribe audio notes taken from several sources like classes, writing notes, thoughts, your shopping list, or your most philosophical pieces.
So, how do we do that?
I’m also lecturing on It Infrastructure Management and Administration @ Técnico Lisboa. In classes, we have used Google Cloud Engine. I remembered a service called Google Speech-To-Text, which we could use in this case. And no, Google is not paying me to write this ?
So, how to turn an interview of 55 minutes into easily editable text? How to reduce our efforts and focus on what matters? ?
? By the way, to make the most out of this method, please cut noise and try to record with a loud, clear voice. ?
Step 1: Installing the required software
I use Vagrant to manage virtual machines. The advantage is that to use the environment you need to instantiate the Speech-To-Text service. In this article, I show step by step how to configure these tools (read it up to the section “The Experiment”). If you prefer to do this on your local machine, go directly to the third step.
Step 2: Start the virtual machine
Now, open your console and run:
$ vagrant up --provision && vagrant sshThe virtual machine is booting, installing all the required dependencies. This may take a while.
Wait a bit. Done. Nice. Kudos to you ?
Step 3: Getting the support files
Fork this repository containing the support files and then clone it to your computer. Put it in the folder that is being synced with your guest machine.
Step 4: Creating an account at Google Cloud Engine
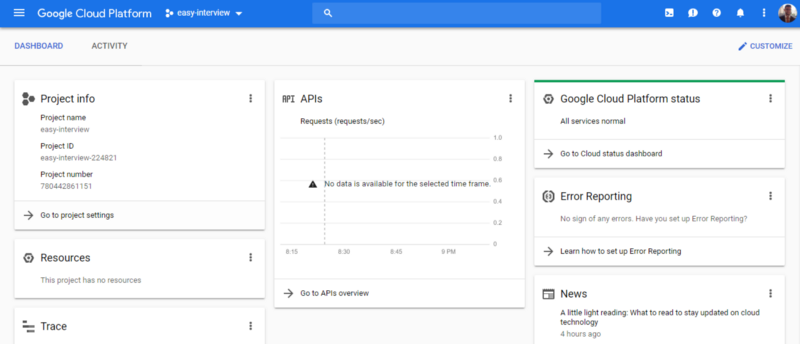
You can require a free grant ($300) for this experiment ? After creating the account, go to Google Console. Create a project. You can name it “easy-interview” if you are confident enough. You should see something like this:
After that, go to “APIs & Services”, in order to activate the API we need to get the job done.
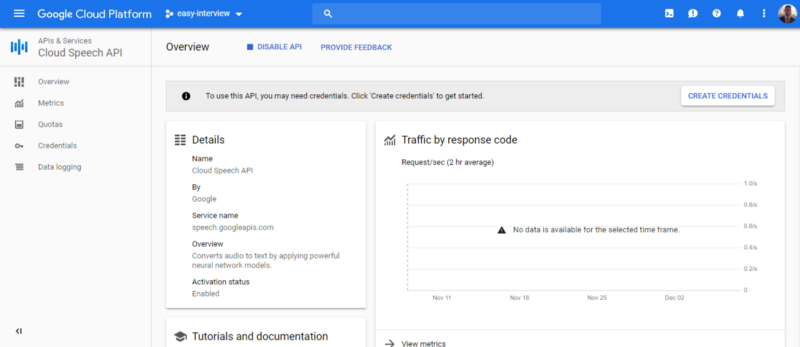
Click on “Create Credentials”. Choose “Cloud Speech API”. On “Are you planning to use this API with App Engine or Compute Engine?” say “No”. On step 2, “Create a service account” name the service “transcribing”. The role is Project => Owner. Key type: JSON.
By now, you should have downloaded a file called “file.txt”. It contains the credentials you need to use the service. Rename the file to “terraform-credentials.json”. Copy it to the folder containing the support files. As that folder is synced with your virtual machine, you will have access to those files from the guest machine. Now, run:
$ gcloud auth loginFollow the instructions. Authenticate yourself following the link that is shown. Now, analyze the request.json file:
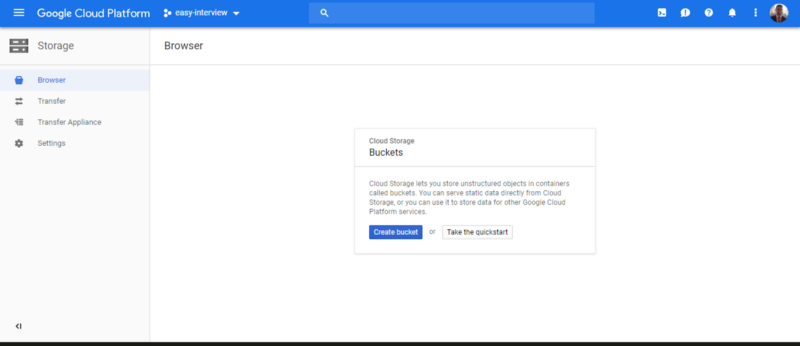
{ "config": { "encoding":"FLAC", "sampleRateHertz": 16000, "languageCode": "en-US", "enableWordTimeOffsets": false }, "audio": { "uri":"gs://cloud-samples-tests/speech/brooklyn.flac" }}Make sure to tune the parameters to fit your case. Beware that there are limitations on the encoding that you can use. If your file is in a different format than flac or wav, you will need to convert it. You can convert audio files with Audacity, a free, open-source audio software. After converting the audio, you have to upload it to Google Storage. For that, you have to create a bucket.
The settings may be:
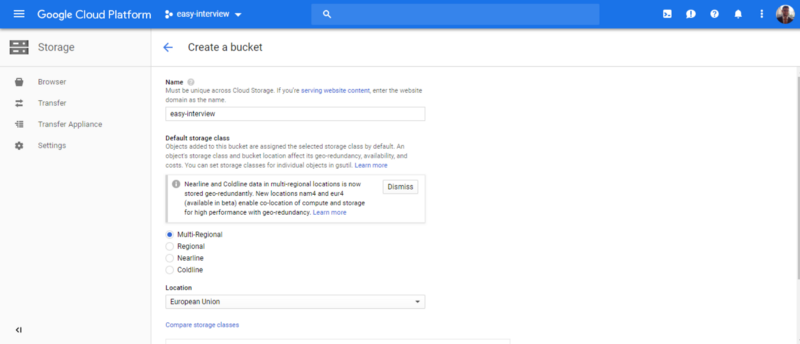
After that, upload your file to the bucket. On the Bucket menu, you should be able to access the URI associated with your file. The format is gs://BUCKET/FILE.EXTENSION. Take that URI and replace it on the file my-request.json.
Your file should look something like this:
{ "config": { "encoding":"FLAC", "sampleRateHertz": 16000, "languageCode": "pt-PT", "enableWordTimeOffsets": false }, "audio": { "uri":"gs://easy-interview/interview.flac" }}Before we use the API, we need to load the credentials. Run the script load-credentials.sh to load them:
$ source load-credentials.shThis has set the GOOGLE_APPLICATION_CREDENTIAL environment variable. Next, to test if the connection is successful, run:
$ curl -s -H "Content-Type: application/json" \ -H "Authorization: Bearer "$(gcloud auth application-default print-access-token) \ https://speech.googleapis.com/v1/speech:recognize \ -d @test-request.jsonYou should be able to see a response with some transcribed text. Note that we ran test-request.json, which is just for testing purposes. Now, to make the call with your data, run:
$ curl -s -H "Content-Type: application/json" \ -H "Authorization: Bearer "$(gcloud auth application-default print-access-token) \ https://speech.googleapis.com/v1/speech:longrunningrecognize \ -d @my-request.json >> name.outIf you run more name.out, you will see that the response contains a field called name. That name corresponds to the operation name that was created to meet the request. Now you have to wait a bit until the operation completes. Run (replace NAME with your operation’s name):
$ curl -H "Authorization: Bearer "$(gcloud auth application-default print-access-token) \ -H "Content-Type: application/json; charset=utf-8" \ "https://speech.googleapis.com/v1/operations/NAME" >> result.outWhile the operation doesn’t finish, your result.out will have a content similar to this:
{
“name”: “8254262642733152416”,
“metadata”: {
“@type”: “type.googleapis.com/google.cloud.speech.v1.LongRunningRecognizeMetadata”,
“progressPercent”: 33,
“startTime”: “2018–12–08T01:15:08.969852Z”,
“lastUpdateTime”: “2018–12–08T01:19:25.105683Z”
}
}
For a 60mb file, encoded with flac , it took about 12 minutes. You will have a file called results.out with your precious content. It will be in your host machine as well. I’ve written a very simple Python script that parses results.out. The script redirects the output to a file named results-parsed.out. To execute it, run:
$ python parse.pyIf you don’t like the results, tune the parameters and try again.
Enjoy your content! You are done ? To finish this experiment, exit the machine:
$ gcemgmt: exitNow, stop the virtual machine:
$ vagrant haltDon’t forget to delete the files that you uploaded to Google Cloud.
Well done!?
Well, this took me several hours to write, but at least I didn’t have to transcribe the whole interview. ?
Bottomline
Firstly, I would ❤️to hear your opinion! Do you record lots of voice memos? Do you find this procedure useful? Do you have a different one?
If you liked this article, please click the ? button on the left. Do you have a friend or family member that would benefit from this solution? Share this article!
Keep Rocking ?
Entrepreneurship ?
Top 8 lessons I’ve learned in European Innovation Academy 2017
Imagine you are seeing the opportunity to improve yourself at every level. Would you take it?blog.startuppulse.net
DevOps101 ☄️
DevOps101 — Improve Your Workflow! First Steps on Vagrant
And make clients and developers happier.hackernoon.comDevOps101 — Infrastructure as Code With Vagrant
And deploying a simple IT infrastructure (Two LAMP web servers and a client machine).hackernoon.com
Blockchain For Students ⛓️
Blockchain For Students 101 -The Basics (Part 1)
Are you ready to dig deep into this life-changing technology?hackernoon.com