
I'm excited to share this four hour course on HTML and CSS with you (<– link to course).
If you're curious about web development, but don't know where to start, this is the perfect course for you!
There are absolutely no prerequisites for it, and you don't even need to install a code editor! Scrimba will cover you there.
The instructor of the course is the brilliant Kevin Powell. He's a big CSS fan, a very popular YouTube instructor, and he also teaches HTML and CSS in classrooms. In other words, you're in good hands.
During the course, you're going to learn the basics of HTML and CSS and start building your very first web pages. All the lessons are going to be hands-on and start writing actual code straight away.
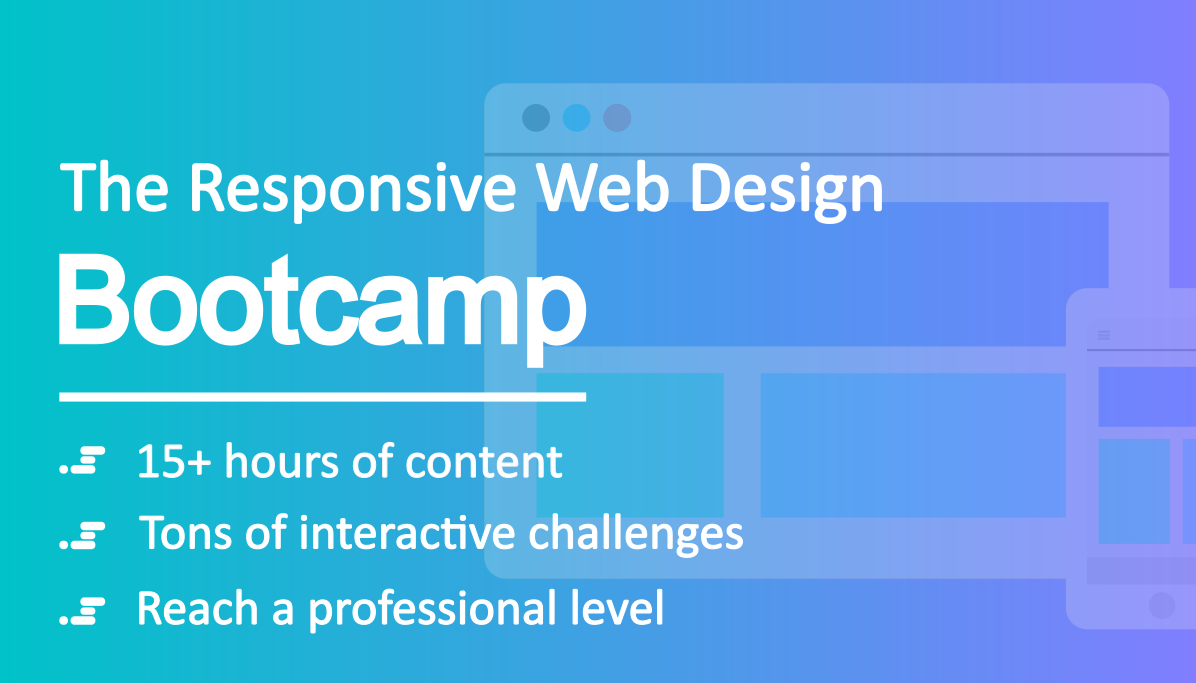
Once you've completed this course, and are ready for more challenges, you can check out Kevin's responsive web design bootcamp as well. It's a massive 15-hour course that teaches you advanced CSS and how to build responsive websites on a professional level.
But for now, let's have a closer look at the lessons in the intro course.
1. Introduction
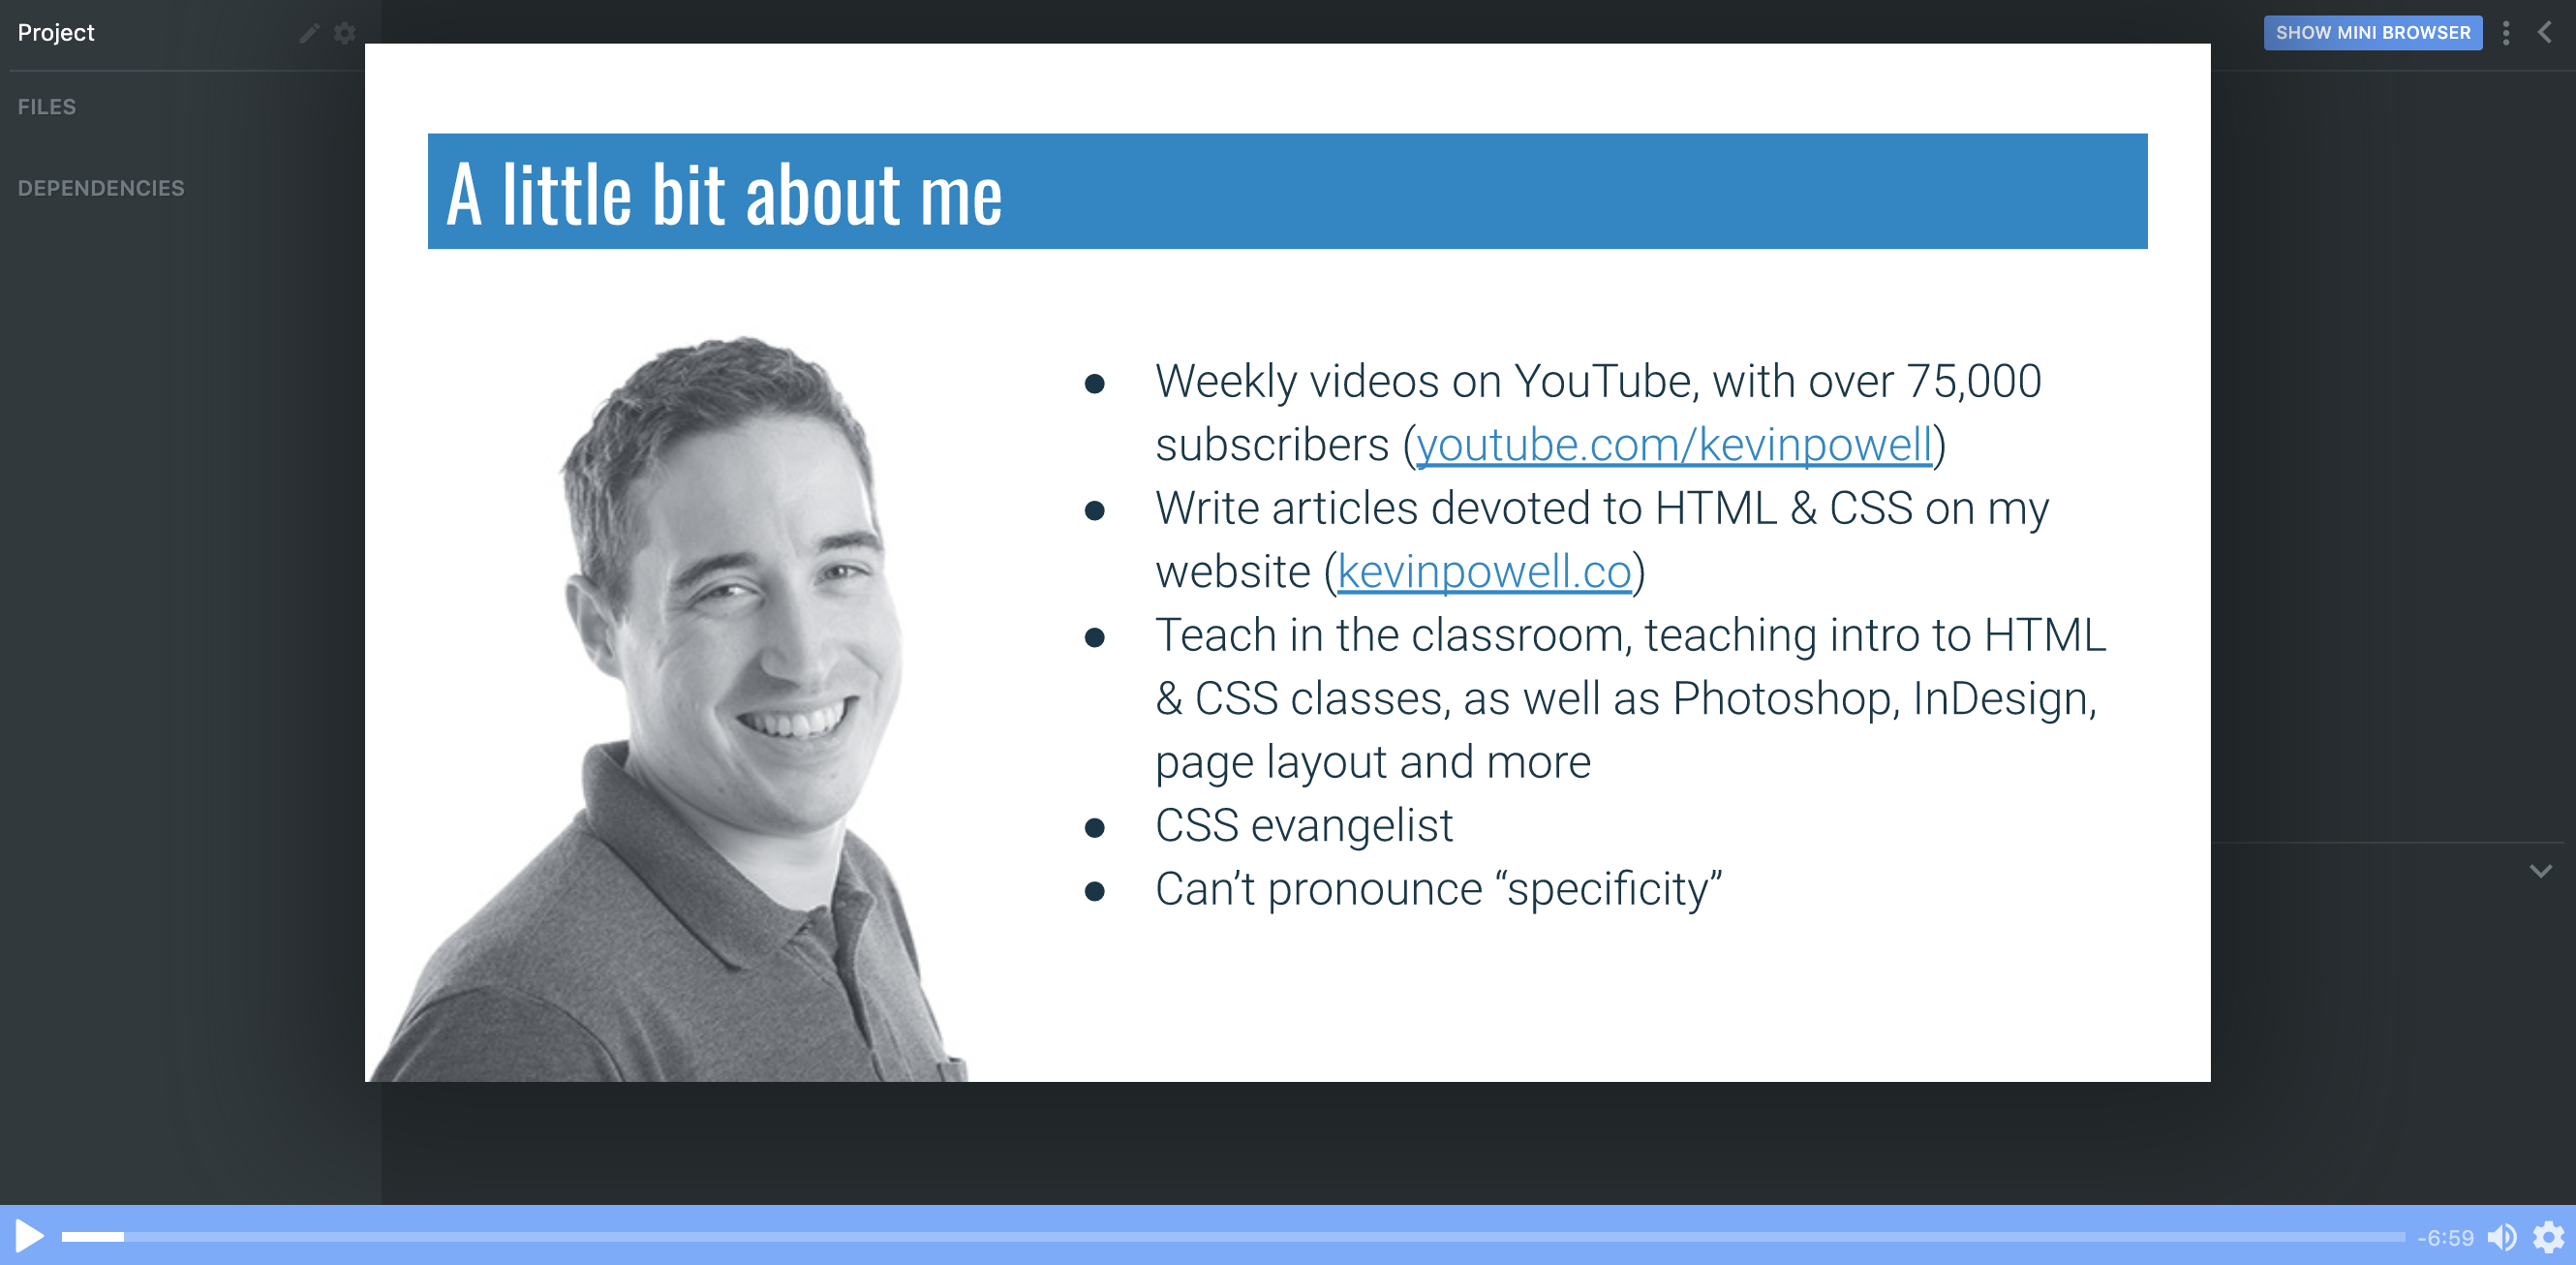
In the first lesson, Kevin gives a little introduction to what you can expect for the course, and some tips for learning as much as you can from it.
2. What are HTML and CSS?
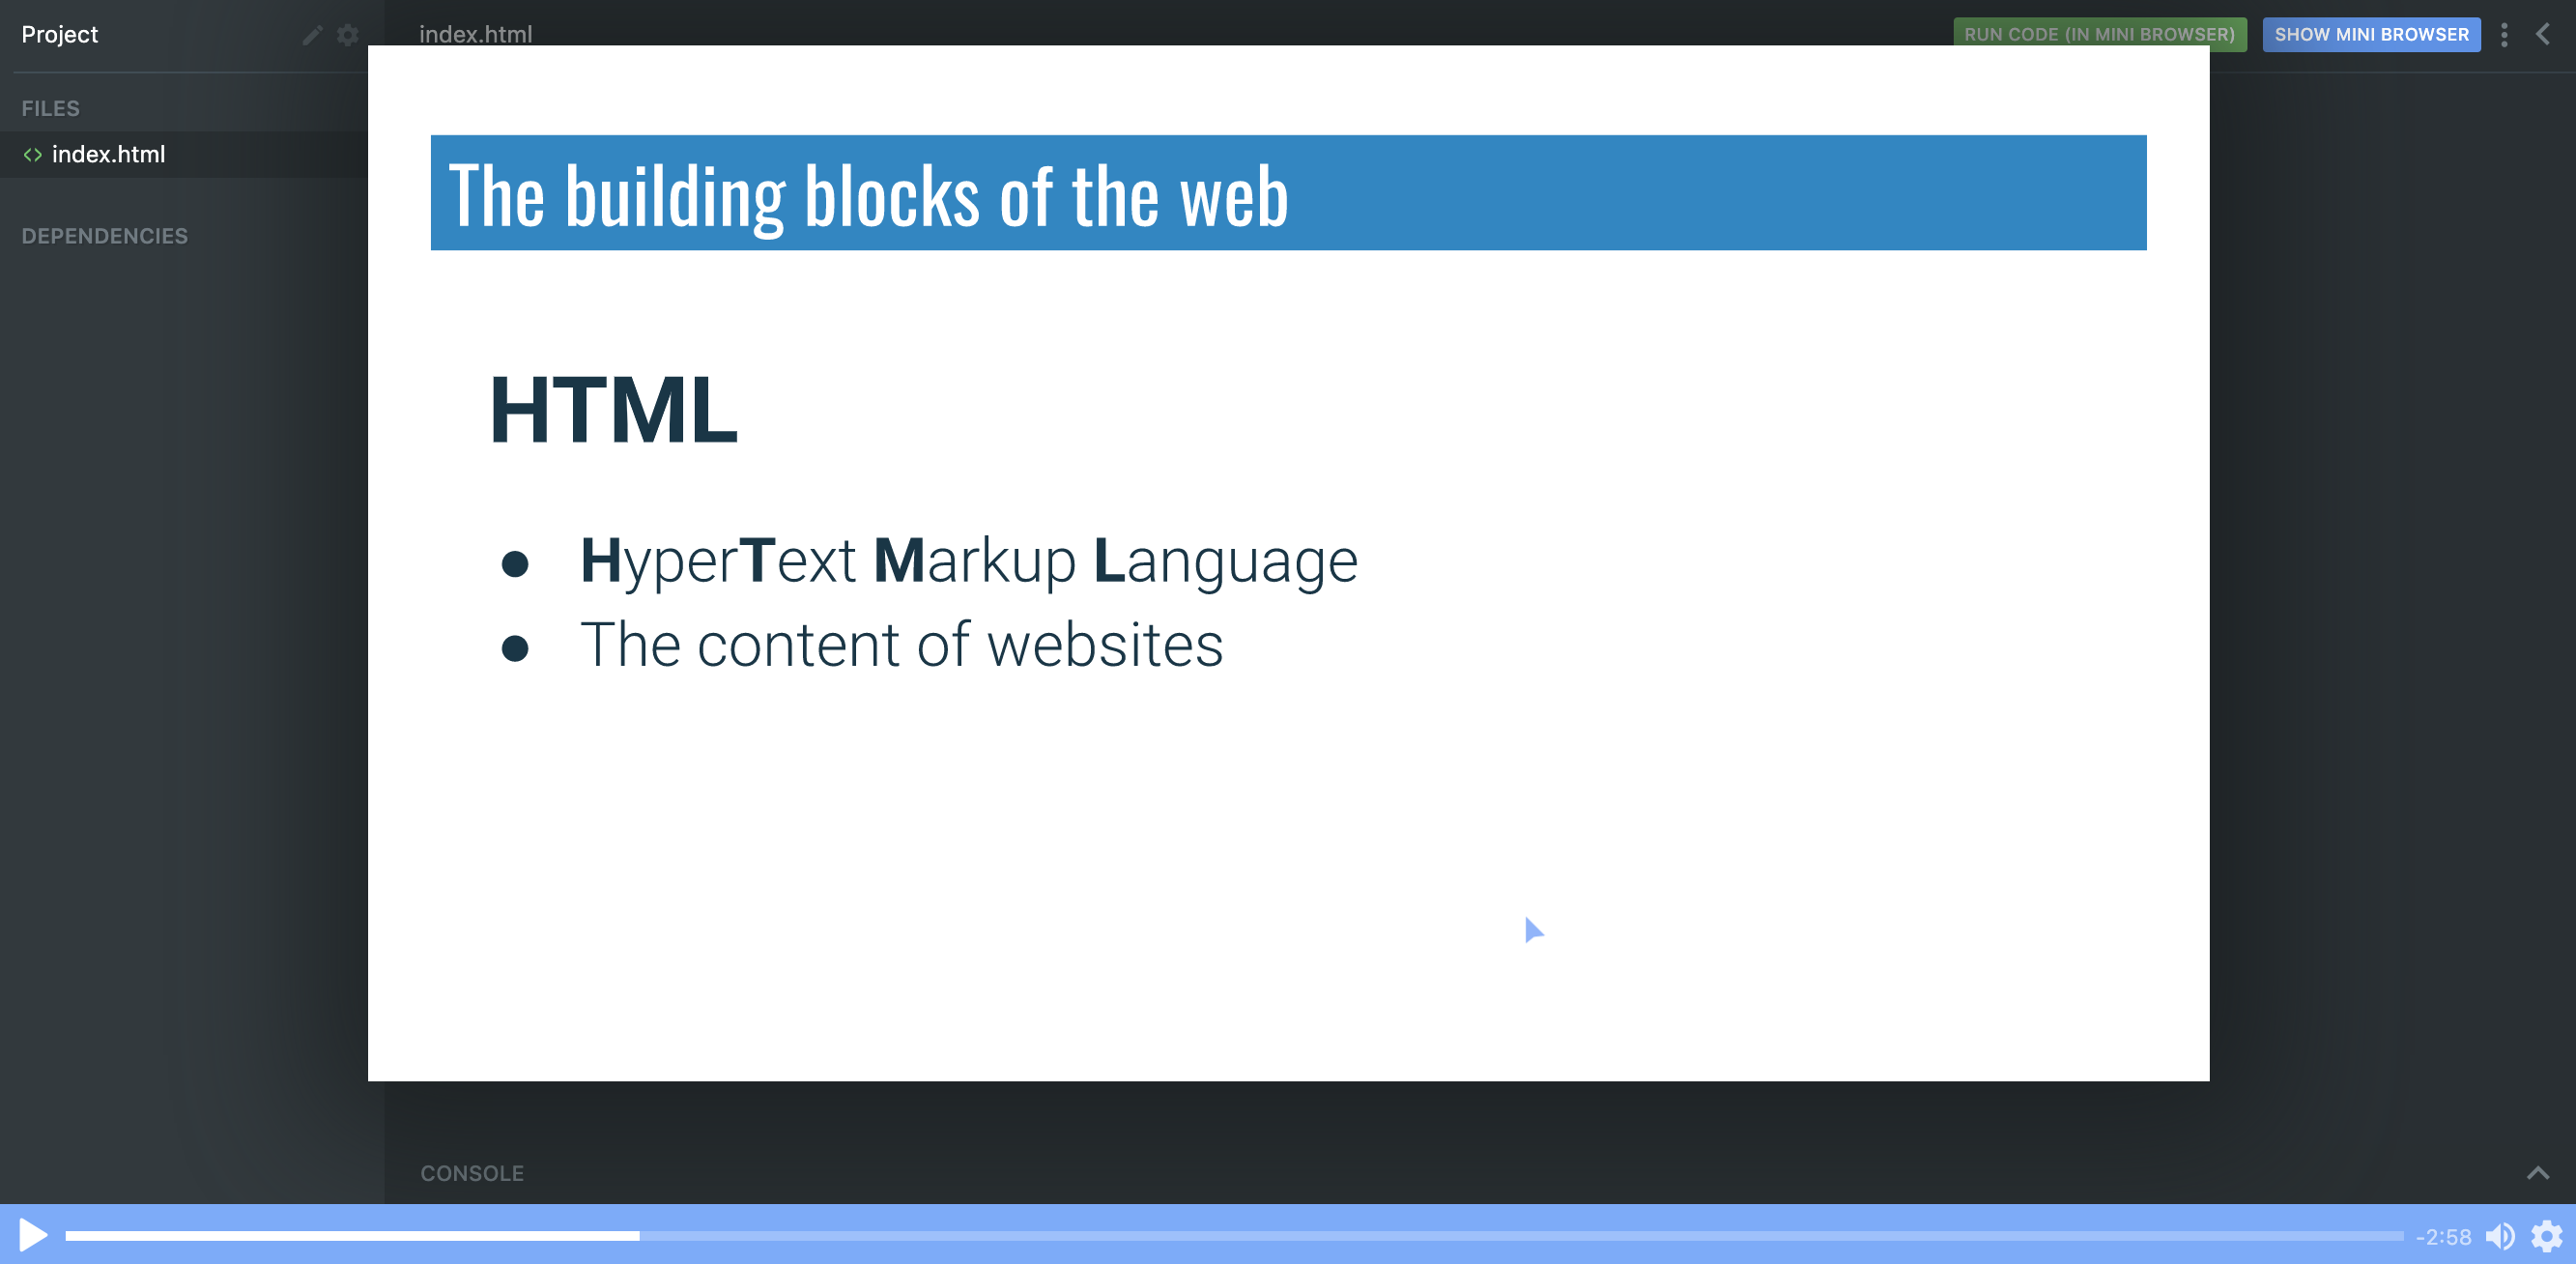
In the second cast, Kevin introduces us to HTML and CSS, what these acronyms stand for and how both HTML and CSS are closely intertwined.
3. Basic Terminology and Syntax
Kevin uses a book as an example of how HTML markup works and introduces such concepts as elements and tags, and how to use them.
4. Let's write some HTML!
In this screencast, Kevin introduces <!DOCTYPE html> to let browser know that the content is HTML and we write our first HTML webpage and learn some fundamental elements along the way!
<!DOCTYPE html>
<html>
  <head>
    <title>My first website</title>
  </head>

  <body>
    <h1>My very first webpage</h1>
    <h2>Websites are built with HTML</h2>
    <p>HTML is a markup language that tells the browser what everything is</p>
    <h2>They also use CSS</h2>
    <p>I can't wait to start learning CSS!</p>
  </body>
</html>
5. strong and emphasis
We can use <em> to add emphasis to our text and <strong> to add importance.
6. File naming and organization
In this part, Kevin teaches us some good practices around file naming and gives good advice on how to organise our files.
7. Anchors and Attributes
We can use anchor <a> element to link to a different location on the same page or to another page. To tell <a> where to link, we use attributes, and for anchors, it's href.
<a href="https://scrimba.com">Link to Scrimba</a>
8. Intro to CSS
Kevin introduces us to CSS syntax and the notion of properties and values in CSS. How using property: value syntax we can style our webpages and introduces inline styling to make individual elements look good on the page.
9. CSS Basics
In this video, we're going to learn about font size, colours, background colours and text alignment. Kevin will introduce us to four different ways of specifying colours in CSS, using keywords, hex, rgb and hsl values.
10. Practice time!
Ok, time for some individual practice. Kevin sets us a task to create a page about ourselves and sets us some HTML/CSS challenges along the way.
<!--
HTML
  - h1 (the title of the page)
  - An introductory paragraph
  - Two h2s, each followed by a few paragraphs
  - Inside the paragraphs, use strong and emphasis tags
  - If you are feeling adventurous add a second page and link to it

CSS
  - Change the color of the h1
  - Change the text alignment of the h1
  - Change the color of the h2s
  - Change the font-size of the paragraphs
  - If you added a link, change the color of it
 -->
11. Recap up until this point
In this cast, we quickly go over everything we've learned about HTML and CSS up until this point. Repetition is the mother of learning!
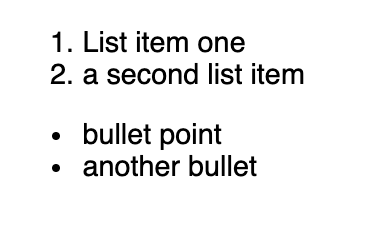
12. Lists
Now, Kevin shows us how to create lists in HTML using <ol> for ordered lists and <ul> for unordered lists.
<ol>
  <li>List item one</li>
  <li>a second list item</li>
</ol>

<ul>
  <li>bullet point</li>
  <li>another bullet</li>
</ul>
13. Images
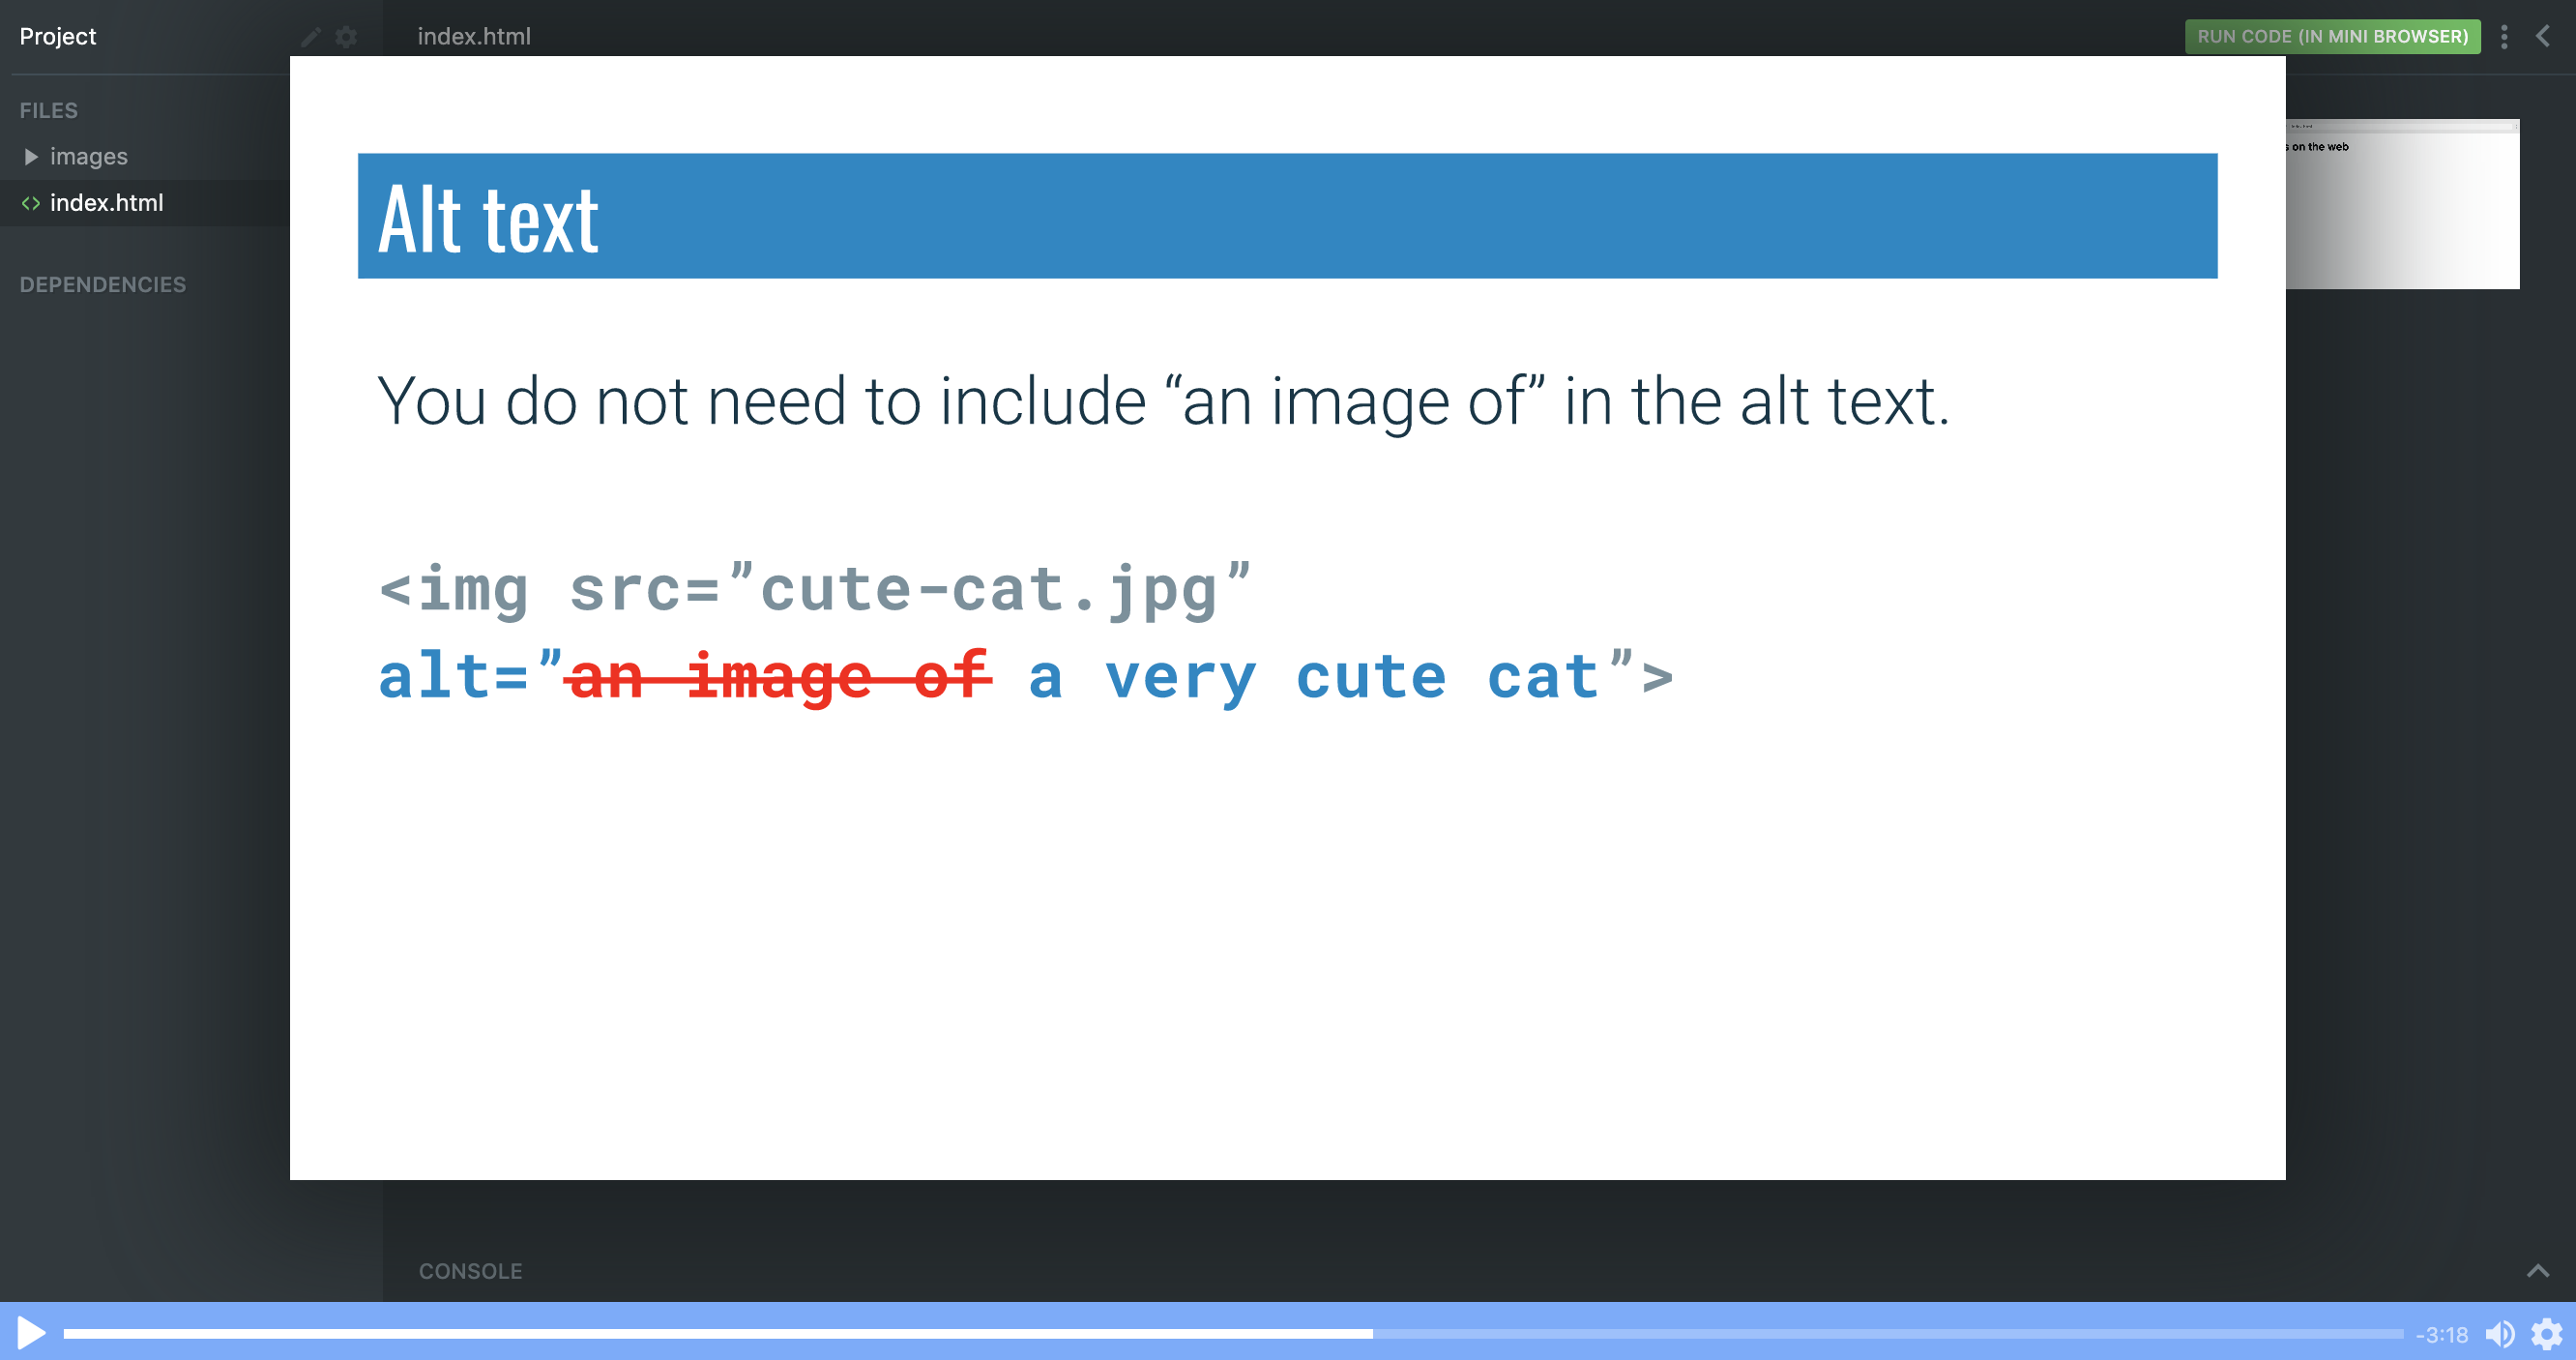
Images are self-closing and both <img> are valid <img />. Kevin also explains how to use src and alt attributes and how alt helps improve accessibility.
<img
  src="images/dog-in-blanket.jpg"
  alt="a dog wrapped in a blanket sitting on the road"
/>
14. Practice time!
Alright, time for our second practice screencast. Kevin sets us a challenge to convert some markdown files to HTML/CSS webpage. No worries if you're not sure what markdown is because in this practice session Kevin will walk us through the completion of the task.
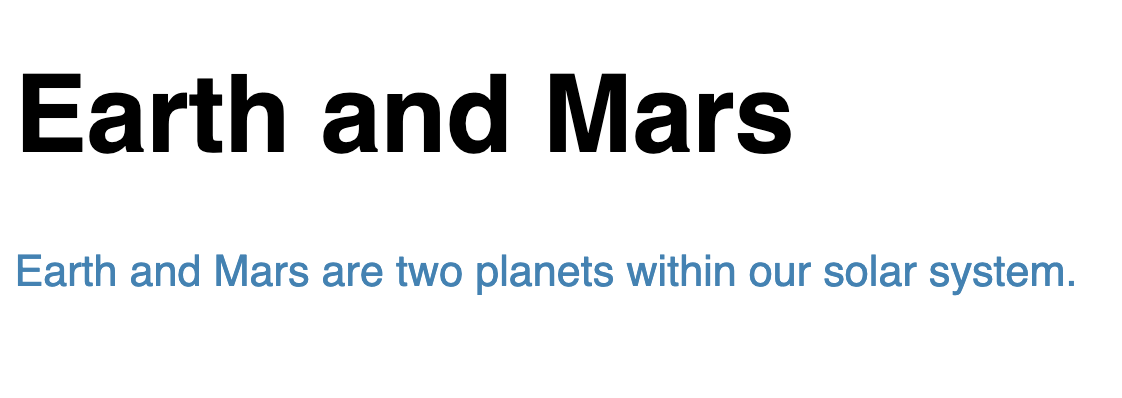
15. Internal CSS
In this chapter, Kevin introduces internal CSS, an alternative to writing inline CSS.
Internal CSS is written in the same file as HTML, but within a separate <style> tag
<!DOCTYPE html>
<html>
  <head>
    <title>All about Earth and Mars</title>
    <style>
      h1 {
        font-size: 60px;
      }

      p {
        font-size: 24px;
        color: steelblue;
      }
    </style>
  </head>
  <body>
    <h1>Earth and Mars</h1>
    <p>Earth and Mars are two planets within our solar system.</p>
  </body>
</html>
16. External CSS
External CSS is another approach to managing CSS. This time Kevin shows us how we can extract CSS into a separate file and how to link CSS stylesheets to our HTML files with a <link> tag
<link href="css/style.css" rel="stylesheet" />
17. Classes and IDs
In this screencast, Kevin focuses on three types of selectors in CSS and when you might want to use which.
/* Element selector  */
a {
  color: darksalmon;
}

/* Class selector  */
.intro {
  font-size: 24px;
}

/* ID selector  */
#earth-title {
  color: lightgreen;
}
18. Comments in HTML and CSS
We can add comments in HTML:
<html>
  <head>
    <title>Comments!</title>
    <link rel="stylesheet" href="css/style.css" />
  </head>
  <body>
    <h1>Comments!</h1>
    <!-- My comment goes here -->
  </body>
</html>
And in CSS:
/* TODO: change the color of the text to white */

body {
  background: #333;
  color: white;
}

/* Some more comments */

h1 {
  color: red;
}
19. The only tags you need to know (for now)
In this part of the course, Kevin reminds us that we don't need to know everything at this point and at this stage we really need to know only the following tags:
h1 -> h6
p
strong and em
a
ul, ol, li
img
And it would be good if we can tell the difference between the following tags:
header
main
section
footer
nav
div
20. Intro to the box model
It's now time to discover the box model.
Most elements are block elements, which means they are 100% width of their parent and have a height of 0.
This is a brilliant cast, where Kevin not just simply and succinctly explains how the box model works, but also saves us from the common pitfalls that even experienced developers fall into from time to time.
21. Margin and Padding
Up next are margins and paddings.
Margins are used to control the position of an element relative to those around it, while padding is used to control the positioning of content inside our element.
Kevin does a great job explaining many different ways padding and margins can be set in CSS.
/*  */
padding-top: 20px;
padding-right: 30px;
padding-bottom: 40px;
padding-left: 50px;

/* Shorthand version would be */
padding: 20px 30px 40px 50px;

margin-top: 500px;
margin-left: 100px;
margin-right: 100px;
margin-bottom: 10px;

/* Shorthand version would be */
margin: 500px 100px 10px;
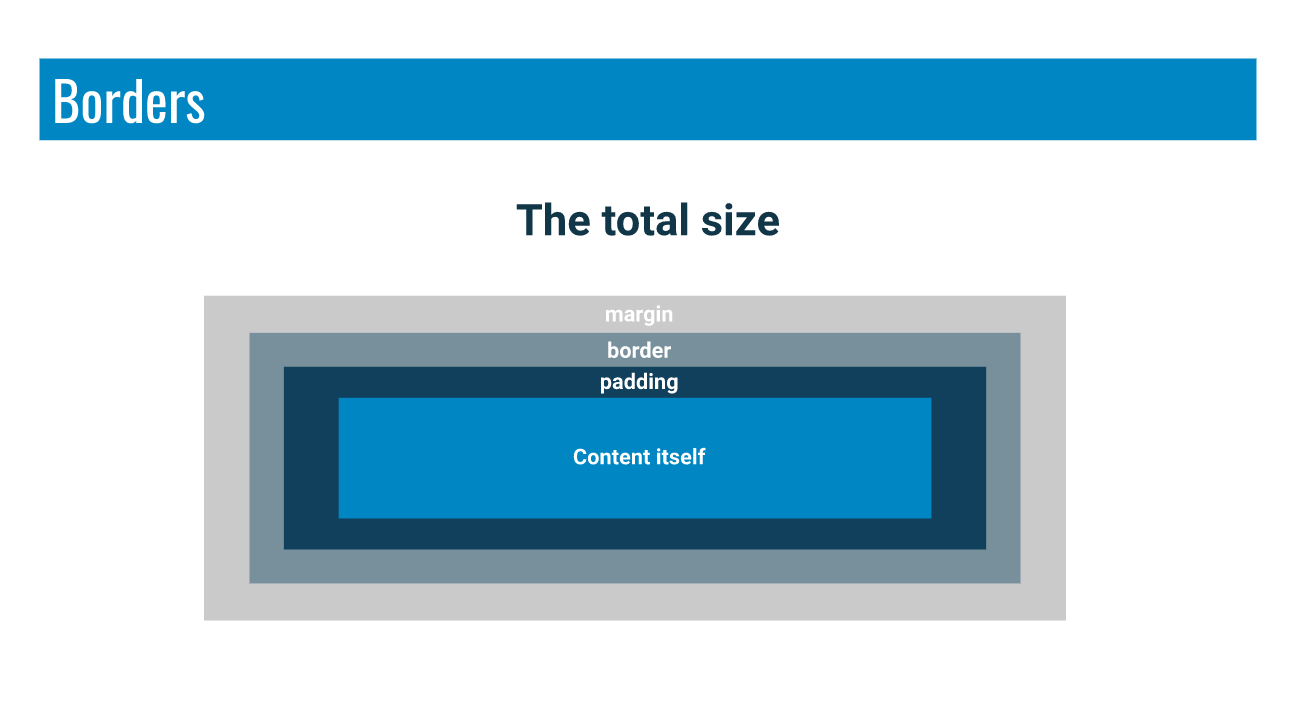
22. Borders
The last piece in the box model - borders. Borders are added around your elements. And they can be set in a similar way to margins and padding.
border-color: yellow;
border-width: 20px;
border-style: solid;

/* Shorthand version would be */
border: solid yellow 20px;
23. Box model wrap up
In this chapter, Kevin helps us review CSS box model and provides a nice visualisation for future reference.
24. A basic layout
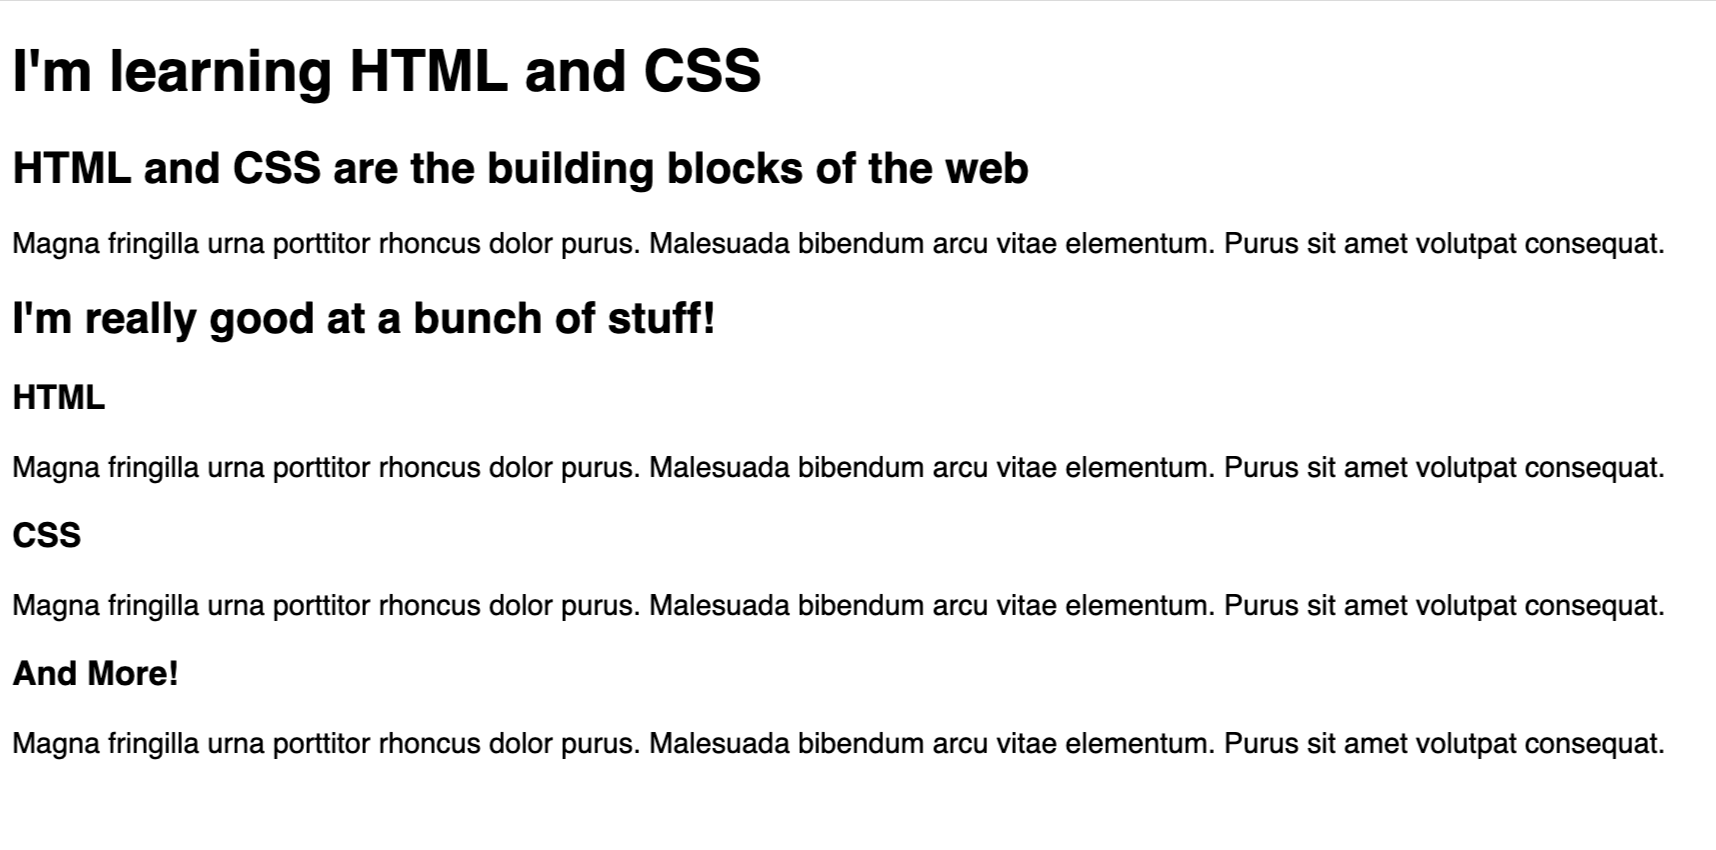
We are now ready to create a very basic layout.
Kevin will guide us through creating a page about dinosaurs, where we will be able to put everything we've learned so far to practice.
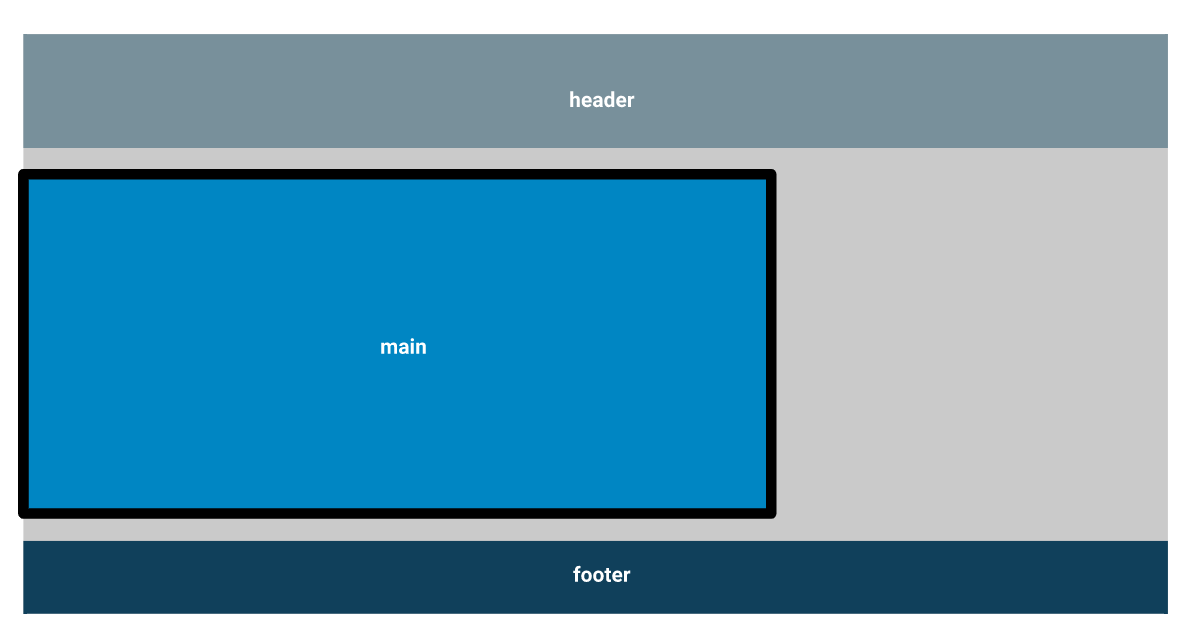
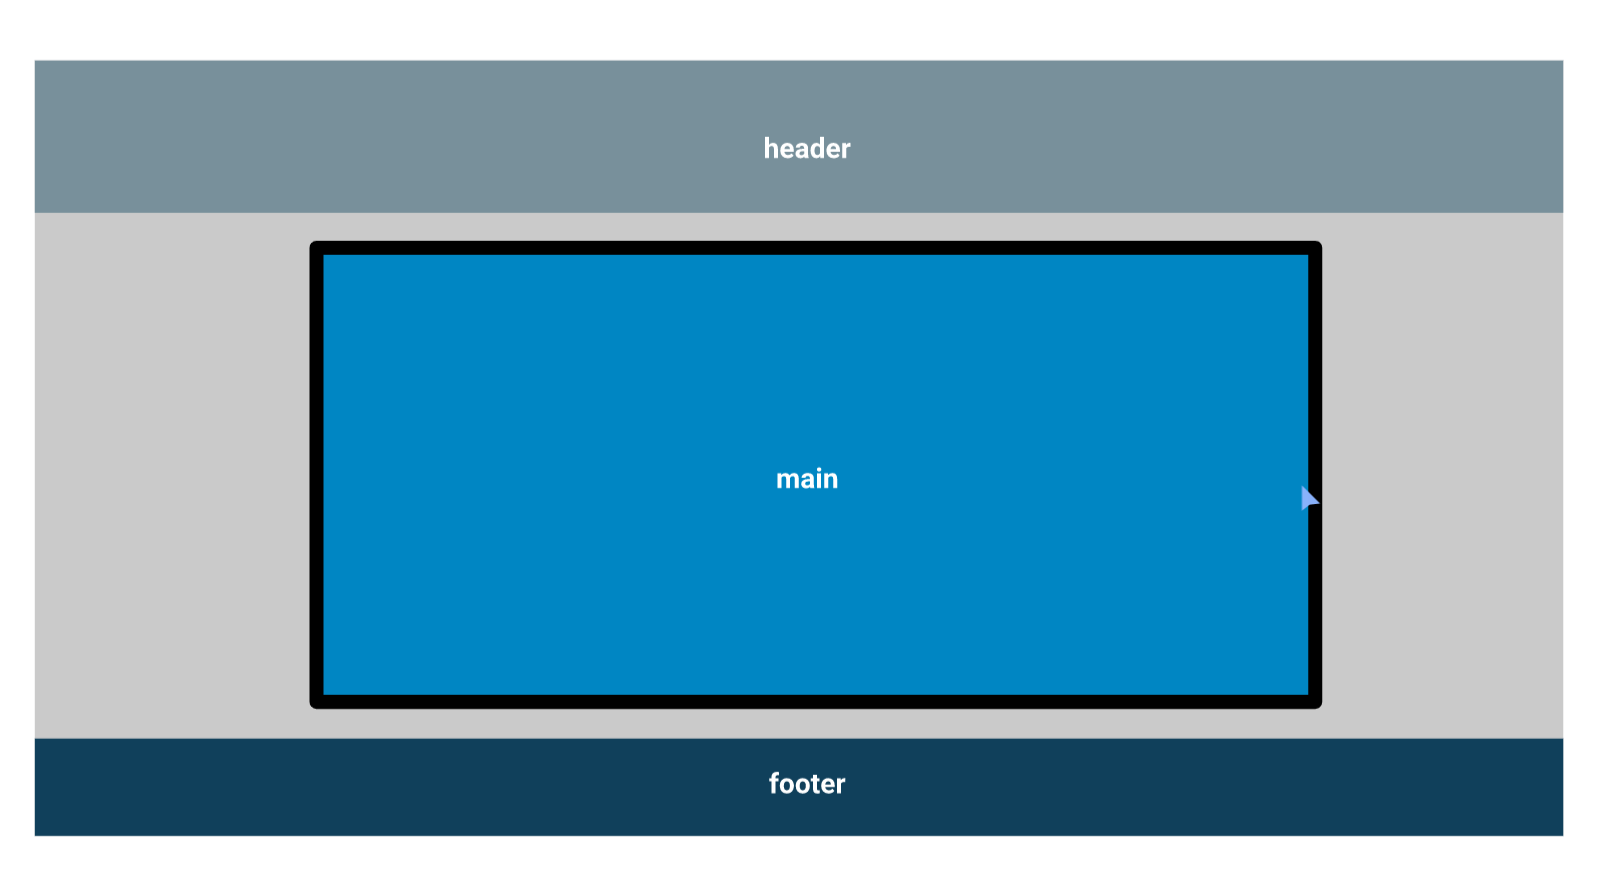
25. A basic layout - centring an element on the page
In this chapter, Kevin shows us how to centre the main element. It's not too difficult, but there are a few tricky bits to it.
26. Creating columns with flexbox
We are doing pretty well, so far.
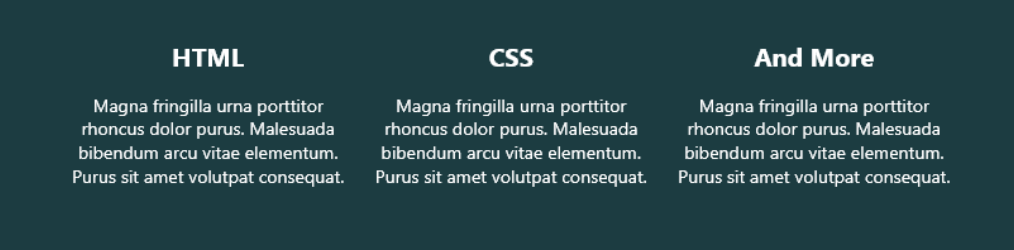
Over these last cast, Kevin introduces a mini-capstone project to create this HTML layout from scratch.
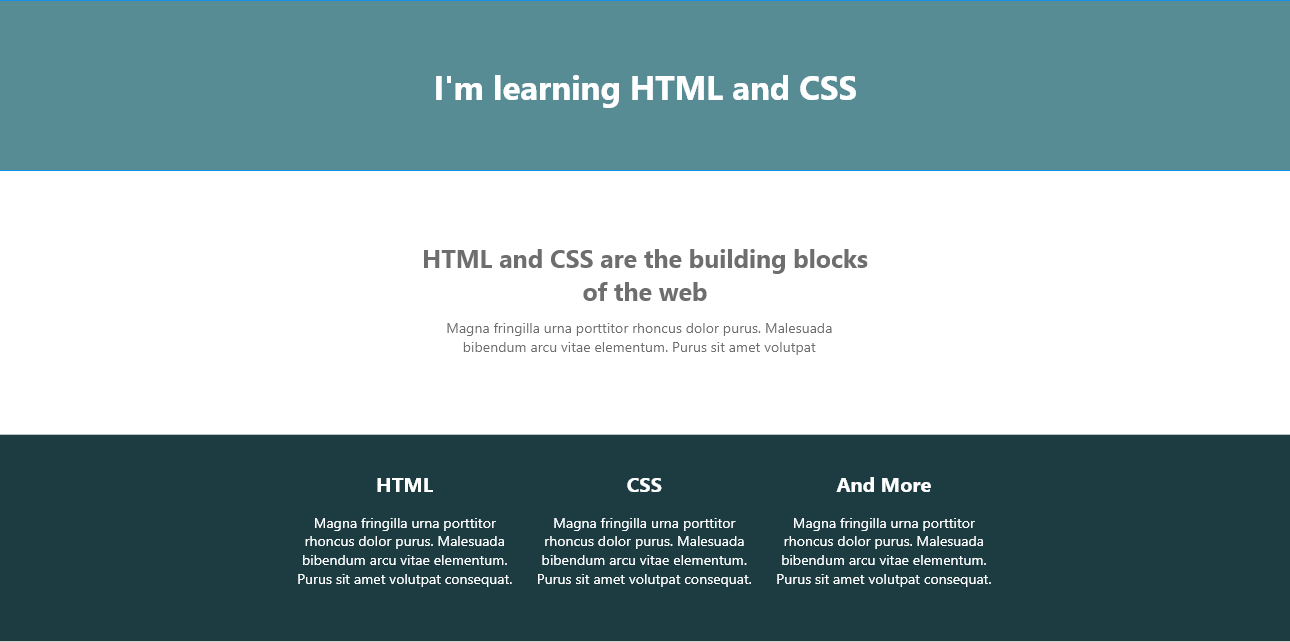
Oftentimes, a lot of designs use columns in the footer. In this cast, Kevin shows us how to use display: flex to create this neat layout.
27. Creating the layout from scratch - the HTML
In this screencast, Kevin slices the design into manageable pieces and walks us through the HTML implementation.
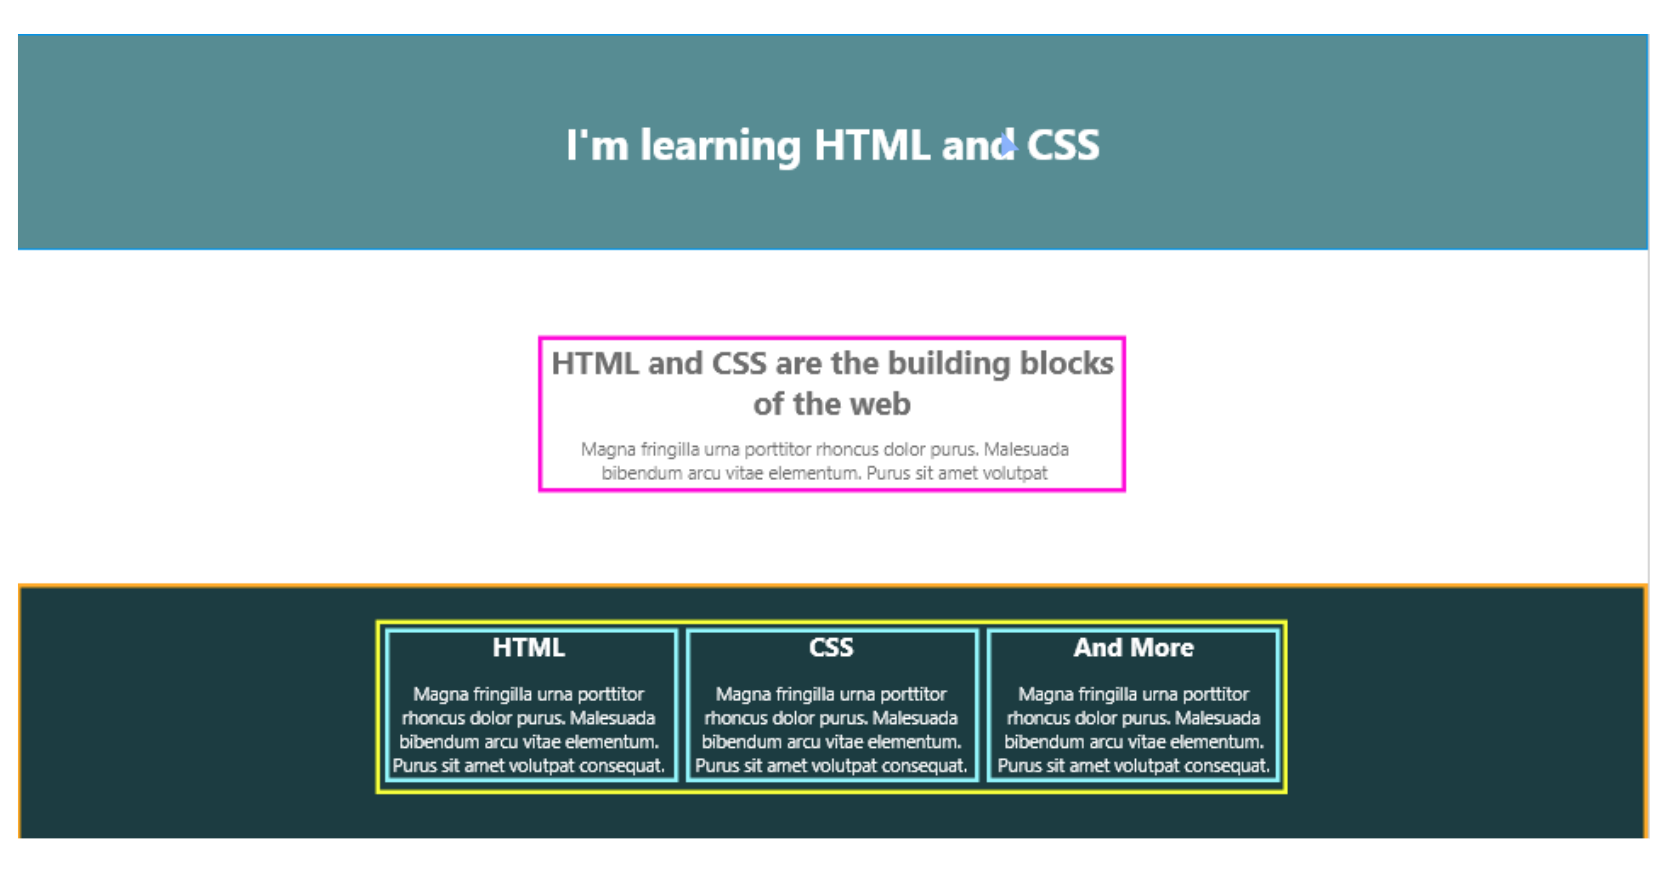
In this screencast, we are creating the HTML markup.
28. Creating the Layout - The CSS
And in the final part of this course, we're writing CSS to create the final layout.
29. What's next?
If you reach all the way to this cast, then give your self a pat on the back. Congratulations on finishing the course! We've covered a LOT, and you have every reason to be proud of yourself.
Where can you go from here? Kevin's first recommendation is to install a text editor. Any of them at this stage would be good and you can always change later. VS Code is very popular and for a good reason.
You should also keep an eye on Kevin's upcoming advanced course on how to build responsive websites, so be sure to sign up for Kevin's newsletter.
Happy coding :)
Thanks for reading! My name is Per Borgen, I'm the co-founder of Scrimba – the easiest way to learn to code. You should check out our responsive web design bootcamp if want to learn to build modern website on a professional level.