
今天我们将学习如何在 JavaScript 中进行表单验证。我们还将添加图像和媒体查询以构建整个项目,并将其作为作品集的一部分。
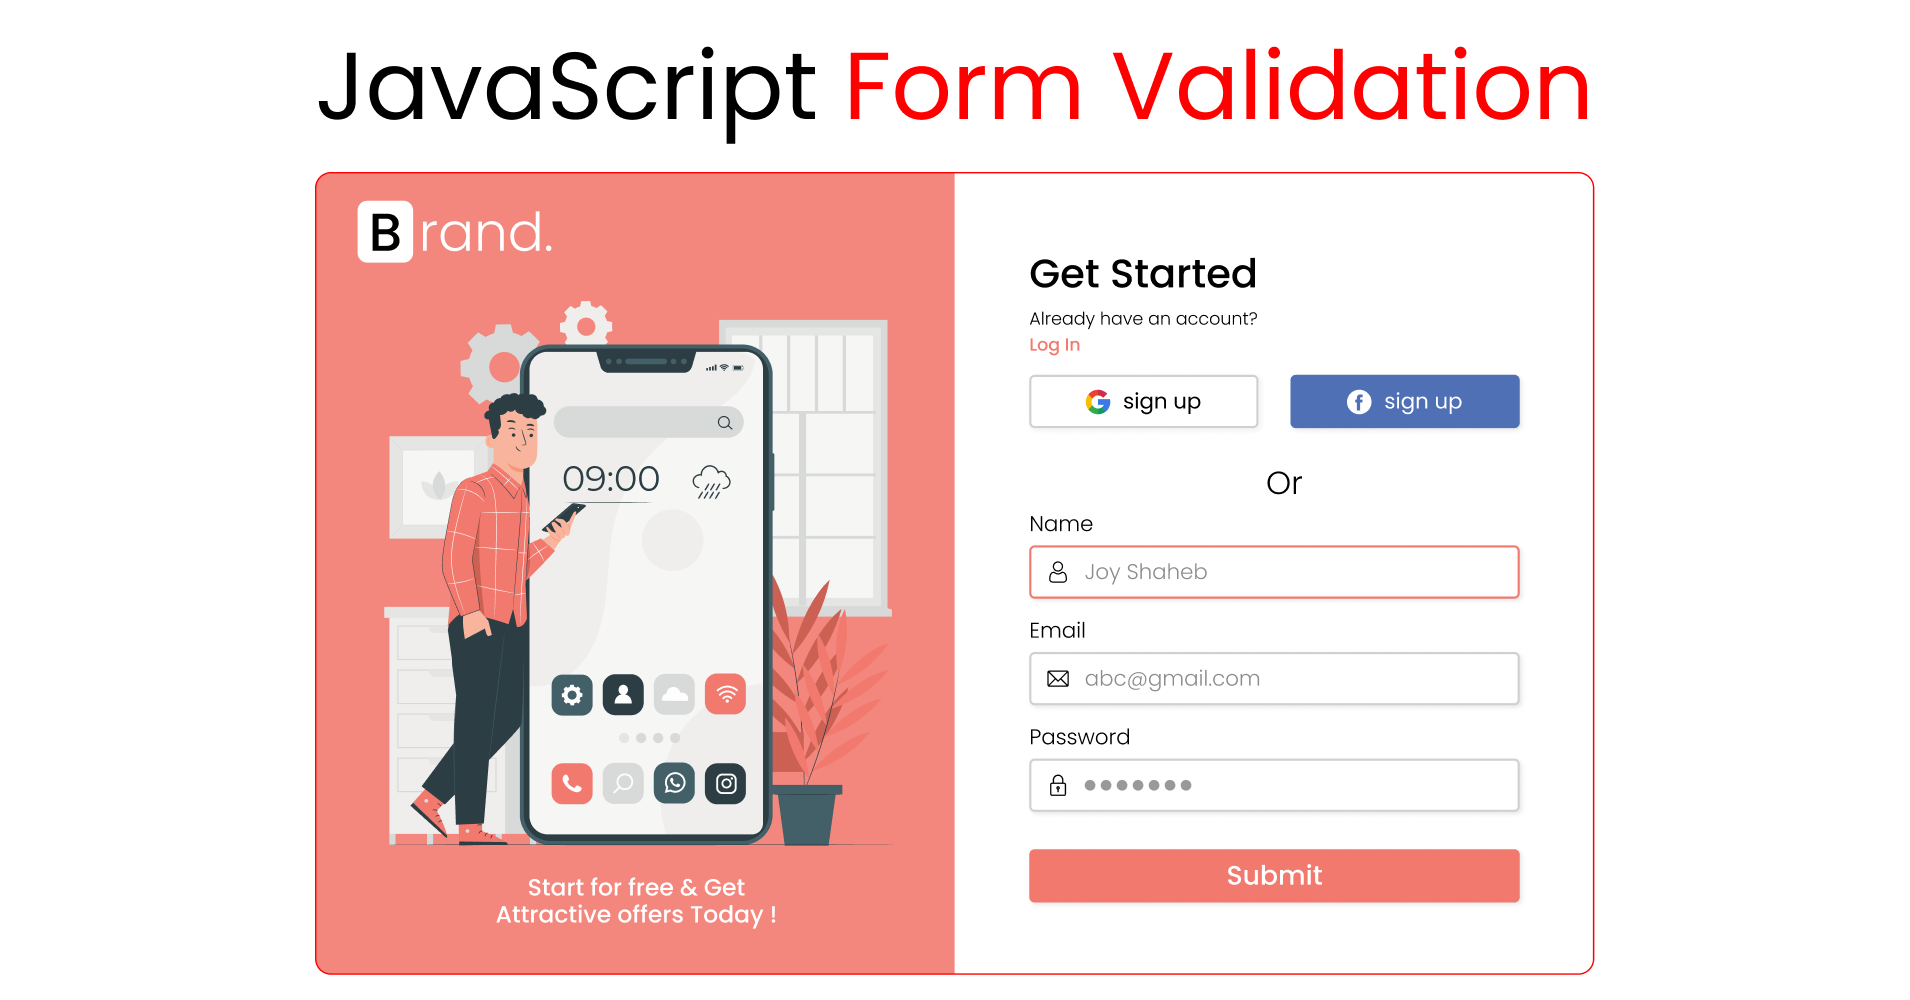
这是我们要构建的项目演示:

这是表格如何运行的示例:

如果你想看视频教程,这是 YouTube 视频链接:
源代码
你可以从这里获取源代码,包括图像:
如何配置项目

请按照以下步骤配置我们的项目:
- 创建一个名为 “Project” 的新文件夹并打开 VS Code
- 创建 index.html、style.css 和 main.js 文件
- 链接 HTML 中的文件
- 从我的 GitHub 仓库下载图像
- 将此 font-awesome 的链接粘贴到 head 标签内,然后,我们可以访问 Font Awesome 图标
<link
      rel="stylesheet"
      href="https://cdnjs.cloudflare.com/ajax/libs/font-awesome/5.15.4/css/all.min.css"
      crossorigin="anonymous"
    />
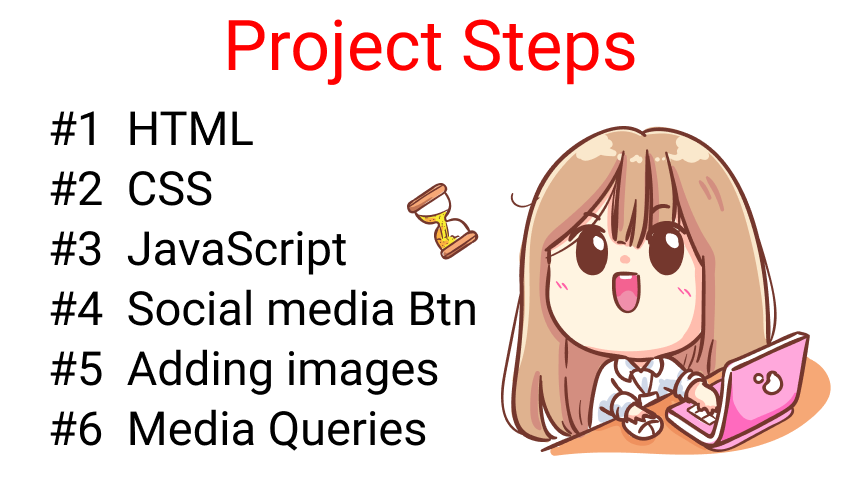
以下是我们将介绍的内容:
- 编写 HTML
- 添加 CSS
- 编写 JavaScript
- 添加社交媒体按钮
- 添加图像
- 移动版本的媒体查询(响应式)
如何编写 HTML

在 body 标签内创建一个名为 .container 的类并包含表单标签,该标签的 id 为 form。
<div class="container">

	<form id="form"></form>

</div>
在 form 标签中,创建 4 个 div,如下:
<form id="form">

    <div class="title">Get Started</div>

    <div></div>
    <div></div>
    <div></div>

</form>
在这 3 个空的 div 标签中,我们创建 3 个输入 [Username、Email、Password] 以及图标和标签。
注意:我们正在创建一个 .error 类名。我们将使用 JavaScript 在此处注入错误消息。
Username Input
<!-- User Name input -->

<div>
	<label for="username">User Name</label>
    <i class="fas fa-user"></i>

    <input
        type="text"
        name="username"
        id="username"
        placeholder="Joy Shaheb"
     />

    <i class="fas fa-exclamation-circle failure-icon"></i>
    <i class="far fa-check-circle success-icon"></i>

    <div class="error"></div>

</div>
Email Input
<!-- Email input -->

<div>
	<label for="email">Email</label>
    <i class="far fa-envelope"></i>

    <input
        type="email"
        name="email"
        id="email"
        placeholder="abc@gmail.com"
     />

    <i class="fas fa-exclamation-circle failure-icon"></i>
    <i class="far fa-check-circle success-icon"></i>

    <div class="error"></div>

</div>
Password Input
<!--   Password input -->

<div>
	<label for="password">Password</label>
    <i class="fas fa-lock"></i>

    <input
        type="password"
        name="password"
        id="password"
        placeholder="Password here"
     />

    <i class="fas fa-exclamation-circle failure-icon"></i>
    <i class="far fa-check-circle success-icon"></i>

    <div class="error"></div>

</div>
如何添加按钮
最后,在表单结束标记之前添加按钮,如下所示:
<form>
<!-- other codes are here -->
<button id="btn" type="submit">Submit</button>
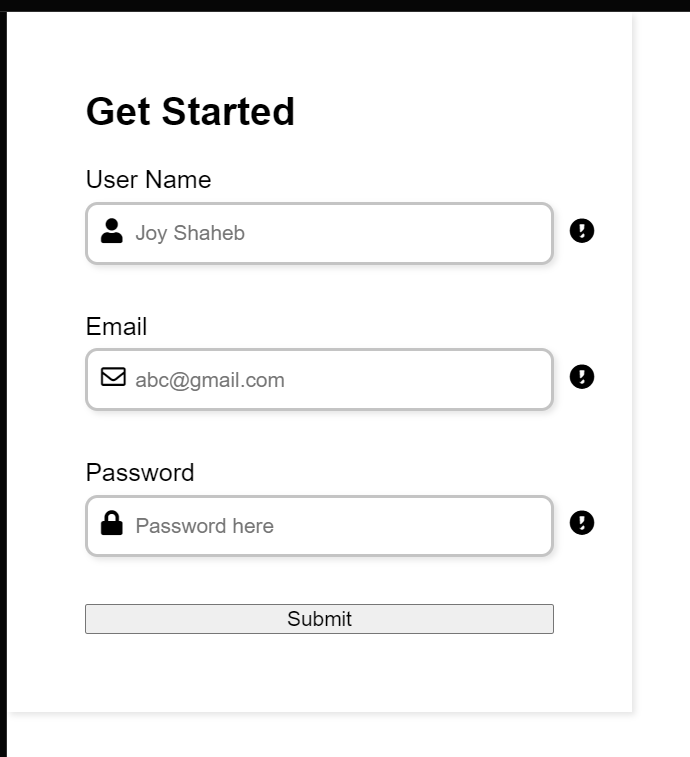
</form>这是目前的显示效果:
恭喜你完成 HTML 部分! 🍾🎉🥂

如何添加 CSS

让我们添加 CSS 来设置表单的样式。首先,让我们删除浏览器的默认样式,包括 font-family。
/**
* ! changing default styles of brower
**/

* {
  margin: 0;
  padding: 0;
  box-sizing: border-box;
}

body {
  font-family: sans-serif;
}
现在,为表单标签应用这些样式:
/**
* ! style rules for form section
**/

form {
  display: flex;
  flex-direction: column;
  justify-content: center;
  max-width: 400px;
  box-shadow: 2px 2px 4px rgba(0, 0, 0, 0.1);
  padding: 50px;
}
接下来,对我们的标题文本进行这些更改:
.title {
  font-size: 25px;
  font-weight: bold;
  margin-bottom: 20px;
}
目前的效果是这样的:

现在,在我们的标签文本底部添加一个边距,如下所示:
label {
  display: block;
  margin-bottom: 5px;
}
并添加这些样式来改变我们输入标签的外观:
form div input {
  width: 100%;
  height: 40px;
  border-radius: 8px;
  outline: none;
  border: 2px solid #c4c4c4;
  padding: 0 30px;
  box-shadow: 2px 2px 4px rgba(0, 0, 0, 0.1);
}
添加此代码以添加一些空间和颜色变化效果:
form div {
  position: relative;
  margin-bottom: 15px;
}

input:focus {
  border: 2px solid #f2796e;
}
目前的显示效果:
如何给图标添加样式
现在我们要为从 font-awesome 导入的图标设置样式:✨✨
/**
* ! style rules for form icons
**/

form div i {
  position: absolute;
  padding: 10px;
}
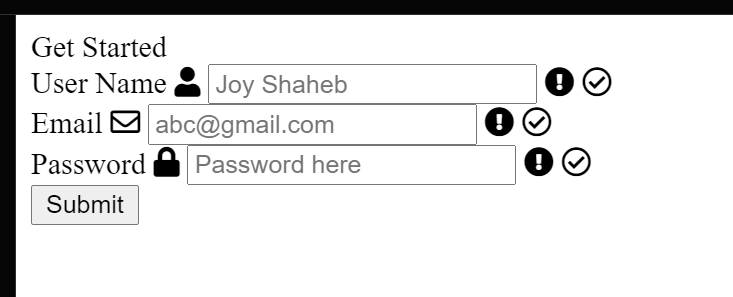
这是添加这两行的结果:
现在,添加这些样式来设置 error 类的样式,以及 success 和 failure 图标:
.failure-icon,
.error {
color: red;
}
.success-icon {
color: green;
}
.error {
font-size: 14.5px;
margin-top: 5px;
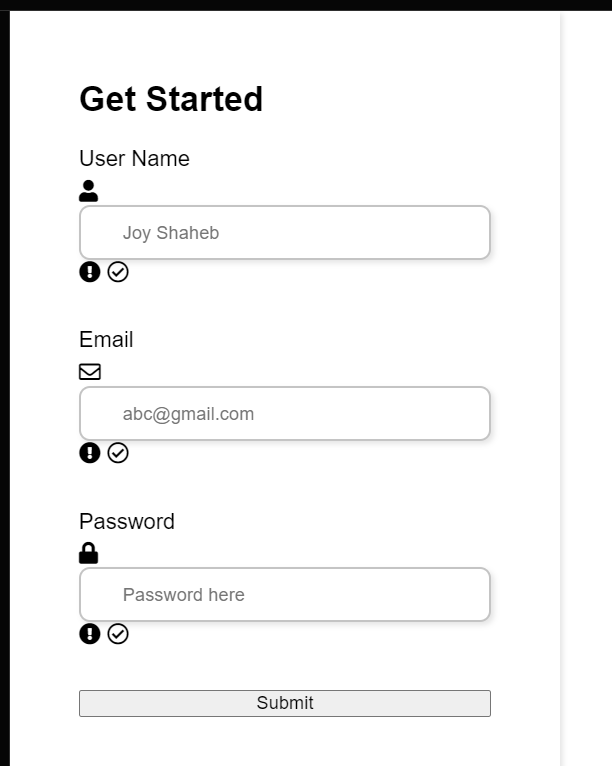
}这是目前的显示效果:
看,success 和 failure 的图标相互重叠。别担心,我们会在 JavaScript 中操作它们。现在,你可以像这样隐藏它们:
.success-icon,
.failure-icon {
  right: 0;
  opacity: 0;
}
现在,让我们设置 submit 按钮的样式,如下所示:
/* Style rules for submit btn */

button {
  margin-top: 15px;
  width: 100%;
  height: 45px;
  background-color: #f2796e;
  border: 2px solid #f2796e;
  border-radius: 8px;
  color: #fff;
  font-size: 20px;
  cursor: pointer;
  box-shadow: 2px 2px 4px rgba(0, 0, 0, 0.1);
  transition: all 0.1s ease;
}
如果要添加悬停效果,那么添加这些样式:
button:hover {
  opacity: 0.8;
}
休息一会儿!
到现在为止还挺好,休息一下——这是你应得的。

如何添加 JavaScript

首先,我们需要在 JavaScript 中使用 HTML 中的所有类和 id。为了有效地完成这项任务,写这两个函数:
let id = (id) => document.getElementById(id);

let classes = (classes) => document.getElementsByClassName(classes);
然后,将类和 id 存储在这些变量中。
注意:尽量不要出现拼写错误,否则,你的 JavaScript 将无法运行。
let username = id("username"),
  email = id("email"),
  password = id("password"),
  form = id("form"),

  errorMsg = classes("error"),
  successIcon = classes("success-icon"),
  failureIcon = classes("failure-icon");
现在,我们将操作表单,添加 submit 事件侦听器:
form.addEventListener("submit", (e) => {
  e.preventDefault();
});
现在,我们将创建一个名为 engine 的函数,它将为我们做各种表单验证工作。它将有三个参数——请按照以下步骤操作:
let engine = (id, serial, message) => {}参数代表以下内容:
id将指向你的 idserial将指向我们的类 [error 类、success 和 failure 图标]message将在我们的 .error 类中打印一条消息
现在创建一条 if, else 语句:
let engine = (id, serial, message) => {

  if (id.value.trim() === "") {
  }

  else {
  }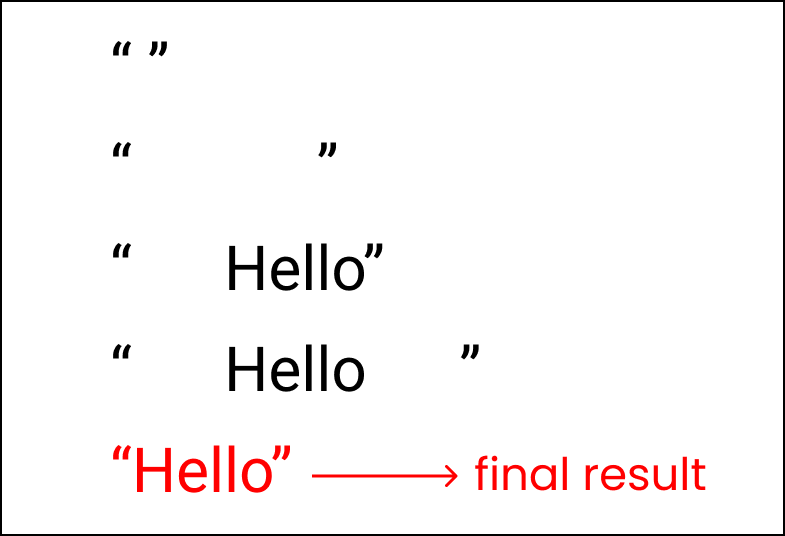
}注意:id.value.trim() 将从用户输入的值中删除所有额外的空格。你可以通过查看此插图了解它的工作原理:
现在,看看我们的目标:
- 我们希望 JavaScript 在用户提交空白表单时在 error 类中打印一条消息,同时,我们希望 failure 图标也突出显示。
- 但是,如果用户填写所有输入并提交,我们希望 success 图标可见。
为此,请编写以下逻辑来打印消息:
let engine = (id, serial, message) => {

  if (id.value.trim() === "") {
    errorMsg[serial].innerHTML = message;
  }

  else {
    errorMsg[serial].innerHTML = "";
  }
}
添加以下代码,以正确显示图标:
let engine = (id, serial, message) => {

  if (id.value.trim() === "") {
    errorMsg[serial].innerHTML = message;
    id.style.border = "2px solid red";

    // icons
    failureIcon[serial].style.opacity = "1";
    successIcon[serial].style.opacity = "0";
  }

  else {
    errorMsg[serial].innerHTML = "";
    id.style.border = "2px solid green";

    // icons
    failureIcon[serial].style.opacity = "0";
    successIcon[serial].style.opacity = "1";
  }
}
是时候使用我们新创建的函数了。把这些写在我们添加 submit 事件监听器的地方。
form.addEventListener("submit", (e) => {
e.preventDefault();
engine(username, 0, "Username cannot be blank");
engine(email, 1, "Email cannot be blank");
engine(password, 2, "Password cannot be blank");
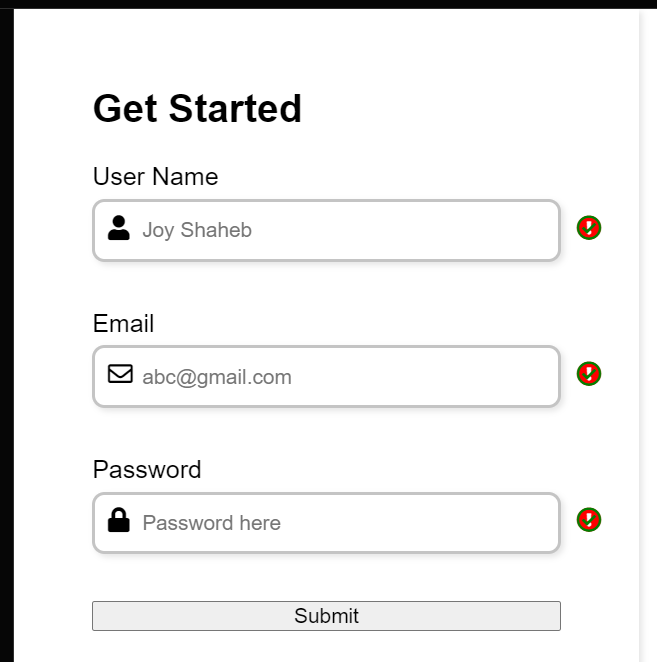
});在这里,我们传递 id 和 class serials,并传递当用户提交表单时发现错误时应该打印的消息。
这是目前的效果:
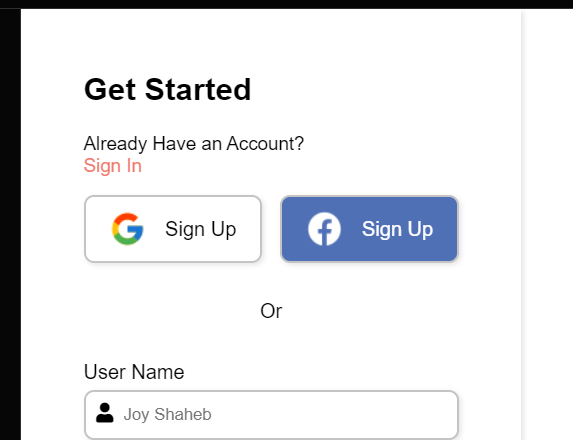
如何添加社交媒体按钮

到目前为止一切顺利,让我们添加社交媒体注册选项。
在表单标签中,创建一个类名为 social 的新 div:
<form id="form">

    <div class="social">

      <div class="title">Get Started</div>

      <div class="question">
        Already Have an Account? <br />
        <span>Sign In</span>
      </div>

      <div class="btn"></div>

      <div class="or">Or</div>
    </div>

    <!-- other codes are here-->
</form>
在 .btn 类中,我们创建了两个类名分别为 .btn-1 和 .btn-2 的 div,其中包含图像和文本。
<div class="btn">
  <div class="btn-1">
     <img src="https://img.icons8.com/color/30/000000/google-logo.png" />
     Sign Up
  </div>

  <div class="btn-2">
    <img src="https://img.icons8.com/ios-filled/30/ffffff/facebook-new.png" />
     Sign Up
   </div>
</div>
这是目前的效果:

现在,让我们先设置 .btn-1 和 .btn-2 的样式。我们将按钮的对齐方式更改为从列到行。
/**
* ! style rules for social section
**/

.btn {
  display: flex;
  flex-direction: row;
  justify-content: space-between;
  gap: 15px;
}
目前的效果如下:

现在,为按钮添加样式,如下所示:
.btn-1,
.btn-2 {
  padding: 10px 5px;
  width: 100%;
  display: flex;
  gap: 15px;
  justify-content: center;
  align-items: center;
  border: 2px solid #c4c4c4;
  border-radius: 8px;
  box-shadow: 2px 2px 4px rgba(0, 0, 0, 0.1);
  cursor: pointer;
}
像这样更改 .btn-2 的图标颜色和文本颜色:
.btn-2 {
  background-color: #4f70b5;
  color: white;
}
然后添加这些小的更改以使组件看起来更好:
.or {
  text-align: center;
}

.question {
  font-size: 15px;
}

span {
  color: #f2796e;
  cursor: pointer;
}
显示如下:
如何添加图像

现在,让我们将图像添加到项目中。首先,让我们编写 HTML。
<div class="container">

      <div class="content">
        <div class="logo">
          <img src="https://svgshare.com/i/_go.svg" alt="" />
        </div>

        <div class="image"></div>

        <div class="text">
          Start for free & get <br />
          attractive offers today !
        </div>
      </div>

   <form id="form">
   <!--other codes are here -->
   </form>

</div>
结果如下:

现在我们需要将内容的方向从列更改为行:
.container {
  display: flex;
  flex-direction: row;
}
为内容部分添加这些样式规则:
/**
* ! style rules for content section
**/

.content {
  display: flex;
  flex-direction: column;
  justify-content: space-around;
  background-color: #f2796e;
  width: 55%;
  min-height: 100vh;
  padding: 10px 20px;
}

form {
   width: 45%;
   max-width: none;
}
显示效果:

在 CSS 中添加主要插图:
.image {
  background-image: url("https://svgshare.com/i/_gZ.svg");
  background-repeat: no-repeat;
  background-size: contain;
  background-position: center;
  /* border: 2px solid black; */
  height: 65%;
}
然后给 .text 类添加样式:
.text {
  text-align: center;
  color: white;
  font-size: 18px;
}

form {
   width: 45%;
   max-width: none;
}
显示效果是这样的:

如何给移动版添加媒体查询
我们想让这个项目是响应式的,所以我们将添加媒体查询来实现。
对于宽度为 900px 的屏幕,我们将添加这些样式:
@media (max-width: 900px) {
  .container {
    flex-direction: column;
  }

  form,
  .content {
    width: 100%;
  }

  .btn {
    flex-direction: column;
  }
  .image {
    height: 70vh;
  }
}
对于宽度为 425px 的屏幕,我们将进行这些细微的更改:
@media (max-width: 425px) {
  form {
    padding: 20px;
  }
}
这是最终的效果:
总结

恭喜你读到最后。现在你可以轻松有效地使用 JavaScript 来处理表单验证。不仅如此,你还有一个项目可以向你当地的招聘人员展示!
这是你读到最后的奖牌❤️
非常欢迎你提出任何建议或批评❤️
原文:Learn JavaScript Form Validation – Build a JS Project for Beginners ✨,作者:Joy Shaheb