
By Said Hayani
In this post we will try to re-create the Spotify home screen layout in Swift programmatically. Why programmatically? I think it's always good to know how to build things in different ways, and I like to write code to do things programmatically. These skills are especially helpful if you are working with team or using version control.

This is the actual home screen of Spotify's mobile app. So to achieve this kind of layout, we will be using UICollectionView, and we may use TabBarController as well to create the tab navigator.
Basic requirement : First make sure you have Xcode +10 installed and swift +4.
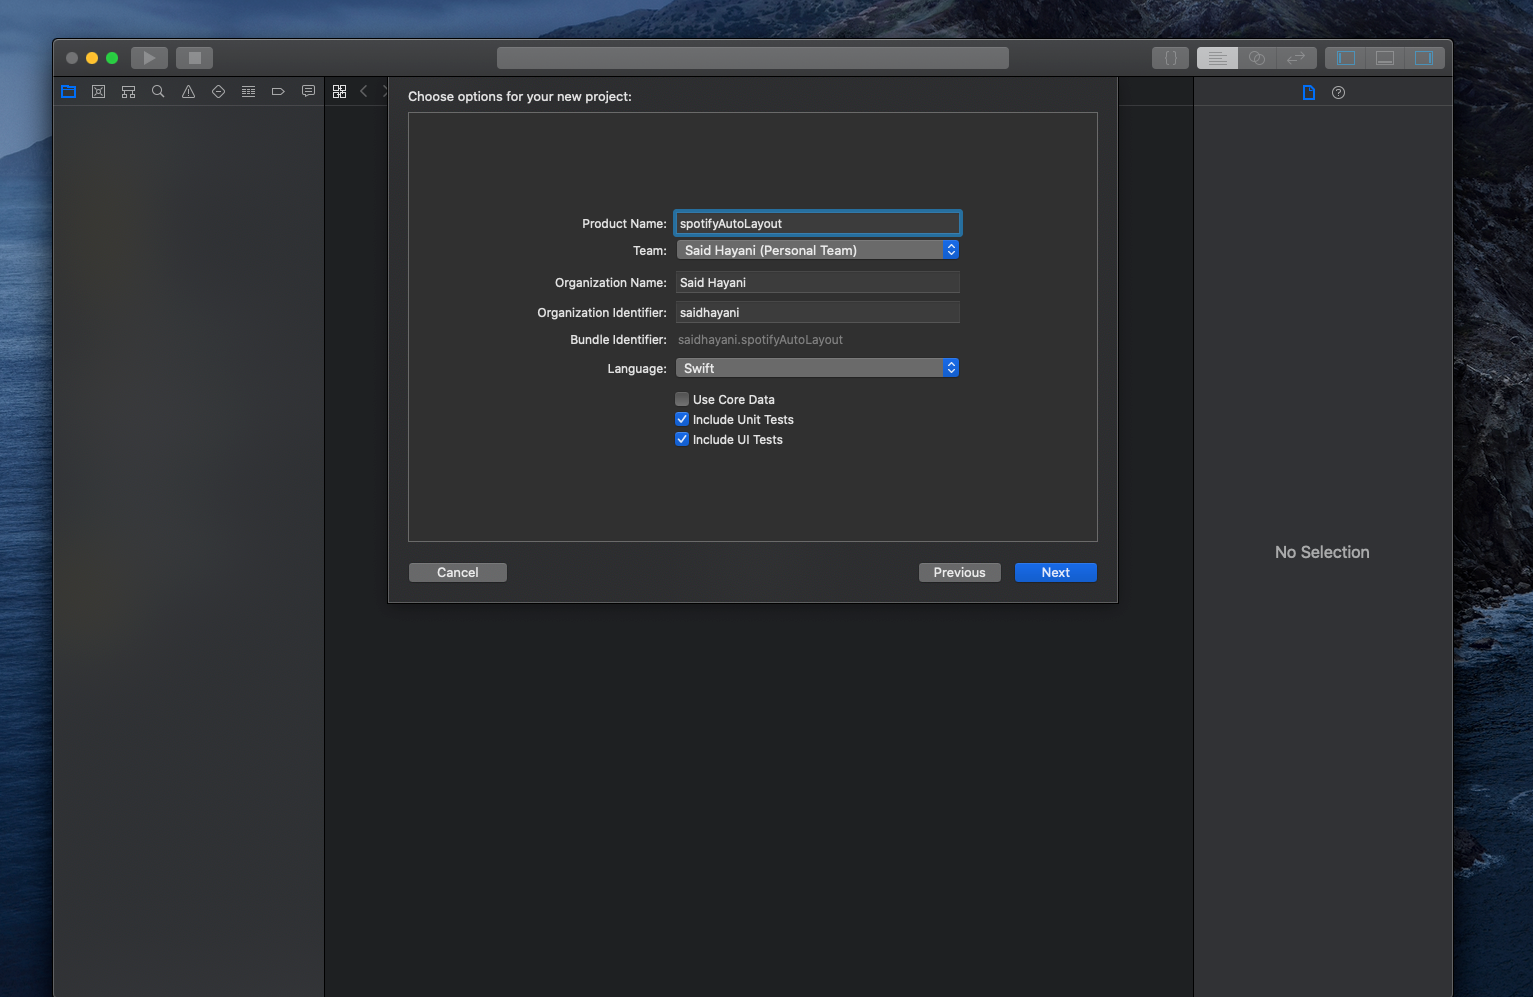
Let's start by creating a new Xcode project using Xcode:
And the first thing we need to do in ViewController.swift is change the superClass to UICollectionViewController instead of UIViewController because our class will be based on collectionView.
//
//  ViewController.swift
//  spotifyAutoLayout
//
//  Created by admin on 10/31/19.
//  Copyright © 2019 Said Hayani. All rights reserved.
//

import UIKit

class ViewController: UICollectionViewController {

    override func viewDidLoad() {
        super.viewDidLoad()
        collectionView.backgroundColor = .purple
        // Do any additional setup after loading the view.
    }


}
If you try to run the app the build will fail. We need to add some code to the AppDelegate.swift file within the didFinishLaunchingWithOptions function past this piece of code before the return statement:
  let layout = UICollectionViewFlowLayout()
        window = UIWindow()
        window?.rootViewController = ViewController(collectionViewLayout: layout)
And the code should look like this:
func application(_ application: UIApplication, didFinishLaunchingWithOptions launchOptions: [UIApplication.LaunchOptionsKey: Any]?) -> Bool {
        // Override point for customization after application launch.
        let layout = UICollectionViewFlowLayout()
        window = UIWindow()
        window?.rootViewController = ViewController(collectionViewLayout: layout)
        return true
    }
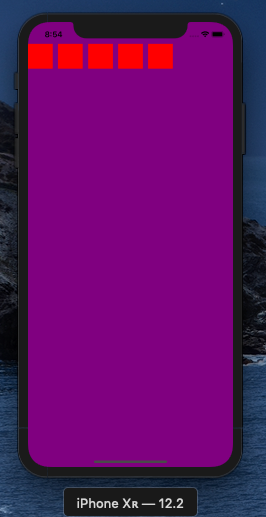
Now you should be able to run the app and see the backgroundColor changed to purple:

The next step is to distribute the layout and divide the space equally between the sections.
Let's define the methods of our CollectionView.
The steps:
- Register a reusable cell with unique identifier
- Define the number of the items in the section
- Use the the registered cell
To use some of CollectionView methods we need to always conform to UICollectionViewDelegateFlowLayout as a superClass and to get the autoComplete of the methods. So let's start with registering the CollectionViewCell.
Inside View.DidLoad() we call the collectionView.register() method to register the reusable cell:
collectionView.register(UICollectionViewCell.self, forCellWithReuseIdentifier: cellId)
Then we define the number of cells we will have inside the collectionView using numberOfItemsInSection. For now we just need to make it 5 items:
 override func collectionView(_ collectionView: UICollectionView, numberOfItemsInSection section: Int) -> Int {
        return 5
    }
The next step is to define the reusable cell using cellForItemAt that should return UICollectionViewCell and have a unique id called cellId. The code looks like this:
 override func collectionView(_ collectionView: UICollectionView, cellForItemAt indexPath: IndexPath) -> UICollectionViewCell {
        let cell = collectionView.dequeueReusableCell(withReuseIdentifier: cellId, for: indexPath)
        cell.backgroundColor = .red
        return cell
    }
The full code should look like this:
import UIKit

class ViewController: UICollectionViewController, UICollectionViewDelegateFlowLayout {
    let cellId : String = "cellId"

    override func viewDidLoad() {
        super.viewDidLoad()
        collectionView.backgroundColor = .purple
        collectionView.register(UICollectionViewCell.self, forCellWithReuseIdentifier: cellId)

    }


    override func collectionView(_ collectionView: UICollectionView, numberOfItemsInSection section: Int) -> Int {
        return 5
    }
    override func collectionView(_ collectionView: UICollectionView, cellForItemAt indexPath: IndexPath) -> UICollectionViewCell {
        let cell = collectionView.dequeueReusableCell(withReuseIdentifier: cellId, for: indexPath)
        cell.backgroundColor = .red
        return cell
    }

}
You should be able to see 5 items with red backgrounds on the screen:
Add a custom width and height to the cells
Now we need to place the cells in the correct order and give them a width and height. Each cell will take the width of the screen as width.
We are lucky to have sizeForItemAt method so we can give the cells a custom width and height. It's a method that should return a CGSize type:
 func collectionView(_ collectionView: UICollectionView, layout collectionViewLayout: UICollectionViewLayout, sizeForItemAt indexPath: IndexPath) -> CGSize {
        let width = view.frame.width
        let height = CGFloat(200)

        return CGSize(width: width, height: height)
    }
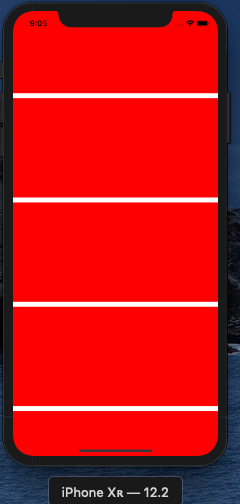
So we made the Cell take the width of the screen by using view.frame.width and a custom height with is a CGFloat type.
Now you can see the result below in your Simulator :
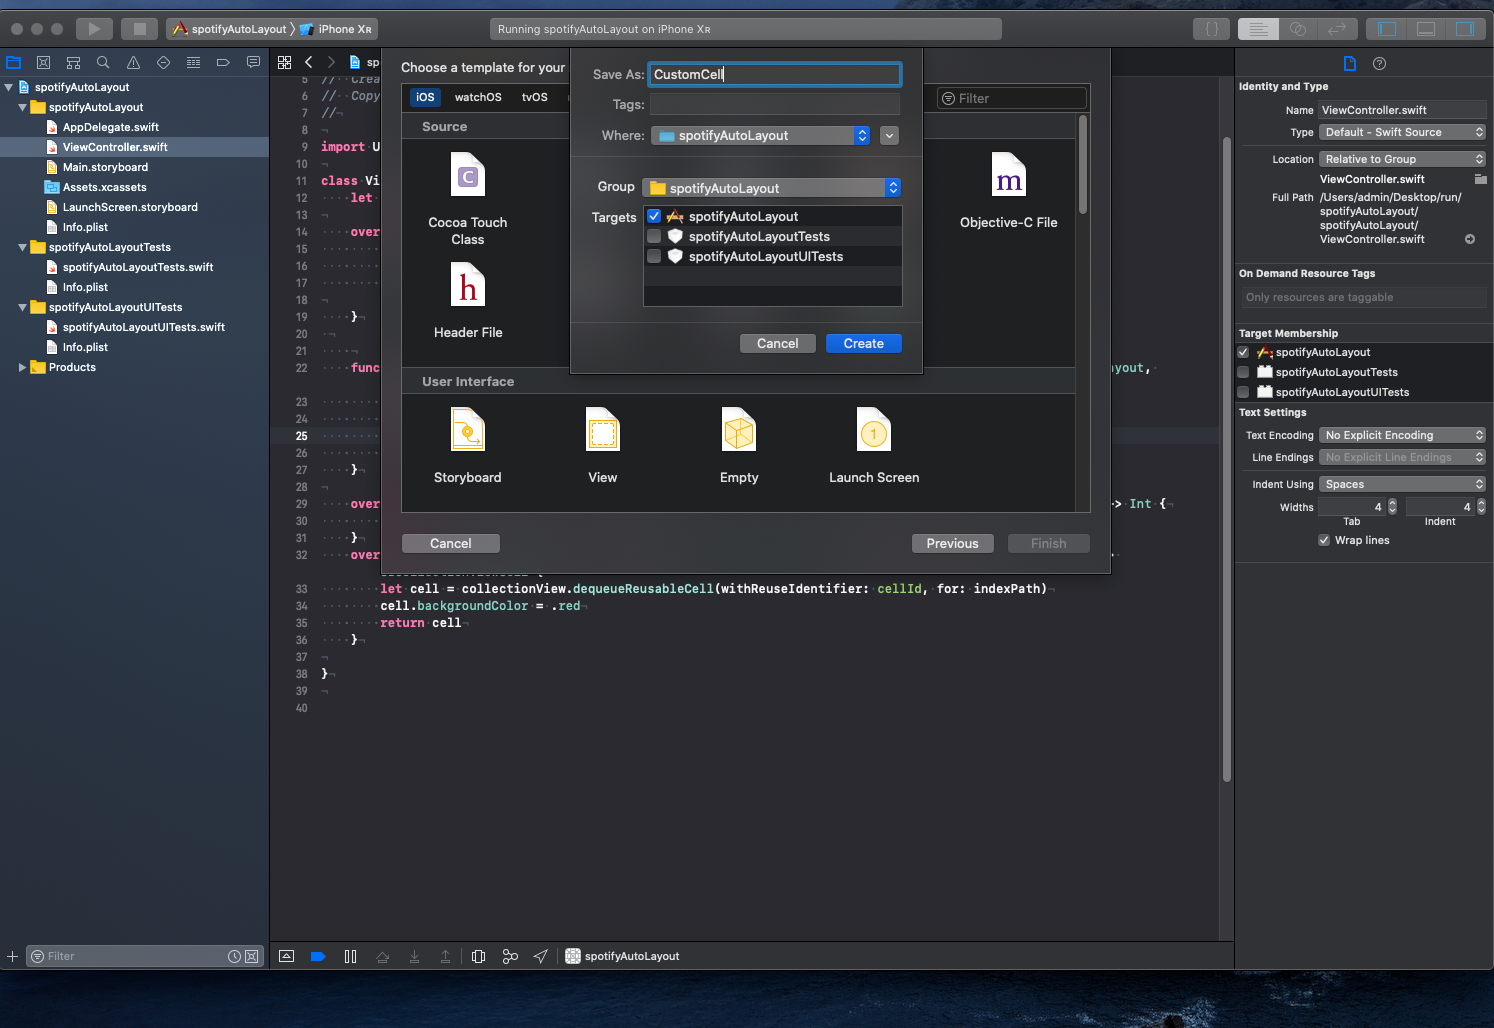
Everything looks good so far. This time let's create a custom cell that can be reusable. Create a new Swift file named CustomCell:
CustomCell.swift should look like this below:
import UIKit

class CustomCell: UICollectionViewCell {
    override init(frame: CGRect) {
        super.init(frame: frame)

    }

    required init?(coder aDecoder: NSCoder) {
        fatalError("init(coder:) has not been implemented")
    }
}
Now the next things we have to do is to modify two methods to support the reusable cell, collectionView.register and cellForItemAt. Let's first modify the register method. Replace UICollectionViewCell.**self** with CustomCell:
collectionView.register(UICollectionViewCell.self, forCellWithReuseIdentifier: cellId)
Next we need to cast cellForItemAt to conform to CustomCell like below:
let cell = collectionView.dequeueReusableCell(withReuseIdentifier: cellId, for: indexPath) as! CustomCell
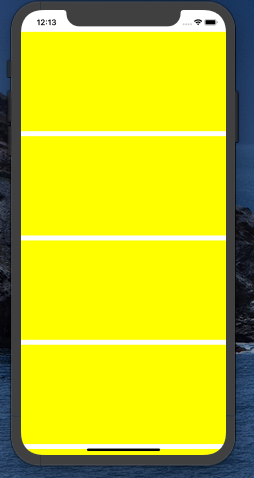
If you run the app probably you won't notice any change, so give the CustomCell a backgroundColor backgroundColor = .yellow. Don't forget to remove the line cell.backgroundColor = .red in cellForItemAt. You should see the background color changed to yellow ?
Now it's time to put some salt into CutomCell :D
If you look at the Spotify home screen, each section which is a CustomCell in our example contains a section title, sub cells, and is horizontal:
Add a section title
Let's add a title label to the cell. Create the titleLabel element inside the CutomCell class:
let titleLabel: UILabel = {
        let lb  = UILabel()
        lb.text = "Section Title"
        lb.font = UIFont.boldSystemFont(ofSize: 14)
        lb.font = UIFont.boldSystemFont(ofSize: 14)

        return lb
    }()
Then add the element to the view inside init() block:
addSubview(titleLabel)
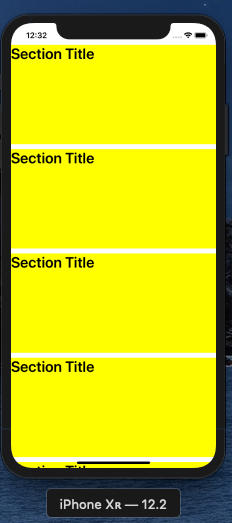
If you run the app you won't see any changes, and that's because we didn't put any constraint to the element yet. So let's add some constraints – add this property lb.translatesAutoresizingMaskIntoConstraints = **false** to titleLabel to be able to apply constraints to the element:
After we add titleLabel to the view, we define the constraints:
 addSubview(titleLabel)
titleLabel.topAnchor.constraint(equalTo: topAnchor, constant: 8).isActive = truetitleLabel.leftAnchor.constraint(equalTo: leftAnchor,constant: 8 ).isActive = true
Always make sure to add .isActive = true property – without it the constraint won't work!
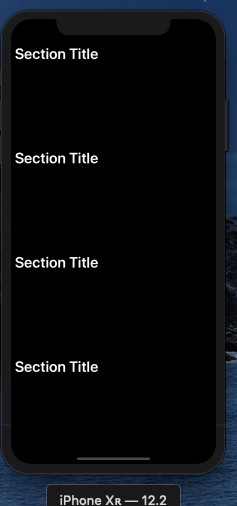
Before we move on to the next part, let's first change the background color of the screen to black and also remove the yellow color for the cells:
Now comes the big part: putting sub cells into each cell. To achieve that we are going to add a CollectionView inside CustomCell.
To add a CollectionView inside UICollectionViewCell we need to add properties UICollectionViewDelegate, UICollectionViewDelegateFlowLayout, and UICollectionViewDataSource as superClass to CustomCell.
Let's create the collectionView element as any simple view:
    let collectionView : UICollectionView = {
        // init the layout
        let layout = UICollectionViewFlowLayout()
        // set the direction to be horizontal
        layout.scrollDirection = .horizontal

        // the instance of collectionView

        let cv = UICollectionView(frame: .zero, collectionViewLayout: layout)

        // Activate constaints

        cv.translatesAutoresizingMaskIntoConstraints = false

        return cv

    }()
Notice that we add layout to the collectionView as layer in the initializer as we did the first time with the viewController.swift. Here we also specify the direction of the FlowLayout to be .horizontal.
Let's add the collectionView element to the view as subView.
We gonna make a function that do that for us to make the code a little bit cleaner.
    fileprivate  func setupSubCells(){
        // add collectionView to the view
        addSubview(collectionView)

        collectionView.dataSource = self
        collectionView.delegate = self
        // setup constrainst
        // make it fit all the space of the CustomCell
        collectionView.topAnchor.constraint(equalTo: titleLabel.bottomAnchor).isActive = true
        collectionView.leftAnchor.constraint(equalTo: leftAnchor).isActive = true
        collectionView.bottomAnchor.constraint(equalTo: bottomAnchor).isActive = true
        collectionView.rightAnchor.constraint(equalTo: rightAnchor).isActive = true
    }
Make sure to set delegate to self for the collectionView and the dataSource as well:
collectionView.dataSource = self
collectionView.delegate = self
Then call the function within init block.
Xcode will display some errors if you trying to build the app because we are not conforming to UICollectionViewDelegate and UICollectionViewDelegateFlowLayout protocols. To fix that we need first to register the sub cell as a reusable cell.
Create a variable at the top of the class and give it a name of cellId so we can use it when we need the cell identifier:
let cellId : String = "subCellID"
collectionView.register(UICollectionViewCell.self, forCellWithReuseIdentifier: cellId)
Now we're missing two more methods to make the errors go away: numberOfItemsInSection that define the number of cells in the section and cellForItemAt that define the reusable cell. These methods are necessary for collectionView to work properly:
 // number of cells
func collectionView(_ collectionView: UICollectionView, numberOfItemsInSection section: Int) -> Int {
       return  4
    }

    // reusable Cell
     func collectionView(_ collectionView: UICollectionView, cellForItemAt indexPath: IndexPath) -> UICollectionViewCell {
        let cell = collectionView.dequeueReusableCell(withReuseIdentifier: cellId, for: indexPath)
         cell.backgroundColor = .yellow

        return cell
    }
The results should look like this:
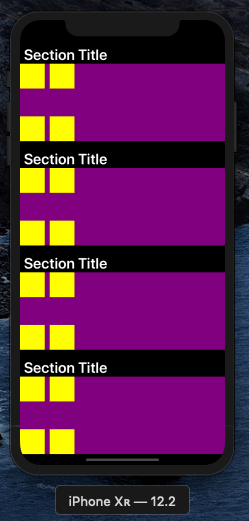
As you can see, the collectionView are in purple as background and sub cells are yellow.
The last things we can do before ending this article is make subCells have the height of the section and as width. Again we are using sizeForItemAt to define the height and the width of the cell .
 func collectionView(_ collectionView: UICollectionView, layout collectionViewLayout: UICollectionViewLayout, sizeForItemAt indexPath: IndexPath) -> CGSize {

        let width = frame.height
        let height = frame.height

        return CGSize(width: width, height: height)

    }
And here we are ?:
NICE! I'm gonna stop at this point so this post isn't too long. I'll make a second part where we are going to add some mocked pictures and fill it with some data.
Full source code ? here
Please please if you have any additions, questions, or corrections, post it in the comments below ? or hit me up on Twitter.
Subscribe to my email list to be notified when the second part of this tutorial is published