
Installing software on Linux is usually easier, or at least that's what it seems like. But this is usually not the case as we've come to a realization that installing and configuring some specific tools on Linux might be more time-consuming than on Windows or MacOS.
An example of this can be seen when you want to install the latest version of Java on Ubuntu and make it your default Java version. Yes, I know that you're wondering about other Linux distributions like Fedora or Arch, and so on, but each distribution has some specific advantages and disadvantages over others.
Ubuntu is one of the most commonly used Linux distributions, and most people who would like to try out the Linux operating system for the first time usually start their Linux journey with Ubuntu.
However, if you're a Java developer who is migrating from a Windows machine to an Ubuntu based Linux machine, you might find it tedious to configure the latest version of Java on Ubuntu as opposed to Windows where you simply have to download and install the latest version, and add the directory to the path variable.
In this article, I will cover everything you need to know and do to configure your Ubuntu operating system for Java development. I will explain each of the processes with appropriate screenshots and test runs.
I have also created a full-length video showing all of the procedures. You can find the video at the end of this article. By the way, if you're wondering, "Hey Fahim! Who told you that installing Java on Windows is easier?", then you should probably check out my article on how to install Java on Windows.
How to Check Java Version on Ubuntu
Before proceeding further, you might want to check whether you already have Java installed on your Ubuntu.
You can do this using the terminal. If it returns any version, then that means a version of Java is already installed on your machine. But if it returns something different, then we can assume that you do not have Java installed or it is not configured correctly.
Simply open your terminal. You can also use the shortcut keys for opening the terminal on Ubuntu: Ctrl + Alt + T
 Open the terminal
Then run the command: java --version
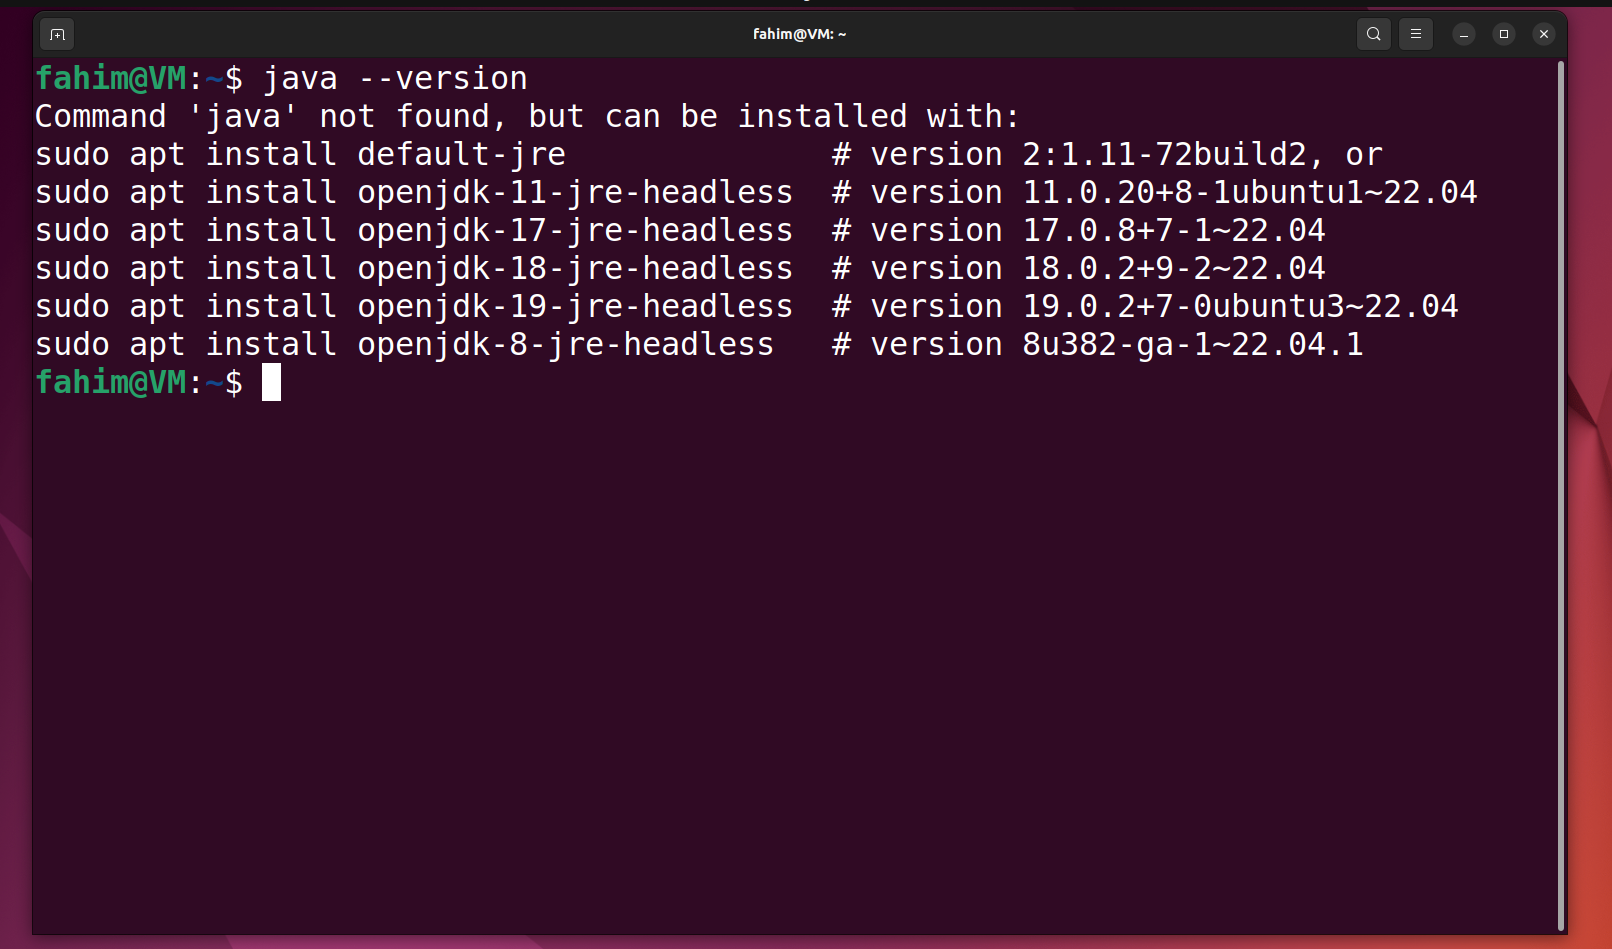 java --version
If it says "java not found" (like you see in the image above), then you can be sure that your system does not have Java installed.
But if it returns any version of Java or JDK (Java Development Kit), then Java is already installed on your machine. Based on the installed version and your need for the other versions, you can remove the older one and install the newer version or you can keep both of them and make one version the default version.
How to Install Java On Ubuntu
There are many ways to install Java on Ubuntu. You can use the CLI (Command Line Interface) where you will install via the terminal, or you can download the package and install it using GUI (Graphical User Interface).
In this article, I am going to show you how you can download the latest Java from Oracle and install it on your Ubuntu machine. But that, you have to choose between installing the JRE (Java Runtime Environment) or the JDK (Java Development Kit) version for Java.
If you don't understand the differences between them or which one you need for your tasks, then here is a comparison for you:
JDK vs JRE in Java
Here are some differences between JDK and JRE in Java:
| JDK | JRE |
| It is used to develop Java applications and contains development tools like debuggers. | It is used only to execute Java programs. |
| As it is a complete package for Java development, it contains almost everything you might need as a Java developer. | It is mainly used for end users, who do not develop Java applications but only run Java applications as software or tools in their systems. |
| As it is responsible for Java development, you will get all of the development and debugging tools you need as a Java developer. | If you only want something lightweight, only to run Java applications, then it is the right choice for you. But keep in mind that it doesn't contain any tools like compilers, debuggers, or any other necessary development or debugging features in it. The sole purpose of it is to support the files required for executing them on the end systems. |
If you are a developer, then you should install the JDK instead of the JRE. On the other hand, if you are just a normal user who will not program or write code at all, you can install the JRE.
In this article, we'll be installing the JDK version because that covers everything. If you already have a JDK then you do not need to install JRE separately.
How to Update Ubuntu
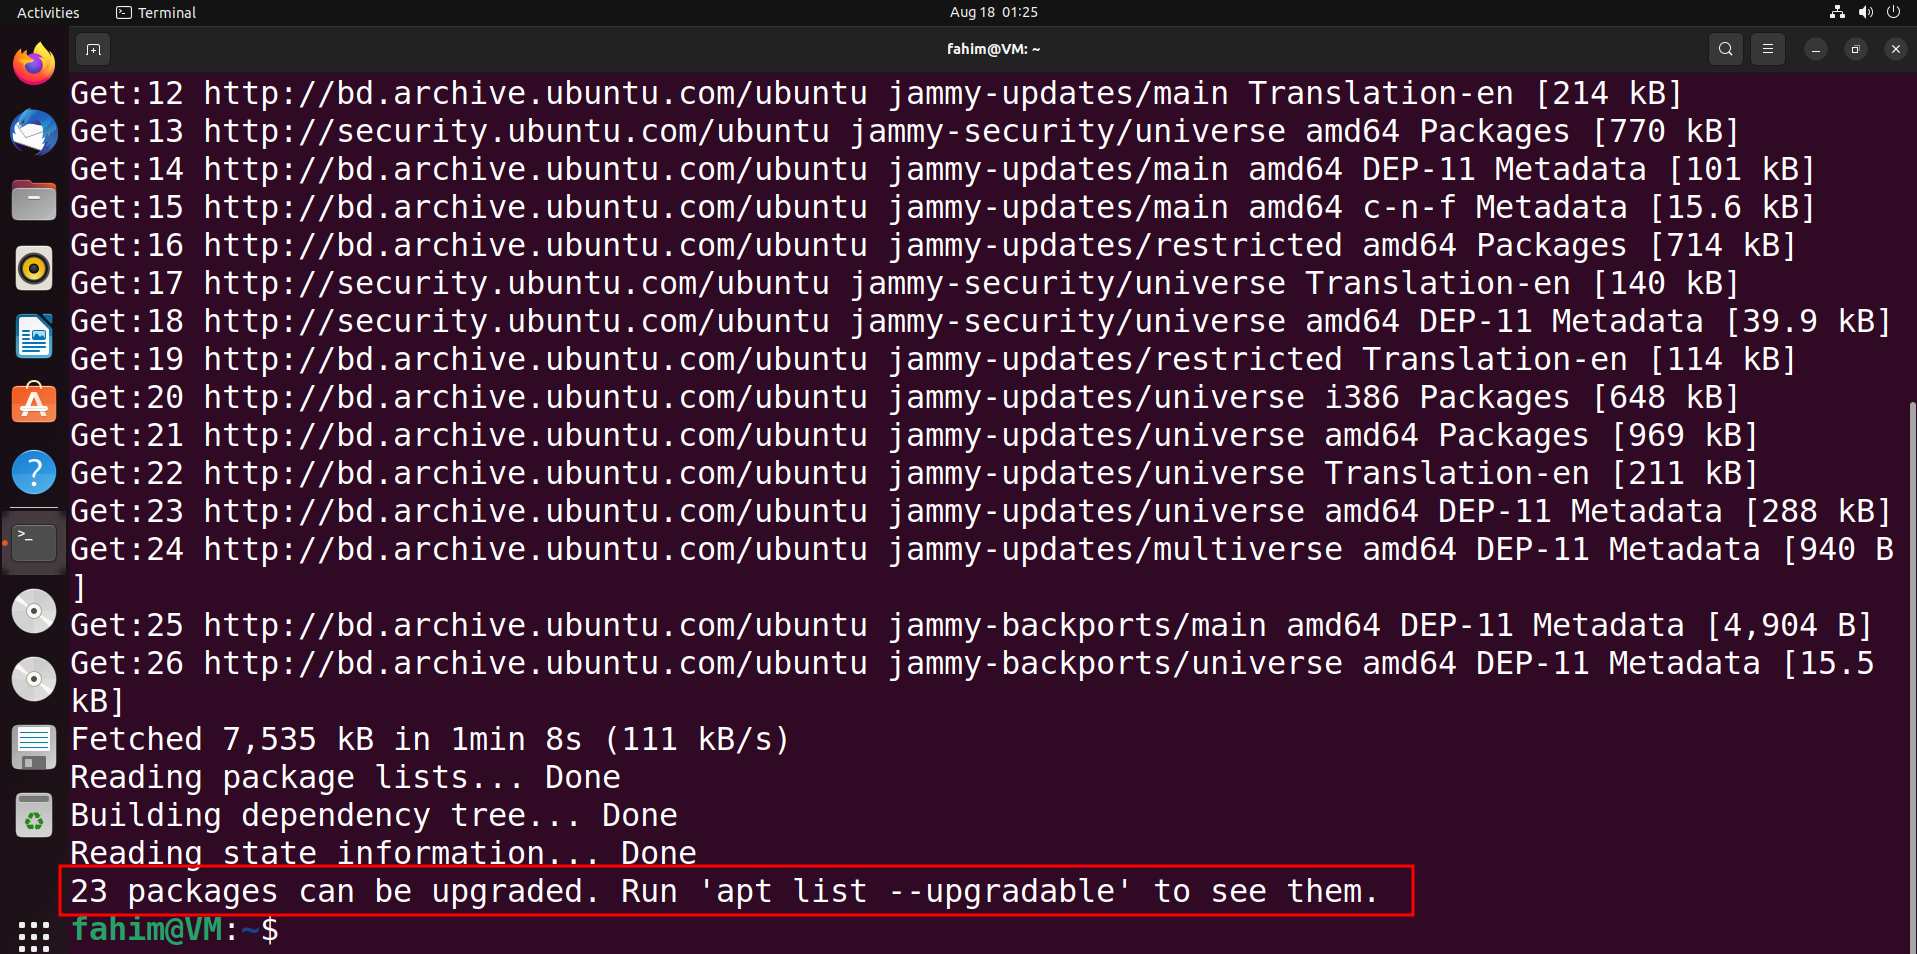
Before we install Java, we need to ensure that we've installed all the necessary updates for the Ubuntu operating system.
To update the your Ubuntu OS, simply use the sudo apt update command . Then provide your password and hit the enter key.
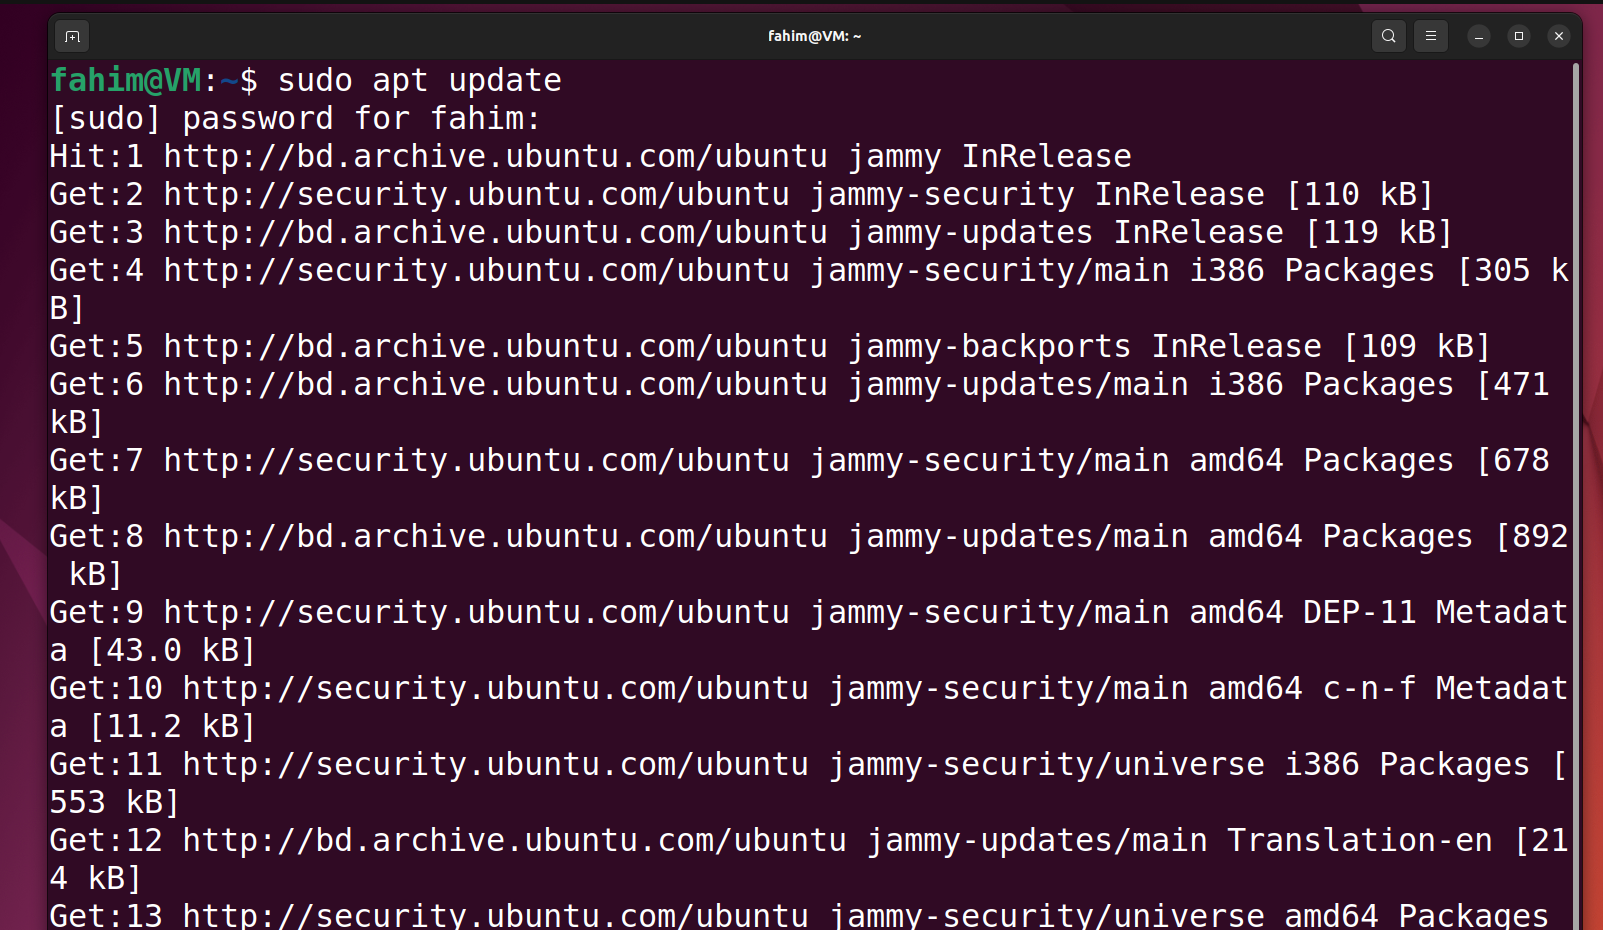 Update the system
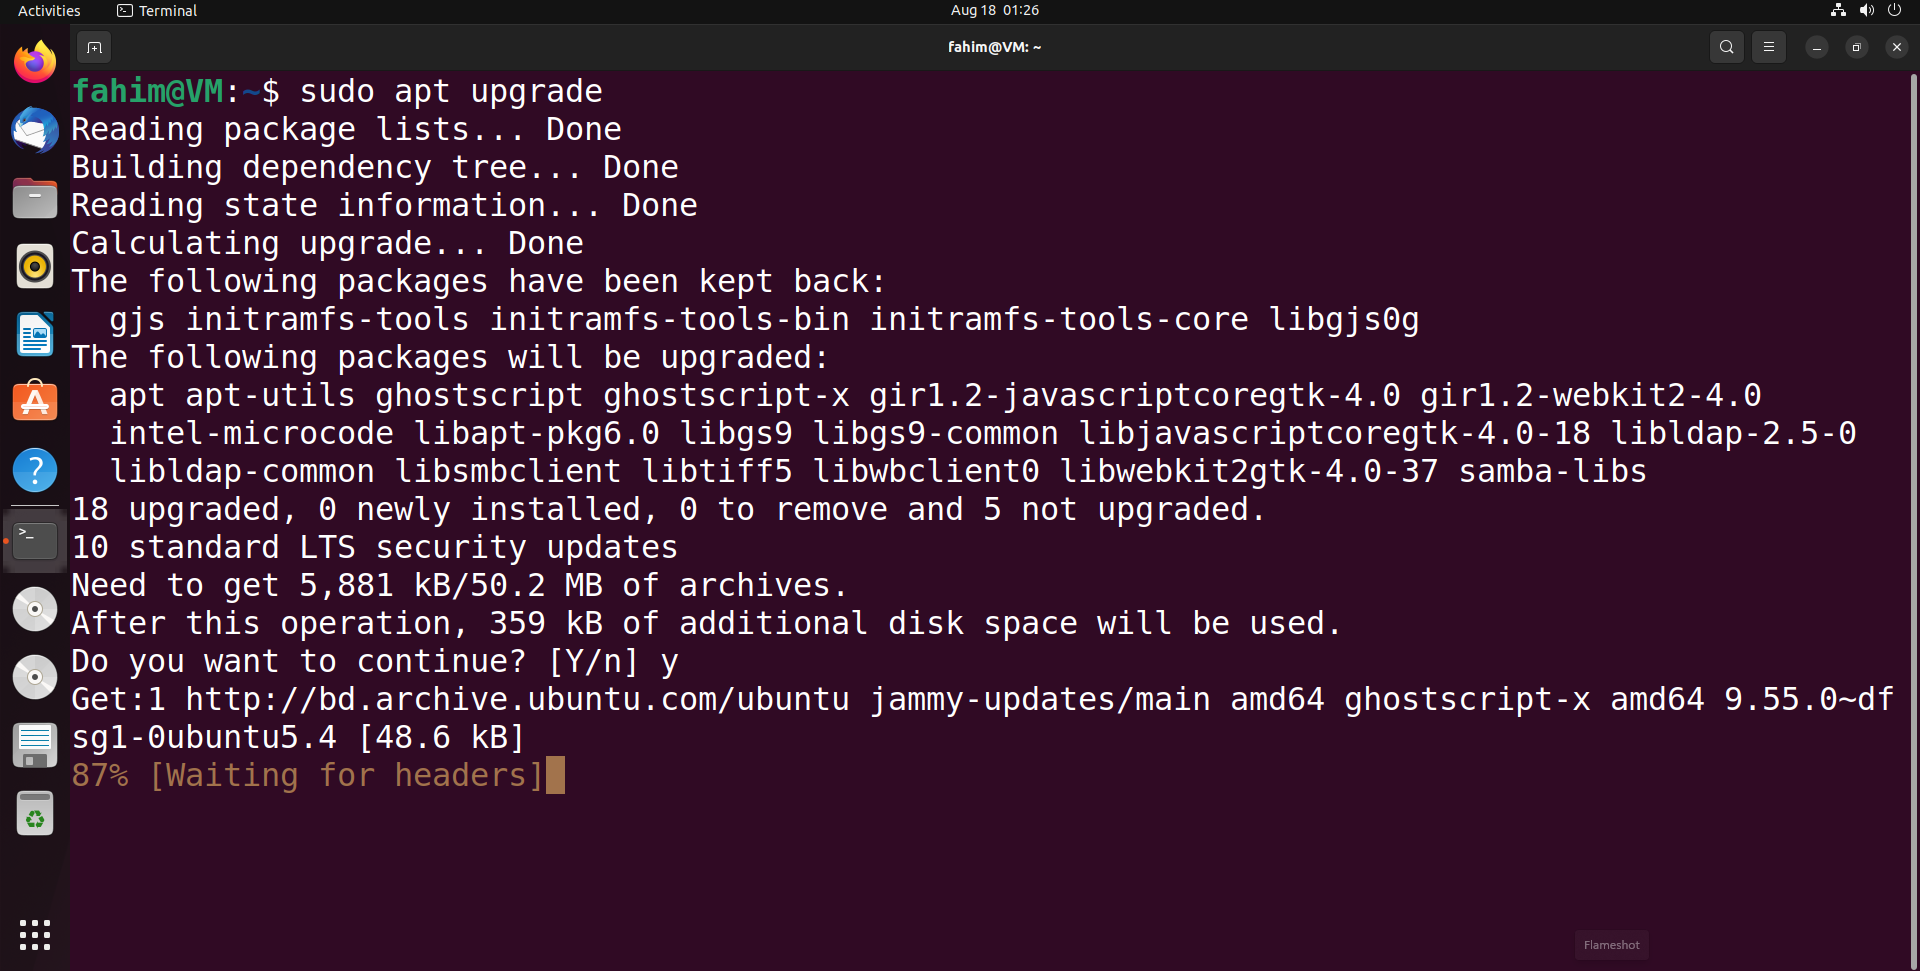
After updating, if you get a message that says something needs to be upgraded then you can upgrade them using sudo apt upgrade.
 23 packages can be upgraded on my system right now. In your case, it might be different.
Make sure to press "y" or "Y" while upgrading.
 Upgrading the system
The upgrade might take some time depending on the file sizes that it needs to download and your internet speed.
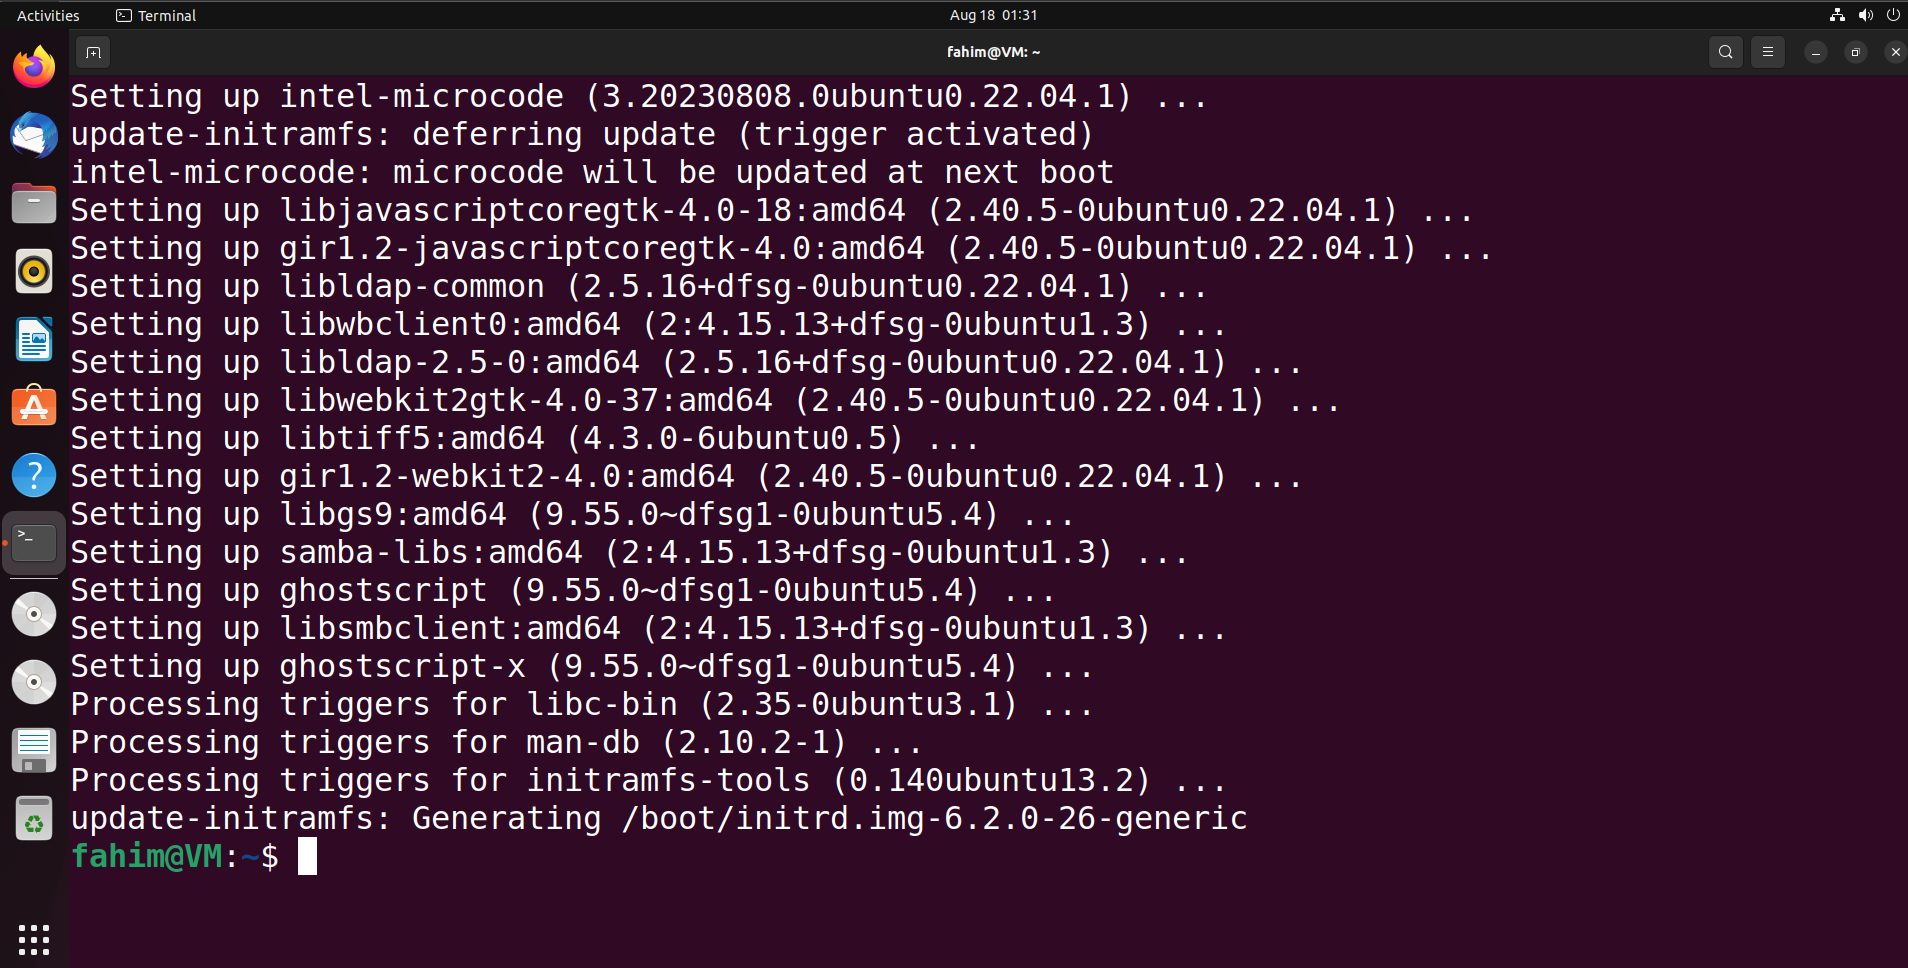
Make sure that everything has been upgraded without creating any errors.
How to Download Oracle JDK
You can download the official JDK from Oracle website.

Once the landing page loads, click on Products on the top navigation bar:
 Oracle website navigation options
Then click Java under the Hardware and Software section.

Click Download Java.

Here, you will get all the latest JDK files. For development purposes, it is recommended to use the LTS (Long Term Support) versions as they receive stable version updates for an extended period.
I am going to install the JDK 20 version (which is the latest version as of the time of writing this article). It is not the LTS version of course, but if you follow through with this article, then you'll be able to install any version you want swiftly!
In your case, I would recommend installing the latest LTS version of JDK. But if you want continuous access to latest JDK features (these features might not be stable), then you can download the latest JDK.

To download, select Linux in the operating system section and download the file for x64 Debian Package. Clicking on the download link will start the download for the Debian package file.

Depending on your internet speed, it can take a shorter or longer amount of time. As I am writing this article at night and my internet speed remains slow at night, it is taking longer to download the package file in my system.
How to Install the JDK
I have downloaded the package file using the Mozilla Firefox browser and by default, it downloads files in the Downloads directory.
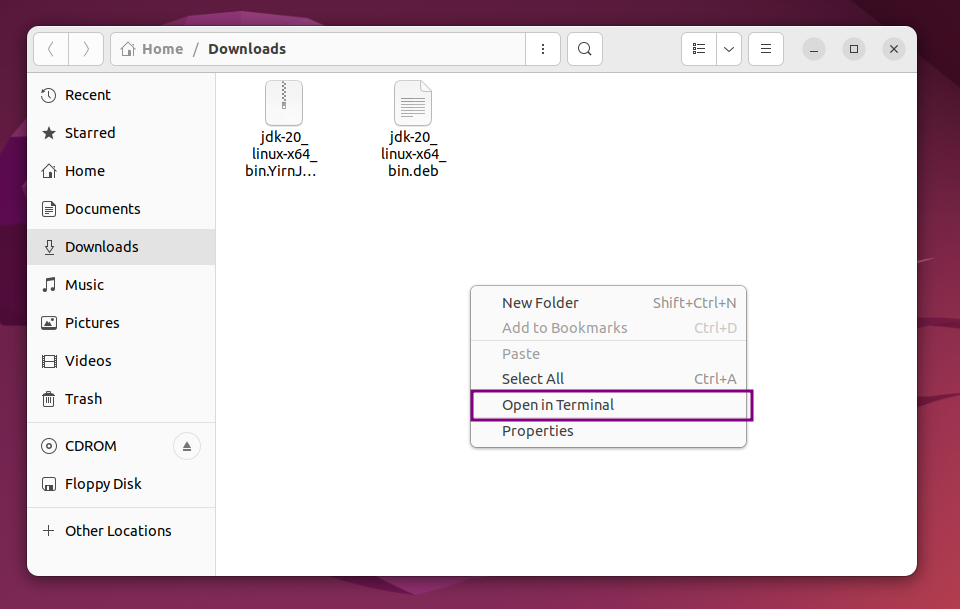
Simply go to the directory where you downloaded the file and open the terminal there.
Usually, if you go into any directory and right-click, you will see a context menu that says Open in Terminal. By using that, you can open your terminal in that directory.
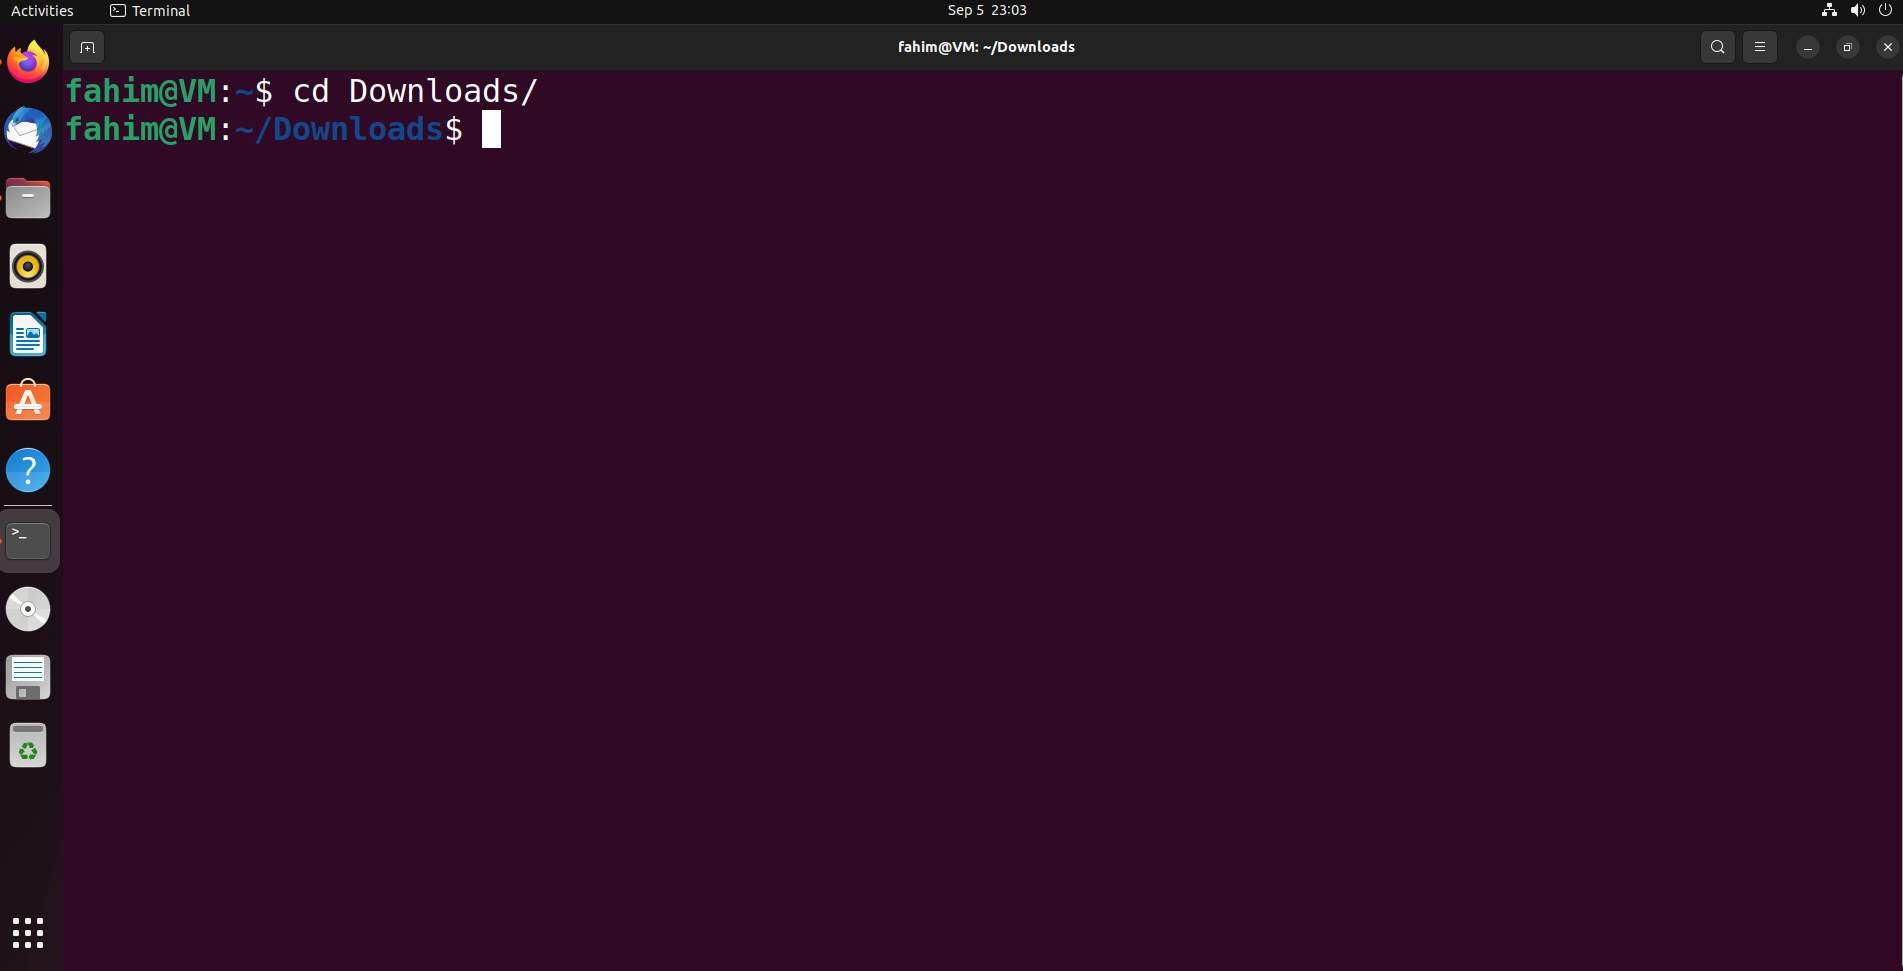
Alternatively, if you open the terminal elsewhere, you can use the cd command to go into any specific directory.
For example, I have opened my terminal elsewhere. I am using the cd command to go into my Downloads directory as can be seen in the image below:
You can use the ls command to see all the files and folders available on a particular directory:
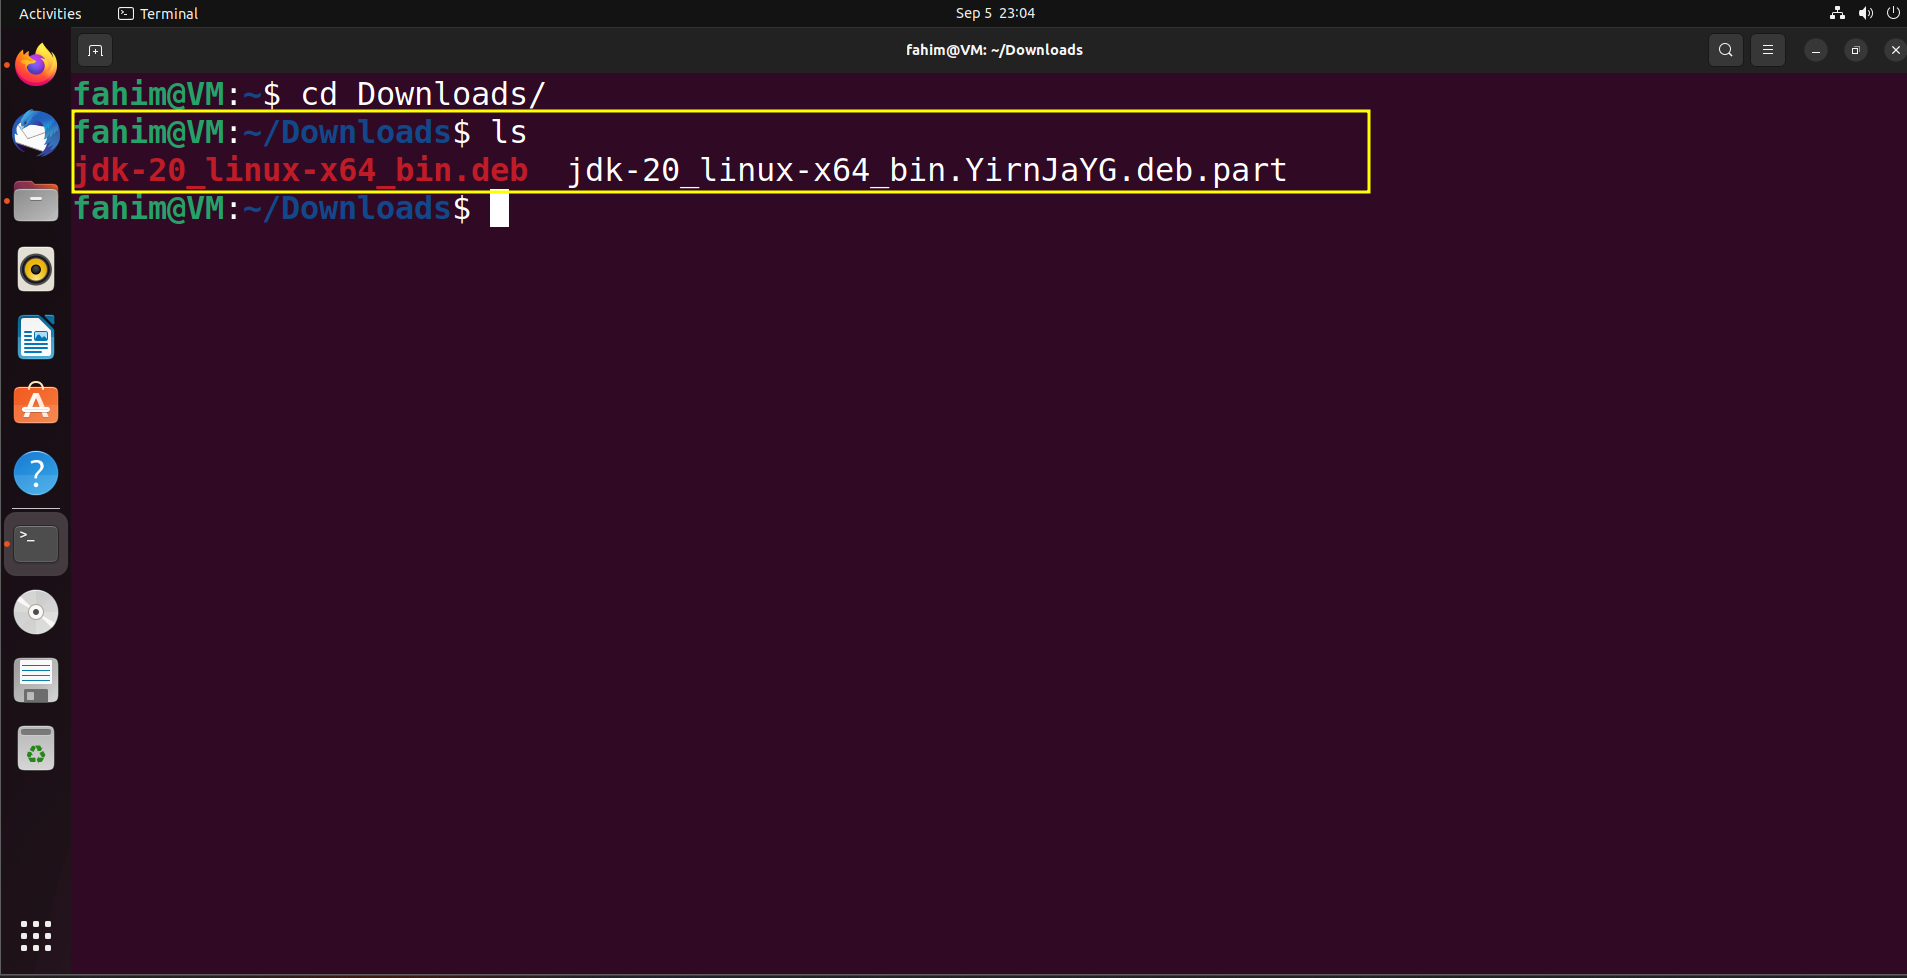
After downloading the file, you will see that the file name also contains the version name which is necessary, but if you think that would be troublesome to type later on, you can shorten the filename as well.

For this article, we'll use the default filename.
Grab the full directory path where the JDK package file is downloaded. You can use the shortcut Ctrl + L to display the whole directory path.
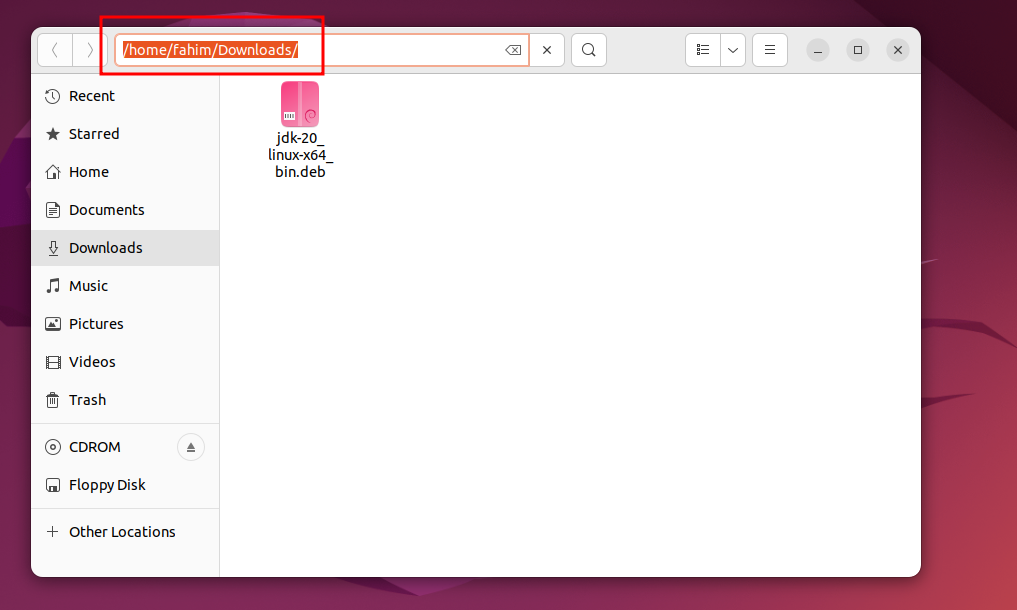
For me, the current directory path where my JDK Debian file is located is /home/fahim/Downloads/. Make sure to copy the address.
Next, open the terminal. You can do that using the shortcut Ctrl + Alt + T.
I like to install the JDK using the terminal, but if you can also install it using the GUI (Graphical User Interface). But I recommend using the terminal as that would also help you debug any issues you face during installation.
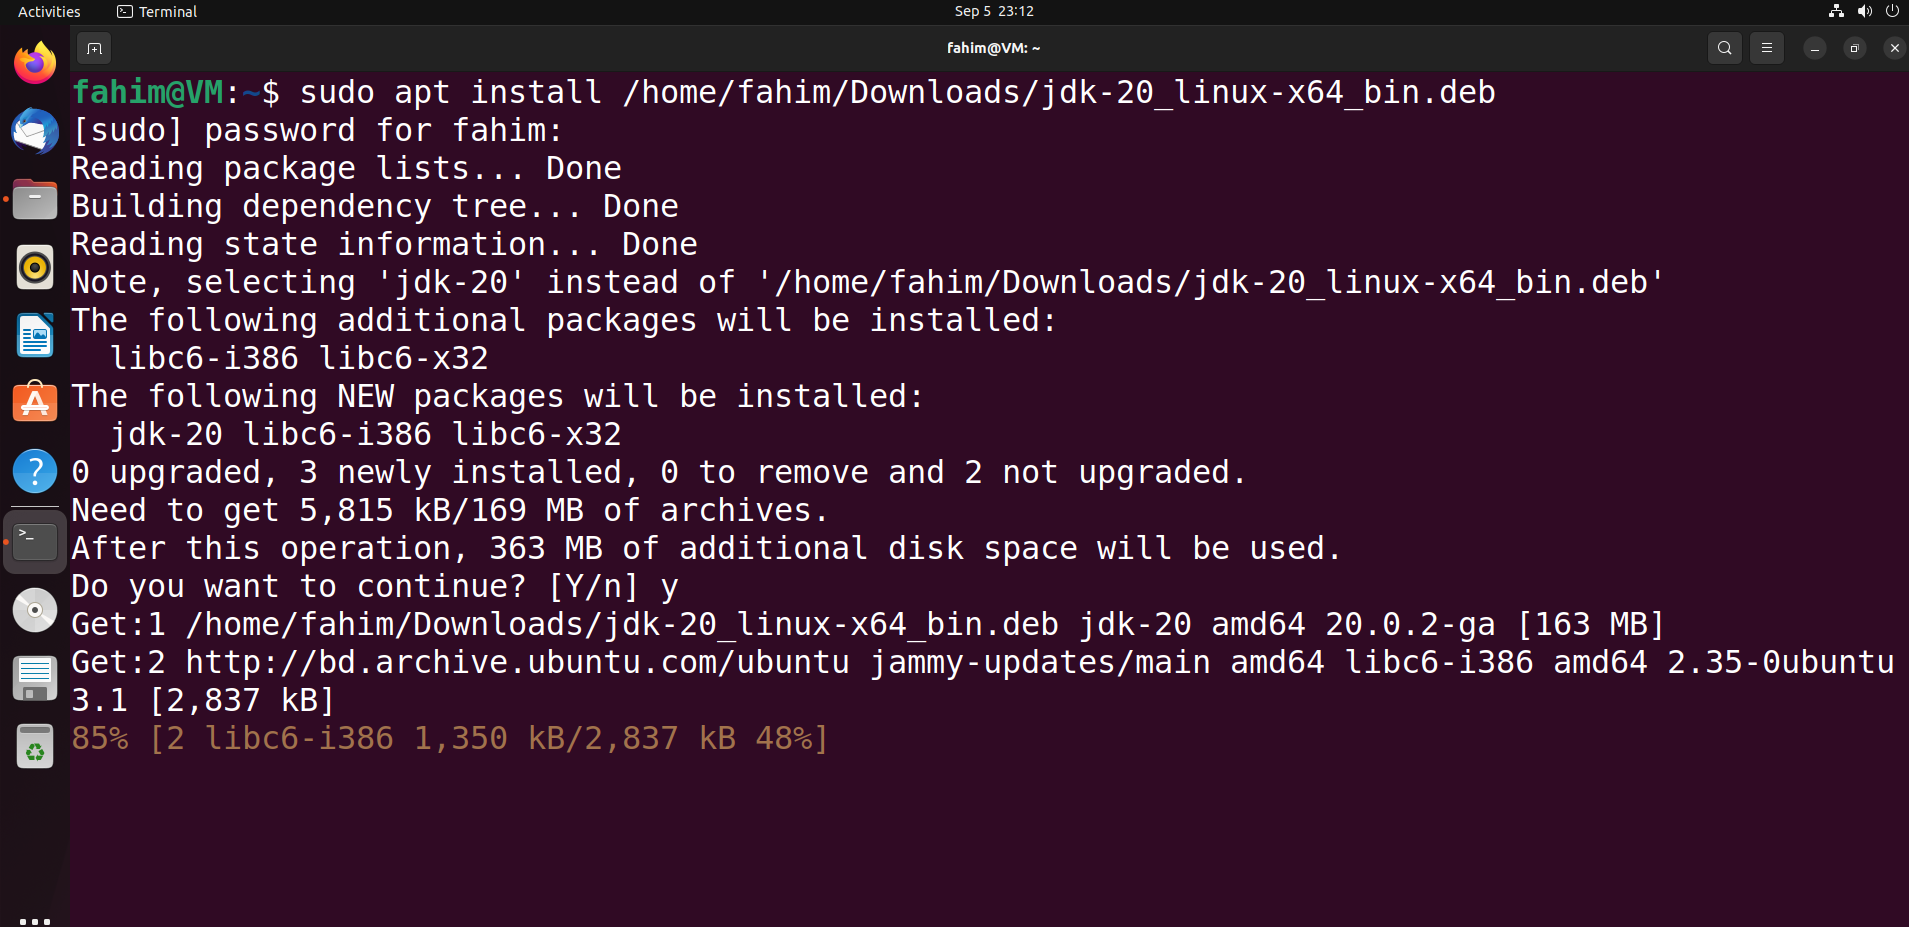
Use the sudo apt install /home/fahim/Downloads/jdk_filename.deb command to start the installation. For me, the entire command is sudo apt install /home/fahim/Downloads/jdk-20_linux-x64_bin.deb.
Hit the enter key:
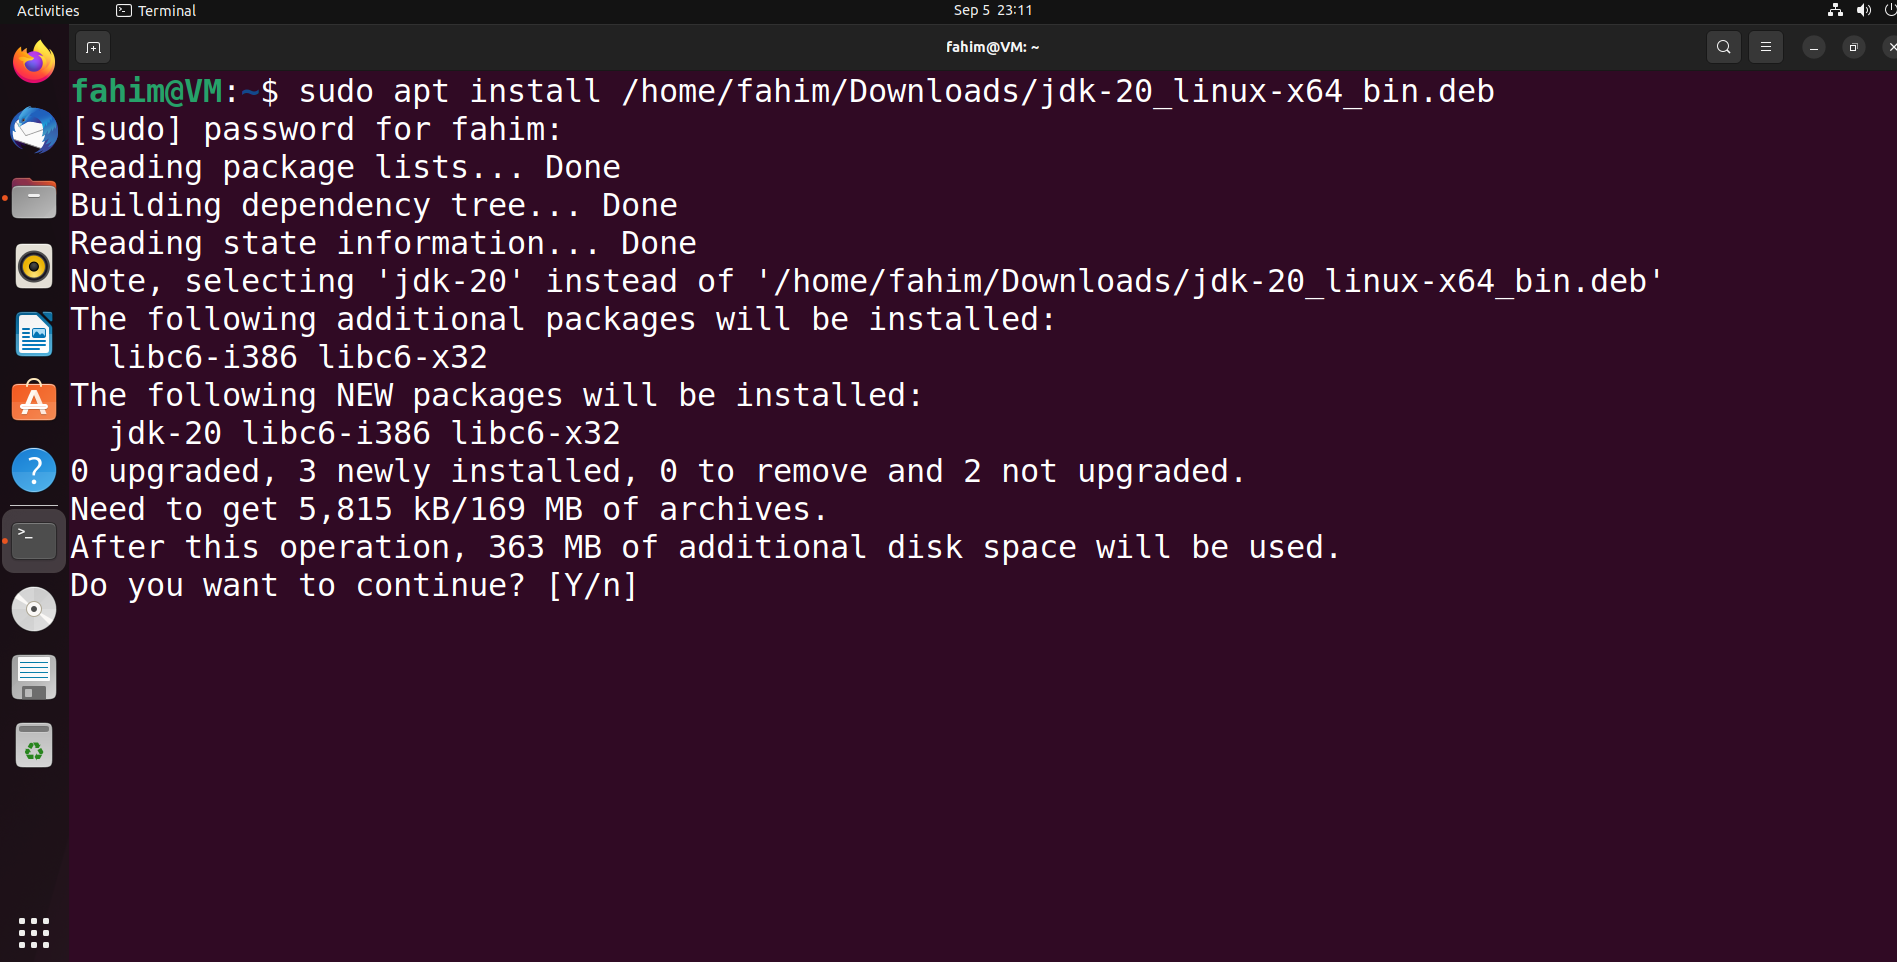
Input your password and type "y" when it asks for your permission to install the package.
Make sure that you have successfully installed the package before proceeding to the next step.
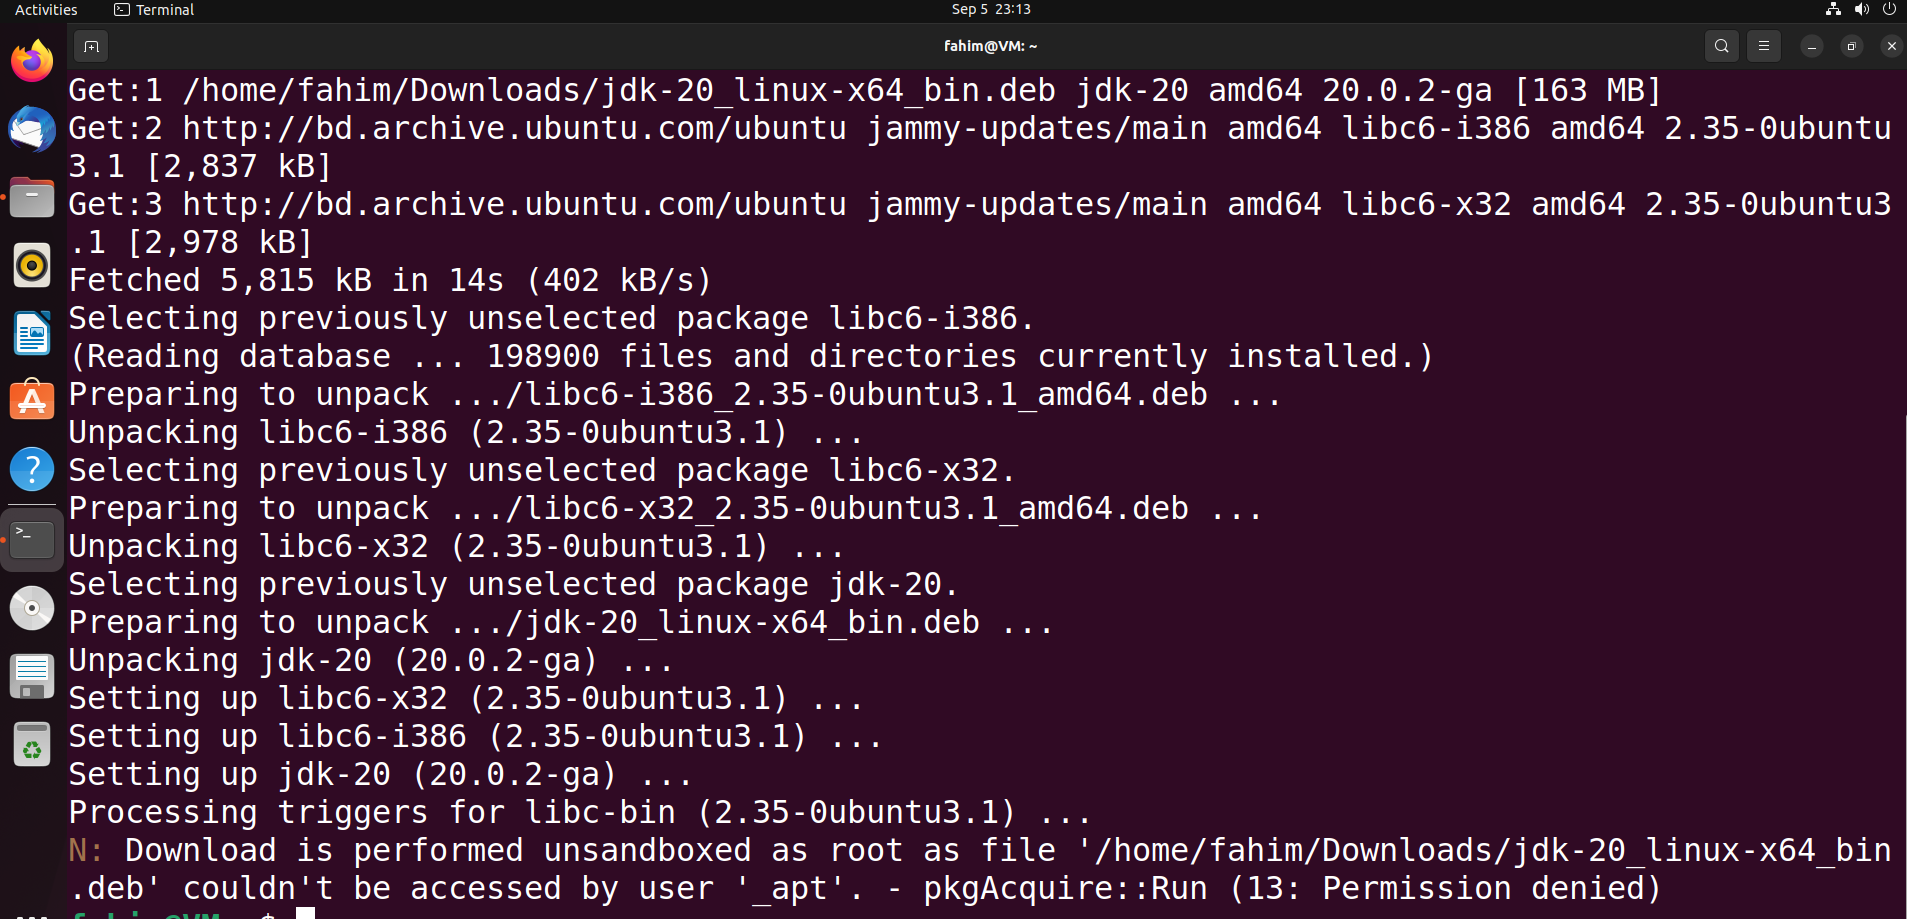
You might get N: Download is performed unsandboxed as root as file '/home/fahim/Downloads/jdk-20_linux-x64_bin.deb' couldn't be accessed by user '_apt'. - pkgAcquire::Run (13: Permission denied). But don't worry about that because we performed the installation "unsandboxed" intentionally.
You will not face any problems if you use the Debian package downloaded from the right source.
You can clear the terminal using the command clear.
How to Configure Java in Ubuntu
We need to make sure that if it updates, it does not download any downgraded version of Java.
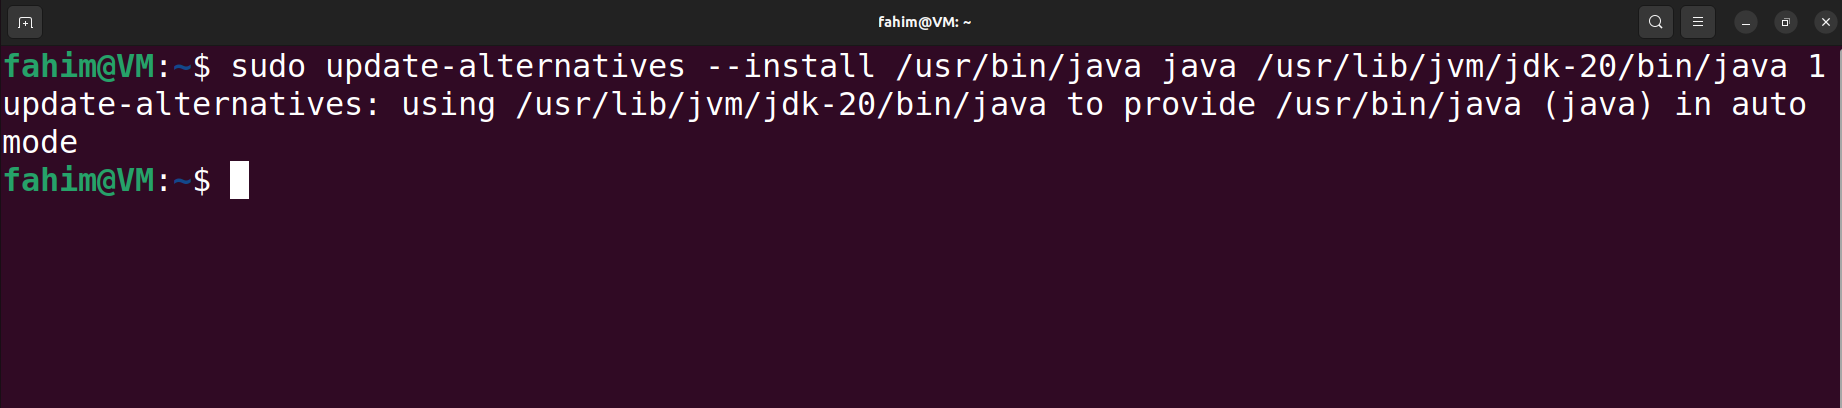
You can do that using the sudo update-alternatives --install /usr/bin/java java /usr/lib/jvm/jdk-version/bin/java 1 command.
Since I'm using the "JDK - 20" version, my command would be sudo update-alternatives --install /usr/bin/java java /usr/lib/jvm/jdk-20/bin/java 1.
Make sure to change the jdk-version to match your installed JDK version.
We need to do the same thing for the javac (Java Compiler) version as well. The command would be sudo update-alternatives --install /usr/bin/javac javac /usr/lib/jvm/jdk-version/bin/javac 1.
My command would look like this: sudo update-alternatives --install /usr/bin/javac javac /usr/lib/jvm/jdk-20/bin/javac 1.
Remember to change the jdk-version to match your installed JDK version.

We'll also do the same for jar. JAR is essential for running Java based applications directly in the system.
The command would be sudo update-alternatives --install /usr/bin/jar jar /usr/lib/jvm/jdk-version/bin/jar 1.
My command would look like this: sudo update-alternatives --install /usr/bin/jar jar /usr/lib/jvm/jdk-20/bin/jar 1.
Then change the jdk-version to match your installed JDK version.

This is all for most of the cases. You are good to go!
But if you face any kind of problems, then check the complete video provided below. In that video, I talked about a lot of possible issues and how to solve them. If you have multiple Java versions installed on your system, then you need to make one of them the default. This is also covered in the video.
Also, if you want to make more modifications, then the video is going to help you with that as well. But for most of the users, this article is everything that you need to install Java on your Ubuntu operating system.
Video Walkthrough
Check the complete video for troubleshooting any more issues or if you want to make more modifications.
Conclusion
I hope you have enjoyed this article and are able to install Java on your Ubuntu operating system.
If you have any questions then please let me know by reaching out on Twitter or LinkedIn.
You can also follow me on:
🎁GitHub: FahimFBA
🎁YouTube: @FahimAmin
If you are interested then you can also check my website: https://fahimbinamin.com/