

Embedded programming in Rust requires a whole new knowledge base. Using a Raspberry Pi Zero W, you can quickly get up and running with embedded Rust.
Starting with an embedded "Hello World" equivalent, and advancing to a text-to-morse-code translator, this article will walk you through the process.
- How to Set Up the Pi
- How to Set Up Cross Compilation
- How to Program an Embedded "Hello World"
- How to Cross Compile the Program
- How to Transfer the Binary to the Pi
- How to SSH into the Pi
- How to Code a Text-to-Morse-Code Translator
- Appendix
How to Set Up the Pi
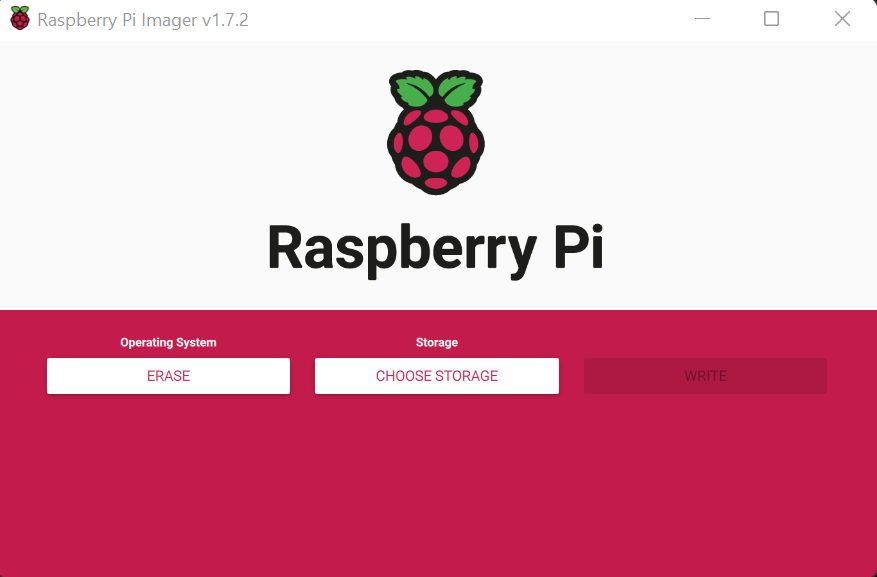
Format the SD Card
Use the Raspberry Pi Imager which can be downloaded from the Raspberry Pi Software Webpage.
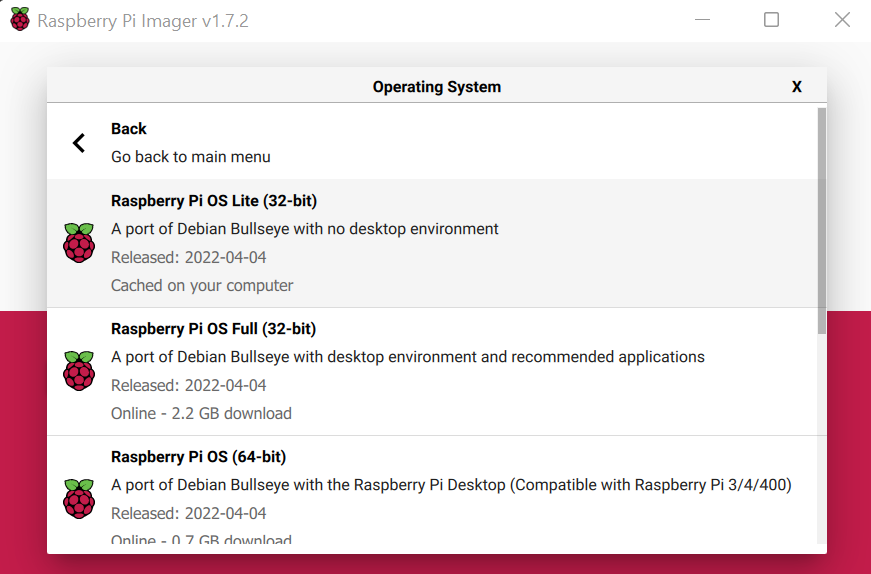
Flash the Distribution
A distribution I'd suggest is Raspberry Pi OS Lite. This is a headless distribution, which means it does not come with a GUI.
Configure Wifi and SSH
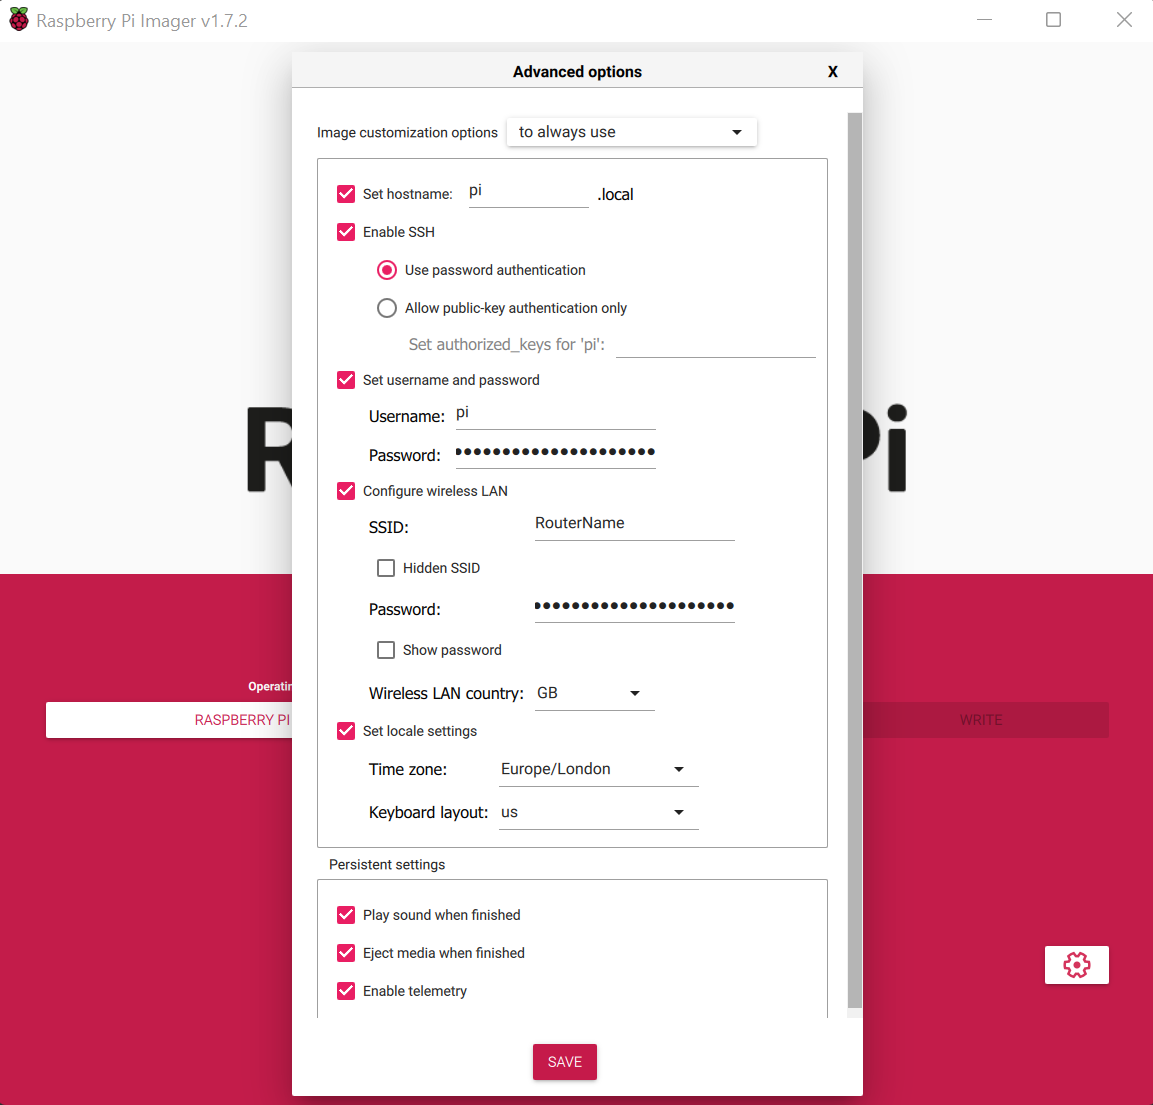
Once that is done, you can insert the SD card into the Raspberry Pi, and power it up.
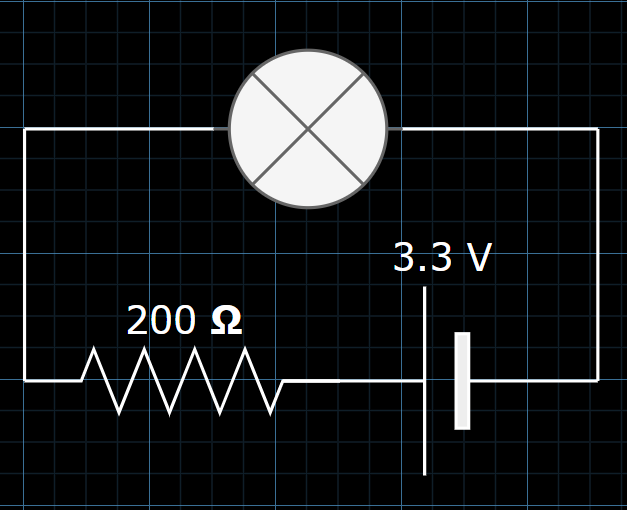
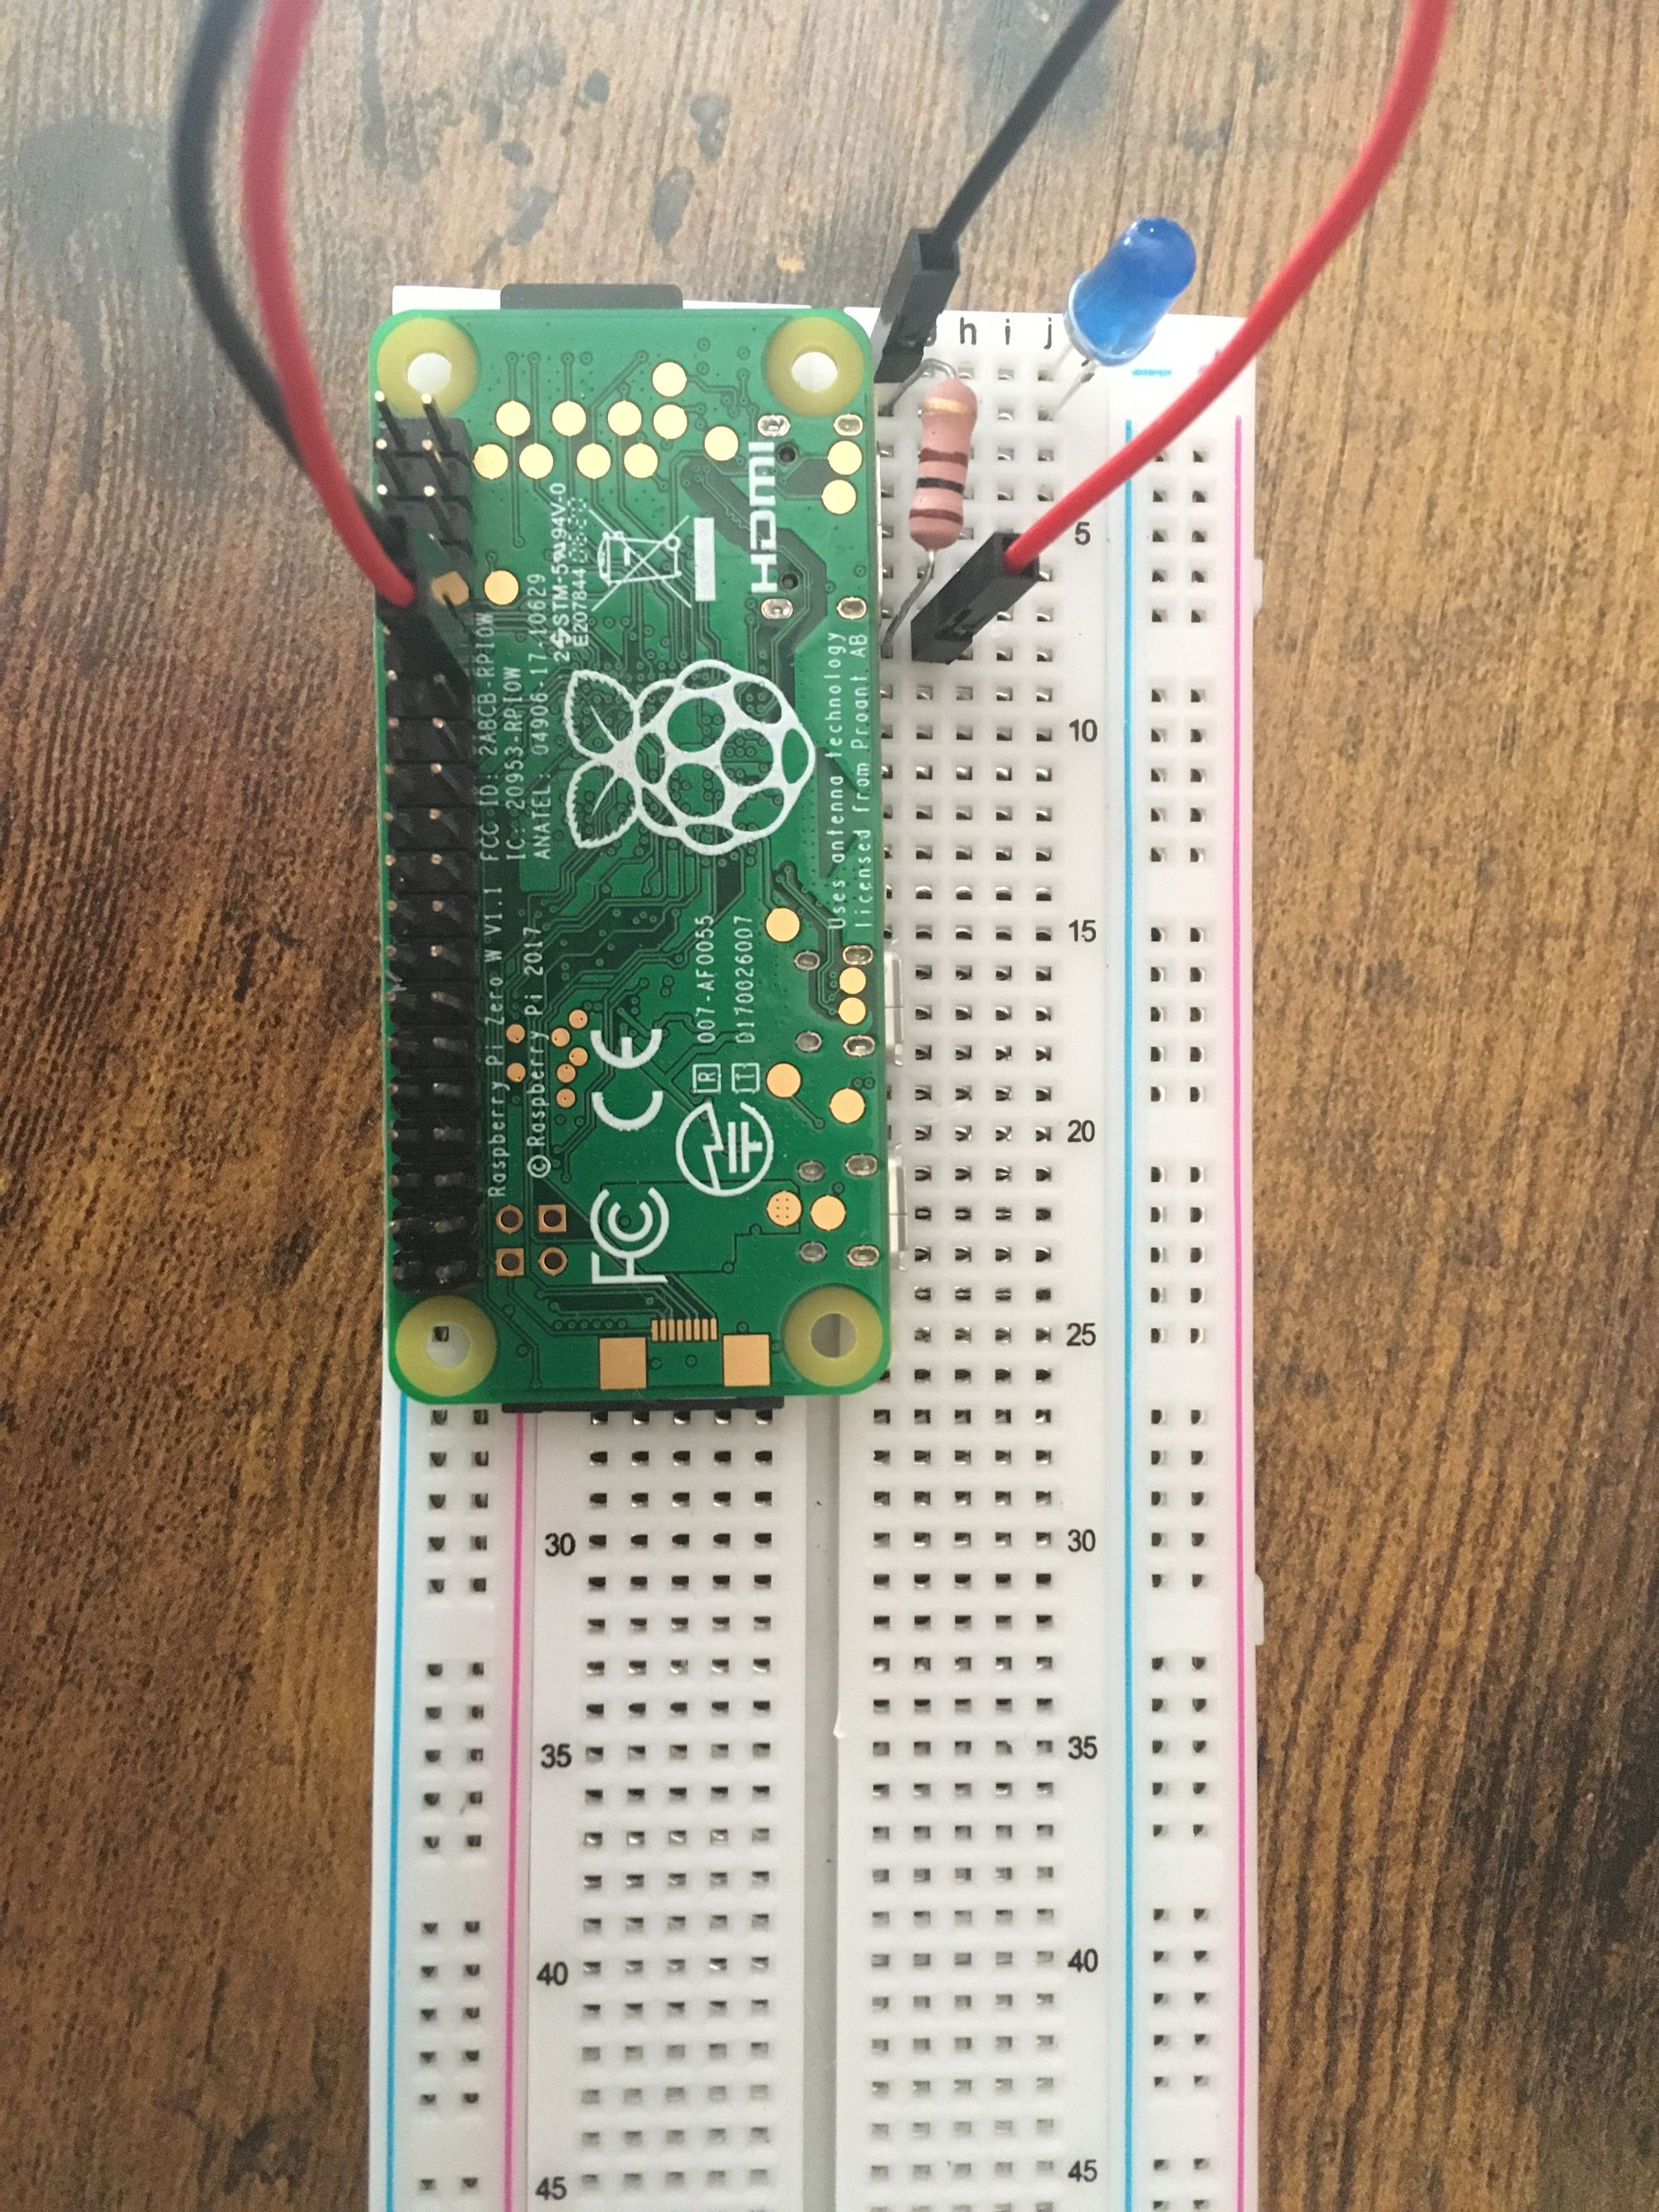
Complete the Circuit
Circuit Diagram
Pi Pinout
Connect negative to ground, and positive to BCM pin 17 as shown below:
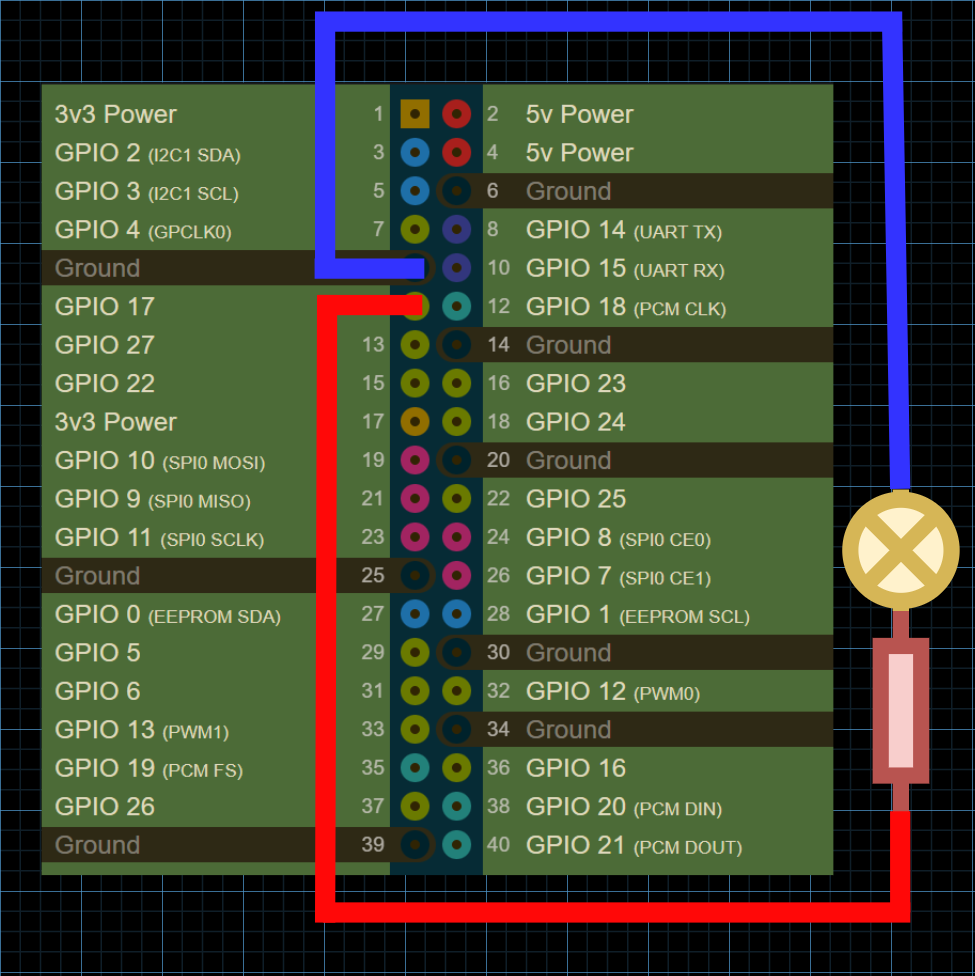
The pinout can be seen here: https://pinout.xyz/
How to Set Up Cross Compilation
Install the Target
Use rustup to install the necessary target for your Raspberry Pi:
my-pc$ rustup add target arm-unknown-linux-gnueabihf
Appendix for more information about targets in Rust.
Specify the Linker
Download the raspberrypi/tools repository into a directory named rpi_tools:
my-pc:~ $ git clone https://github.com/raspberrypi/tools $HOME/rpi_tools
Edit the ~/.cargo/config file using your favourite text editor:
my_pc:~ $ sudo nano ~/.cargo/config
Tell Cargo to use a specific linker version for your target:
[target.arm-unknown-linux-gnueabihf]
linker = "/rpi_tools/arm-bcm2708/arm-rpi-4.9.3-linux-gnueabihf/bin/arm-linux-gnueabihf-gcc"
How to Program an Embedded "Hello World"
Start by creating a new Rust project, and opening the main.rs file in your favourite text editor:
my-pc:~ $ cargo new blink
my-pc:~ $ cd blink
my-pc:~/blink $ nano src/main.rs
Import the rust_gpiozero crate, and program an LED to alternate between on and off every second:
use rust_gpiozero::*;

fn main() {
    // Create a new LED attached to Pin 17
    let mut led = LED::new(17);

    led.blink(1.0, 1.0);

    led.wait();
}
Be sure to add the dependency to the Cargo.toml file:
[dependencies]
rust-gpiozero = "0.2.1"
Successfully Exit the Program
Since rustc 1.61.0 [1], you can use the std::process::ExitCode struct to specify the status code returned to the process' parent:
use std::process::ExitCode;
fn main() -> ExitCode {
    // ...
    if error {
      return ExitCode::from(1);
    }
    ExitCode::SUCCESS
}
Otherwise, you can simply return a Result:
fn main() -> Result<(), std::io::Error> {
  // ...
  Ok(())
}
How to Cross Compile the Program
Build a release of your program, targeting the required architecture:
my-pc:~/blink $ cargo build --release --target=arm-unknown-linux-gnueabihf
How to Transfer the Binary to the Pi
Use scp to transfer the compiled binary from your host computer to the Raspberry Pi over SSH:
my-pc:~/blink $ scp target/arm-unknown-linux-gnueabihf/release/blink pi@192.168.1.199:~/blink
Note: The local IP of your Pi will likely be different.
How to SSH into the Pi
SSH and log in to the Raspberry Pi via its local IP address:
my-pc:~ $ ssh pi@192.168.1.199
Run the Program
From the Raspberry Pi, run the compiled binary:
pi:~ $ ./blink
How to Code a Text-to-Morse-Code Translator
Here is an example of an application that reads the stdin line by line, translates the input into Morse Code, and toggles the LED on and off based on the Morse Code for the characters.
use rust_gpiozero::*;
use std::io::{BufRead, self};
use std::collections::HashMap;
use std::thread::sleep;
use std::time::Duration;

fn main() -> Result<(), std::io::Error> {
    println!("Starting...\n- Type in text to turn into Morse Code\n- Type `quit()` to quit\n");
    // Create a new LED attached to Pin 17
    let led = LED::new(17);

    /// Length of a dot in milliseconds
    const DOT_DELAY: u64 = 80;
    /// Length of a dash in milliseconds
    const DASH_DELAY: u64 = DOT_DELAY * 3;
    /// Delay between inputs in milliseconds
    const PUSH_DELAY: u64 = DOT_DELAY;
    /// Delay between letters in milliseconds
    const LETTER_DELAY: u64 = DOT_DELAY * 3;
    /// Delay between words in milliseconds
    const WORD_DELAY: u64 = DOT_DELAY * 7;

    let morse_code_alphabet: HashMap<char, &'static str> =
    [
        ('a', ".-"),
        ('b', "-..."),
        ('c', "-.-."),
        ('d', "-.."),
        ('e', "."),
        ('f', "..-."),
        ('g', "--."),
        ('h', "...."),
        ('i', ".."),
        ('j', ".---"),
        ('k', "-.-"),
        ('l', ".-.."),
        ('m', "--"),
        ('n', "-."),
        ('o', "---"),
        ('p', ".--."),
        ('q', "--.-"),
        ('r', ".-."),
        ('s', "..."),
        ('t', "-"),
        ('u', "..-"),
        ('v', "...-"),
        ('w', ".--"),
        ('x', "-..-"),
        ('y', "-.--"),
        ('z', "--.."),
        ('1', ".----"),
        ('2', "..---"),
        ('3', "...--"),
        ('4', "....-"),
        ('5', "....."),
        ('6', "-...."),
        ('7', "--..."),
        ('8', "---.."),
        ('9', "----."),
        ('0', "-----"),
        ('.', ".-.-.-"),
        (',', "--..--"),
        ('?', "..--.."),
        ('\'', ".----."),
        ('!', "-.-.--"),
        ('/', "-..-."),
        ('(', "-.--."),
        (')', "-.--.-"),
        ('&', ".-..."),
        (':', "---..."),
        (';', "-.-.-."),
        ('=', "-...-"),
        ('+', ".-.-."),
        ('-', "-....-"),
        ('_', "..--.-"),
        ('"', ".-..-."),
        ('$', "...-..-"),
        ('@', ".--.-."),
        (' ', " "),
    ].iter().cloned().collect();

    // Read standard input per line
    for line_res in io::stdin().lock().lines() {
        let line = line_res?;
        if line == "quit()" {
            break;
        }
        // Turn line into morse code
        let mut morse = String::new();
        for c in line.chars() {
            if let Some(morse_code_char) = morse_code_alphabet.get(&c) {
                morse.push_str(morse_code_char);
                // Separate characters with a comma
                morse.push_str(",");
            }
        }
        // Blink LED based on characters
        for c in morse.chars() {
            match c {
                '.' => {
                    led.on();
                    sleep(Duration::from_millis(DOT_DELAY));
                    led.off();
                    sleep(Duration::from_millis(PUSH_DELAY));
                },
                '-' => {
                    led.on();
                    sleep(Duration::from_millis(DASH_DELAY));
                    led.off();
                    sleep(Duration::from_millis(PUSH_DELAY));
                },
                ',' => {
                    sleep(Duration::from_millis(LETTER_DELAY));
                },
                ' ' => {
                    sleep(Duration::from_millis(WORD_DELAY));
                },
                _ => {
                    println!("Unknown character: {}", c);
                    break;
                }
            }
        }
        sleep(Duration::from_millis(WORD_DELAY));
    }

    // Free the variable and associated resources
    led.close();

    Ok(())
}
Appendix
Targets
In Rust, the target is the platform (architecture) the program is compiled for. Cargo automatically detects the target, based on the file system layout [2].
You can see the list of built-in targets, by running:
rustc --print target-list
# OR
rustup target list
From here you can add a new target to your project, by running:
rustup target add <target>
The given target is often in the form of a triple [3]:
- The architecture
- The vendor
- The operating system type
- The environment type
This is refered to as a 'target triple', because the fourth part is optional.