This article focuses on using CA Animations in iOS to make smooth animations.
During my initial days working with iOS, I would get very nervous whenever a designer came up to me and asked for some animation in the app they were working on.

I used to think it was easy to come up with the design for animations – but implementing it, on the other hand, was a very difficult task.
I would get help from Google, StackOverflow, and my peers for the implementation.
During the process I developed a phobia of animations and always tried to avoid them. But that all changed one day.
Finding CAAnimation
One time, I had to animate a sequence of images in a view. So what was my first step? Obviously, StackOverflow!
The first link got the code.
let image_1 = UIImage(named: "image-1")!
let image_2 = UIImage(named: "image-2")!
let image_3 = UIImage(named: "image-3")!
let images = [image_1, image_2, image_3]
let animatedImage = UIImage.animatedImage(with: images, duration: 2.0)
imageView.image = animatedImage
Seems pretty straightforward right? If it was that simple I wouldn’t be writing this article.
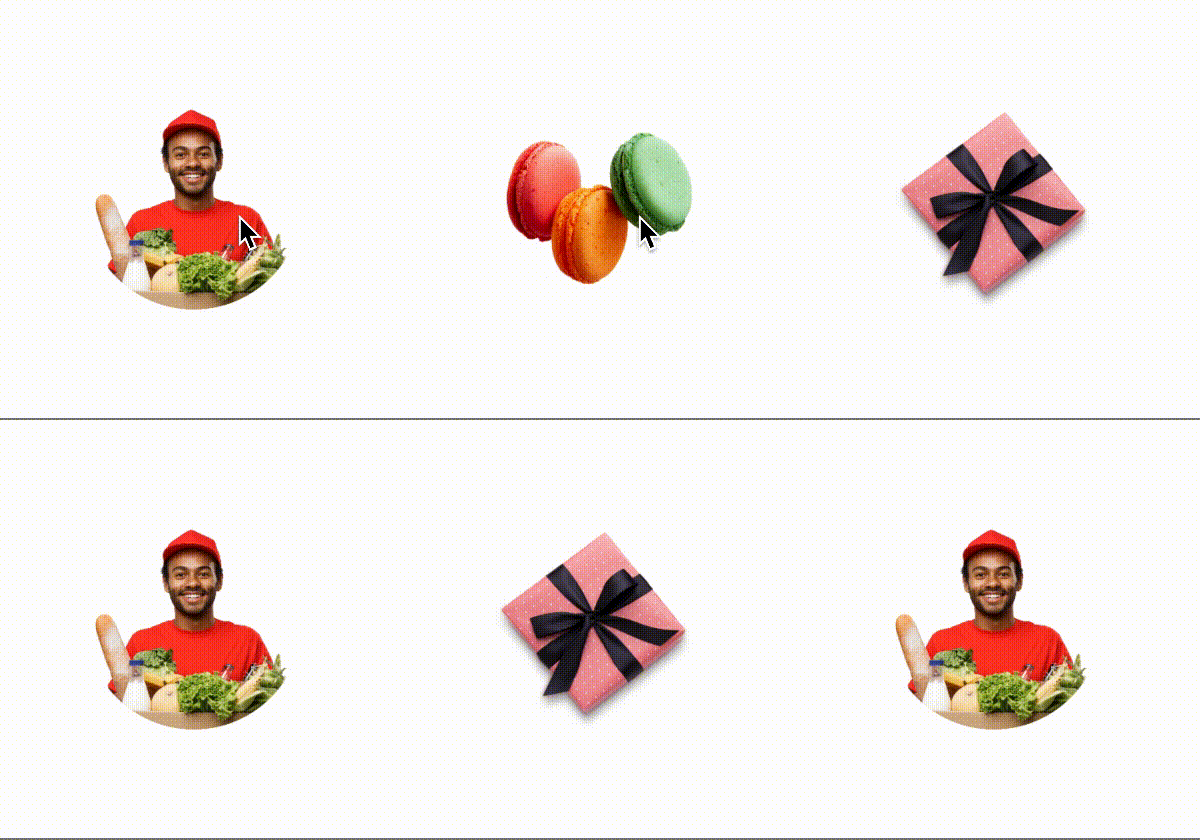
This is the animation that was required:

And as has probably become clear, I was nowhere close to it. I was stuck. How was I supposed to do so many customizations in that animation and sync all of them?
Then my colleague told me to try CAAnimation. I read about it and tried it on a sample project. To my amazement, it was really powerful and easy to use.
What is Core Animation?
Core Animation helps you execute multiple animations with almost zero CPU usage.
It gives you high frame rate and many customizations that you can use with very little code.
You can find more details in the docs here: https://developer.apple.com/documentation/quartzcore
I was able to do a basic implementation in a few hours:
func addAnimation(firstImageView: UIImageView, secondImageView: UIImageView) {
        let basicAnimation1 = getBasicAnimation(withInitialPostion: centerPosition, finalPos: finalPosition)
        firstImageView.layer.add(basicAnimation1, forKey: "position")
        let basicAnimation2 = self.getBasicAnimation(withInitialPostion: self.initalPosition, finalPos: self.centerPosition)
        secondImageView.layer.add(basicAnimation2, forKey: "position")
        self.addNextImage(forImageView: firstImageView)
    }
    func getBasicAnimation(withInitialPostion initialPos: CGPoint, finalPos: CGPoint) -> CABasicAnimation {
        let basicAnimation = CABasicAnimation(keyPath: "position")
        basicAnimation.fromValue = NSValue(cgPoint: initialPos)
        basicAnimation.toValue = NSValue(cgPoint: finalPos)
        basicAnimation.duration = 1
        basicAnimation.isRemovedOnCompletion = false
        basicAnimation.fillMode = CAMediaTimingFillMode.forwards
        basicAnimation.timingFunction = CAMediaTimingFunction(name: CAMediaTimingFunctionName.easeInEaseOut)
        return basicAnimation
    }
For this implementation, I used CABasicAnimation.
The CABasicAnimation class helps you animate a layer property (which can be background color, opacity, position, scale) between two values. You just have to give a start and end value, and the rest will be taken care of. The animation begins immediately in the next run loop as described more fully here.
Now, back to our problem.
To implement this, I took two image views and added two separate images to them. Then I kept on animating them one after the other using CAAnimation.
You can find the source code here.
If you examine the last gif, you will see that something's off. Before the first image of a gift box goes out of view, the headphones flash briefly and then the image moves up.
Why is this happening?
It's because as soon we add the animation to the image view, we are adding the next image to that view (lines number 5 and 6):
private func addAnimation(firstImageView: UIImageView, secondImageView: UIImageView) {
    let basicAnimation1 = getBasicAnimation(withInitialPostion: centerPosition, finalPos: finalPosition)
    firstImageView.layer.add(basicAnimation1, forKey: "position")
    let basicAnimation2 = self.getBasicAnimation(withInitialPostion: self.initalPosition, finalPos: self.centerPosition)
    secondImageView.layer.add(basicAnimation2, forKey: "position")
    self.addNextImage(forImageView: firstImageView)
}
Here we're struggling with the issue of how to sync both images in the animation. But there is always a solution with CAAnimation.
CA Transactions
CA Transactions help us sync multiple animations together. It makes sure that all the animations which we have been bundled together all start at the same time.
Also, you can give a completion block to your animations, which will be executed when all your animations in one bundle are completed.
You can read more about it here.
private func addAnimation(firstImageView: UIImageView, secondImageView: UIImageView) {
    CATransaction.begin()
    CATransaction.setCompletionBlock {
        self.addNextImage(forImageView: firstImageView)
    }
    let basicAnimation1 = getBasicAnimation(withInitialPostion: centerPosition, finalPos: finalPosition)
    firstImageView.layer.add(basicAnimation1, forKey: "position")
    CATransaction.commit()

    let basicAnimation2 = self.getBasicAnimation(withInitialPostion: self.initalPosition, finalPos: self.centerPosition)
    secondImageView.layer.add(basicAnimation2, forKey: "position")
}
You start by writing CATransaction.begin(). Then, write all your animations which you want to do in sync. Finally, call CATransaction.commit() which will start the animation in the block.
Let's see how our animation looks now:

One last thing I needed to do was to add the Spring effect to the animation. Thankfully, CAAnimation had a solution for this too.
CA Spring Animation
CA Spring Animation, when added to a layer, gives a spring like effect to it, so that it appears to be pulled towards a target by a spring.
The further the layer is from the target, the greater the acceleration towards it is.
It allows control over physically-based attributes such as the spring's damping and stiffness. – Docs
You can read more about it from Apple documentation: https://developer.apple.com/documentation/quartzcore/caspringanimation
Let's implement it to our existing code:
private func getSpringAnimation(withInitialPostion initialPos: CGPoint, finalPos: CGPoint) -> CASpringAnimation {
    let basicAnimation = CASpringAnimation(keyPath: "position")
    basicAnimation.fromValue = NSValue(cgPoint: initialPos)
    basicAnimation.toValue = NSValue(cgPoint: finalPos)
    basicAnimation.duration = basicAnimation.settlingDuration
    basicAnimation.damping = 14
    basicAnimation.initialVelocity = 5
    basicAnimation.isRemovedOnCompletion = false
    basicAnimation.fillMode = CAMediaTimingFillMode.forwards
    return basicAnimation
}
My work is done here.
In summary, here are some of the advantages of using CA Animations:
- They're easy to use and implement
- There are a lot of customizations available
- It's possible to sync multiple animations
- Almost zero CPU usage
These the just a few of the advantages. The possibilities are endless.
Now, whenever requirements come for animation, I feel confident designing and implementing them. And I hope you also feel the same way after reading this.
Feel free to leave any suggestions or feedback.

