

If you are new to Vue and want to refresh your basics, this fun exercise will help you build an interesting game.
In this post, I will take your through the step by step process of building a memory card game in VueJS.
Here is what you can expect to learn by the end of this article:
- How to use the v-for directive to loop through Array of Objects.
- Dynamic class & style binding using the v-bind directive
- How to add Methods and Computed Properties.
- How to add reactive properties to an object using Vue.set
- How to use the setTimeout method to delay JavaScript execution.
- Shallow cloning vs Deep Cloning of Javascript objects.
- How to use the Lodash utility library.
Let's dive into the steps.
Getting Ready - Including Libraries
The first step is simple: just import the libraries from the CDN into our basic HTML5 markup so that we can get started with our tiny little project.
<!DOCTYPE html>
<html lang="en">
<head>
    <meta charset="UTF-8">
    <meta name="viewport" content="width=device-width, initial-scale=1.0">
    <title>Memory Card Game</title>
    <link rel="stylesheet" href="https://stackpath.bootstrapcdn.com/bootstrap/4.4.1/css/bootstrap.min.css"
    integrity="sha384-Vkoo8x4CGsO3+Hhxv8T/Q5PaXtkKtu6ug5TOeNV6gBiFeWPGFN9MuhOf23Q9Ifjh" crossorigin="anonymous">

    <!-- development version, includes helpful console warnings -->
    <script src="https://cdn.jsdelivr.net/npm/vue/dist/vue.js"></script>
</head>
<body>

</body>
</html>
Allow user to see the card grid
Next up, let's define the necessary HTML markup, CSS styling, and a basic Vue instance so that the user can see the card grid.
Vue Instance
Let's create a new Vue instance and define the single data property named cards which holds the list of cards.
let app = new Vue({
    el: '#app',
    data:{
            cards: [
                {
                    name: 'Apple',
                    img: 'apple.gif',

                },
                {
                    name: 'Banana',
                    img: 'banana.gif',

                },
                {
                    name: 'Orange',
                    img: 'orange.jpg',

                },
                {
                    name: 'Pineapple',
                    img: 'pineapple.png',

                },
                {
                    name: 'Strawberry',
                    img: 'strawberry.png',

                },
                {
                    name: 'watermelon',
                    img: 'watermelon.jpg',

                },
            ],
    },
});
Each object in the array contains two properties: the name of the image (which will be used to perform matching) and the image of the card.
HTML MarkUp
Since we now have the data ready in our Vue instance, we can use the v-for directive in VueJS to loop through it.
    <div id="app">
    <div class="row">
        <div class="col-md-6 col-lg-6 col-xl-5 mx-auto">
             <div class="row justify-content-md-center">
                    <div v-for="card in cards" class="col-auto mb-3 flip-container">
                    <div class="memorycard">
                        <div class="front border rounded shadow"><img width="100" height="150" src="/assets/images/memorycard/pattern3.jpeg"></div>
                        <div class="back rounded border"><img width="100" height="150" :src="'/assets/images/memorycard/'+card.img"></div>
                    </div>
                 </div>
            </div>
        </div>
    </div>
    </div>
We have used some basic Bootstrap markup and the v-for directive of VueJS to loop through the cards and show them in the grid format.
Each memory-card is made up of two parts:
- front: This contains a common pattern image for all the cards (default card view)
- back: This contains the actual card image (needs to be hidden by default)
Let's add in some basic CSS so that we only show the front part of the card (common design pattern):
.flip-container {
-webkit-perspective: 1000;
-moz-perspective: 1000;
-o-perspective: 1000;
perspective: 1000;
min-height: 120px;
cursor: pointer;
}
.front,
.back {
-webkit-backface-visibility: hidden;
-moz-backface-visibility: hidden;
-o-backface-visibility: hidden;
backface-visibility: hidden;
-webkit-transition: 0.6s;
-webkit-transform-style: preserve-3d;
-moz-transition: 0.6s;
-moz-transform-style: preserve-3d;
-o-transition: 0.6s;
-o-transform-style: preserve-3d;
-ms-transition: 0.6s;
-ms-transform-style: preserve-3d;
transition: 0.6s;
transform-style: preserve-3d;
top: 0;
left: 0;
width: 100%;
}
.back {
-webkit-transform: rotateY(-180deg);
-moz-transform: rotateY(-180deg);
-o-transform: rotateY(-180deg);
-ms-transform: rotateY(-180deg);
transform: rotateY(-180deg);
position: absolute;
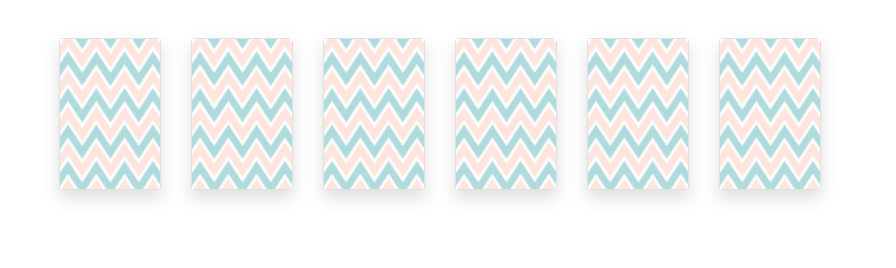
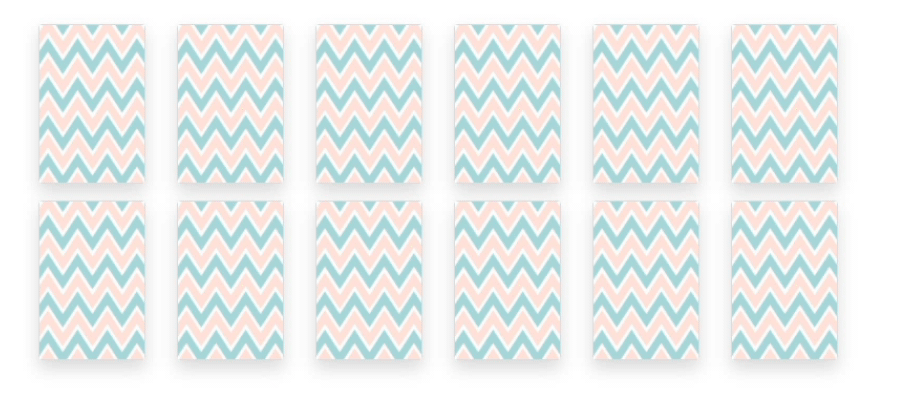
}Refresh the page and you should see six cards stacked up in the grid format facing the front. The actual card image is hidden on the back.
Let's flip the cards
Next up, let's bind an event to our cards so that when it's clicked it should flip and show the image behind it.
Let's modify our original cards array to add another property to each card. This will determine if the card is currently flipped.
Add the following CSS. When the flipped class is added to the class it will show the card image. It also gives us a nice turn effect.
    .flip-container.flipped .back {
        -webkit-transform: rotateY(0deg);
        -moz-transform: rotateY(0deg);
        -o-transform: rotateY(0deg);
        -ms-transform: rotateY(0deg);
        transform: rotateY(0deg);
    }
    .flip-container.flipped .front {
        -webkit-transform: rotateY(180deg);
        -moz-transform: rotateY(180deg);
        -o-transform: rotateY(180deg);
        -ms-transform: rotateY(180deg);
        transform: rotateY(180deg);
    }
Let's use the Vue created lifecycle event to add the new property and add a flipCard method to flip the card
    created(){
        this.cards.forEach((card) => {
            card.isFlipped = false;
        });
    },

    methods:{
        flipCard(card){
            card.isFlipped = true;
        }
    }
First we'll bind the click event to cards to invoke the flipCard method. Then we'll also use the v-bind directive to bind the flipped class to the card.
...
<div v-for="card in cards" class="col-auto mb-3 flip-container" :class="{ 'flipped': card.isFlipped }" @click="flipCard(card)">
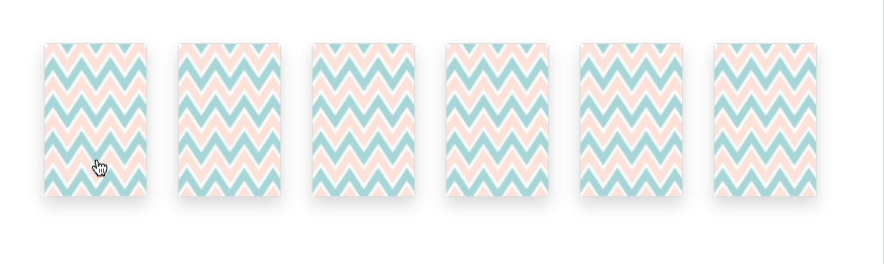
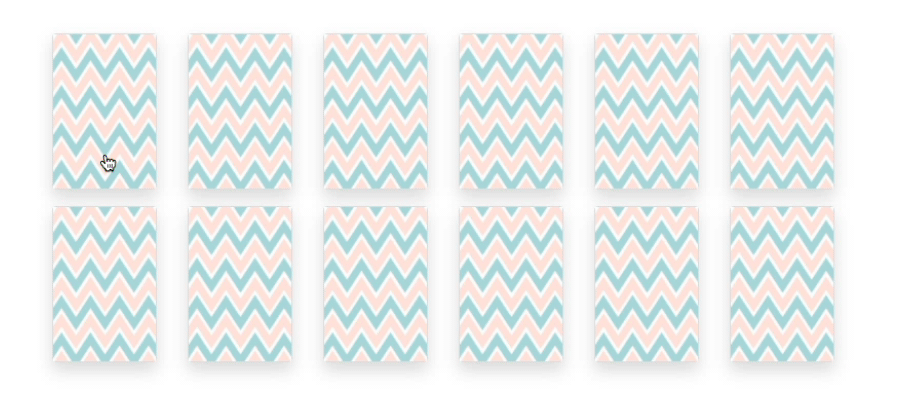
...Sounds about right – let's see if the cards flip on a click.
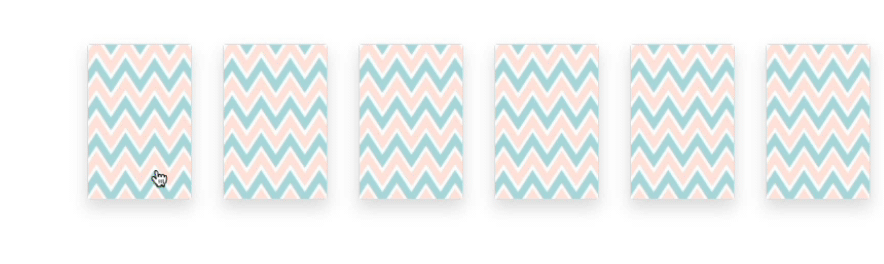
It didn't work. Why not?
Let's go back to our created lifecycle method, where we looped through the list of cards and added a new property named isFlipped. It looks alright – but Vue didn't like it.
For the new object properties to be reactive, you have to add them to the object using the Vue.set method.
created(){
this.cards.forEach((card) => {
Vue.set(card,'isFlipped',false)
});
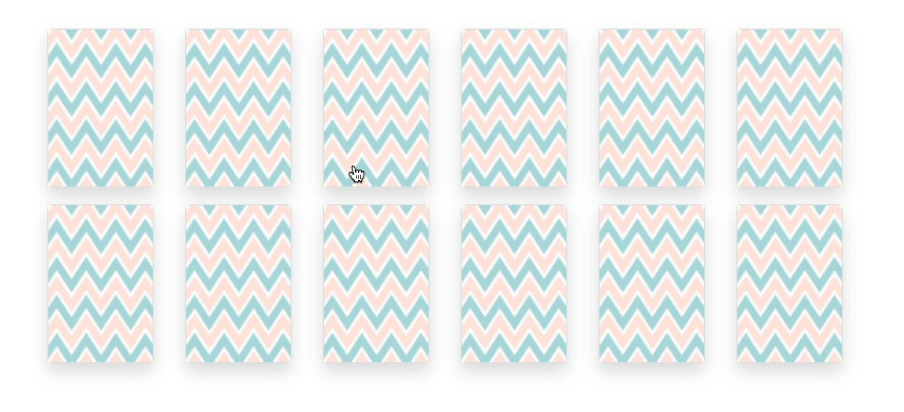
},Now the cards should flip on click:
Alrighty, great job. Let's move on to the next one.
Double it and shuffle it
Yep, that's right! To make a memory game out of these cards we need to have exactly one pair of each card. We also we need to shuffle the order of the cards every time the game is loaded.
Let's define a new property in our Vue instance named memoryCards. Here we will store the cards that will be played (that is, double the amount of actual cards and also shuffled).
...
memoryCards: [],
...
Doubling
To create two copies of all the cards, let's concatenate the cards array to create and assign it to the memoryCards property.
Change the v-for directive in the HTML markup to loop over the property memoryCards instead of cards:
<div v-for="card in memoryCards" class="col-auto mb-3 flip-container" :class="{ 'flipped': card.isFlipped }" @click="flipCard(card)">Next, modify the lifecycle method created to assign the concatenated array into memoryCards:
    created(){
        this.cards.forEach((card) => {
            Vue.set(card,'isFlipped',false)
        });

        var cards1 = this.cards;
        var cards2 = this.cards;
        this.memoryCards = this.memoryCards.concat(cards1, cards2);
    },
Looks simple, right?
But this isn't gonna work correctly. There are two problems with this code:
- Direct assignment of this.cards into cards1 is not going to make another copy of cards object. cards1 is still referencing the original object.
- Since cards1 and cards2 are still referencing same object this means that we have concatenated two arrays which point to same array of objects.
Changing any property of the object in the memoryCards object will change the original array as well as its own pair in the array.
Well, that's a problem.
If you look around for solutions to properly copy an array or object so that it doesn't refer to the original array, you might come across solutions that do a shallow-copy of the array.
What's a shallow copy?
A shallow copy refers to the fact that only one level is copied. That will work fine for an array or object containing only primitive values.
One way to do shallow-copy is via the spread operator, which in our case will be something like the below code:
...
   var cards1 = [...this.cards];
   var cards2 = [...this.cards];
   this.memoryCards = this.memoryCards.concat(cards1, cards2);
...
But this is not the solution for us, because in our case we have an array of objects and not of any primitive values. Thus our problem can be solved if we do a deep copy of our array.
What's a deep copy?
For objects and arrays containing other objects or arrays, copying these objects requires a deep copy. Otherwise, changes made to the nested references will change the data nested in the original object or array.
There are multiple ways of doing a deep copy, but we'll go with the simplest and most common way of using the Lodash library.
Now, whats the Lodash library?
Lodash makes JavaScript easier by taking the hassle out of working with arrays, numbers, objects, strings, etc.
For our case Lodash has a method to perform deepCopy which makes it ridiculously simple.
First include Lodash in your page by either downloading or referencing it through the CDN.
<script src="https://cdn.jsdelivr.net/npm/lodash@4.17.15/lodash.min.js"></script>Next, you can use Lodash's cloneDeep method to perform the deep copy of our cards array.
 var cards1 = _.cloneDeep(this.cards);
 var cards2 = _.cloneDeep(this.cards);
 this.memoryCards = this.memoryCards.concat(cards1, cards2);
Shuffling
Now we want to shuffle the concatenated array. Lodash has a method to shuffle as well. Let's use the method and also simplify the code to concatenate and shuffle in a single line.
created(){
        this.cards.forEach((card) => {
            Vue.set(card,'isFlipped',false)
        });

        this.memoryCards = _.shuffle(this.memoryCards.concat(_.cloneDeep(this.cards), _.cloneDeep(this.cards)));
    },
Cards are now shuffling and flipping as expected.
On to the next thing!
Matching Cards
The next step is to match the flipped cards. A user is allowed to flip a maximum of two cards at a time. If they are same, its a match! If they are not, then we flip them back.
Let's tackle this.
We'll add a new property to each card to track if the card has already been matched. Modify the created method to include this code:
this.cards.forEach((card) => {
    Vue.set(card,'isFlipped',false);
    Vue.set(card,'isMatched',false);
});
Create a new data property to store the flipped cards:
flippedCards: [],Next up, we modify the flipCard method to perform matching:
flipCard(card){
    card.isFlipped = true;

    if(this.flippedCards.length < 2)
        this.flippedCards.push(card);
    if(this.flippedCards.length === 2)
        this._match(card);
},

_match(card){

    if(this.flippedCards[0].name === this.flippedCards[1].name)
        this.flippedCards.forEach(card => card.isMatched = true);
    else
        this.flippedCards.forEach(card => card.isFlipped = false);

    this.flippedCards = [];
},
The logic here is simple: we keep adding cards to the flippedCards array until there are two cards.
Once there are two cards, we perform matching.
- If the name of both the cards is the same, we mark the cards as matched by setting the isMatched property to true.
- Else, we set the isFlipped property back to false.
We clear out the flippedCards array after this.
Add a new CSS property to fade out the cards that match:
.matched{
   opacity: 0.3;
}
Add a class binding to the container to add matched cards if the property is set to true:
:class="{ 'flipped': card.isFlipped, 'matched' : card.isMatched }"Here the logic works fine, but everything happens too fast for the player to understand whats going on. If the cards don't match they are flipped back even before the user can see the revealed card.
Let's use the setTimeout method of JavaScript to add a deliberate delay of few microseconds.
_match(card){
    if(this.flippedCards[0].name === this.flippedCards[1].name){
        setTimeout(() => {
            this.flippedCards.forEach(card => card.isMatched = true);
            this.flippedCards = [];
        }, 400);
    }
    else{
        setTimeout(() => {
            this.flippedCards.forEach((card) => {card.isFlipped = false});
            this.flippedCards = [];
        }, 800);
    }
},
We added 400 microseconds of delay before marking them as matched, and 800 microseconds to delay before flipping them back.
Also modify the flipCard method to not flip the cards when
- Card is already matched
- Card is already flipped
- User has already flipped two cards
flipCard(card){

    if(card.isMatched || card.isFlipped || this.flippedCards.length === 2)
            return;

    card.isFlipped = true;

    if(this.flippedCards.length < 2)
        this.flippedCards.push(card);
    if(this.flippedCards.length === 2)
        this._match(card);
},
We are almost there, just few more steps.
Finish the Game
The game is marked as finished when all the cards are matched.
Let's quickly write the code condition for that. We introduce a new data property in our Vue instance:
...
finish: false
Next, we modify the match method to check if all cards are matched after every successful match.
setTimeout(() => {
    this.flippedCards.forEach(card => card.isMatched = true);
    this.flippedCards = [];

    //All cards matched ?
    if(this.memoryCards.every(card => card.isMatched === true)){
        this.finish = true;
    }

}, 400);
We use the every method of JavaScript arrays which evaluates the given condition for truth, if not it returns false.
Keep Track of Total Turns and Total Time
We have built the game, so now let's make it more interesting by giving it some finishing touches. We will add how many turns a user has taken, and also how they are doing on time taken to complete the game.
First we'll introduce some new data properties:
start: false
turns: 0,
totalTime: {
    minutes: 0,
    seconds: 0,
},
Once there are two cards flipped we will increase the count. Thus we'll modify the _match method to increment the turns.
...
_match(card){

    this.turns++;

    ...
Next up we modify the flipCard method to start the timer:
flipCard(card){

    if(card.isMatched || card.isFlipped || this.flippedCards.length === 2)
            return;


    if(!this.start){
        this._startGame();
    }

    ...
    ...
Add two new methods to start the clock once the game is started:
_startGame(){
    this._tick();
    this.interval = setInterval(this._tick,1000);
    this.start = true;
},

_tick(){
    if(this.totalTime.seconds !== 59){
         this.totalTime.seconds++;
         return
     }

     this.totalTime.minutes++;
     this.totalTime.seconds = 0;
},
We use computed properties to pad up a '0' in front of minutes and seconds when they are single digits:
computed:{
    sec(){
        if(this.totalTime.seconds < 10){
            return '0'+this.totalTime.seconds;
        }
        return this.totalTime.seconds;
    },
    min(){
        if(this.totalTime.minutes < 10){
            return '0'+this.totalTime.minutes;
        }
        return this.totalTime.minutes;
    }
}
Add the following HTML just above your HTML to display the total number of turns and total time:
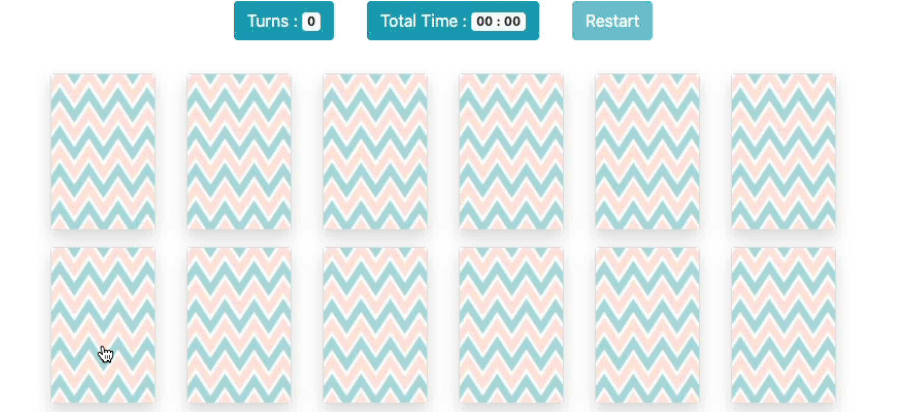
<div class="d-flex flex-row justify-content-center py-3">
    <div class="turns p-3"><span class="btn btn-info">Turns : <span class="badge" :class="finish ? 'badge-success' : 'badge-light'">{{turns}}</span> </span></div>
    <div class="totalTime p-3"><span class="btn btn-info">Total Time : <span class="badge" :class="finish ? 'badge-success' : 'badge-light'">{{min}} : {{sec}}</span></span></div>
</div>
Modify the finish game condition to stop the timer once the game is finished:
if(this.memoryCards.every(card => card.isMatched === true)){
    clearInterval(this.interval);
    this.finish = true;
}
Reset
We are at our last step – good job if you've made it to this point.
Let's add a button to reset the game:
<div class="totalTime p-3"><button class="btn btn-info" @click="reset" :disabled="!start">Restart</button></div>Bind the click event to the reset method:
reset(){
    clearInterval(this.interval);

    this.cards.forEach((card) => {
        Vue.set(card, 'isFlipped',false);
        Vue.set(card, 'isMatched',false);
    });

    setTimeout(() => {
        this.memoryCards = [];
        this.memoryCards = _.shuffle(this.memoryCards.concat(_.cloneDeep(this.cards), _.cloneDeep(this.cards)));
        this.totalTime.minutes = 0;
        this.totalTime.seconds = 0;
        this.start = false;
        this.finish = false;
        this.turns = 0;
        this.flippedCards = [];

        }, 600);

},
We clear out the timer, reshuffle the cards, and reset all the fields back to their default value.
We also modify the created lifecycle method to call the reset method to avoid code duplication:
created(){
    this.reset();
},
There you go ! You now have a memory game in VueJS.
If you are looking to learn VueJS basics along with such fun practice exercises, you can read the VueJS Tutorial series on my personal blog 5Balloons VueJS Course.