
Patreon is a subscription management system for creators. Although it offers a default button snippet, you can create a custom button that includes your preferred design and call to action to increase your click through rate.
In this article you will learn how to create a simple custom Patreon link button that takes users to the payment flow of your preferred tier.
How to Set Up Your Account
Step 1:
To start the setup, you'll need a Patreon account. Create an account if you don't have one or sign in to your account.
Step 2:
Visit your account's registration portal. Under Clients & API Keys, click on the Create Client button.
 Patreon client registration portal
Step 3:
After clicking the button, a modal will appear. Fill in the information related to your website and make sure to enter a complete URI (including the ending / ) in the Redirect URIs field. Then, click on the Create Client button.
 Patreon client registration form
Step 4:
Under Your existing clients, you'll see your newly created client. Click on the drop down icon of your new client.
Finally, copy the client ID as you will need it in the next steps.
 Registered client information
The Code for the Custom Button
The following is a function that takes an account id, preferred amount or tier (in cents), and a redirect URI and returns a link to Patreon's checkout flow.
Use the following function in your code, add a custom log/message, and style the element to make your desired link button.
const PatreonButton = (clientId, amount, redirectURI) => {
  const clientId = `&client_id=${patreonClientId}`;
  const pledgeLevel = `$&min_cents=${amount}`;
  const v2Params = "&scope=identity%20identity[email]";
  const redirectUri = `&redirect_uri=${redirectURI}`;
  const href = `https://www.patreon.com/oauth2/become-patron?response_type=code${pledgeLevel}${clientId}${redirectUri}${v2Params}`;
  return (
    <a
      className="patreon-button link-button"
      data-patreon-widget-type="become-patron-button"
      href={href}
      rel="noreferrer"
      target="_blank"
    >
      /*
      <svg
        id="patreon-logo"
        viewBox="10 0 2560 356"
        xmlns="http://www.w3.org/2000/svg"
        xmlnsXlink="http://www.w3.org/1999/xlink"
      >
        <g>
          <path d="M1536.54 72.449v76.933h128.24v61.473h-128.24v74.51h128.24v62.921h-206.64V9.529h206.64v62.92h-128.24M2070.82 178.907c0-55.652-37.76-107.434-99.21-107.434-61.95 0-99.21 51.782-99.21 107.434s37.26 107.435 99.21 107.435c61.45 0 99.21-51.783 99.21-107.435zm-278.77 0c0-92.916 66.79-178.093 179.56-178.093 112.26 0 179.05 85.177 179.05 178.093 0 92.916-66.79 178.093-179.05 178.093-112.77 0-179.56-85.177-179.56-178.093zM186.32 131.97c0-31.46-21.299-58.563-54.206-58.563H78.398v117.109h53.716c32.907 0 54.206-27.086 54.206-58.546zM0 9.529h141.788c75.016 0 123.417 56.628 123.417 122.441s-48.401 122.423-123.417 122.423h-63.39v93.893H0V9.529zM492.17 106.314l-41.621 139.382h82.266L492.17 106.314zm73.081 241.972-13.054-41.134H431.69l-13.072 41.134h-83.73L455.882 9.529h72.105l122.442 338.757h-85.178zM782.055 77.277H705.61V9.529h231.793v67.748h-76.951v271.009h-78.397V77.277M2485.08 230.202V9.529h77.91v338.757h-81.78l-121.97-217.78v217.78h-78.4V9.529h81.78l122.46 220.673M1245.68 131.97c0-31.46-21.3-58.563-54.21-58.563h-53.72v117.109h53.72c32.91 0 54.21-27.086 54.21-58.546zM1059.36 9.529h142.29c75 0 123.4 56.628 123.4 122.441 0 47.425-25.17 89.517-67.28 109.369l67.77 106.947h-90.98l-60.03-93.893h-36.78v93.893h-78.39V9.529z" />
        </g>
      </svg> */
    </a>
  );
};
Feel free to uncomment the nested SVG element and use it as your button's illustration or insert your own. The followings are some styles to adjust the your button for light and dark mode.
a.patreon-button {
  border-radius: 5px;
  background-color: #ff424d;
  min-height: 42px;
  border: none;
  display: grid;
  place-items: center;
}
a.patreon-button svg {
  max-height: 12px;
  fill: white;
}
a.patreon-button:active,
a.patreon-button:active:focus,
a.patreon-button:hover {
  background-color: #e13d47;
}

.dark-palette a.patreon-button {
  background-color: white;
}

.dark-palette a.patreon-button svg {
  fill: #ff424d;
}
.dark-palette a.patreon-button:active,
.dark-palette a.patreon-button:active:focus,
.dark-palette a.patreon-button:hover {
  background-color: #efefef;
}
There you have it. A custom button to take users to your desired tier on Patreon.
At freeCodeCamp, we implemented the same button using TypeScript for our donate page.
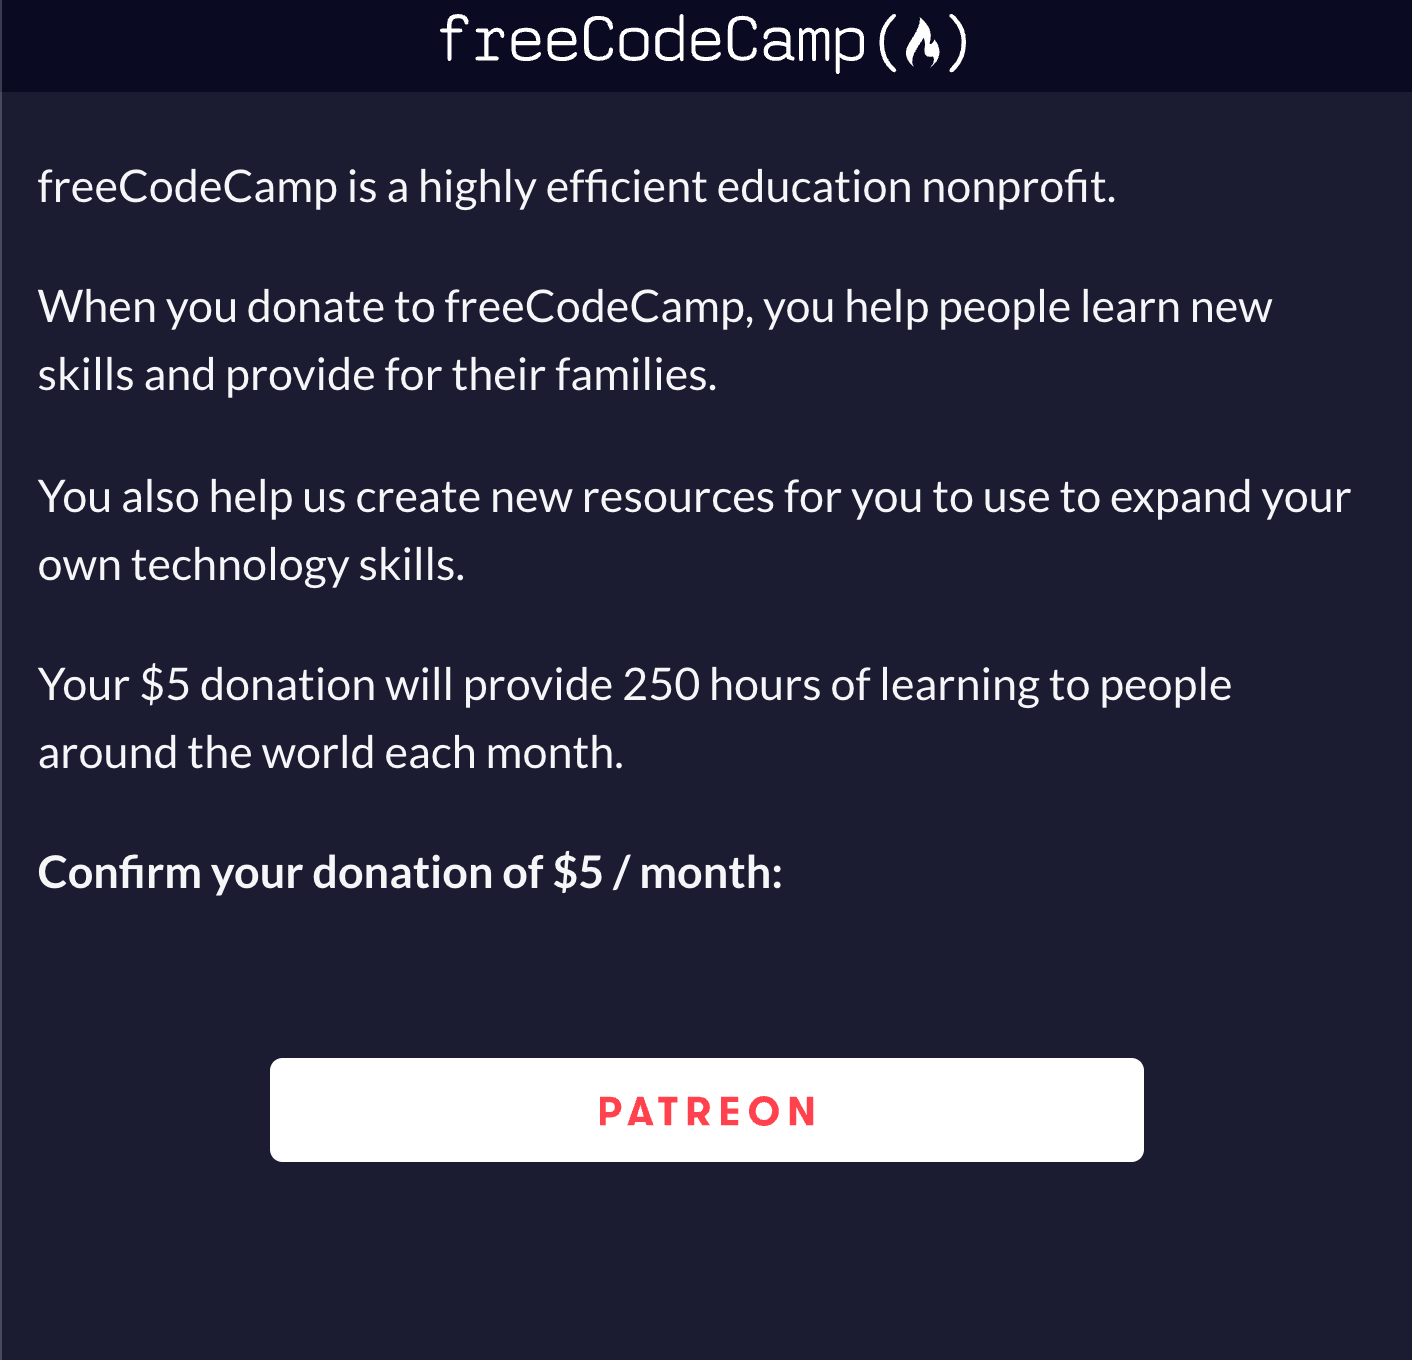 Custom Patreon button on freeCodeCamp's donate page
Clicking the button should take signed-in Patreon users directly to the checkout page.
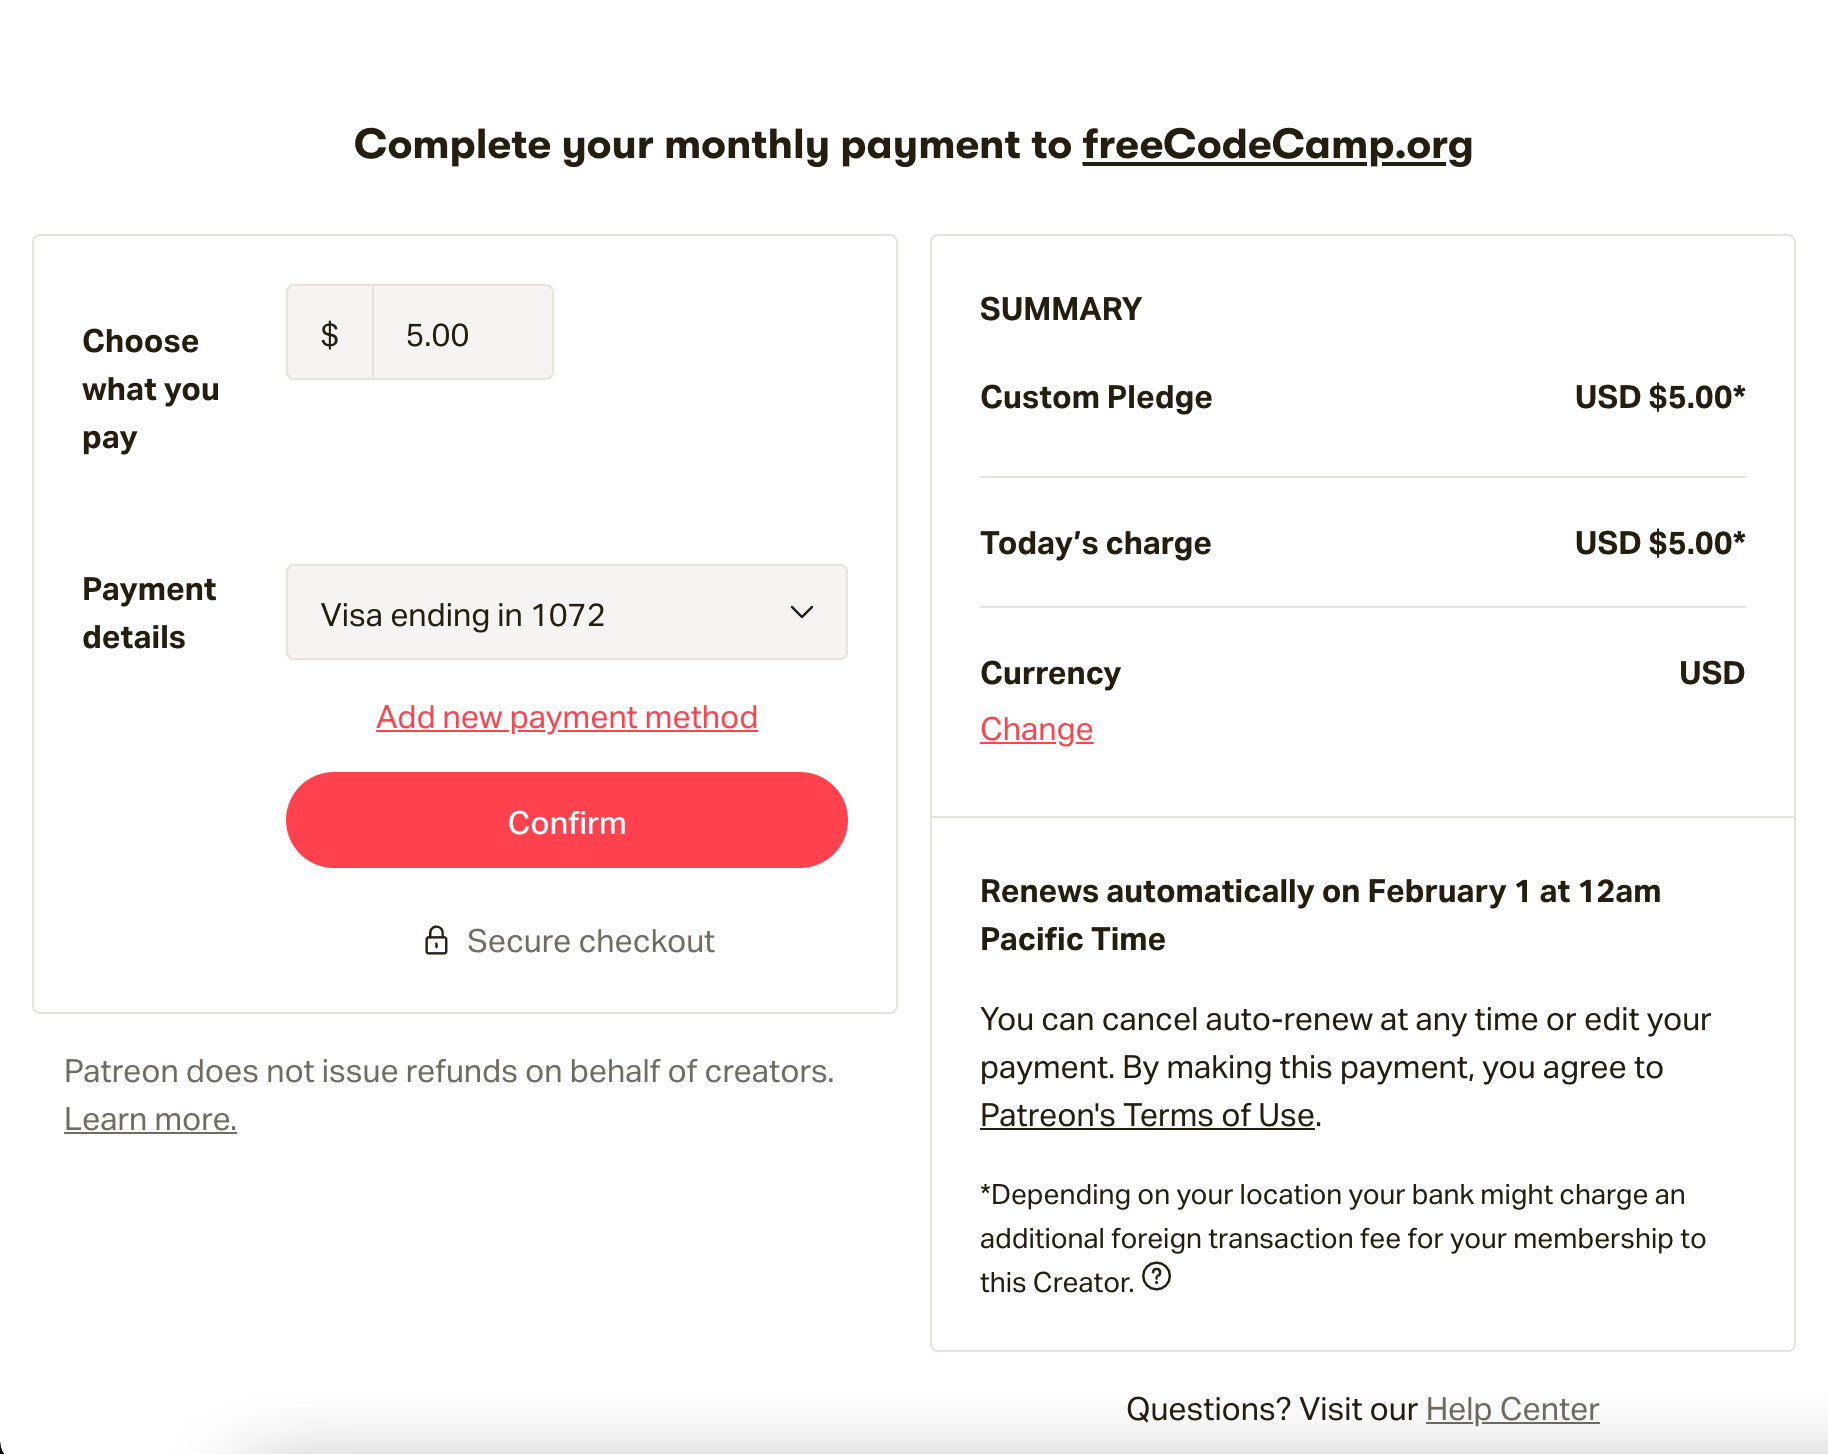 Patreon checkout page
The next steps
If you would like to synchronize your platform with Patreon, you could add metadata to the button and receive them through a webhook.
Alternatively, if you are looking to create a full integration, there are a variety of open source integrations that you could use as a template. For specific questions, refer to Patreon's active developer community.
Finally, if you enjoyed reading this article, don't forget to follow me on twitter for more articles and tutorials.
Happy Coding.