

Getting started with a new React app is easier than ever with frameworks like Next.js. But those frameworks don’t always include all of the tools you want to use.
How can we use Starters to become super productive when starting a new project with our favorite tools?
- What is Next.js?
- What is a Starter?
- What are we going to build?
- Adding Sass to a Next.js Starter
- Setting up Next.js Starter documentation for easy setup
- Some other things to consider
What is Next.js?
Next.js is an application framework from Vercel that allows you to very quickly bootstrap a new React application.
Some basic features include creating pages and data fetching, and they allow you to generate a static site or use server side rendering to dynamically load your app.
On top of that, you can take advantage of its advanced features like Routing or creating an API right next to your UI.
What is a Starter?
Starters are basically a git repository in the form of a template that allows you to easily create a preconfigured app.
There’s nothing necessarily special about a Starter. At it’s core, it’s a Next.js app that’s already been set up a specific way and typically generalized so that anyone can use it.
For example, if you tend to build lots of apps the same way each time, you might have to repeat those same configuration steps every time you create a new app.
Instead, you can create a Starter from where you'll start your projects – and it'll eliminate the need to repeat those first steps each time.
What are we going to build?
We’re going to build a basic Next.js Starter that will let you or anyone else quickly and easily create a new project with that Starter as a starting point.
While we won’t go too heavy into features, as the goal here is to learn about Starters, we’ll test this out by adding Sass to Next.js so someone can easily get started with CSS superpowers.
You can check out the Starter on GitHub: github.com/colbyfayock/next-sass-starter.
Creating a new Next.js Starter
To get started with creating a Starter, we need to start with a Next.js app.
We can do this by running the following command in whatever directory you want to create this in:
yarn create next-app
# or
npx create-next-app
Once you run that, Next.js will ask you for a project name. While you can use whatever you like, Next.js Starters typically have a name pattern of next-[name]-starter.
So because we’re creating a Sass Starter, I might call it next-sass-starter.
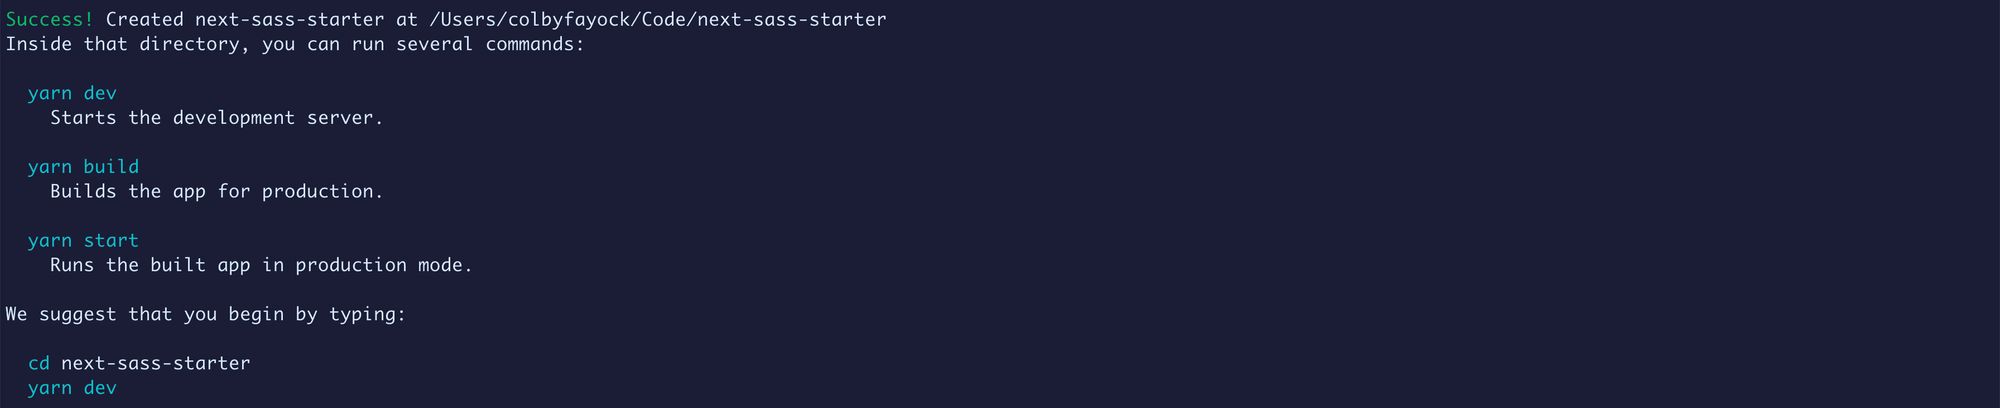 New Next.js app in the terminal
Once Next.js has installed all of our dependencies, you’ll be ready to navigate to that folder and run the command to start your development server.
yarn dev
# or
npm run dev
And once the development server starts up, we should be ready to go!
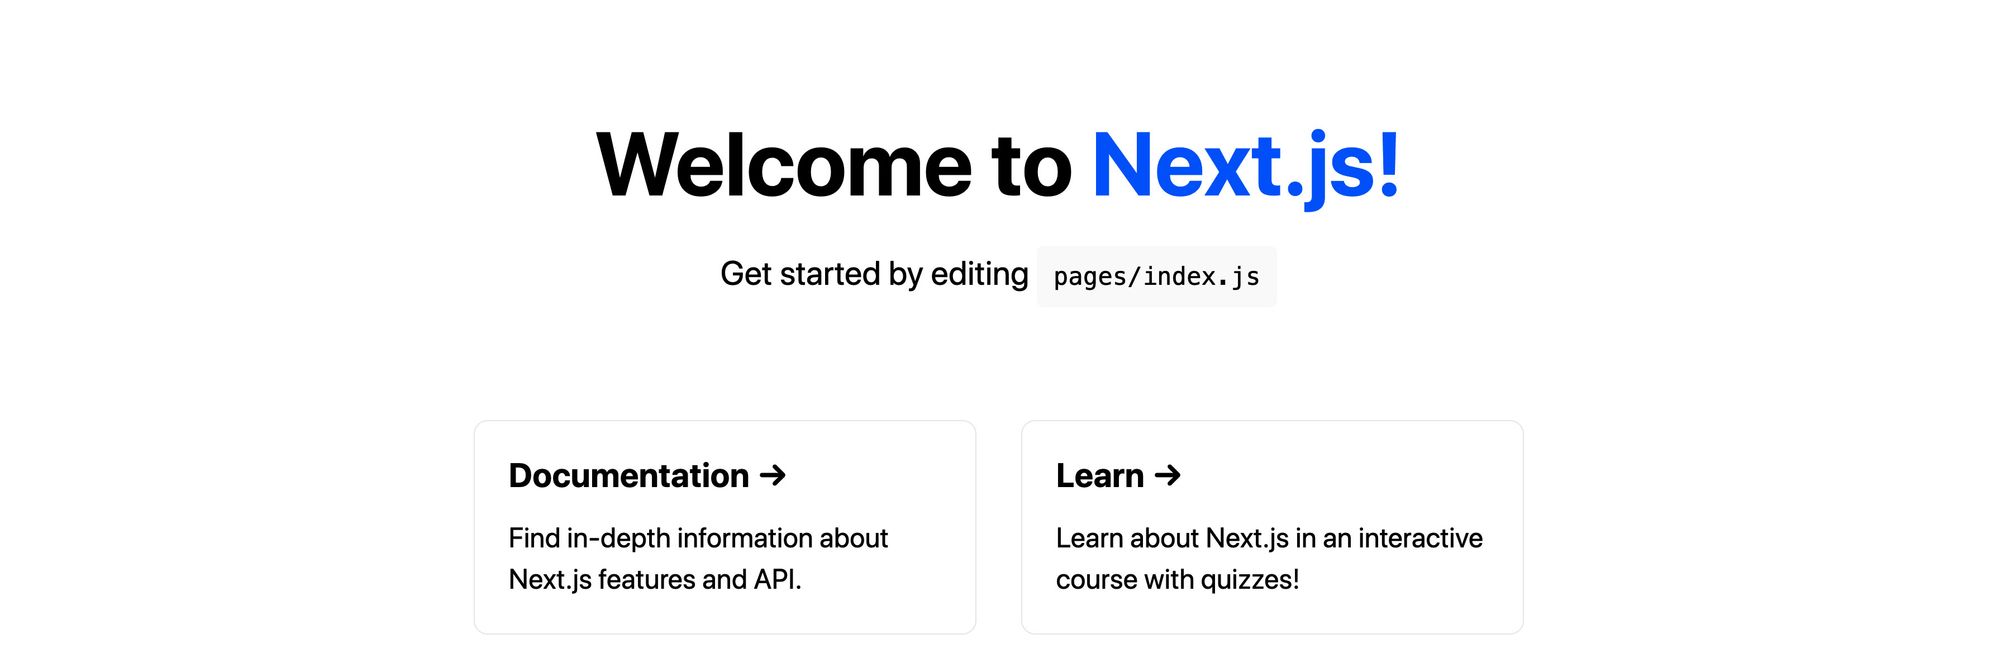 New Next.js app in the browser
At this point, we pretty much have a basic Starter. As mentioned before, there really isn’t much that’s actually special with a Next.js Starter. So if we pushed this up to Github, we could immediately start using it “as is”.
You can test this out by running the following:
yarn create next-app [project-name] -e [GitHub URL]
# or
npx create-next-app [project-name] -e [GitHub URL]
After running that, you should be set up with a new directory that has a project created from your Starter with all of the dependencies installed.
But we want to do more than that. Our goal is to add features that help get an app started with more than the default, so let’s add Sass.
Adding Sass to a Next.js Starter
Note: For our example, we’re going to create a Sass starter as the name above might have implied. Feel free to add any features you want at this point, whether it includes Sass or not.
Remember – the goal here will be to provide something that we’ll be able to use when creating a new project with this Starter.
Next, we want to actually add Sass to our project. To get started, we want to install sass as a dependency:
yarn add sass
# or
npm install sass
Next, because Next.js already looks for .scss as a file extension, we can simply update out two CSS files under the styles directory to .scss.
So change the following files:
styles/globals.css => styles/globals.scss
styles/Home.module.css => styles/Home.module.scss
Next, we need to set up our import statements to recognize our new file extensions.
In pages/_app.js, update the styles import at the top to:
import '../styles/globals.scss'
And in pages/index.js, update the styles import to:
import styles from '../styles/Home.module.scss'
At this point, you can start your development server and we should still see the default Next.js page.
Next.js app should look the same
To see our Sass in action, we can update some of our classes to use nested styles instead of individual selectors.
Update all of the .footer selectors inside of styles/Home.module.scss to the following:
.footer {

  width: 100%;
  height: 100px;
  border-top: 1px solid #eaeaea;
  display: flex;
  justify-content: center;
  align-items: center;

  img {
    margin-left: 0.5rem;
  }

  a {
    display: flex;
    justify-content: center;
    align-items: center;
  }

}
You can use the same nesting structure to update .title and .card.
We can also add the following to the top of our styles/Home.module.css file:
$color-primary: #0070f3;
And update all instances of the color in that file from #0070f3 to $color-primary:
.title {
  ...
  a {
    color: $color-primary;
If you reload the page, nothing will change. But update that variable to your favorite color like:
$color-primary: blueviolet;
And now all of the colors change.
 Updated colors in the Next.js app
Finally, since we now have a Sass starter, let’s update the title of the page. Replace “Welcome to Next.js!” In pages/index.js to:
<h1 className={styles.title}>
  <a href="https://nextjs.org">Next.js</a> Sass Starter
</h1>
And now we have a Sass starting point!
 Updated title in the Next.js app
Similar to before, you can test this out by creating a new project with your starter once all of the changes are on GitHub.
yarn create next-app [project-name] -e [GitHub URL]
# or
npx create-next-app [project-name] -e [GitHub URL]
Setting up Next.js Starter documentation for easy setup
Arguably one of the most important things about a Starter is documentation.
It might not be as important if you’re only using this yourself. But if you want other people to use it, you want them to know how to use it or else they’ll get stuck and become frustrated.
The most important part is getting the Starter set up. Setting up your Starter in a GitHub repo is a great first step. But if someone wants to use that Starter, they would have to clone or download that repo and then remove the git history.
Instead, you can add the command we used above in your README.me file to give people instructions on how to quickly get started, such as:
## Getting Started

Run the following command to create a new project with this Starter:
yarn create next-app [project-name] -e https://github.com...
or
npx create-next-app [project-name] -e https://github.com...
This will prevent people who might not understand how to do some of those things manually from getting stuck.
It’s also important to add any documentation of configuration options you’ve added.
If you’re adding some variables that allow you to change some site-wide features, make sure to add notes about those.
You ultimately want people to understand how to use the features you added to make their lives easier. If they don’t understand it, they may just rip that code out and do it manually.
Ultimately, creating and publishing a Starter is about making people’s lives easier. Whether it’s you coming back to your Starter a few months later or a swarm of new people looking to get productive, you’re giving them a better developer experience by adding good documentation.
Some other things to consider
Generalizing features and adding configuration for a Next.js Starter
Adding features is a great way to make a Starter more likely to be used. If I used a Starter to create a new blog, I would love if that Starter included my name as an author and maybe even an About Me page.
But what I wouldn’t want is to have to replace someone else’s name 100 times throughout the code to update my own project. Not to mention, seeing that name on the Starter might make me feel more like it’s their blog rather than a template I can use for my project.
Consider starting off by using a generalized name throughout the project. Instead of using Colby Fayock’s Blog throughout the Starter, make it My Blog, which will make it feel less personal to the creator for the person using the Starter.
Also add some configuration options. It’s much easier to be able to update a single variable that would make my project include Colby Fayock instead of My Blog than it is to search all files to make that change manually.
Choose carefully where to be opinionated
When using a tool like Sass, there is more than one way to use that tool. If you set up an incredibly specific and opinionated project structure, you’re alienating people using your Starter.
It'll either force them to rework the entire project or make them want to delete a bunch of code which might make them avoid wanting to use it in the future.
You can create opinionated Starters, but choose wisely where you inject those opinions. This will make your work usable by a larger group of people who want to be productive.
If you want to create something very opinionated, consider naming it something different and using the tool as part of the name. For example, I could create an opinionated Sass Starter called Colby’s Sassy Next.js Starter.
