

Google Docs is one of the most popular text processors.
It has many features available to help you visually enhance your writing and make specific parts stand out more.
One of the ways you can add more functionality to your documents is by adding a textbox.
A textbox helps make any topics you want to highlight and bring attention to more prominent.
Your readers and target audience will better understand the information you're trying to convey and the message you want to get across.
It's also a helpful method for note-taking. Text boxes help point out topics you want to pay extra attention to and not miss.
In this quick and easy guide, you'll learn how to insert a textbox into your Google Document with just a couple of simple steps.
Let's get started!
How to add a Textbox in Google Docs
First of all, make sure you're logged into your Google Account.
Then, navigate to Google Docs and create a new document by double-clicking on 'Blank'.

If you want to add a textbox to an existing document, choose the document you want from the options in 'Recent Documents' by double-clicking on it.
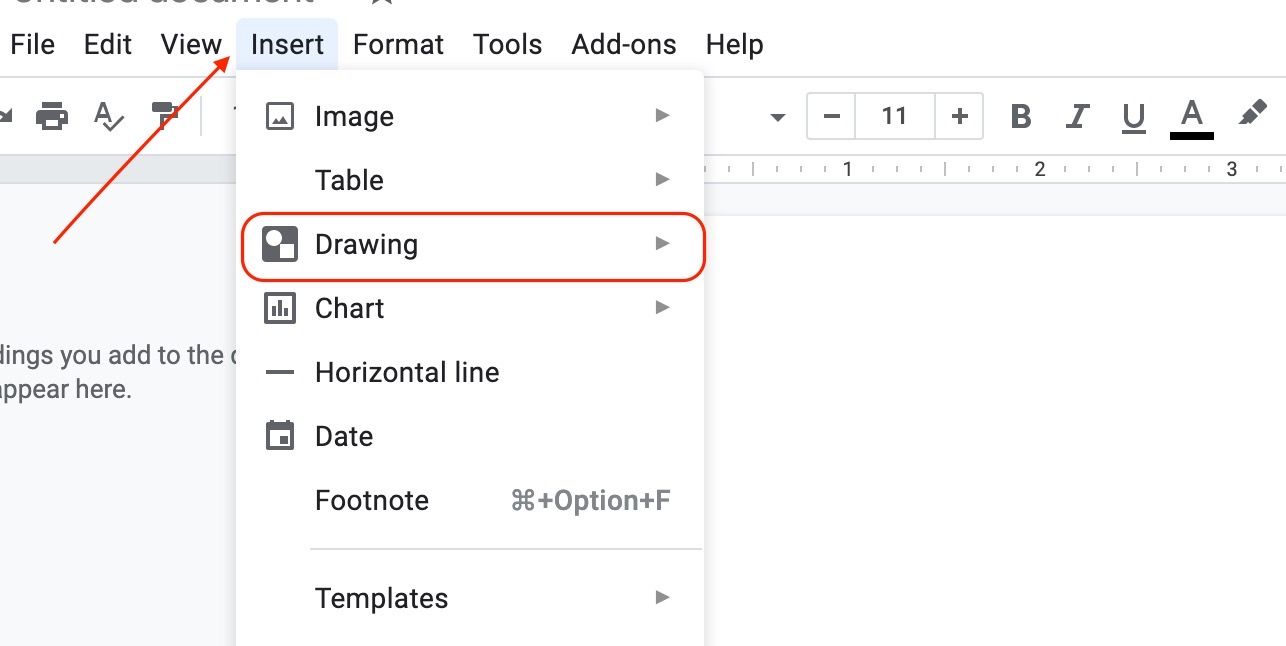
Once you've opened (or created) a Google Doc, click on 'Insert'. A drop-down menu will appear, and from there you navigate to 'Drawing'.
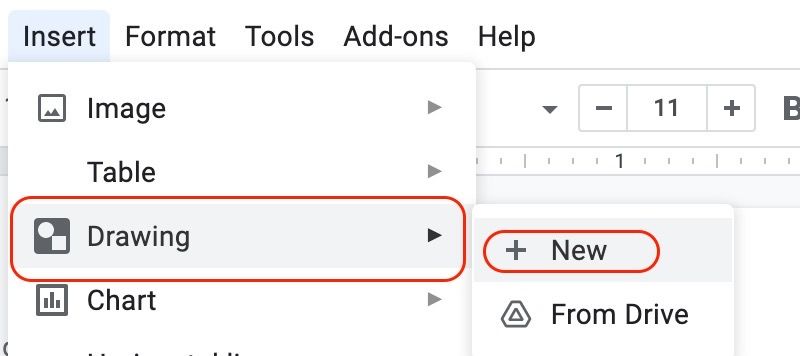
From there, click on 'Drawing' and select 'New'.
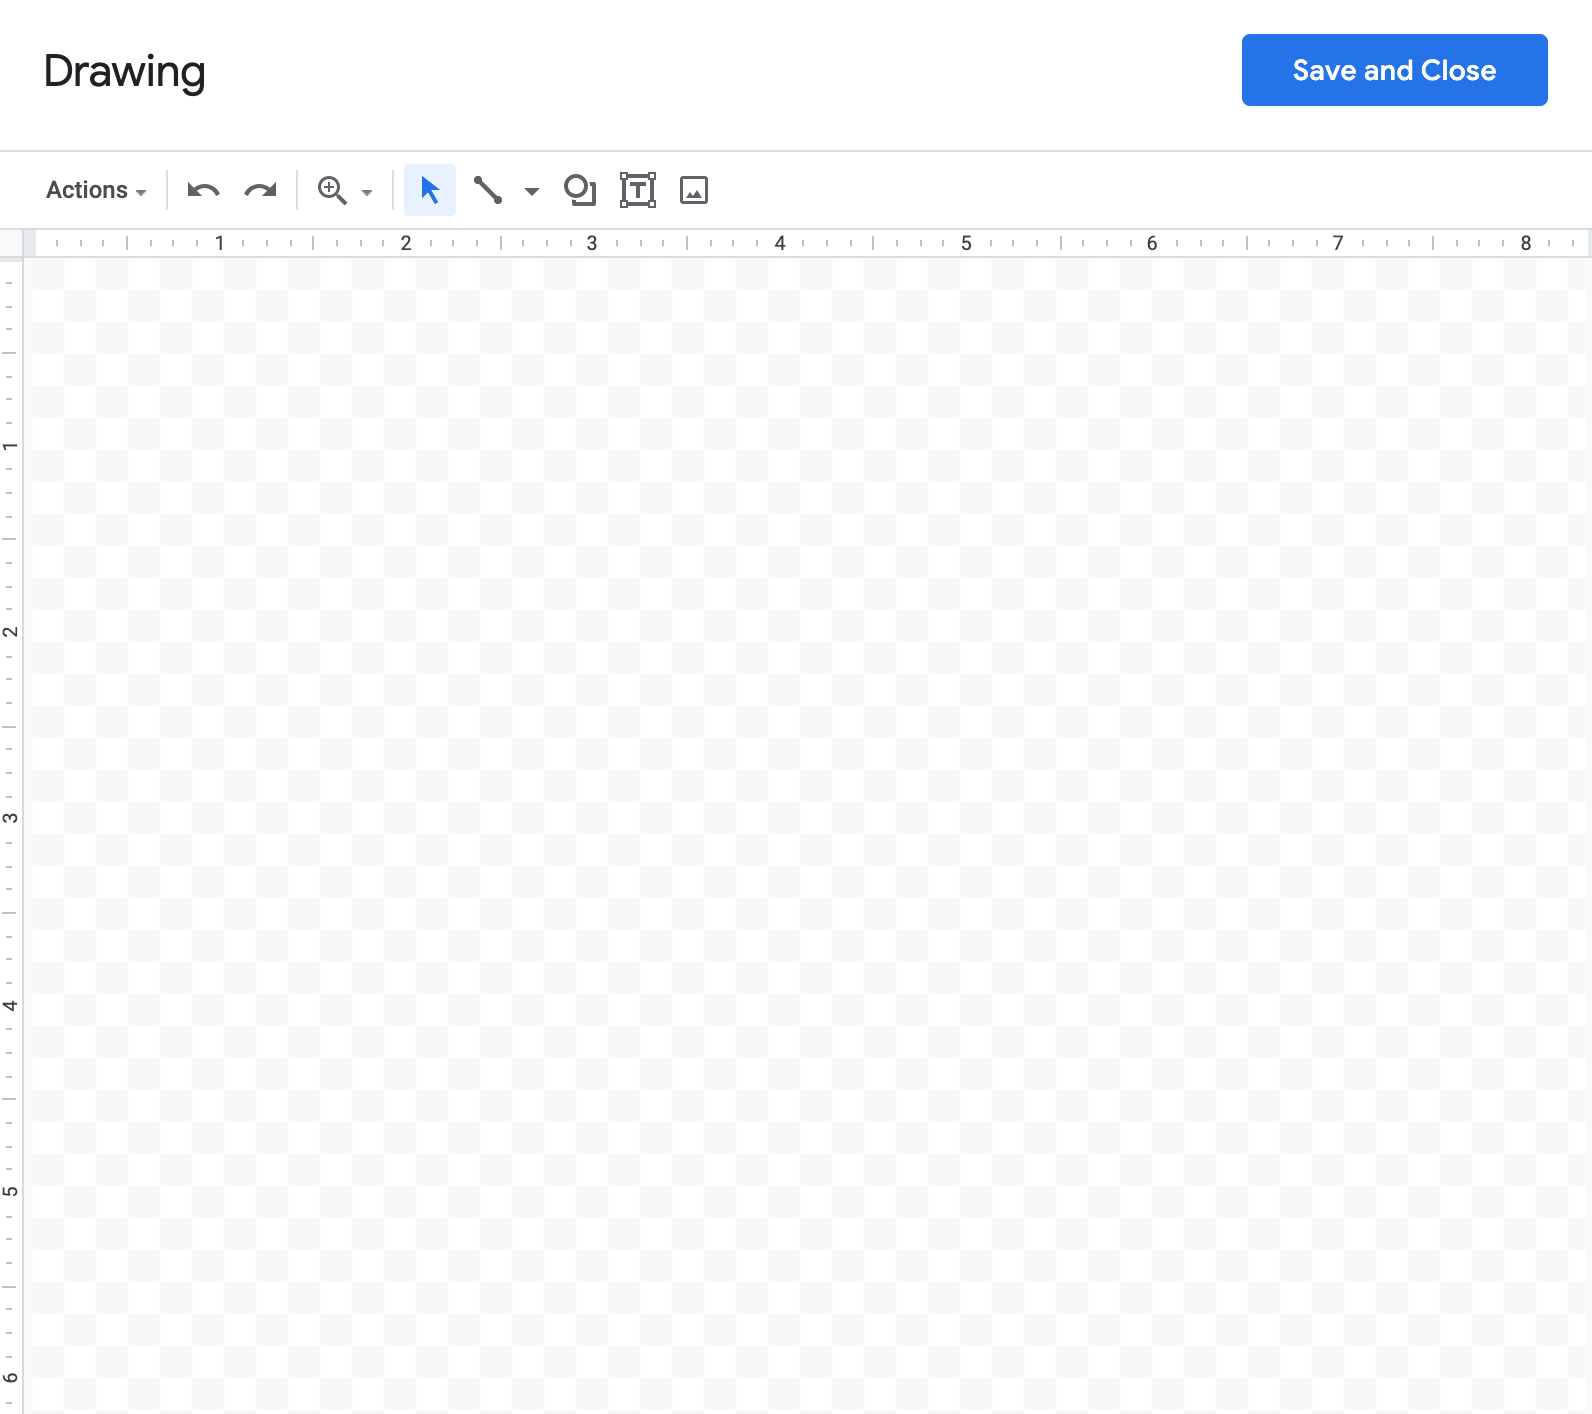
Once you click 'New', a new window will open up. This is the Drawing Tool and the place where you'll be able to insert a textbox.
In the toolbar, select the 'Text box' icon. It's the square with the letter 'T' inside it.
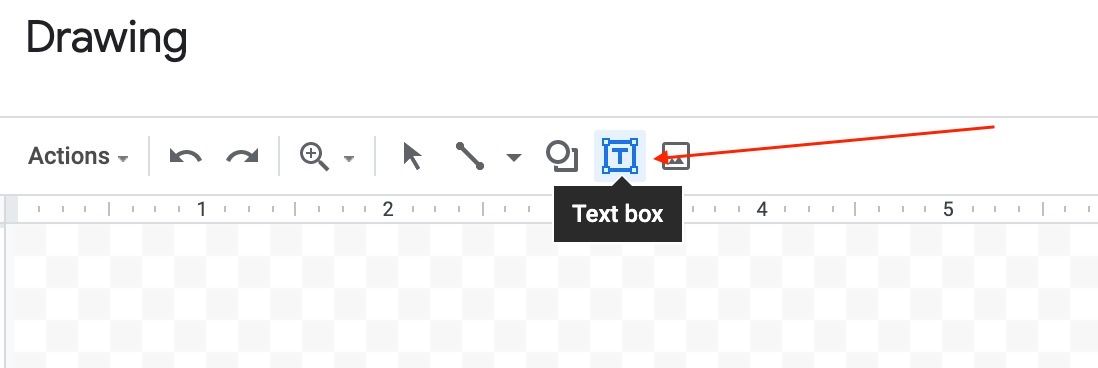
Once you've tapped that icon, you'll notice that your cursor has changed. It now looks like a little plus sign or a 'crosshair cursor' as it's known.
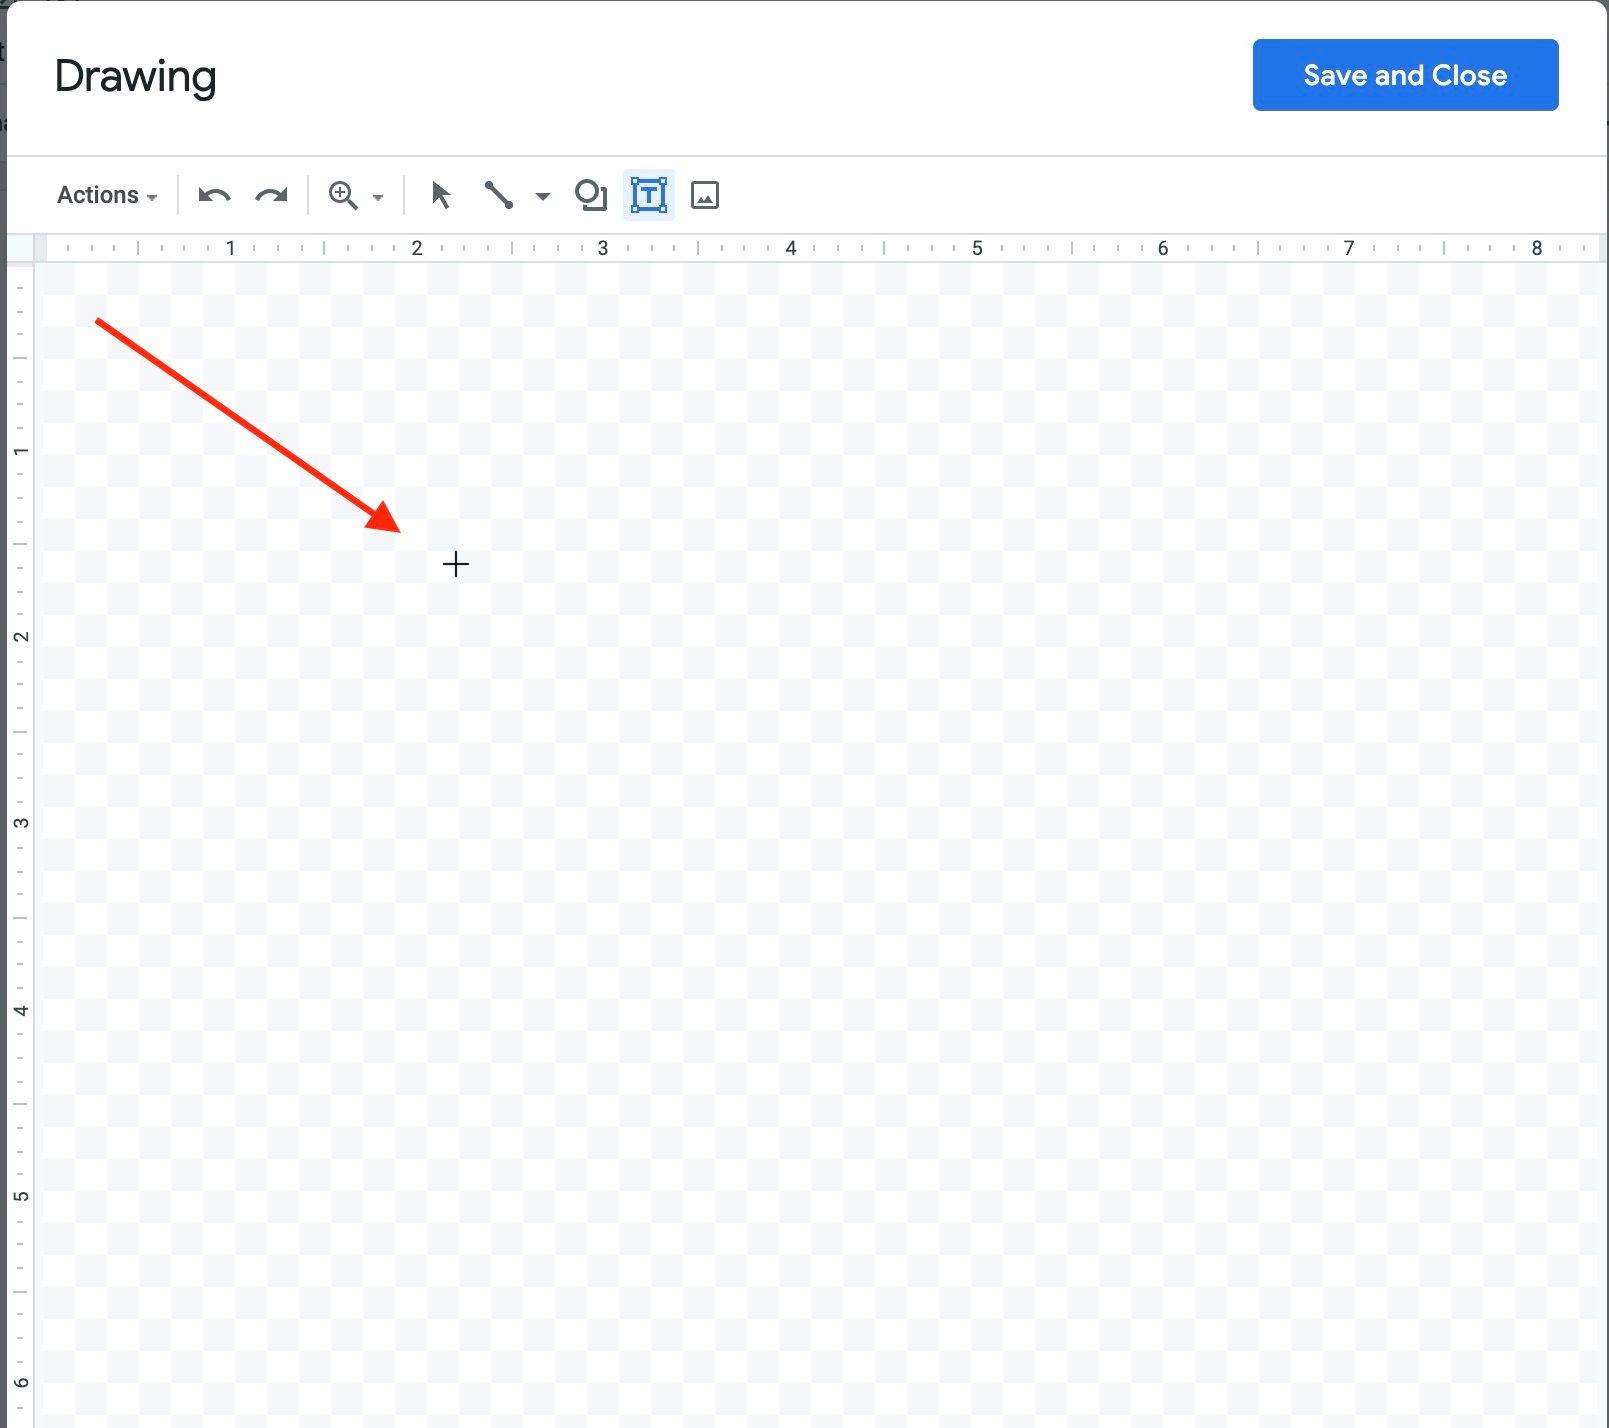
This now indicates that you can start drawing your textbox and give it a shape.
Drag and move the crosshair cursor to make a textbox. Then adjust the size you want it to have by clicking and dragging its corners.

To add some text, double click inside the textbox that you just created. You'll see a blinking cursor come up, indicating that you can start writing.

How to Customize a Textbox in Google Docs
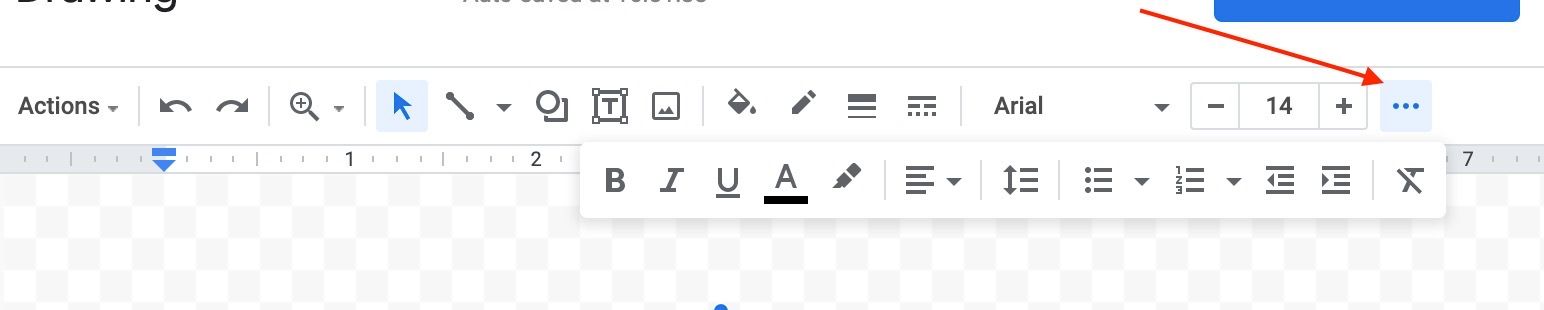
To make further edits to the text you've added, such as aligning it in the center, changing the color, font-style, or font-family, adding lists, and so on, click on the three dots on the right hand side.
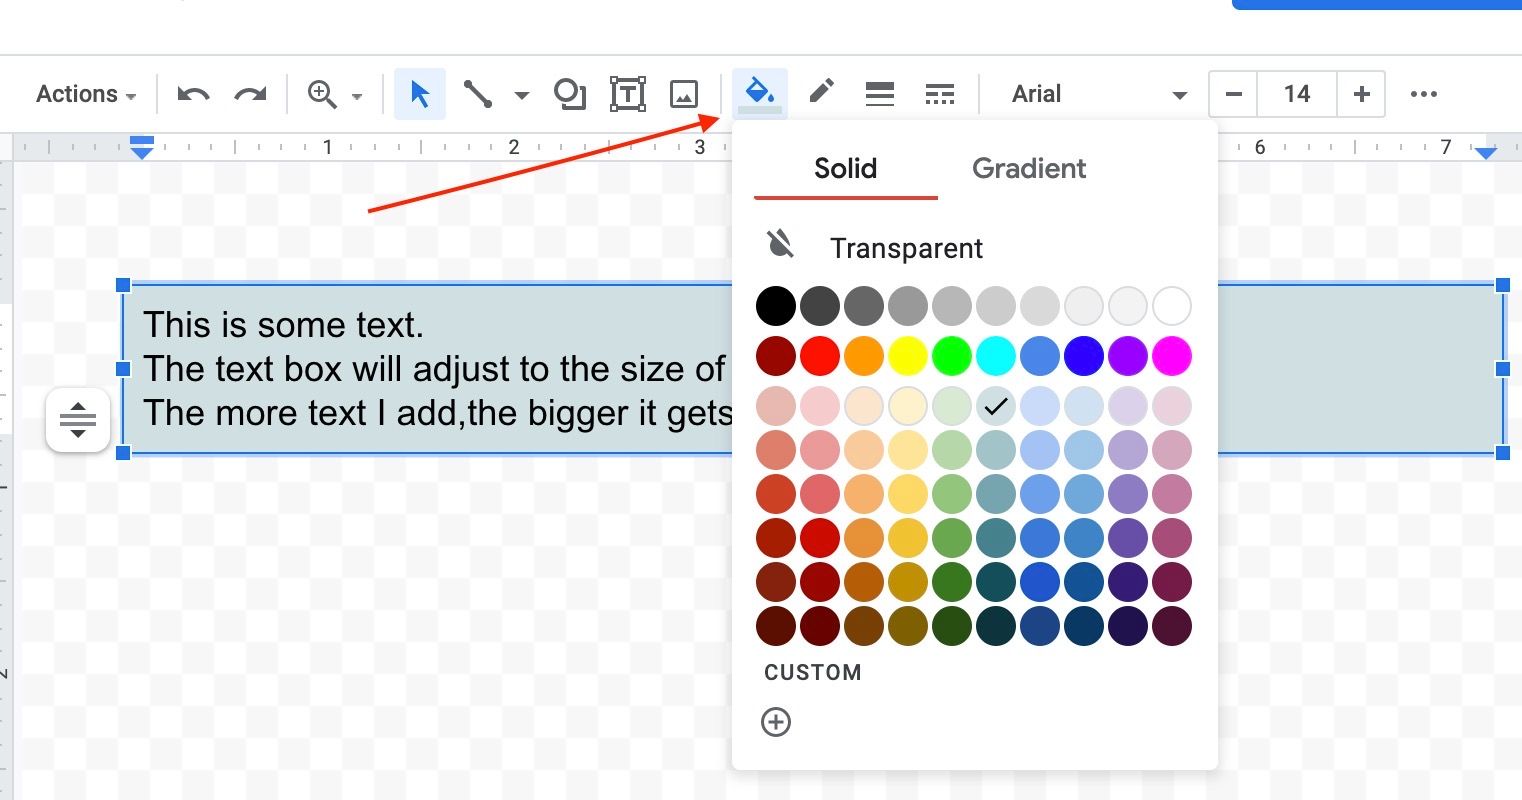
You can add a background-color if you want to make the textbox stand out more.
You do this by selecting the 'fill color' icon which is the paint bucket icon. A color picker will appear for you to select your desired background-color.
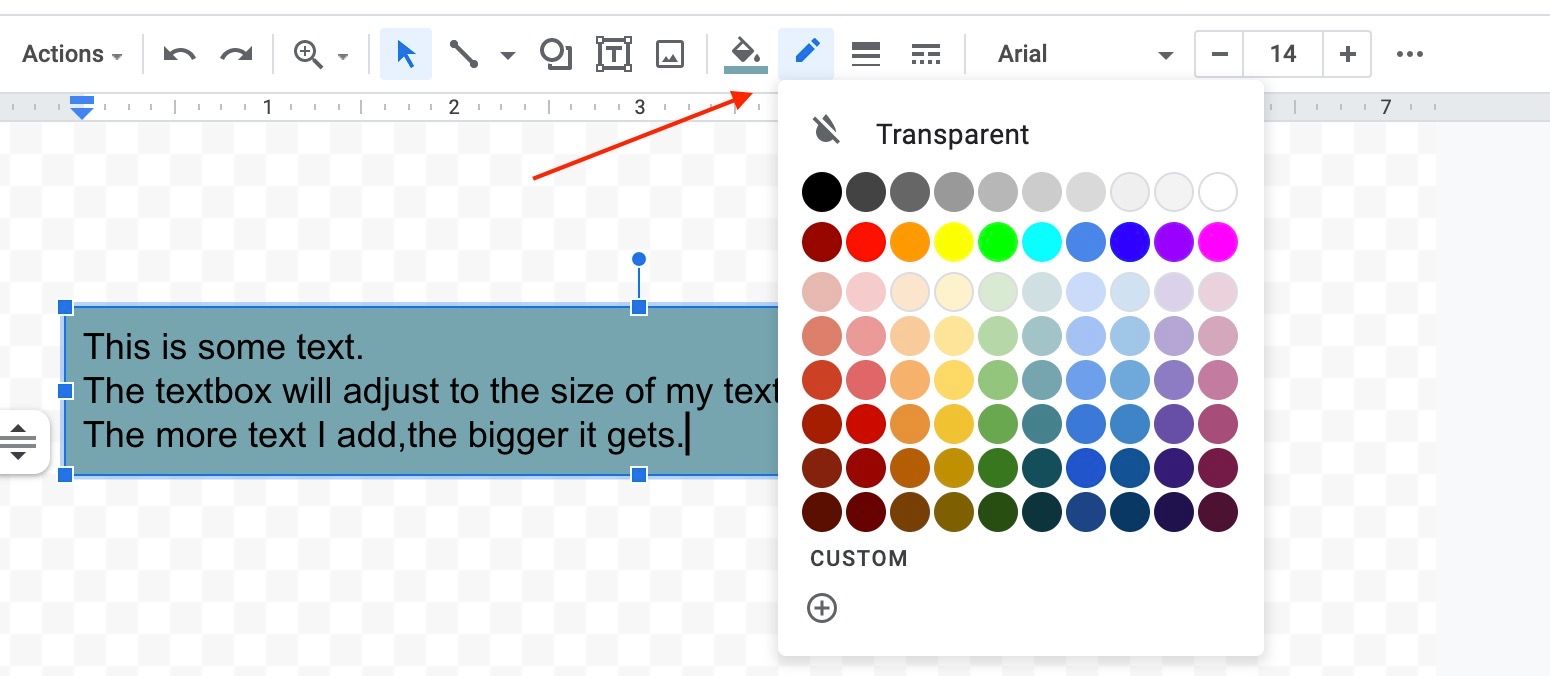
If you want, you can also add a color to the box's border. Select the 'Border color' icon and pick a color of your choice.
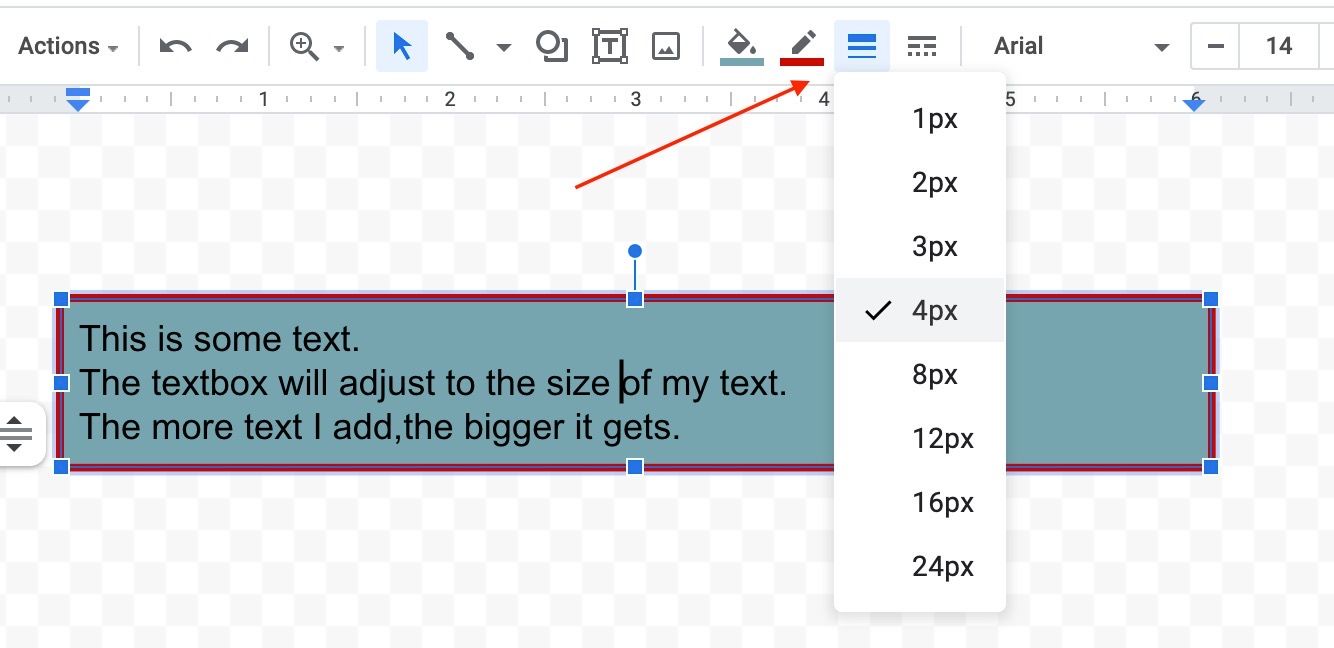
You can also change the thickness of the border. Select the 'Border weight' icon which is on the right of the 'Border color'.
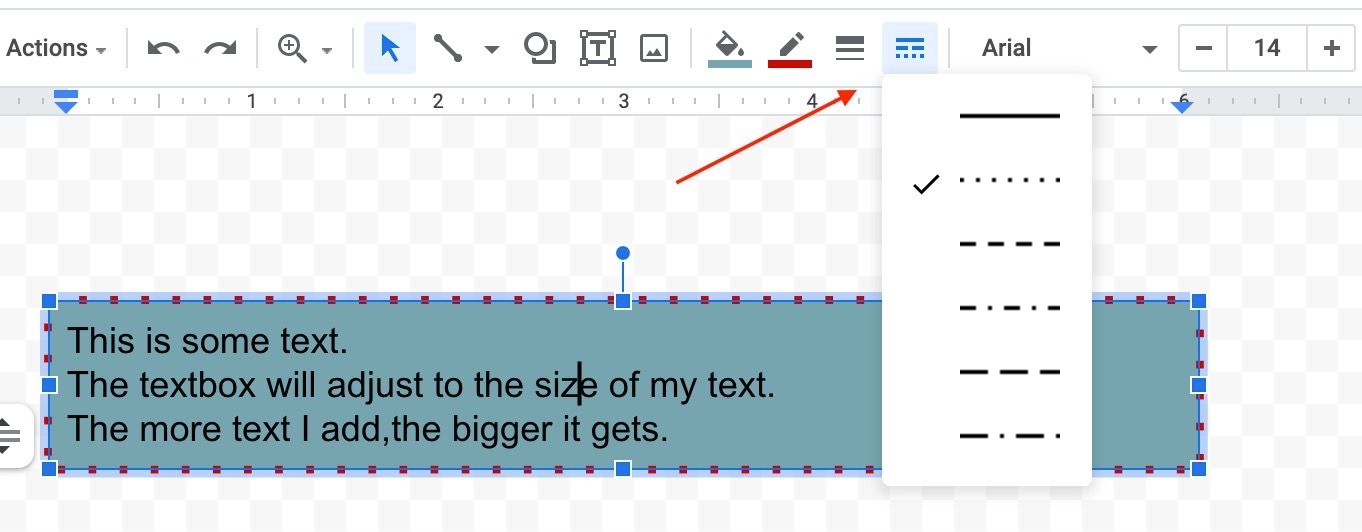
You can even change the border style with the 'Border dash' icon, giving the border a dotted style.
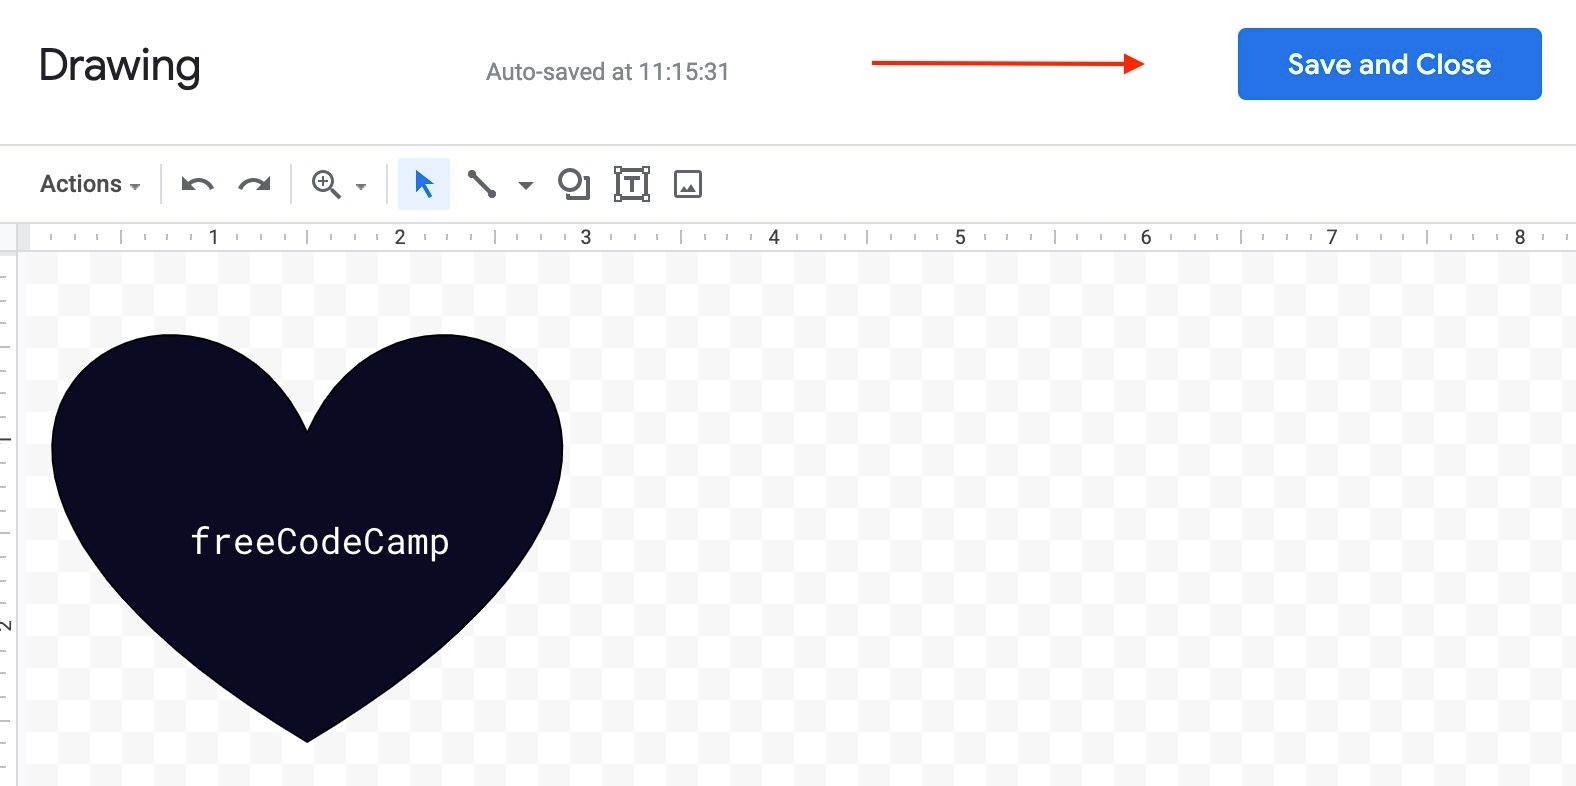
To save your work, click 'Save and Close'.
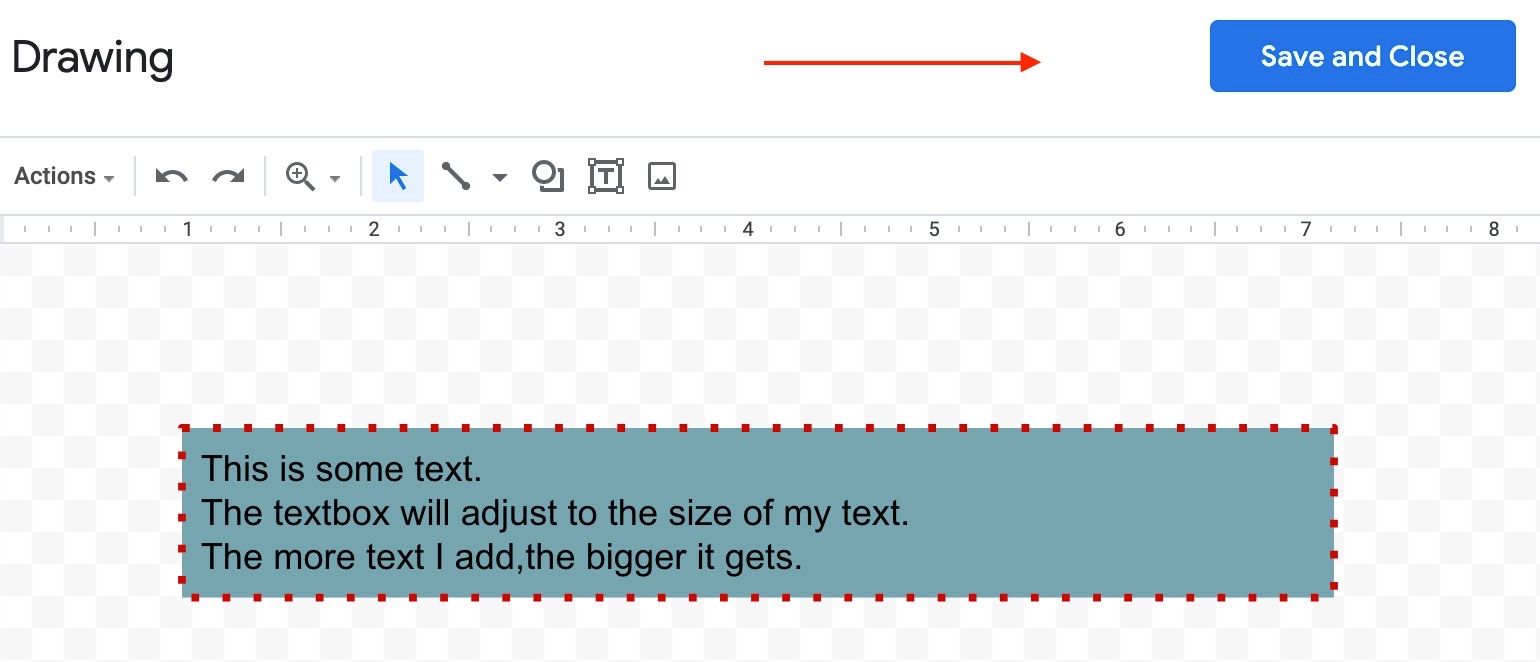
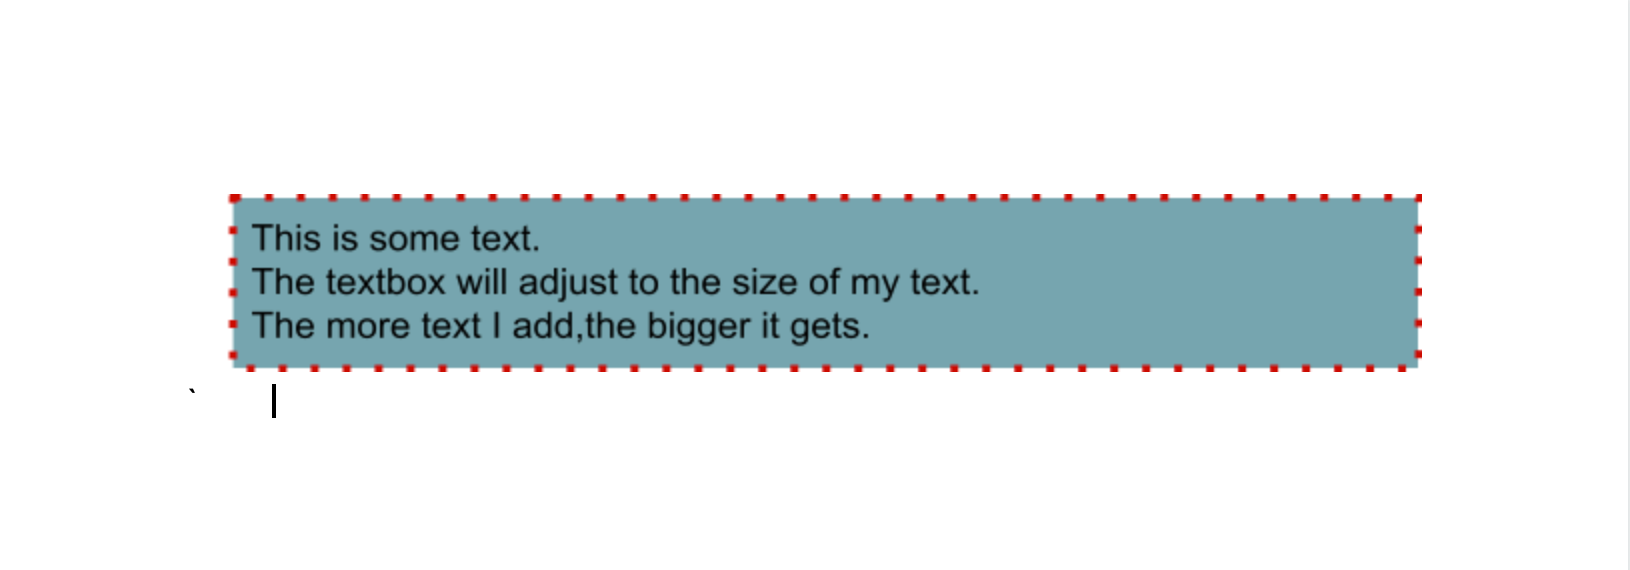
And there you have it, the textbox now appears in your Google Document.
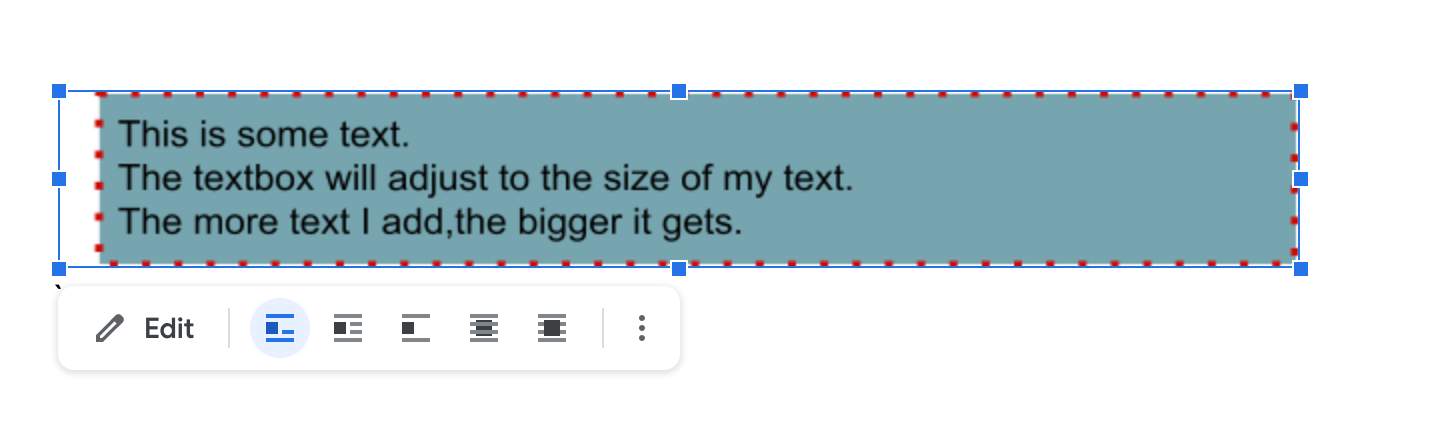
If you want to make further changes to the textbox, click on it and the contextual menu will appear.
From here, you'll be able to click 'Edit' and be taken back to the Drawing Tool, or you can adjust the text and margin in line, wrap or break the text inside the textbox, and more.
How to Insert Custom Shapes in Google Docs
Besides just adding a textbox, there are a variety of different available shapes to choose from and add to your documents.
You can combine these shapes (such as arrows, mathematical equation signs, and so on) with textboxes to make your document more interactive and stand out even more.
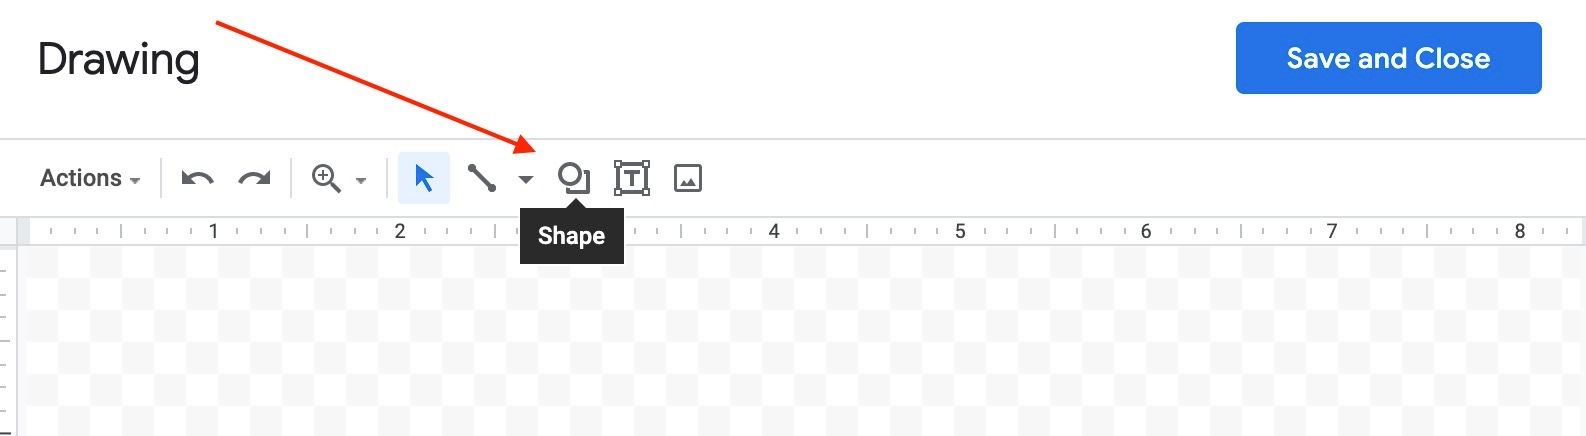
To create a custom shape, in the Drawing Tool (Insert -> Drawing -> New), navigate to the 'Shape' icon which is on the left of the 'Text box' icon.
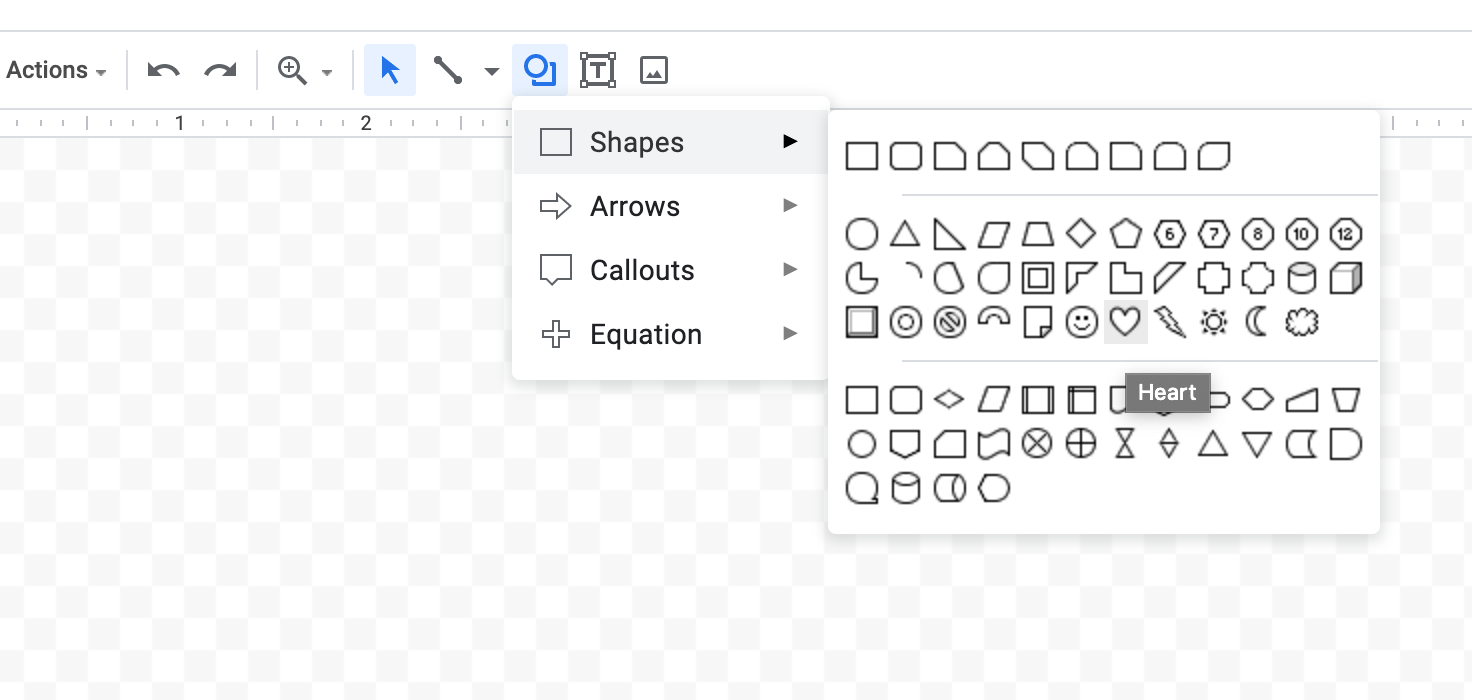
After clicking on it, you'll see a dropdown menu with all the available categories – 'Shapes', 'Arrows', 'Callouts', 'Equation'.

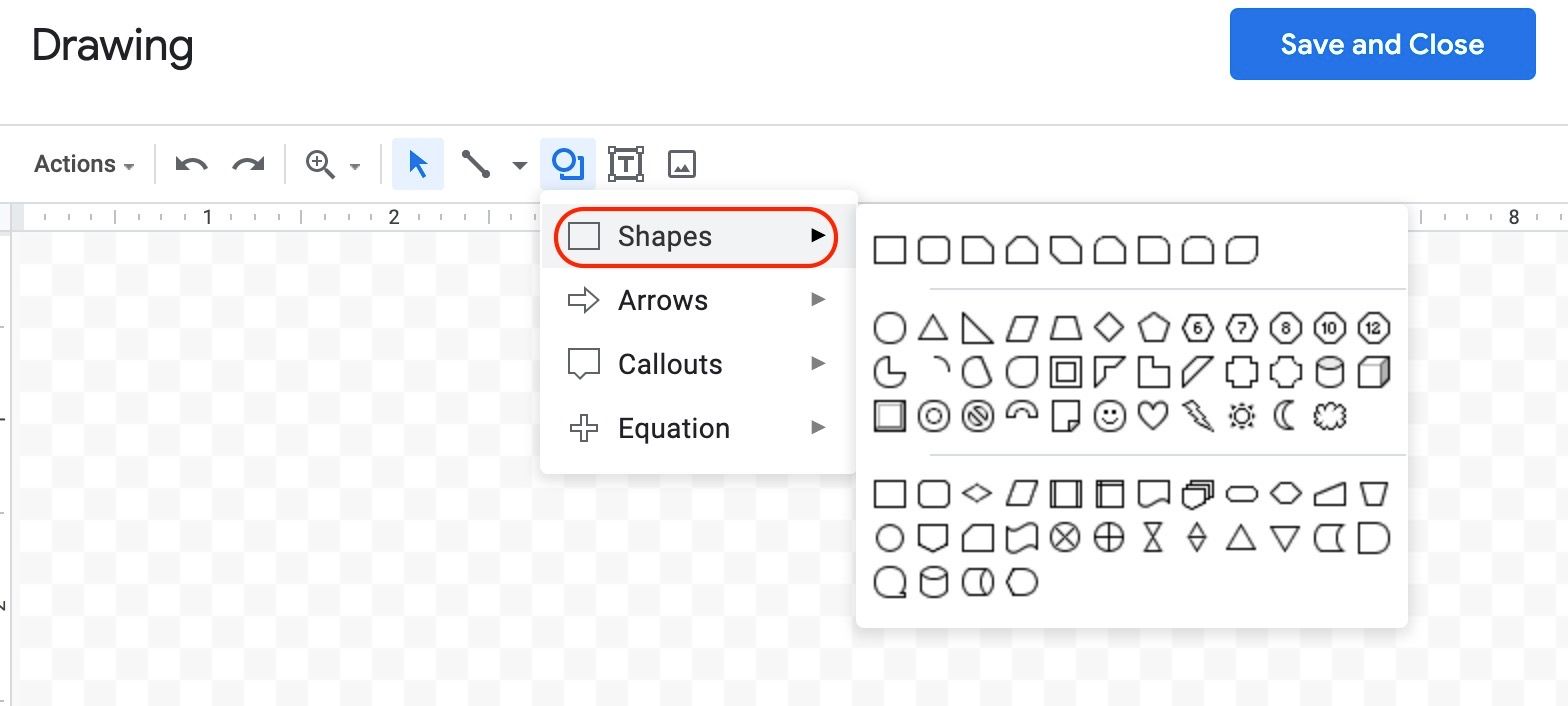
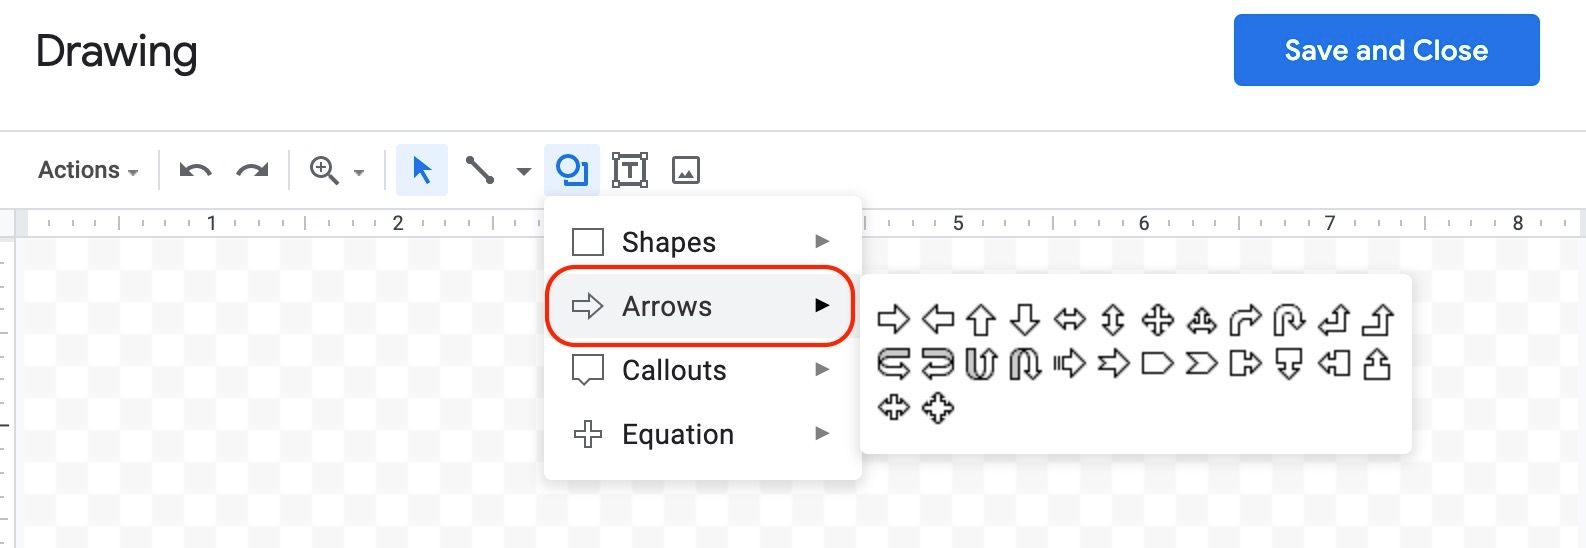
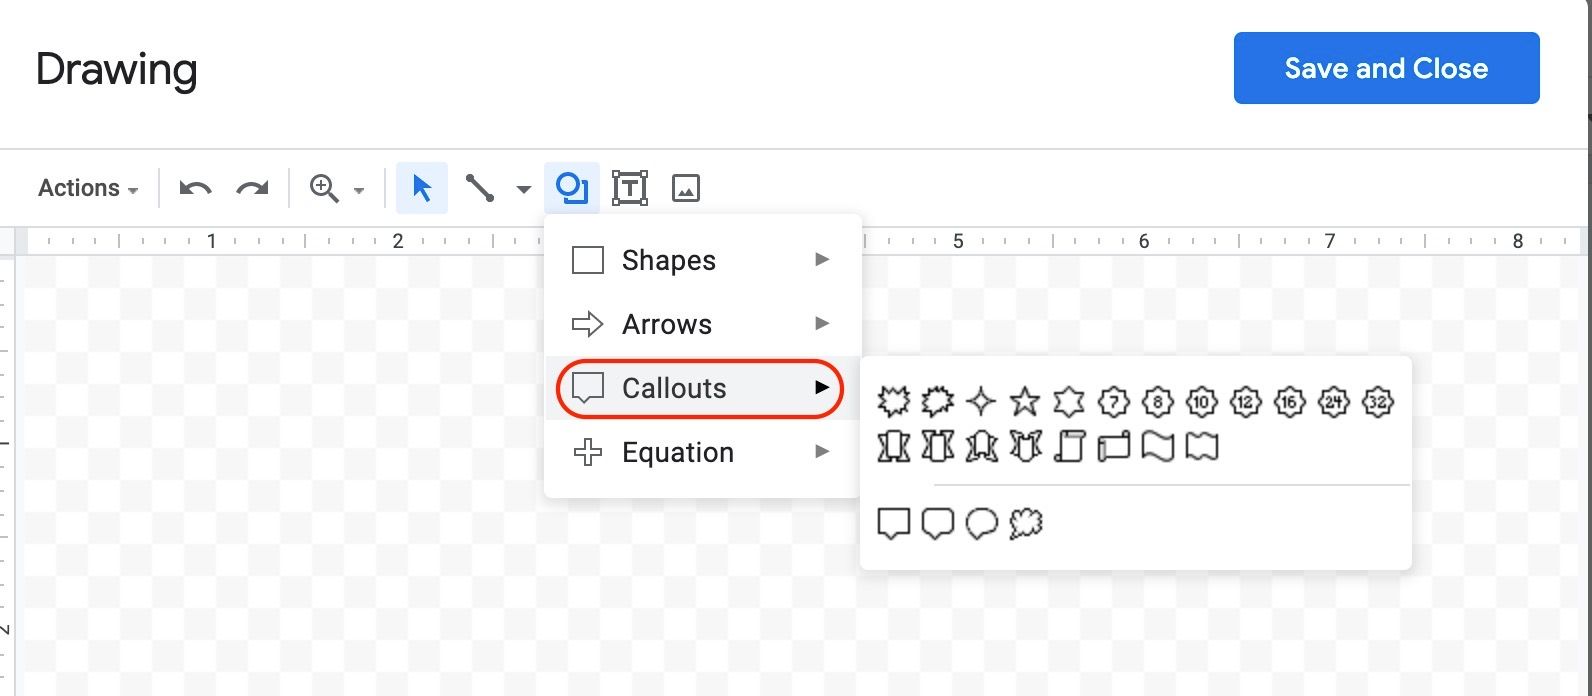
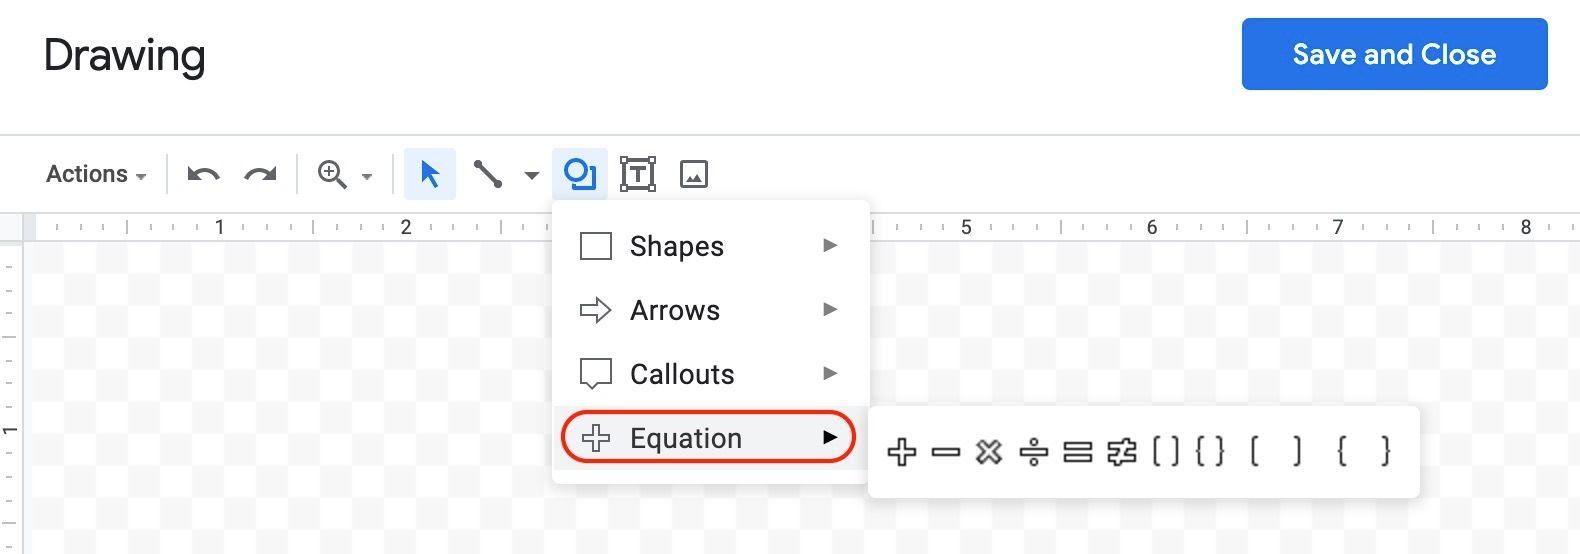
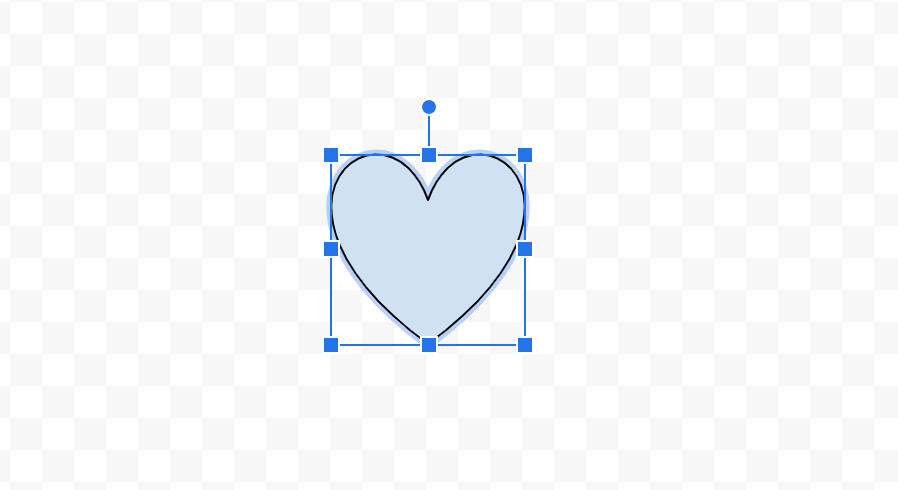
To create a shape, choose one you like and then click on the drawing area so that it appears.

From there you can adjust the size of the shape and move it around by draggind and dropping its edges (via the little squares at the edges of the spape).
Similarly to the textbox, you can add a background-color and a border color to it and adjust any text you add in the shape. You do this by clicking on the three dots on the far right corner of the toolbox where there are more options for further customization.

When you've finished your work, click 'Save and Close'.
Your shape will then be added to your Google Document.
Thanks for reading! Have fun customizing your Google Docs.