
In this guide, you will learn how to set up React Testing Library in Next.js. We'll also talk about why you should always test your React applications.
I'll discuss the features and benefits of using the React Testing Library to test your React applications and how to configure it with Next.js. To conclude this tutorial, I will show you how I tested the board of my 2048 game.
To understand this guide, you don't need any deep knowledge, but it will be easier to learn if you know React basics. The ultimate goal is to set up tests for your Next.js apps, so understanding React will give you a smooth start with testing.
Let's get started!
Why Does Testing Matter?
To become a React developer, and increase your changes of finding a job, you need to learn about testing for several reasons:
First, testing confirms that your React application works as expected. It allows you to catch bugs and errors in the early stages of development before your company gets calls from angry customers.
Testing also allows you to refactor your code with confidence by ensuring that your changes don't break existing features. Without testing in place, after each refactoring you would need to manually click through your application to double-check. This would be so tedious and time-consuming.
Developers with decent testing skills are always more in-demand because they know how to design and build quality applications that can be maintained for many years.
What is React Testing Library?
React Testing Library is a group of testing utilities designed to help you esure the correctness of your React and Next.js projects.
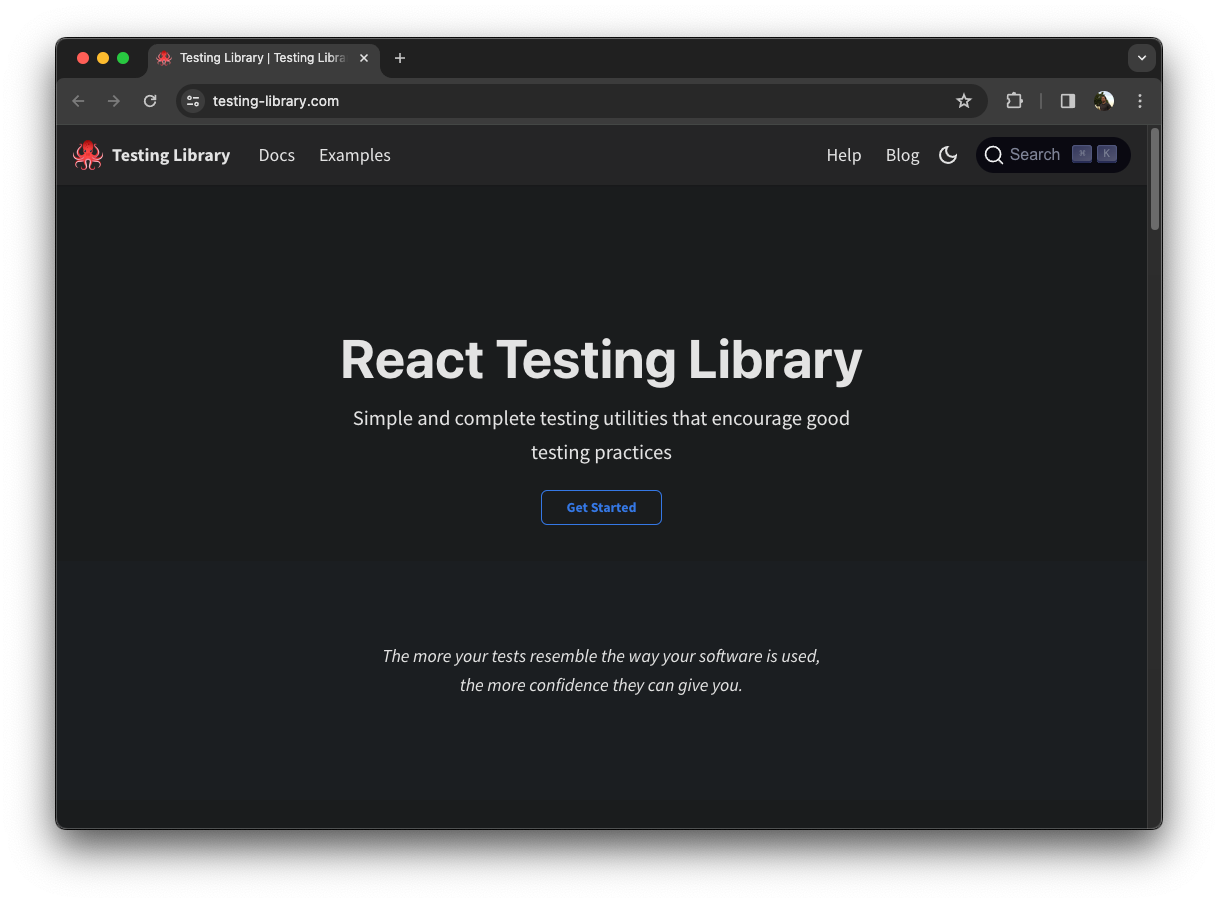 React Testing Library homepage
It doesn't matter if your project is written in TypeScript and uses React or Next.js – you can always take advantage of React Testing Library to test your application. It's easy to use and reduces the amount of code you need to write to prepare test cases.
React Testing Library was designed to simplify your life as a developer and help you write tests that don't make you frustrated. Your tests will only break when your app breaks, not its implementation.
The best part is that React Testing Library isn't limited to unit tests. You can use it to prepare integration tests, end-to-end (E2E tests), and many others. That's why it is such a powerful tool.
How to Set Up React Testing Library with Next.js
Using React Testing Library with Next.js is a very simple process. You only need four things:
- An existing Next.js project
- Jest and React Testing Library installed with npm
- Jest configured in your Next.js project
- To write your first test
Sounds simple, doesn't it?
The quickest way to create a new Next.js application is by typing npx create-next-app@latest in your command line. You will need to answer a few questions and the application will be automatically created for you.
If you have an existing Next.js project, you just need to install the testing suite using npm:
npm install --save-dev jest jest-environment-jsdom @testing-library/react @testing-library/jest-dom
In this guide, we'll use the Jest testing suite to execute tests which is a fairly common tool built by Facebook. If you wish to replace Jest with something else, you can easily use Vitest, Playwright, or Cypress – just check out the Next.js docs for more details.
To configure Jest in Next.js, you need to create a jest.config.js file in your project root and paste the following content in (it's a boilerplate):
// file: jest.config.js
const nextJest = require("next/jest");

const createJestConfig = nextJest({
  dir: "./",
});

const customJestConfig = {
  setupFilesAfterEnv: ["<rootDir>/jest.setup.js"], // <= setup file here
  testEnvironment: "jest-environment-jsdom",
};

module.exports = createJestConfig(customJestConfig);
As you can see, the config file requires us to create one more file to make our tests work. This setup file will be included before every test and we'll use it to import React Testing Libary in every test so we don't need to do it manually.
Let's create the setup file now. It must be called jest.setup.js and should contain the following line:
// file: jest.setup.js
import "@testing-library/jest-dom";
The configuration of your testing suite is almost complete.
How to Create the npm test Command
To finish configuration of our testing suite, we need to create an npm test command and link it with Jest and React Testing Library. We'll do that in package.json by adding a test command onto the scripts section:
{
  "name": "2048-in-react",
  "version": "0.2.0",
  "homepage": "https://mateuszsokola.github.io/2048-in-react/",
  ...,
  "scripts": {
    "dev": "next dev",
    "build": "next build",
    "start": "next start",
    "lint": "next lint",
    "test": "jest --watch" // <== HERE
  },
  ...
}
Now whenever you run the npm test command you will run the testing suite:
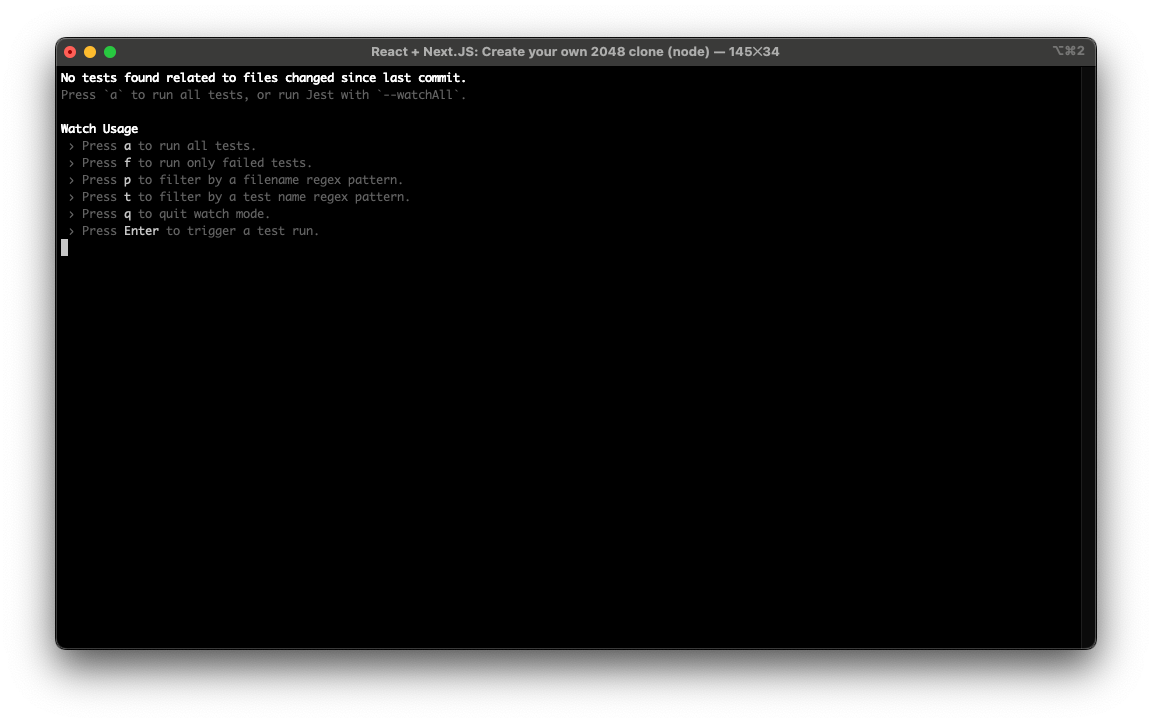 Empty test summary.
The testing suite works, but the tests are still missing. This makes sense because we haven't created any tests yet.
How to Test Components using React Testing Library
Before we write our first test, let's create a directory where we'll store them. By default, tests are stored in the directory called __tests__. This name seems strange but it has a good reason to have double underscore pre- and postfixes. Thanks to these, your test directory will be always at the top of your project tree.
 Next.js project tree with the test directory at the top (place 1)
Now we are ready to create your first test.
We could make a random empty test that tests nothing, but I would rather use a real world example. Let's take one test from my 2048 game (here's the source code) – I picked one that ensures the game board is rendered correctly.
If you don't know the 2048 game, I will only tell that it is played on the 4 x 4 board. It means the game board needs have 16 cells (4 x 4 = 16).
Now let's create a new file called board.test.jsx in the test directory __tests__:
// __tests__/compontents/board.test.jsx
import { render } from "@testing-library/react";
import Board from "@/components/board";

describe("Board", () => {
  it("should render board with 16 cells", () => {
    const { container } = render(
      <Board />
    );
    const cellElements = container.querySelectorAll(".cell");

    expect(cellElements.length).toEqual(16);
  });
});
As you can see, this test is rendering the board and checks that there are 16 DOM elements that have a cell class. Nothing more than that. If the number of cells is different, this test will fail.
Let's take a brief look into the terminal. It's all green and that means our test was implemented properly and it's passing:
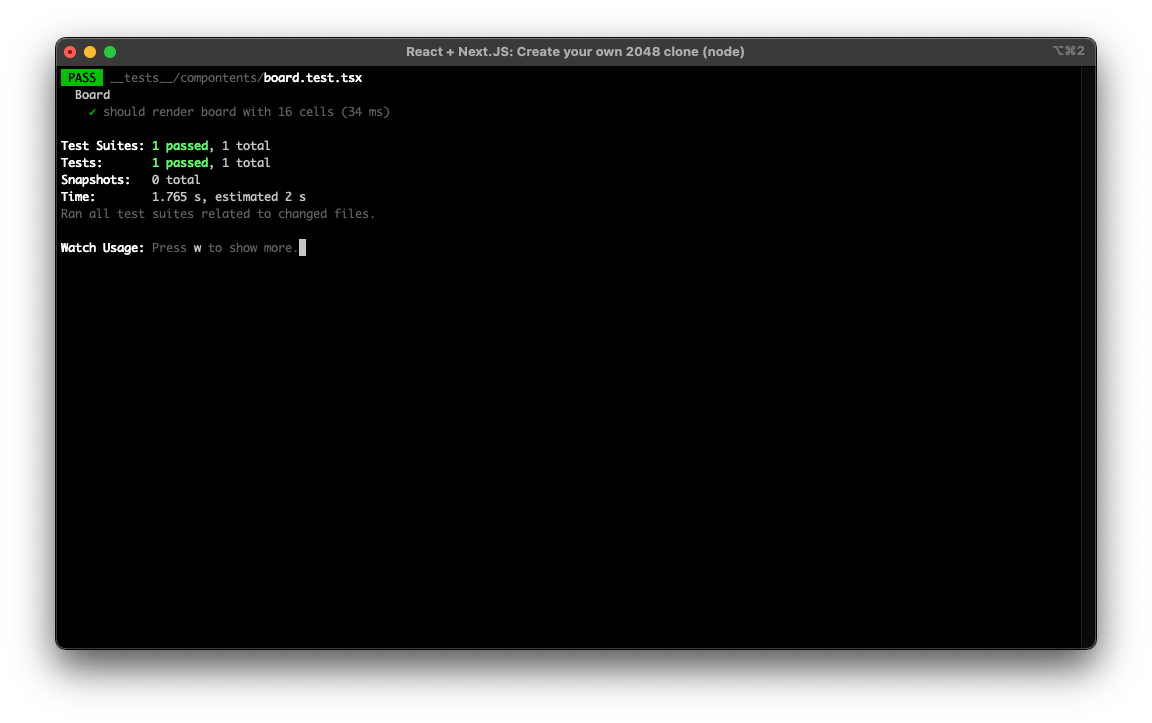 Your first successful test
What's Next?
Congratulations! Now you know how to set up one of the most popular testing libraries for React. I think it'll help you bring your Next.js application to a whole new level in terms of quality.
If you know how to build React apps, now you should double down on testing because this skill will help you to land your first job.
I hope this article helped you a lot. I'd mean the world to me if you share it on your social media.
If you have any questions you can reach me on Twitter.
Learn React & Next.js
Learning Next.js can be intimidating and often frustrating. Most online courses are focused on React and Next.js features rather than building applications. That's why I created a course that will help you to learn React and Next.js while build a magnificent 2048 game from scratch!
I believe learning should be fun and unleash creativity. Would you rather build yet another TODO list instead of an awesome game?
You can join my React and Next.js course on Udemy and build the 2048 game along with me.
It’s the only course you need.
Click to enroll