
If you have a Windows 10 PC, you might occasionally see the notorious "scanning and repairing drive" message. This error can happen to the C drive, hard drive, and any other external drive.
This scanning and repairing can take several hours, or even cost you a whole workday (as I can attest myself). It is usually caused by incorrect shutdown – forced shutdown, power outage, sudden battery removal, badly configured drivers, malware, or other virus attacks.
In this guide, I will show you 3 ways you can fix a drive that's stuck scanning and repairing on Windows 10. The first solution works in normal mode – if you're able to start your computer – while the second and third require booting your computer into safe mode.
How to Fix a Stuck Scanning and Repairing Drive by Using Windows Error Checking Tool
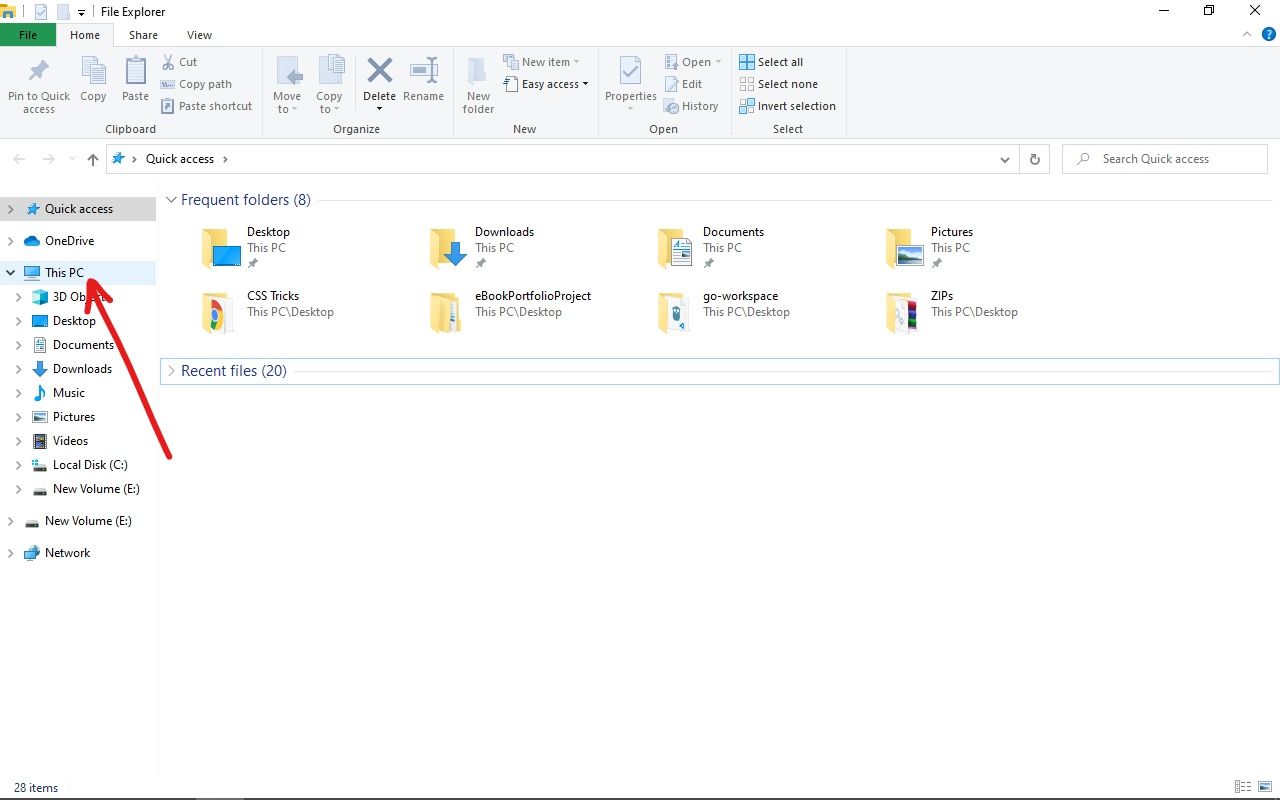
Step 1: Launch your Windows 10 File Explorer and Click on "This PC".
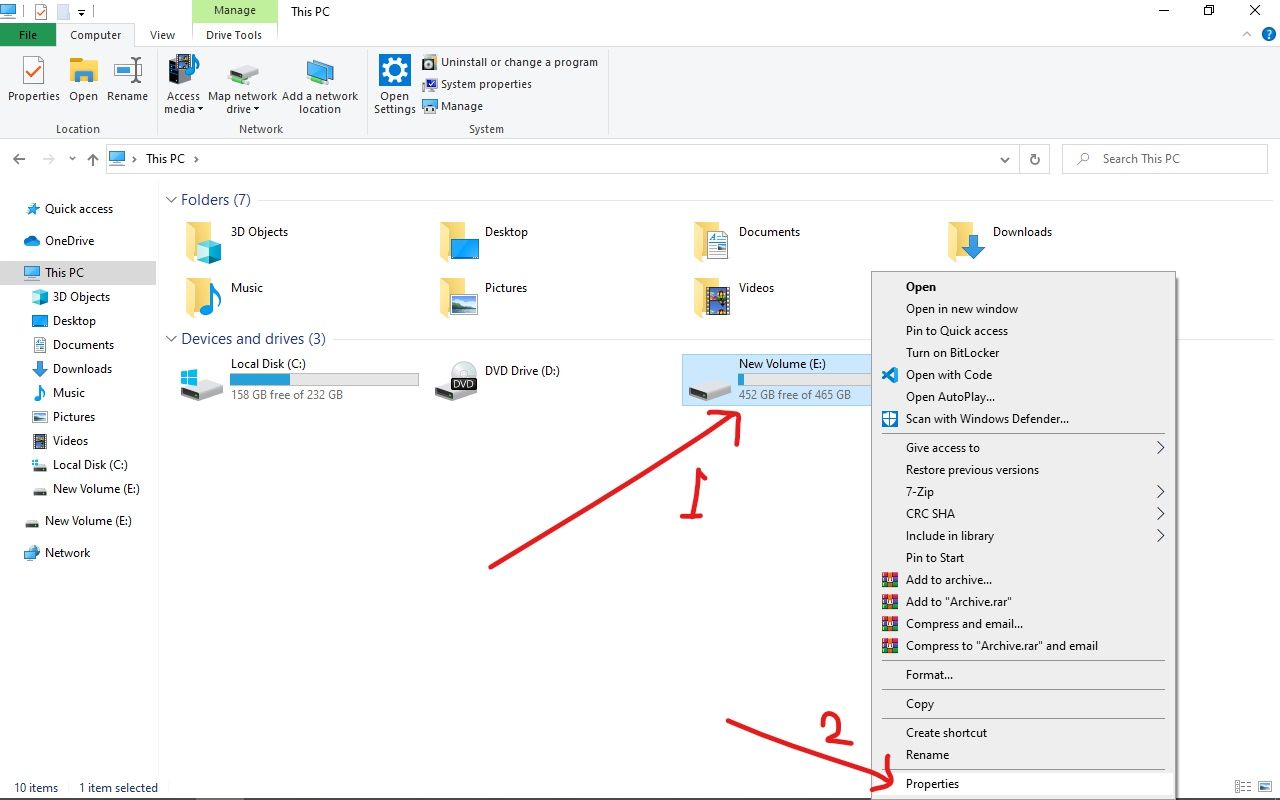
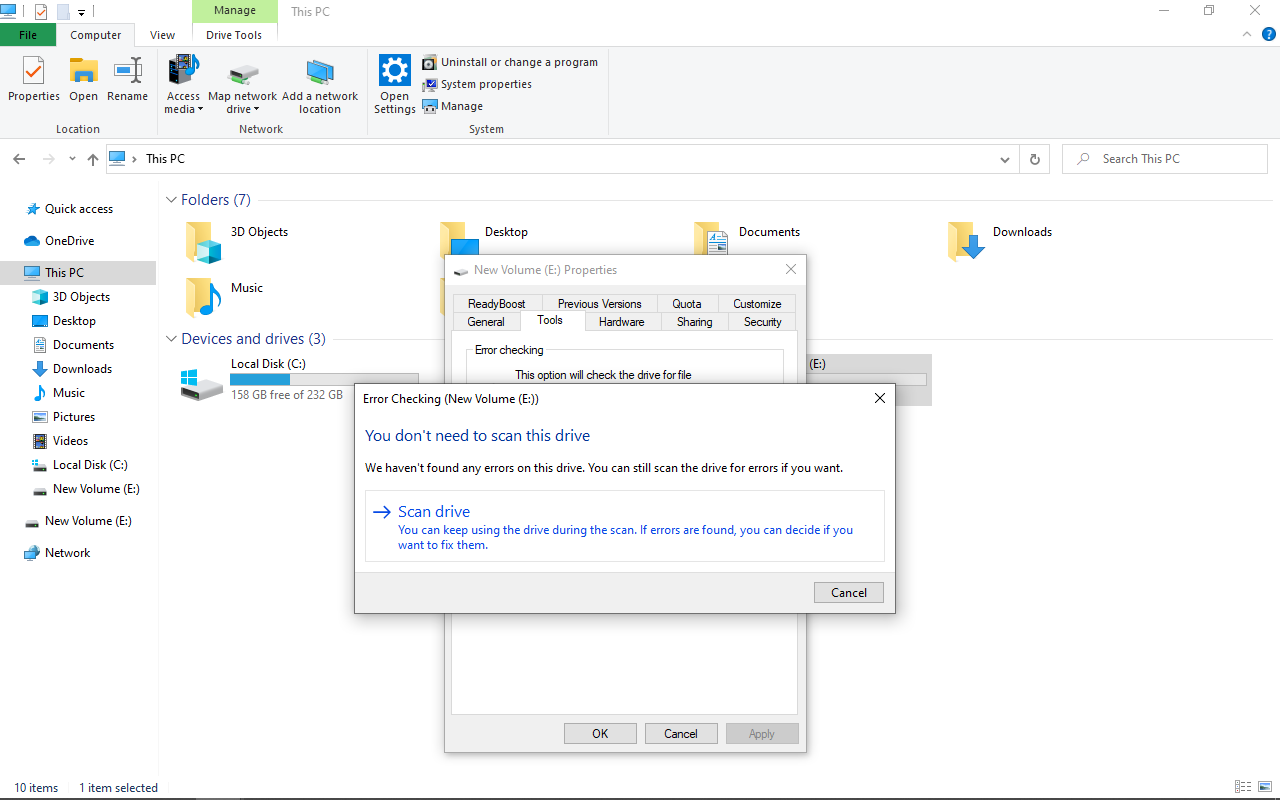
Step 2: Right-click on the hard drive that Windows is scanning and repairing and select Properties. The hard drive might be available as F, E, or any drive letter you have set.
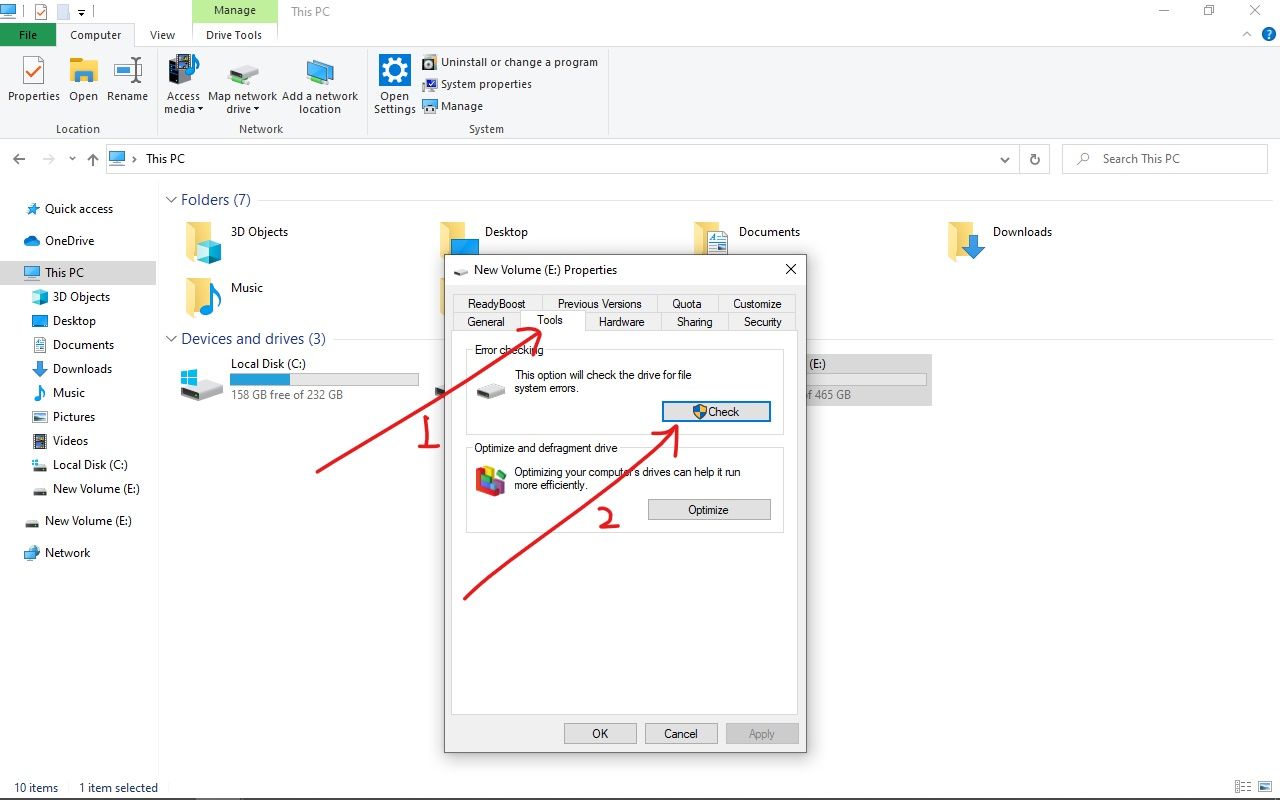
Step 3: Click on the Tools tab and select "Check" under "Error Checking".
Step 4: If there's an error on the hard drive, you will be prompted to repair the drive.
If there is no error on the hard drive, you can decide not to scan it.
How to Fix a Stuck Scanning and Repairing Drive with Windows PowerShell
To use this solution, you need to start your Windows 10 Computer in safe mode.
Follow the steps below to start your computer in safe mode:
Step 1: On your computer's login screen, press and hold SHIFT, select Power, and then Restart.
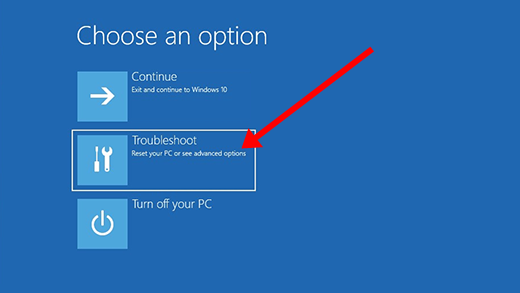
Step 2: Select "Troubleshoot" in the "Choose an option" screen.
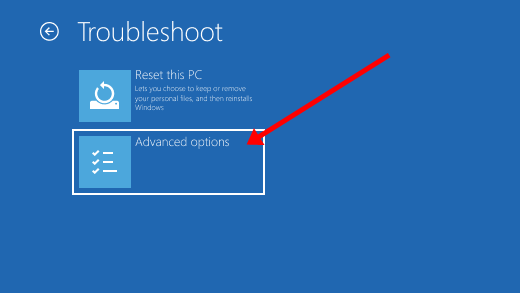
Step 3: Select "Advanced options".
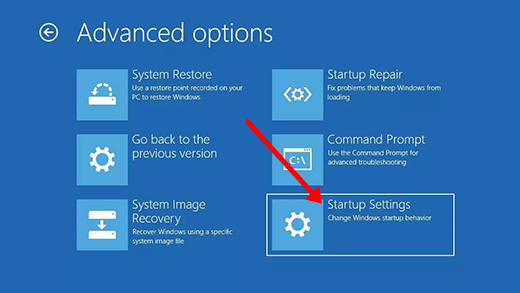
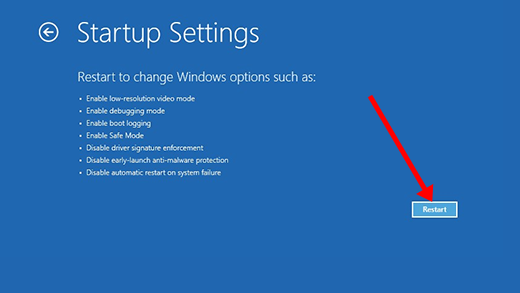
Step 4: Select "Startup Settings".
Step 5: Click on "Restart".
Step 6: When your computer restarts, press 4 or F4 to finally boot your computer into safe mode.
To fix a drive that's stuck scanning and repairing with PowerShell, follow the steps below:
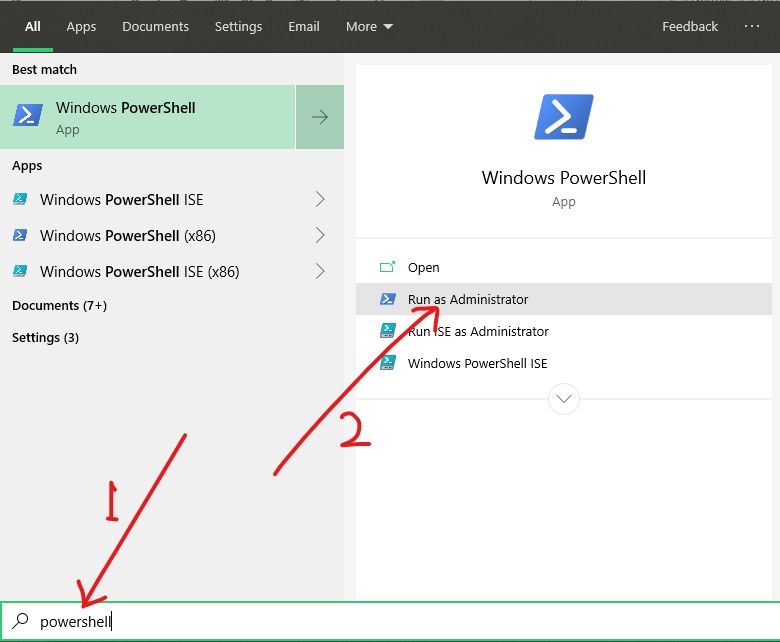
Step 1: Click on Start and search for "powershell".
Step 2: You need to run Powershell as an administrator, so select "Run as Administrator" on the right.
Step 3: Type in the command repair-volume -driveletter x and hit ENTER on your keyboard. Make sure you replace "x" with your hard drive letter.

Step 4: Restart your PC.
How to Fix a Stuck Scanning and Repairing Drive With the Command Prompt
Step 1: Start your computer in safe mode. Refer to the last fix above for how to do this.
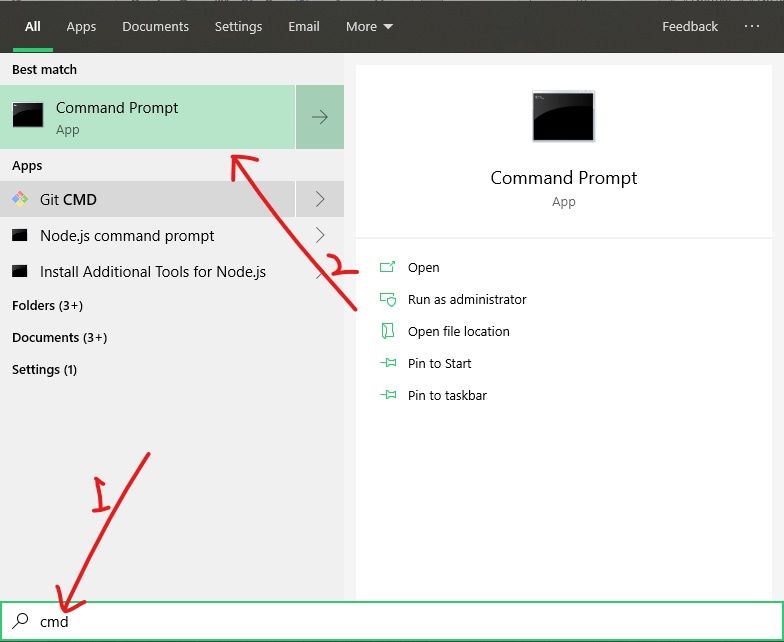
Step 2: Click on Start and search for “cmd”, then hit ENTER.
Step 3: Type in the command chkdsk x: /f and hit ENTER. Replace x with your hard drive letter.
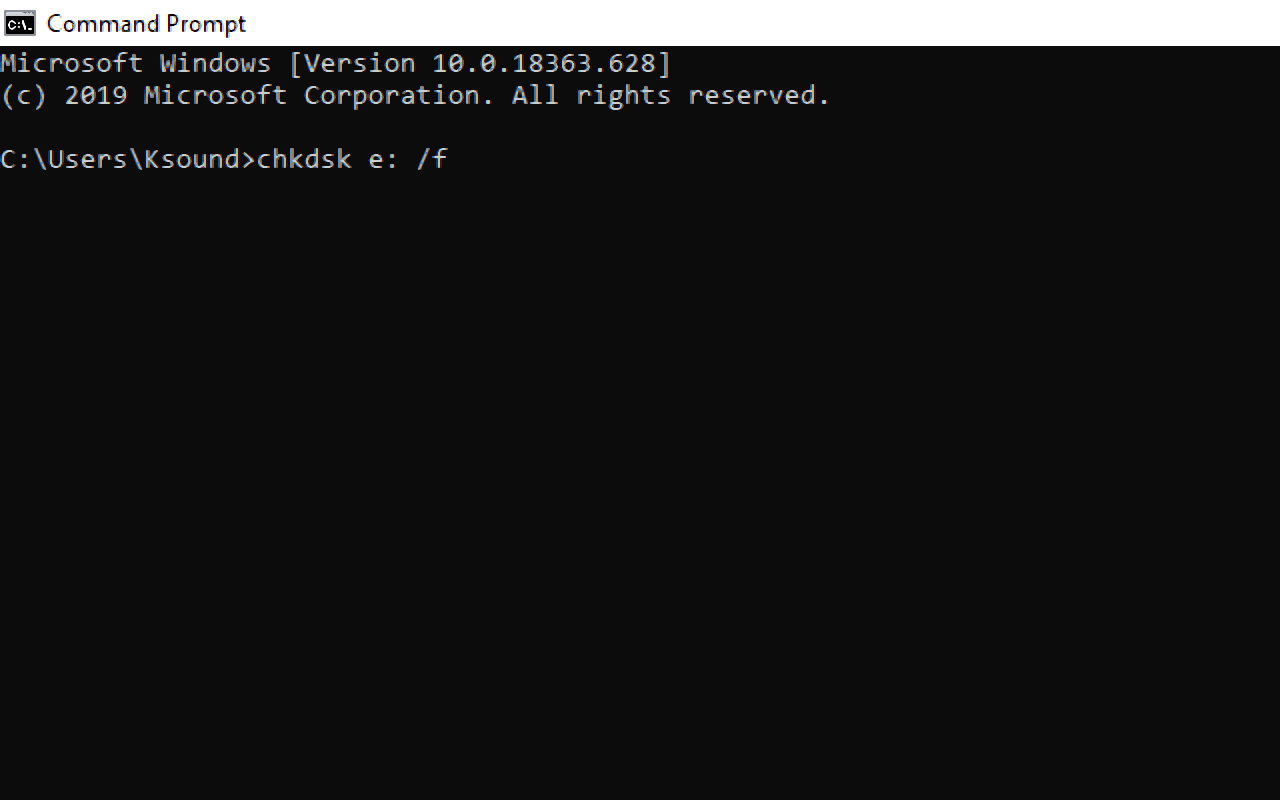
Step 4: Restart your PC.
Final Words
In this detailed guide, you learned how to fix a hard drive that's stuck scanning and repairing.
The fixes discussed in this article also apply to any other drive – including C.
As a last resort to fix this issue, you can back up your data and restore your computer.
Thank you for reading.