
By Aditya Sridhar
Are you interested in Front End Development?
If so, then this post is for you!
To get started with Vue.js, you need to know HTML, CSS, JavaScript, rocket science, nuclear physics, quantum theory etc…
Hmm ?…
Well, not really. Just HTML, CSS and JavaScript are good enough to get started with Vue.js.
This post will cover how to easily create a simple Vue.js app and will explain the folder structure of the created app. Also, we will be creating a simple Vue.js component.
So let’s get started.
Prerequisites
Install Node.js if not already present
You need Node.js, since the libraries required for Vue are downloaded using node package manager (npm). Refer to https://nodejs.org/en/ to install Node.js.
Install Vue CLI
Install Vue CLI using the following command:
npm install -g @vue/cli
Vue CLI helps to create a Vue.js project easily. Though it’s called a CLI, it also has a UI to create the project which I will cover below.
Create the Project
Type the following command in the command prompt:
vue ui
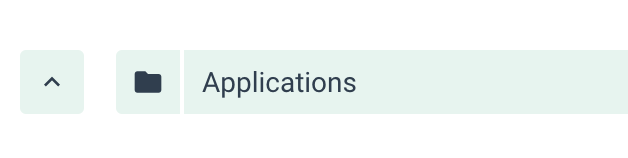
This will open the following screen in the browser:

Click on Create. Then enter the destination where the project should be created.
Then click on Create a new project here.
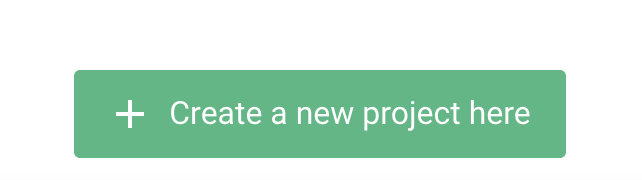
This will open up the following screen:
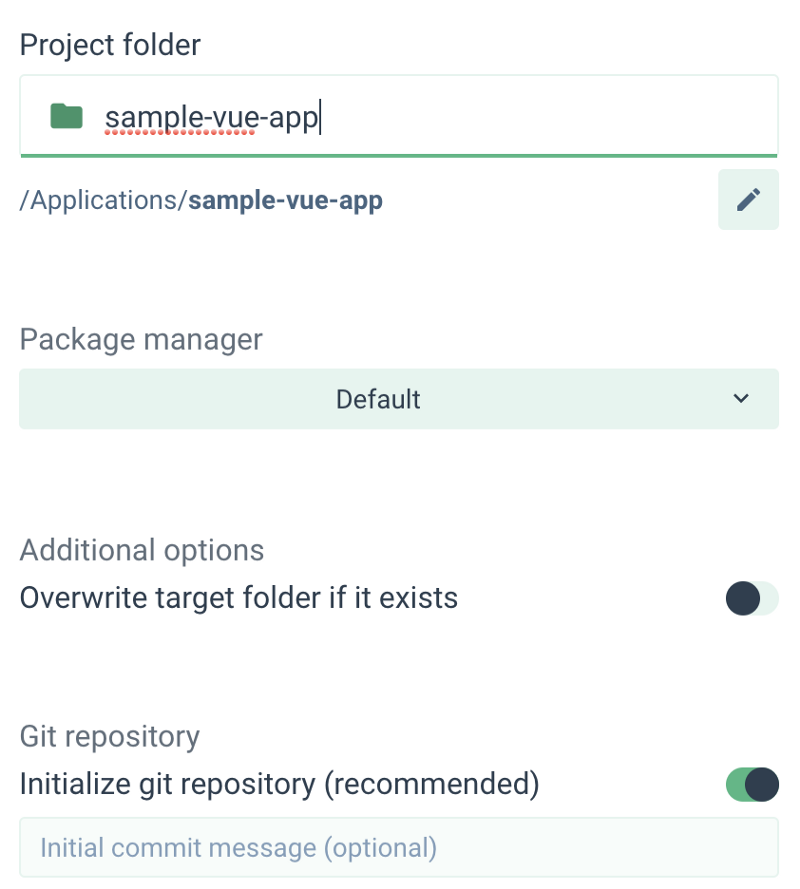
Enter the project folder as sample-vue-app and click Next.
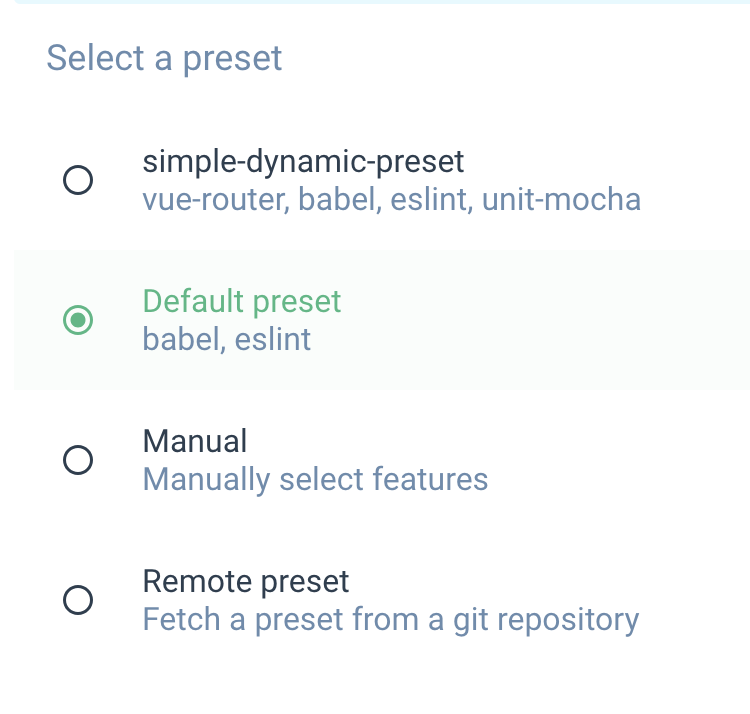
In the Next Screen, select default preset, as shown in the image below. For this post, default-preset is the simplest one to start off with.
Finally, click on Create Project
In order to test if the project is setup fine, go into the project folder and start the application using the following commands:
cd sample-vue-app
npm run serve
The application runs on localhost:8080. The image below shows how the application looks in the browser:
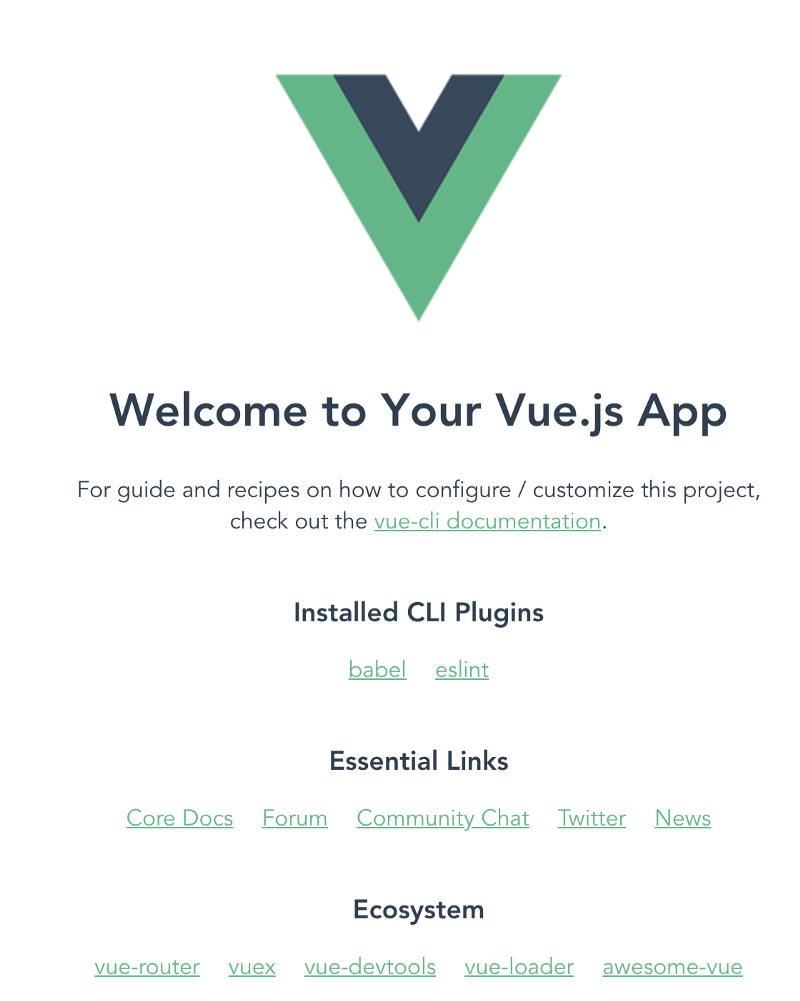
Congratulations, you have created your first Vue.js project!
But wait a minute, the project has many files and folders which were created automatically.
Is it really necessary to know what these files mean?
Knowing them will definitely help when the code behaves in a weird manner, which often happens in the developer world.
Application Folder Structure
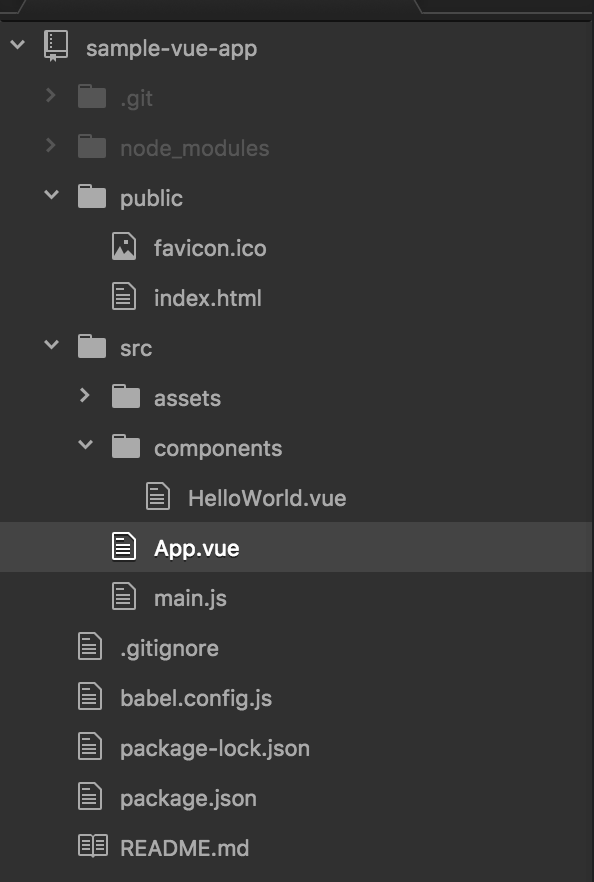
- package.json: This file has all the node dependencies.
- public/index.html: This is the first file that loads when the application starts. Also, this file has the following code snippet
<div id=”app”></div>. All the components are loaded within this div with id app. - src/main.js: This is the file where the Vue Instance is created. This file has the following code snippet
new Vue({ render: h => h(App)}).$mount(‘#app’). This snippet is telling that App Component needs to be loaded into an element with id app (which is the div element). - src/App.vue: This file corresponds to the App component which acts as a container to all other components. It has a template for the HTML code, it has a script for the JavaScript code, and it has a style for CSS.
- src/components: This is where all the components you develop will be stored. All the components will have a template, script, and style tags for HTML, JavaScript, and CSS code respectively.
- dist: This is the folder where the built files are stored. To get this folder, run the command
npm run build. When this command is run, the code is minified and bundled and stored in the dist folder. The code from this folder is generally deployed to production.
Create Your First Component
Create a file called as First.vue inside src/components. This file will have HTML, JavaScript, and CSS. Let's add them one by one. All the code under this section belongs to First.vue file. First.vue will be our Vue Component
CSS
<style scoped>
.demo {
    background-color: cyan;
}
</style>
This is basic CSS. The parameter scoped in <style scoped> means that the CSS applies to this component only.
JavaScript
<script>
export default {
    name: 'First',
    props: {
    msg: String
    }
}
</script>
name parameter indicates the name of the component which is First.
props parameter indicates the input to this component. Here we will have one input called as msg which is of type String.
HTML
<template>
    <div class="demo">
    <h1>{{ msg }}</h1>
    </div>
</template>
{{msg}} is the way in which the input parameter to the Vue Component can be accessed in the HTML code.
Complete Code for First Component
This is the content of the file First.vue:
<template>
    <div class="demo">
    <h1>{{ msg }}</h1>
    </div>
</template>

<script>
export default {
    name: 'First',
    props: {
    msg: String
    }
}
</script>

<style scoped>
.demo {
    background-color: cyan;
}
</style>
Great, the component is now created! ?
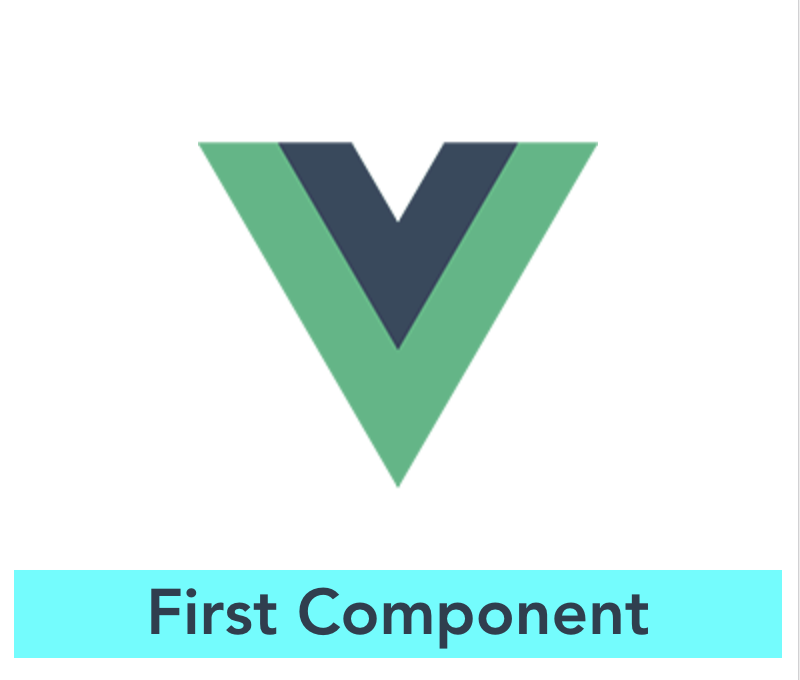
Run the Application now using npm run serve and you will see the below screen:

Wait a minute, isn’t this the same output as before. Where is the component we just created?
The thing is, we created the component but we never used it anywhere. Let’s now use this component.
Using the Component
Let's add this component to the main App component. Here is the updated code for App.vue:
<template>
  <div id="app">
    <img alt="Vue logo" src="./assets/logo.png">
    <First msg="First Component"/>
  </div>
</template>
<script>
import HelloWorld from './components/HelloWorld.vue'
import First from './components/First.vue'
export default {
  name: 'app',
  components: {
    First
  }
}
</script>
<style>
#app {
  font-family: 'Avenir', Helvetica, Arial, sans-serif;
  -webkit-font-smoothing: antialiased;
  -moz-osx-font-smoothing: grayscale;
  text-align: center;
  color: #2c3e50;
  margin-top: 60px;
}
</style>
- First the component needs to be imported into the App component. This is done with the command
import First from ‘./components/First.vue’ - Next, in JavaScript, we need to mention that the App component will be using the First Component. This is done by the code snippet
components: {First} - Finally, we need to use the First component in the App component. This is done in the HTML template using the code snippet
<First msg=”First Component”/> - Here msg is the input parameter of the First Component and the Value of msg is being sent from the App Component
Now run the application using npm run serve and you will see the below output:
Code
Click Here to get the code shown here from the GitHub repository. The GitHub repo has the instructions on cloning and running the code.
Click Here to see how the application looks. It has been deployed using Github pages.
Congratulations ?
Now you have successfully built your first Vue.js App. You’ve also learned how to create a very simple component. In my next post on Vue.js, I will cover more concepts. Stay tuned!
References
Vue.js: https://vuejs.org/v2/guide/
Vue CLI: https://cli.vuejs.org/guide/
About the author
I love technology and follow the advancements in technology. I also like helping others with any knowledge I have in the technology space.
Feel free to connect with me on my LinkedIn account https://www.linkedin.com/in/aditya1811/
You can also follow me on twitter https://twitter.com/adityasridhar18
My Website: https://adityasridhar.com/
Other Posts by me
A Quick Guide to Help you Understand and Create Angular 6 Apps
A quick guide to help you understand and create ReactJS apps