By Charles Freeborn
The laravel documentation recommends using Homestead (a pre-packaged all in one vagrant box that includes Ubuntu 16.04, PHP 7.1, Nginx, Composer) to install laravel. Setting up a laravel project is easy, once you have homestead running on your machine.
In this article, we will be looking at a simple approach to installing laravel on a windows system.
Prerequisites
To get started, install the following;
Git : Git will serve as an SSH client and we will be using Git Bash shell as our command line throughout the setup. Click here to download and install git on your system.
Sublime text: This will serve as the text editor for building application. Click here to download and install sublime text. Or you can install any text editor of your choice like VS code, and atom.
After installing git, open git bash and generate an ssh key pair. To achieve this, go to the home directory and run the command:
ssh-keygen -t rsa -C "youremail@mail.com"
Main Installation
Step one: To get started with the installation, we will have to download and install virtual box. Click here to download and install the windows installation setup.
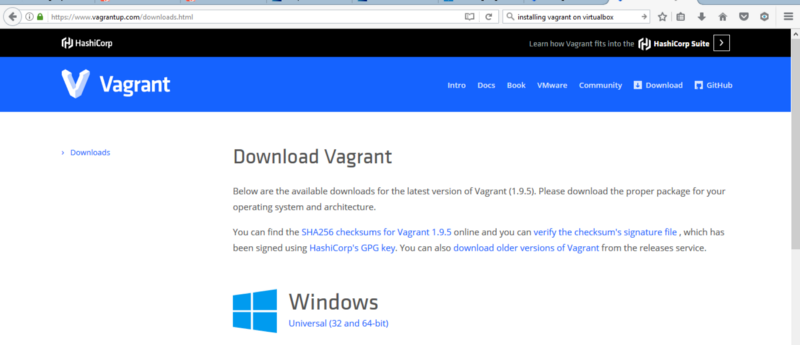
Step two: At this point, we will install vagrant which will serve as a container for homestead . Download and install vagrant for Windows.
Step three: Having installed virtual box and vagrant, we can add laravel to the vagrant box. Now open the Git Bash, and in the home directory, run this command:
vagrant box add laravel/homestead
Wait for it to download. Select the option for virtualbox, in my case, it is 2. Press enter and wait for it to download the box.
Step four: Install homestead in your home directory, by running this command:
git clone https://github.com/laravel/homestead.git Homestead
Once this is done, using git bash change directory to the Homestead folder and run this command:
init.bat
Configure homestead
Now we are ready to configure homestead. Open sublime text, go to file, open folder and select the homestead folder. It is located on C:/Homestead. Open the Homestead.yaml file as shown in the diagram below
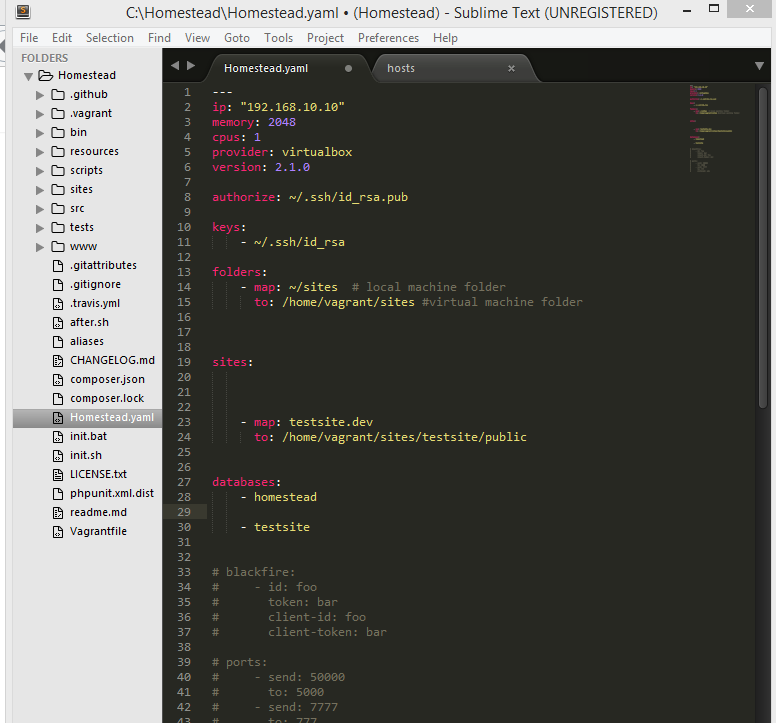
Our focus will be on folders and sites section in the Homestead.yaml file.
-map: ~/Code
Simply means the folder on your local machine for your projects.
to: /home/vagrant/Code
Simply means the folder on the virtual machine, which will sync to the directory on the local machine.
Create a folder (I named mine sites) for your projects in the home directory of your local machine. Mine is located at C:/Users/username/sites.
In the Homestead.yaml file, change the –map: ~/Code to -map: ~/sites.
Also change the /home/vagrant/Code to /home/vagrant/sites
Now Install Laravel
Now download the laravel installer by running this command:
Composer global require “laravel/installer”
Once that is done, run this command:
vagrant up
then this command:
vagrant ssh
will show the sites folder that was created on the local machine
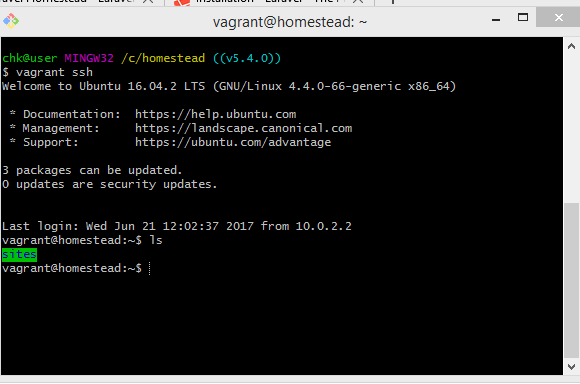
Change directory into the sites folder and you are ready to start your laravel project.
Run this command:
laravel new testsite
and wait for it to download. Yippee! We are ready to start
“building something amazing”!
Configure the Nginx site
To access our laravel project on our web browser, we simply configure the sites property
“The sites property allows you to easily map a “domain” to a folder on your Homestead environment.” — doc
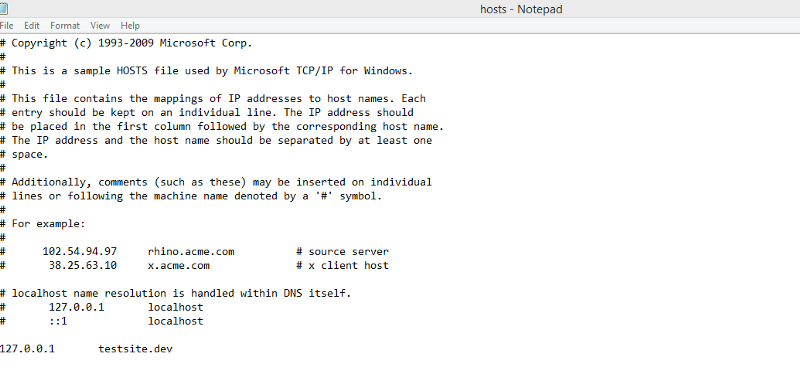
Let’s create a domain for our test site . Open notepad as an administrator, go to file and open hosts that is C:/Windows/System32/Drivers/etc/hosts and assign the 127.0.0.1 to testsite.dev
On the homestead.yaml file, change the homestead.app to testsite.dev and /home/vagrant/Code/Laravel/public to /home/vagrant/sites/public and issue the command:
vagrant provision
Now open your web browser and enter testsite.dev:8000. Your browser will display the laravel page as shown on the cover photo.
If this article was helpful, kindly share it on social media so others can see it.