By Gulfam Ansari
Angular uses two different approaches to handle forms. The first one is the Template Driven Approach and the other one is the Reactive Approach. Both approaches use different techniques to handle your form data. In the Template Driven Approach, we define the form structure in our HTML code. On the other hand, in the Reactive Approach, the structure of the form is defined in the component class.
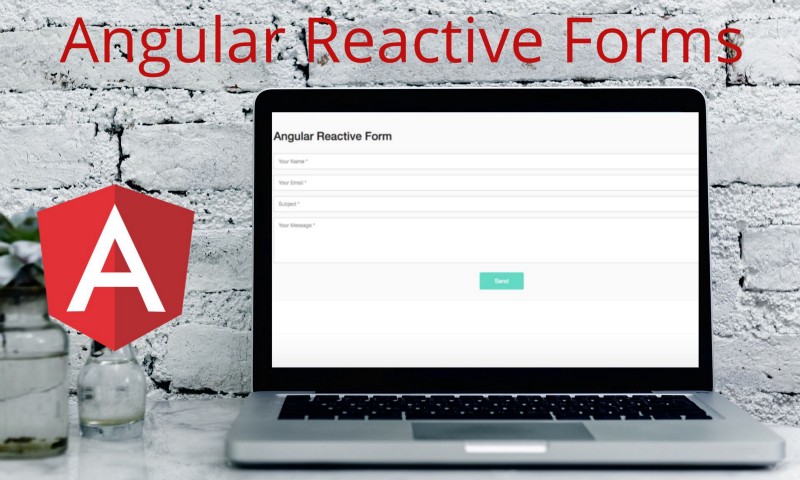
The Reactive Approach is more complex as compared to the Template Driven Approach, because it can provide lots of other functionalities. In this article, we will create a contact form using the Angular Reactive Approach. So what are we waiting for? Let’s dive deep into it.
How To Use Reactive Forms In Angular?
To implement Reactive Forms in Angular, we follow the below steps.
- Import the Reactive Form Module in the
app.module.tsfile. - Create an instance of
FormGroupclass in the component file and initialize the default values of allFormControls. - Bind the
FormGroupandFormConrtolin the HTML code.
1. Importing The ReactiveFormsModule
To use Reactive forms in your application you need to import ReactiveFormsModule in your parent module.ts file. This is just like how we import FormsModule in ourapp.module.ts file to use Template Driven forms.
import { AppComponent } from './app.component';
import { BrowserModule } from '@angular/platform-browser';
import { NgModule } from '@angular/core';
import { BrowserAnimationsModule } from '@angular/platform-browser/animations';
import { ReactiveFormsModule } from '@angular/forms';
@NgModule({
declarations: [AppComponent],
imports: [
BrowserModule,
BrowserAnimationsModule,
ReactiveFormsModule
],
providers: [],
bootstrap: [AppComponent]
})
export class AppModule { }
2. Define FormGroup In The Component
As we know, in the Reactive Form Approach, the structure of the form is defined in the component file, and this structure is synced with HTML code using formGroup directive. So to create our contact form, we first need to define our form model in the component class.
Form Control is the smallest building block of a reactive form which keeps track of all HTML input value and their validations.
Form Group is a collection of FormControls which combines all the HTML input values into a single object.
Now it’s time to create our contact form component file.
import { Component, OnInit } from '@angular/core';
import { FormGroup, FormControl } from '@angular/forms';
@Component({
selector: 'app-contact',
templateUrl: './contact.component.html',
styleUrls: ['./contact.component.scss']
})
export class ContactFormComponent implements OnInit {
public contactForm: FormGroup;
constructor() { }
ngOnInit() {
this.contactForm = new FormGroup({
'name': new FormControl(null),
'email': new FormControl(null),
'subject': new FormControl(null),
'message': new FormControl(null)
});
}
}
In the above code, we import FormGroup class from @angular/forms and declare the FormGroup property named as contactform.
Define all the FormControl and group them using FormGroup and assign it to contactForm.
3. Bind the FormControls in the HTML File
Bind our FormGroup property in the Template using the formGroup directive.
Wire up all FormControls in the Template using formControlName directive to map each input element of the HTML.
We are also using ngSubmit directive to post the form data by clicking on the submit button.
<form [formGroup]="contactForm" (ngSubmit)="onSubmit()">
<input type="text" name="name" placeholder="Your name" formControlName="name">
<input type="text" name="email" placeholder="Your email" formControlName="email">
<input type="text" name="subject" placeholder="Subject" formControlName="subject">
<textarea name="message" placeholder="Your Message" formControlName="message"></textarea>
<button type="submit" class="btn btn-large">Send Message</button>
</form>
Validation
You have implemented the basic version of a Reactive form. Now take a step upward and validate your input values before sending them to the database.
Actually, we do lots of validation in the backend layer before sending the data to the database, but to make our app faster we introduce some validation at the client side as well. Angular ReactiveForm module does this validation job very effectively. So let's validate our inputs before sending them to the database.
To add validators in your form, we need to import Validators class from @angular/form. and add validators while creating new FormControl object.
The FormControl class constructor takes 3 arguments.
- The default value of an input
- Validator or Array of Validators
- Async Validators
For form validation, we are using the 2nd argument of the FormControl class constructor.
this.contactForm = new FormGroup({
'name': new FormControl(Enter Name, Validators.required),
'email': new FormControl(null, [Validators.email, Validators.pattern('[a-z0-9.@]*')]),
'subject': new FormControl(null, Validators.minLength(10)),
'message': new FormControl(null, Validators.required)
});
You can add more Validators by adding them into the array of Validators.
Custom Validators
The FormControl class gives you lots of built-in validator functions that cover lots of your use cases. But if you want to add some custom checks for your input values, then you can easily do this using your own validator functions.
You can pass custom validator functions along with built-in validators while creating the FormControl object.
export class ContactFormComponent implements OnInit {
public contactForm: FormGroup; public forbiddenUserNames = ['Mack', 'John'];
constructor() { }
ngOnInit() {
this.contactForm = new FormGroup({
'name': new FormControl(Enter Name, [Validators.required, this.forbiddenNames.bind(this)]),
'email': new FormControl(null, [Validators.email, Validators.pattern('[a-z0-9.@]*')]),
'subject': new FormControl(null, Validators.minLength(10)),
'message': new FormControl(null, Validators.required)
});
}
public forbiddenNames(formControl: FormControl): any { if ( this.forbiddenUserNames.indexOf(formControl.value)){ return { 'nameForbidden': true }; } }}
In the above code, we are creating our custom validator function which checks whether the name of the user is valid or not. The forbiddenNames function takes an argument of FormControl type and checks whether the input name is present in the forbiddenUserNames array.
Async Validators
As the name defines that the validation is done in an asynchronous manner. When the result of input validators takes some time to validate the input values then we use Async Validators.
Let's create a validator function which responds after 1 second and returns the status of the input whether the input is valid or not. For async validators, we have to return a Promise or an Observable in place of return an object.
export class ContactFormComponent implements OnInit {
public contactForm: FormGroup; public forbiddenUserNames = ['Mack', 'John'];
constructor() { }
ngOnInit() {
this.contactForm = new FormGroup({
'name': new FormControl(Enter Name, [Validators.required, this.forbiddenNames.bind(this)]),
'email': new FormControl(null, [Validators.email, Validators.pattern('[a-z0-9.@]*')], this.forbiddenEmail),
'subject': new FormControl(null, Validators.minLength(10)),
'message': new FormControl(null, Validators.required)
});
}
public forbiddenNames(formControl: FormControl): any { if ( this.forbiddenUserNames.indexOf(formControl.value)){ return { 'nameForbidden': true }; } else { retunr null; }
}
public forbiddenEmail(formControl: FormControl): Promise<any> { return new Promise((resolve, reject)=>{ setTimeout(()=>{ if (formControl.value === 'abc@gmail.com'){ resolve({ 'emailForbidden': true }); } else { resolve(null); }
}, 1000);
}); }}
We have to pass our newly created Async validator function into the third argument of FormControl object. We can pass a single Async validator or array of async validators as we pass in normal validators.
FormArray
So till now, we have been creating the FormControl for every input. But what if the user has access to add their FormControls? FormArray is a class imported from @angular/core which is used to create dynamic FormControls.
Let's update our contact form with an additional input hobby and this input will be created by the user.
ngOnInit() { this.contactForm = new FormGroup({
'name': new FormControl(Enter Name, [Validators.required, this.forbiddenNames.bind(this)]),
'email': new FormControl(null, [Validators.email, Validators.pattern('[a-z0-9.@]*')], this.forbiddenEmail),
'subject': new FormControl(null, Validators.minLength(10)),
'message': new FormControl(null, Validators.required), 'hobbies': new FormArray([])
});}
public addHobby() { (<FormArray>this.contactForm.get('hobbies')).push(new FormControl(null));}
In the above code the addHobby function will be executed whenever the user clicks on the Add Hobby button. This function will push the new FormControl into the FormArray. Now bind the hobbies FormArray with our Template.
<div formArrayName="hobbies"> <button type="button">Add Hobby</button> <div *ngFor="let hobbyControl of this.contactForm.get('hobbies'); let i=index"> <input type="text" [formControlName"]="i"> </div></div>
In the above code, we are using formArrayName directive to bind the FormArray like formControlName for binding the FormControls.
I hope this article answered most of your questions regarding Angular Reactive Forms. If you have any queries or doubts, feel free to reach out to me in the comment box.