
Nextcloud is an open source software suite that, when installed on a Linux server, can leverage storage capacity for saving, editing, and consuming a wide range of document types — including services like audio/video call hosting. Nextcloud also provides client applications that allow users on Linux, Windows, MacOS, and smart phone platforms to engage with media resources.
Using Nextcloud, you can create your own private versions of Dropbox or Google Drive, but on your terms and without having to worry about unexpected changes to availability or service/privacy agreements.
So great. Nextcloud has some real benefits. But going it alone means you’re on the hook for the costs and complexity of data hosting, replication, and backups. Is it really worth all the trouble and expense when you can get lots of storage at little or no cost using any one of those other services?
Good news: you can have it both ways. For particularly sensitive data, you can keep the whole thing in-house. But you can also build a Nextcloud server as your front end (to finely control how users interface with your media), but have the data itself automatically and securely saved to cheaper, reliable third party services including Dropbox, Google Drive, and Amazon’s S3. If, down the line, you find you need to migrate your data away from a third-party provider like S3, you can do it without your users ever noticing the change.
Hardware prerequisites
Based on content from my Manning book, Linux in Action, let’s put something together using Ubuntu.
It’s always a good idea to check out an application’s documentation to make sure that you’ve got enough hardware and software muscle to handle the load. The figure below shows Nextcloud’s System Requirements web page. If you’re planning to host a simple, lightly-used server providing for just a few dozen users, then you’ll find Nextcloud is a fairly easy to get along with, demanding nothing that can’t be handled by an off-the-shelf container.
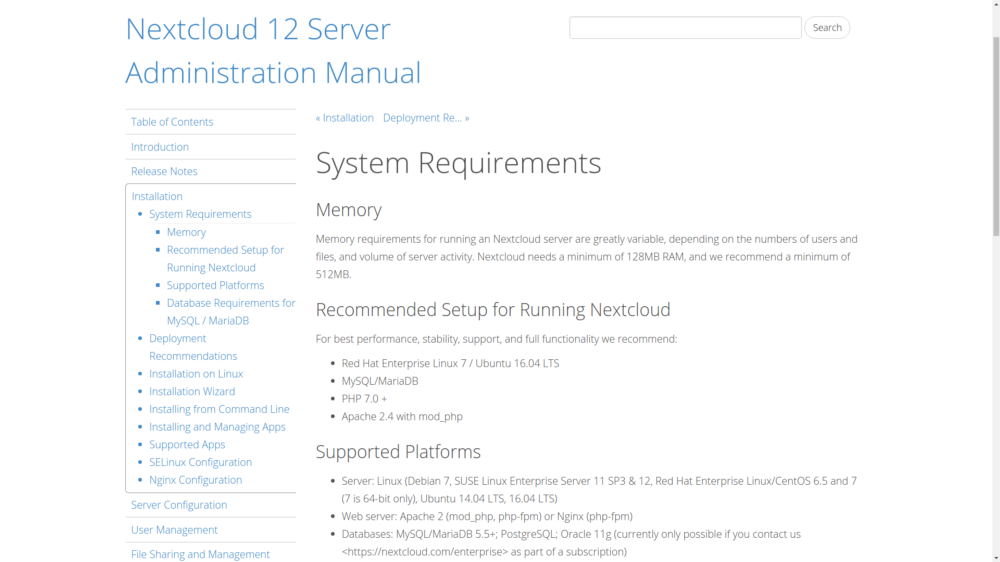 Hardware and software requirements for both recommended and minimal Nextcloud installations
Any old minimal hardware configuration will work just fine for technology testing, but I wouldn’t want to rely on a single LXC container running off an old PC to serve tens of thousands of users and terabytes of data. Planning an enterprise-scale deployment? Nextcloud provides a useful, multi-level Deployment Recommendations guide to provisioning full-strength platforms.
Here, for instance, is what Nextcloud recommends for a smaller work group with up to 150 users accessing up to 10TB of data:
- One sever with 2 CPU cores
- 16GB of RAM
- Authentication through Lightweight Directory Access Protocol (LDAP) (a widely-used distributed information protocol)
- Red Hat Enterprise Linux or Ubuntu 16.04 with vendor support
Apache with TLS/SSL encryption certificate - The MySQL or MariaDB database
- The Btrfs file system mounted with nodatacow for Nextcloud data partitions to permit zero downtime backups
- Caching with memcache to speed up access performance
Building a LAMP server
Building a base environment suitable for testing the package should be simple enough. Here are all the packages you’ll need for your server in a single command. I threw in wget and nano just in case they’re not already installed. In the interest of keeping the base image as small as possible, packages like nano are often not installed by default on some virtualized platforms like LXC containers.
# apt install apache2 mariadb-server libapache2-mod-php7.0 \
 php7.0-gd php7.0-json php7.0-mysql php7.0-curl php7.0-mbstring \
 php7.0-intl php7.0-mcrypt php-imagick php7.0-xml php7.0-zip \
 wget nano
If you’re not picky about using MySQL rather than MariaDB — and you’re on an Ubuntu server — then you could just as easily spare yourself a lot of typing and go with the LAMP server metapackage I mentioned in the previous chapter. Again: don’t forget the caret (^) at the end of the package name.
apt install lamp-server^
Once installed, don’t forget to run the MySQL secure installation tool:
mysql_secure_installation
If you chose the MariaDB route and found yourself having to use sudo with that command, here’s a quick fix:
MariaDB [(none)]> SET PASSWORD = PASSWORD(‘your-password’);
MariaDB [(none)]> update mysql.user set plugin = ‘mysql_native_password’ where User=’root’;
MariaDB [(none)]> FLUSH PRIVILEGES;
Apache configuration
To ensure that Apache will be able to communicate with Nextcloud, there are a few relatively simple adjustments you’re going to have to make. First off, you should enable a couple of Apache modules through the a2enmod tool. The rewrite module is used to rewrite URLs in real time as they’re moved between a client and the server. The headers module performs a similar function for HTTP headers.
a2enmod rewrite
a2enmod headers
If you’re not planning to use this server for any other purpose, locating the Nextcloud application files in the Apache document root would work. Since the value of the DocumentRoot entry in the 000-default.conf file in your /etc/apache2/sites-available/ directory already points to /var/www/html/, there’s really nothing left for you to do.
However, placing Nextcloud’s data files in the default document root presents a potential security risk, so you will probably want your Nextcloud application in some other part of your file system.
There are two ways to tell Apache how to find site files that aren’t in the document root. The “Ubuntu method” involves adding a new section to your existing 000-default.conf file that contains all the necessary information. However, most people seem to prefer creating a new .conf file in the /etc/apache2/sites-available/ directory for each new service. Both work just fine, but here’s what the separate file should look like assuming you placed the application in /var/www/ rather than the document root:
Alias /nextcloud “/var/www/nextcloud/”
<Directory /var/www/nextcloud/>
 Options +FollowSymlinks
 AllowOverride All
<IfModule mod_dav.c>
 Dav off
 </IfModule>
SetEnv HOME /var/www/nextcloud
 SetEnv HTTP_HOME /var/www/nextcloud
</Directory>
Note that the “Alias” line associates the contents of the /var/www/nextcloud/ directory with the “nextcloud” host (or “site”), and the two “SenEnv” lines assign environment variables that will define the way the Nextcloud application works
A similar directive using the Ubuntu method would involve adding a section in your 000-default.conf file that might look something like this:
<VirtualHost *:443> <1>
 ServerName bootstrap-it.com
 DocumentRoot /var/www/nextcloud
 ServerAlias bootstrap-it.com/nextcloud <2>
</VirtualHost>
As you can see in the figure, when Apache reads this file, it will redirect all incoming traffic addressed to example.com/nextcloud to the application files in /var/www/ (assuming, again, that your domain is example.com…as before, an IP address will work just as well).
 Apache reads configuration files in /etc/apache2/sites-enabled/ and uses their settings to redirect requests
Finally, you’ll need to create a symbolic link in the /etc/apache2/sites-enabled/ directory pointing to the nextcloud.conf file you created in /etc/apache2/sites-available/.
ln -s /etc/apache2/sites-available/nextcloud.conf \
    /etc/apache2/sites-enabled/nextcloud.conf
But why? And what’s a symbolic link?
When Apache starts up, it reads the contents of /etc/apache2/sites-enabled/ looking for site configurations to load. Those configurations won’t actually exist in /etc/apache2/sites/enabled/, but there will be symbolic links to the real files in /etc/apache2/sites-available/.
So why not just tell Apache to read /etc/apache2/sites-available/ in the first place and cut out the middleman? Because hanging it all on symbolic links makes it really easy and convenient to quickly disable a site and then — when you’ve finished a round of edits — re-enable it once again. Rather than having to actually delete and rewrite the real file, you’ll only need to play with an easy-to-manage link to it.
Symbolic links? They’re just objects that represent files or directories living elsewhere on a file system. They allow a user to execute or view a resource in one place, even though the resource itself is elsewhere.
Downloading and unpacking Nextcloud
You can download the most recent Nextcloud package from the Nextcloud Install page. If you’re installing to a container or VM — or from a server without a desktop GUI installed — then the most convenient approach is to get the package’s download URL and grab the package from the command line.
One quick way to get that URL from the Nextcloud site (from a regular session on your own PC) is to click the Download tab beneath Get Nextcloud Server and then, as you can see below, the Details and Download options button. Right click on the .tar.bz2 link and select Copy Link Address from the menu.
 Links to Nextcloud download archives: either the .tar.bz2 or the .zip formats will work
You can copy that URL into a wget command either through right-clicking in the terminal and selecting paste, or through SHIFT+CTRL+v.
wget https://download.nextcloud.com/server/releases/nextcloud-12.0.0.tar.bz2
Don’t forget to click the MD5 or SHA256 hash links and confirm that those values are identical to the hashes you generate from the downloaded archive. Unpacking a .tar.bz2 archive requires the xjf arguments rather than the xzf you would use for a .gz.
tar xjf nextcloud-12.0.0.tar.bz2
The next step involves copying the unpacked files and directories to their new home — which, following the best practices I mentioned earlier — will be in /var/www/, a location outside the document root. Adding -r to the copy command will copy the files “recursively”, to include subdirectories and their contents.
cp -r nextcloud /var/www/
Just two more small steps and you’re good to go. Apache will need full access to all the files in the Nextcloud directories in order to do its job. You could have root own them, but that means you’d have to give visiting users root powers to access those files. As you might imagine, giving everyone on the internet that kind of access to your files poses just a wee problem. So, many web servers use a special system user called www-data.
This next command will use chown to turn the user and group ownership of all those files over to the web server user www-data. Using the uppercase -R will (like the lowercase -r you used with cp) apply the command recursively to all files and directories in the directory hierarchy.
chown -R www-data:www-data /var/www/nextcloud/
Apache has no idea of the kinds of stuff we’ve been up to while it wasn’t looking, so you’d better let it in on the fun by restarting the service.# systemctl restart apache2
If that restart wasn’t successful, then make a note of any error messages and see if there’s anything you can fix. You can also dig a bit deeper into the logs by displaying the last ten entries in the Journal. There might, for instance, be a reference to a specific line in the nextcloud.conf file.
journalctl | tail
But if everything went well, then direct your browser to your container’s IP address followed by nextcloud. You’ll be taken to a page where you’re asked to create a new admin account and provide valid login credentials for your MariaDB database. Unless you’ve created a different database user account for the purpose, you’ll use root and the password you gave it earlier.
10.0.3.36/nextcloud
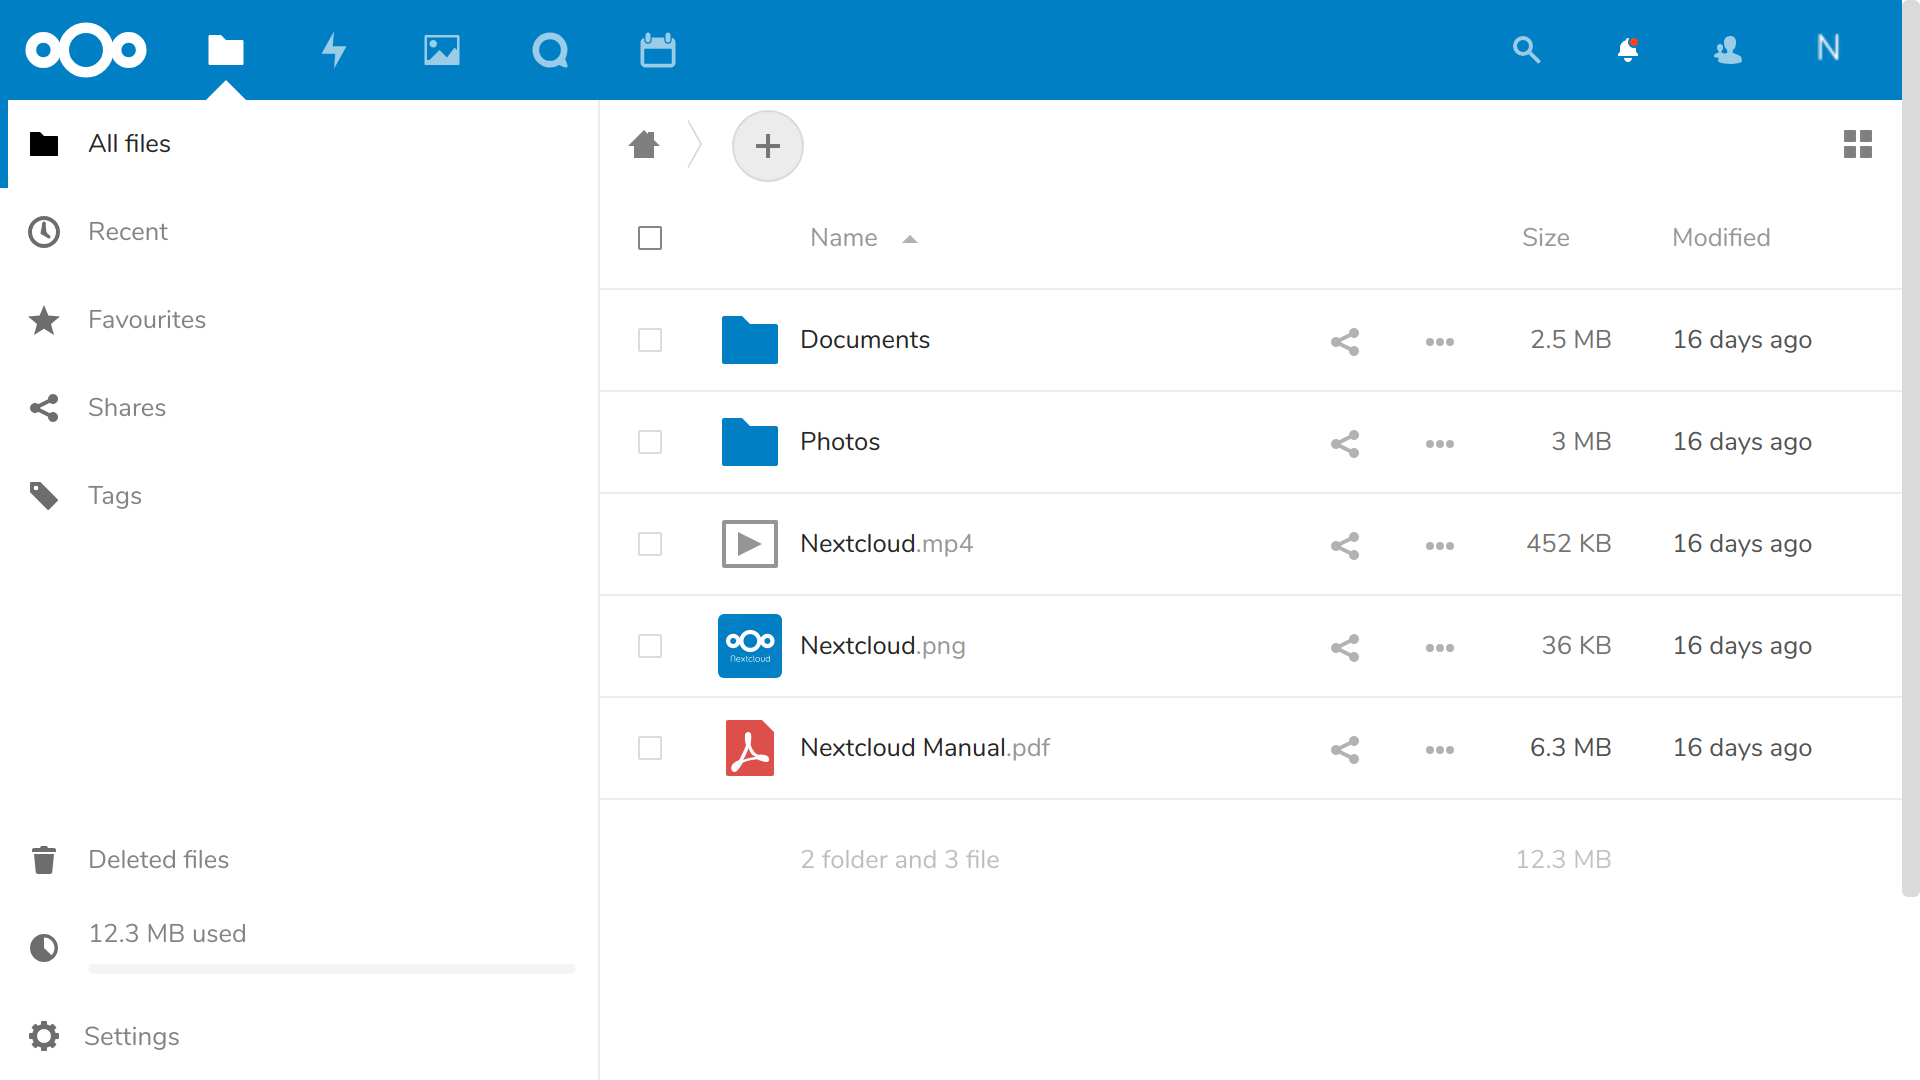
Once your information is digested, you’ll be shown links to Nextcloud’s client apps and then dropped into the administration console you can see in the next figure. That’s where you can upload, view, and share documents and media files.
 The main Nextcloud console, complete with sample folders and files — you can work with objects here just as you would using an OS file manager
As the site administrator, you can also create groups and users, assign permissions and quotas, and manage how the site functions.
Using AWS S3 as your primary Nextcloud storage
The thing about storing stuff is that you have to find space to put it all. And, since all storage devices will eventually fail without warning, you’ll need multiple copies of each device. Figuring out how to provision, connect, and maintain such storage arrays is time consuming, and keeping it going is relatively expensive.
Cloud storage, on the other hand, is comparatively cheap and — as you can read in my Manning “Learn Amazon Web Services in a Month of Lunches” book — simple to set up. Since the big cloud providers invest vast funds in data security and resilience, their services are pretty much guaranteed to be more reliable than anything you could put together.
Therefore, using cloud-based data as a back end to your locally hosted Nextcloud site is a serious option to explore. Here’s how it works.
You’ll first need to enable the External storage support App bundle. From the gear icon at the top right, click the Apps item, and then the Disabled apps link in the left panel. As the figure shows, the External storage support option appears in the list. Click Enable.
 The list of currently available apps, including External storage support
Connect Nextcloud to an S3 bucket
From the command line on any computer with the AWS CLI installed and configured for your AWS account (see chapter 12 of my AWS in a Month of Lunches book for details), create a new bucket with a globally unique name.$ aws s3 mb nextcloud32327
Retrieve a set of account Access Keys from the Your Security Credentials page in the AWS console (chapter 7 in the AWS book). You can also use an existing set of keys if you’ve got one available.
Now head back to your Nextcloud console, click on Admin from the gear drop-down, and then on the External storages link that should be visible in the left panel. This will open the External storages page, where you can click the Add storage drop-down and select Amazon S3 from the list — which also includes Dropbox and Google Drive.
You’ll be prompted to enter the S3 bucket you want to use along with your Access and Secret keys. All other fields — which allow you to customize your configuration using things like non-standard ports or SSL encryption — are optional. When you’re done, clicking the check mark to the right will save your settings and set Nextcloud off trying to authenticate with AWS.
If you’re successful, you’ll see a happy green circle to the left, as is visible in the figure. If it doesn’t work, the most likely cause is that you somehow used invalid authentication keys. It can’t hurt to confirm network connectivity to the internet and, in particular, AWS.
 The External storages setup page for Amazon S3, showing a successful connection to my S3 bucket
You can test your new storage configuration by copying and pasting a file from your computer into the folder in your Nextcloud console. Then, from your AWS CLI, list the contents of your bucket.
aws s3 ls s3://nextcloud32327
testfile.pdf
Of course, you’ll need to test it the other way too. Copy a local file to the bucket from your command line.
aws s3 cp test.txt s3://nextcloud32327
That test.txt file should appear in your console. Glorious multi-platform storage integration.
This article is excerpted from my Manning “Linux in Action” book. There’s lots more fun where this came from, including a hybrid course called Linux in Motionthat’s made up of more than two hours of video and around 40% of the text of Linux in Action. Who knows…you might also enjoy my Learn Amazon Web Services in a Month of Lunches.