
By Alex Booker
This tutorial was written in collaboration with the awesome Christian Nwamba.
When learning to code, you have a bunch of resources at your disposal — books, screencasts, tutorials, even exercises. But to become a great developer, you need to practice what you learn with a project.
Learning by doing is the motivation for this article. You’ll start from nothing and build a complete chat application, step by step.
You’ll build the project one step at a time and to test you understand it, we included some special bonus challenges at the end. Are you up to the test?
Here’s what we’ll build:

Pretty cool, right ??
When you follow along, you’ll learn how to build realtime chat, a “who’s online” list and along the way, how to structure a React app. To power our chat, we’ll be using a service I am helping to build called Chatkit.
Sound good? Tune in to FreeCodeCamp radio for some smooth, gentle background music to keep focused and let’s go!
What you need to know
Actually, one more thing ?:
It would be nice if you knew some basic JavaScript, Node and React already. That being said, if you don’t feel comfortable with these technologies, have a go anyway!
We intentionally structured this tutorial to make it clear where to paste code so you can follow along. If you have questions, drop them here!
Alright, step one:
Setup Electron
To build a cross-platform desktop app with web technologies, we’ll use Electron.
To get us off the ground, we made a minimal starter template. Download it:
git clone https://github.com/pusher/electron-desktop-starter-template electron-desktop-chat
cd electron-desktop-chat
And install those local dependencies:
npm install
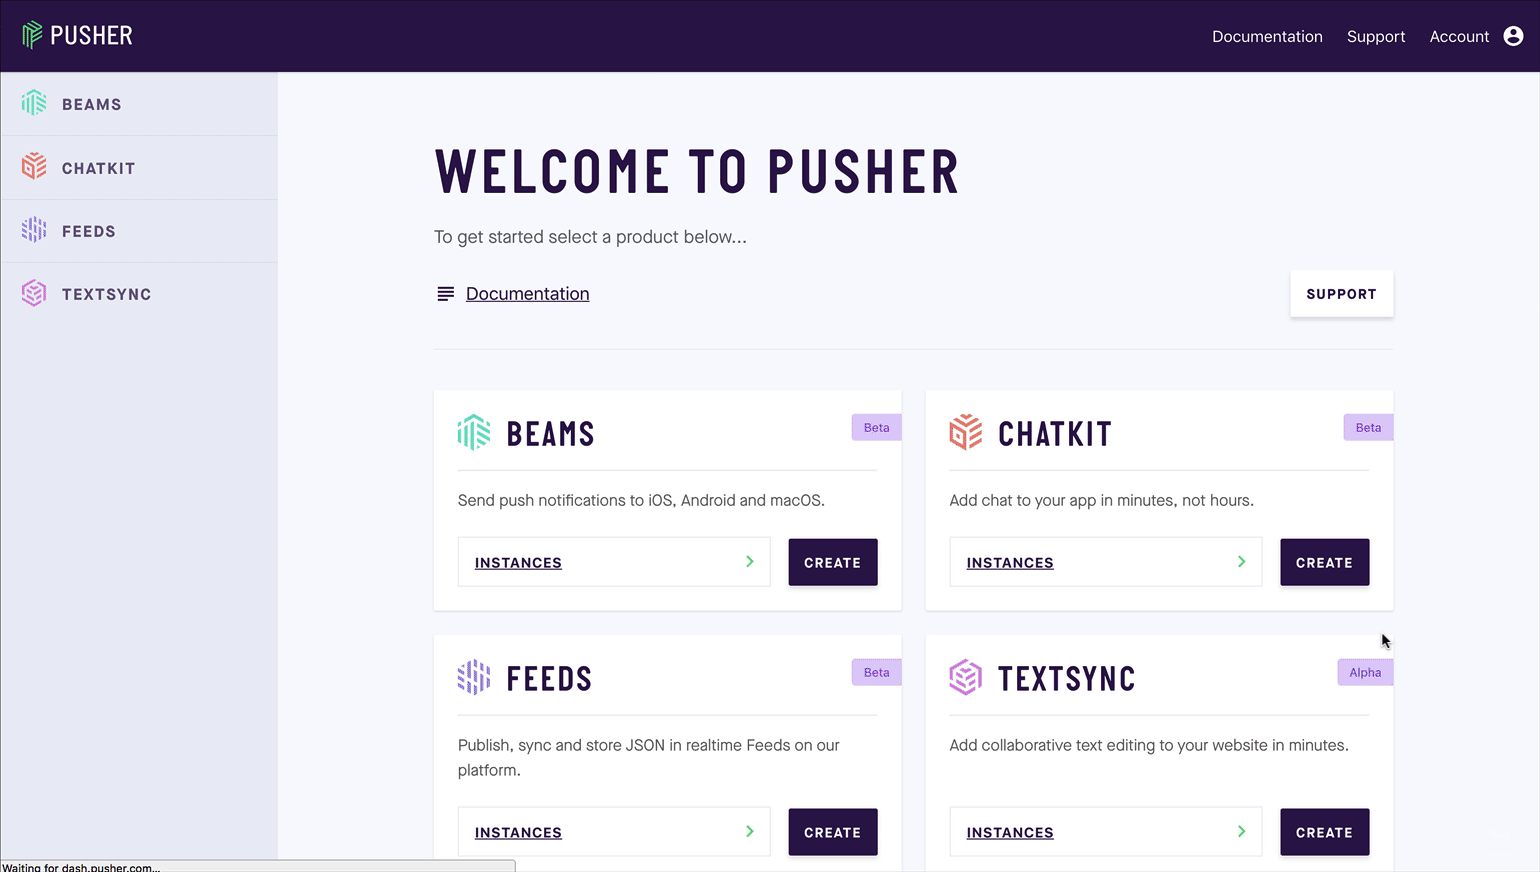
Create a Chatkit account
We’re not too concerned with building a back-end in this tutorial so we’ll use Chatkit.
To follow along, create a free account and a new instance called “Electron desktop chat”:
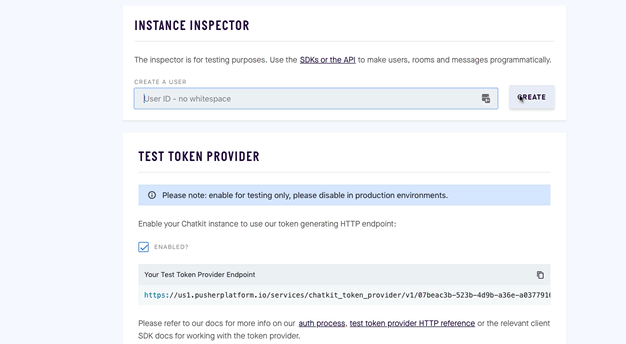
In the settings window, turn on the test token provider:
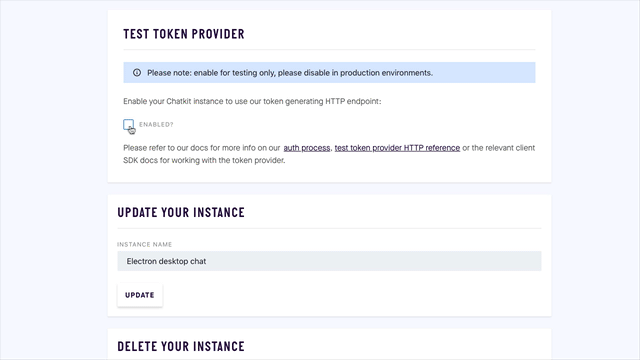
Note Your Test Token Provider Endpoint, Instance Locator and Secret Key. We’ll need them in the next step.
Setup the Node server
Chatkit has two fundamental concepts: Users and rooms.
Users can create rooms, join them, and chat in them. But before a user can interact with a room, we need to create one.
This has to happen on the server.
In electron-desktop-chat, run:
npm install --save express cors body-parser pusher-chatkit-server
And paste this in a new file called server.js:
Remember to replace instanceLocator and key with your own the Instance Locator and Key.
Most of this code is boilerplate, importing dependencies, setting up Express, and so on.
The important part is the “/users” route which handles requests to create a new user.
Run the server with node server.js and you will see the server is “Running on port 3001”.
Create the username form
When someone loads our app, we’ll want to ask them for a username and then send it to “/users”.
Install some native-looking UI components with:
npm install --save react-desktop
And create a form component called UsernameForm:
You can read more about React form components here. By chance, the documentation uses a NameForm class similar to ours so it should all be familiar!
Next, replace all of App with:
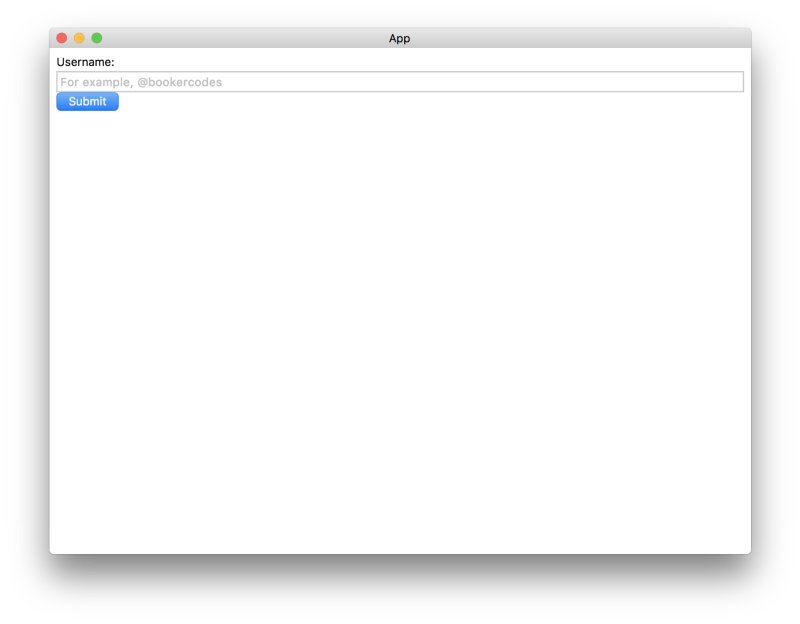
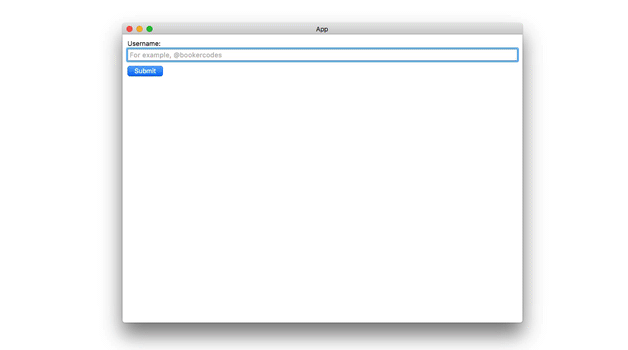
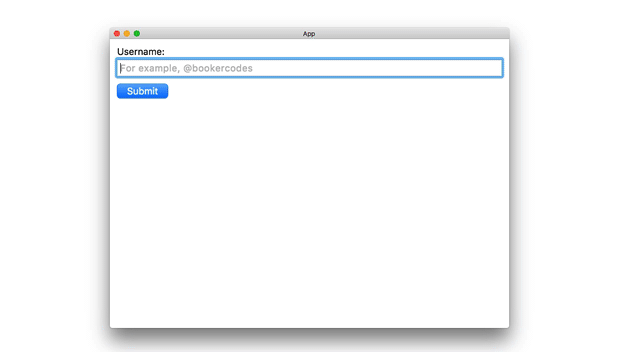
And to test it, run npm run dev. You will see the username form is rendered:
Make sure server is running (remember, the command is`node server.js), hit Submit, and you will see that a user is created:
Transitioning screens without a library
Once we have a user, we can transition them from the UsernameForm to the actual chat screen. We should define that now.
Create a new component called Chat:
And update App:
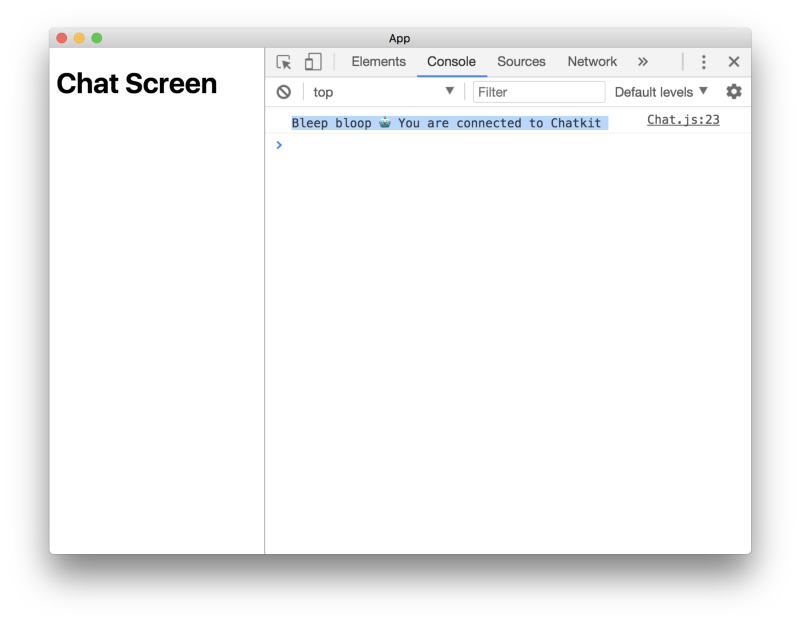
Run the app, enter a username, and you will transition to the chat screen:
Add realtime chat with Chatkit
Things are really coming along, wouldn’t you say?
To connect to Chatkit from the client, you need to install @pusher/chatkit:
npm install --save add @pusher/chatkit
And replace all of Chat with:
Remember to replace the tokenProviderUrl and instanceLocator values with Your Test Token Provider Endpoint and Instance Locator.
Run the app, hit ⌘+⌥+I (Control+Shift+I) and you will see that you connected to Chatkit.
Create a Chatkit room
We have a user but now we need a room!
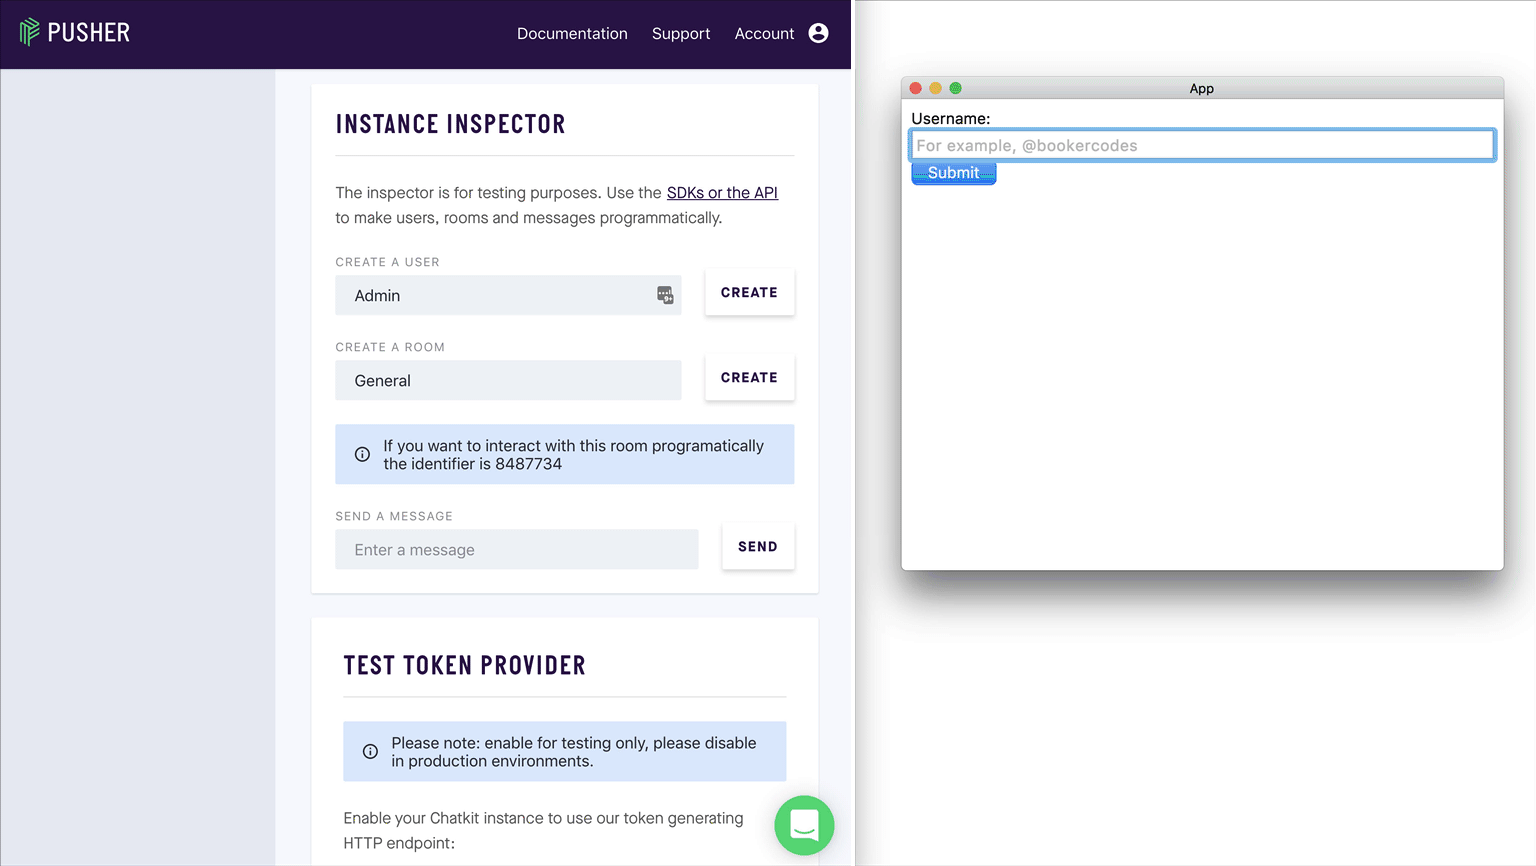
To create one, use the Chatkit inspector:
Remember to copy your room ID, we’ll need this in the next step.
Create a chat room component
Now we have a room, we can subscribe to new messages sent in that room.
To render them, create a MessageList component:
And update Chat:
As ever, remember to update roomId with your actual room ID.
Now, when messages are sent in our room, onNewMessage will be called. From here, we can update our state and in turn, our UI.
In a second, we will let users send their own messages. For now, to test the subscription, use the inspector:
Sending messages
To let users send their own messages, create a SendMessageForm component:
And update Chat:
Reload the app with ⌘+R (Control+Shift+R) and you will be able to send messages:
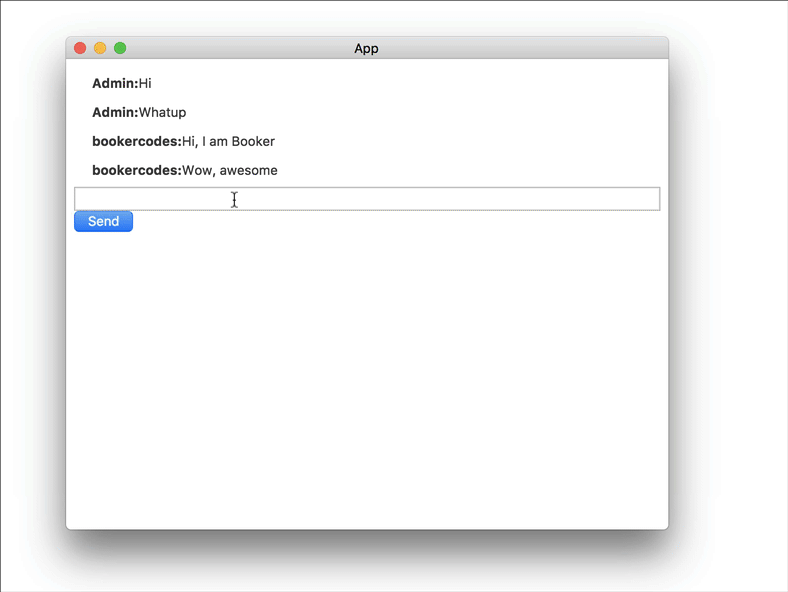
In fact, why not open two applications side-by-side and have a conversation with yourself?
What a time to be alive…
Style the UI
Thanks to React Desktop, our app already looks decent but we can do better.
Let’s make a few tweaks and define our layout for use in the next and final step.
Replace all of index.css with:
Show who’s online
To finish our chat app, we will add a “who’s online” list to show, you guessed it, who’s online!
Create an OnlineList component:
Then update Chat:
Were you expecting that to be more difficult? I definitely did the first time I tried!
Because Chatkit updates the users property dynamically, we don’t have to manage any of our own state. We simply need to tell React to re-render and, in turn, re-evaluate users each time someone comes online ( onUserCameOnline ), goes offline (onUserWentOffline) or joins the room (onUserJoined).
Go ahead, run the server and client and admire your magnificent new chat app:
If you’ve come this far, you might as well keep going ?! Have a stab at these bonus challenges…
Challenge 1: Show who in the room is actively typing
See if you can add typing indicators the app. For example, if am typing, you and everyone else in the room would see “Booker is typing…”.
If Chris and I were both typing, you would see “Booker and Chris are typing…” and so on.
Hints:
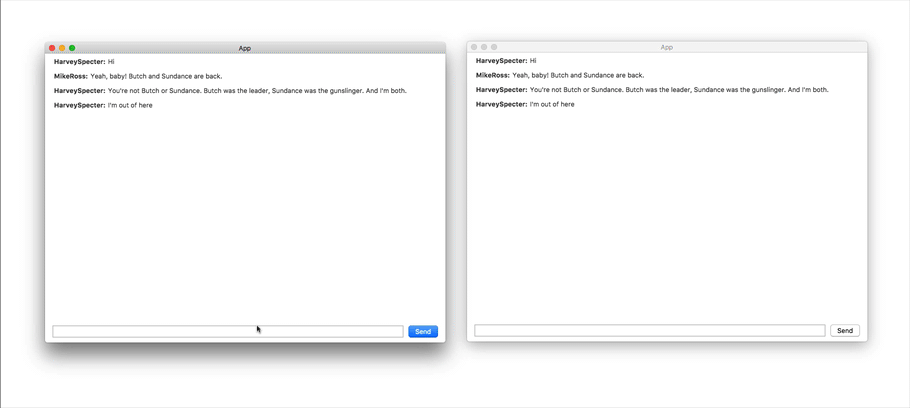
Challenge 2: Allow the user to create their own room
In this tutorial, we used the inspector to create a room and then hard-coded the room ID. This isn’t a good practice.
In most applications, you would want to dynamically create rooms with the createRoom function.
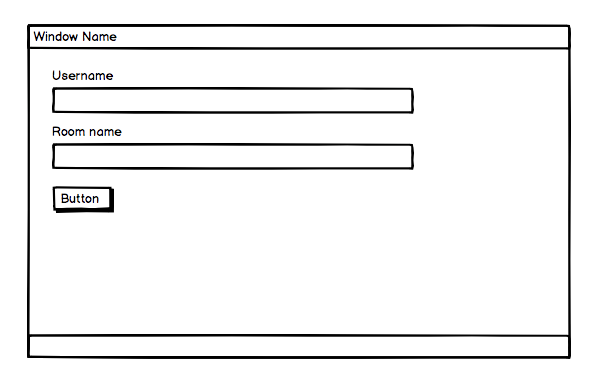
When someone loads the app, ask them for a room name as well:
If the room exists, join it; if not, create it then join it.
Hints:
Conclusion
That was fun! We built a pretty cool chat app in what, less than an hour?
One thing I noticed (and maybe you did too) is that once the foundation is in place (template, Chatkit connection, and so on), adding new chat features is pretty simple.
Aside from the challenges, we would be curious to see where else you could take the application. Some ideas:
- Send files
- Unread message count
- Notifications
- Read cursors
- Private one-to-one messaging
Feel free to follow us on Twitter, @bookercodes and @codebeast.
Until next time, ciao.