
By M. S. Farzan
I'm a tabletop game developer, and enjoy making apps that have the potential to perform some service related to gaming. In this article, we'll walk through the steps to create a roleplaying game character generator using MongoDB, Express, Vue, and Node (also known as the "MEVN" stack).
Prerequisites: this tutorial presumes that you have Node/NPM and MongoDB installed and configured, with a code editor and CLI (or IDE) ready to go.
If you'd prefer to follow along with a visual tutorial, you can check out the companion video to this article below:
I should also mention that this tutorial would not have been possible without Bennett Dungan's article on building a REST API, Aneeta Sharma's tutorial on full stack MEVN web apps, and Matt Maribojoc's article on the same topic.
I used each of these articles in addition to official documentation (for Vue, Express, and a whole lot more) in learning to create my own MEVN apps (you can read more about my journey with web APIs here).
You can access the entire repository for this tutorial on GitHub.
The Front End
Our app is going to allow us to create new roleplaying game characters and view them altogether, with the following stack:
- Vue Client
- Node/Express Server
- MongoDB Database
The Vue Client will make HTTP requests to the Node/Express Server (or "API"), which will in turn communicate with our MongoDB Database to send data back up the stack.
We'll begin by opening a command line, creating a new directory for our project, and navigating into that directory:
mkdir mevn-character-generator
cd mevn-character-generator
We'll then install the Vue CLI globally to help us scaffold a basic app:
npm install -g @vue/cli
Next, we'll use the Vue CLI to create a new app called "Client" within our mevn-character-generator directory:
vue create client
You can just hit "enter" at the prompt to keep going.
We can run our app by first navigating into the /client folder:
cd client
npm run serve
When the script has completed running, we can now open a browser page and navigate to the URL indicated by our terminal (usually http://localhost:8080 or 8081). We should see something like this:
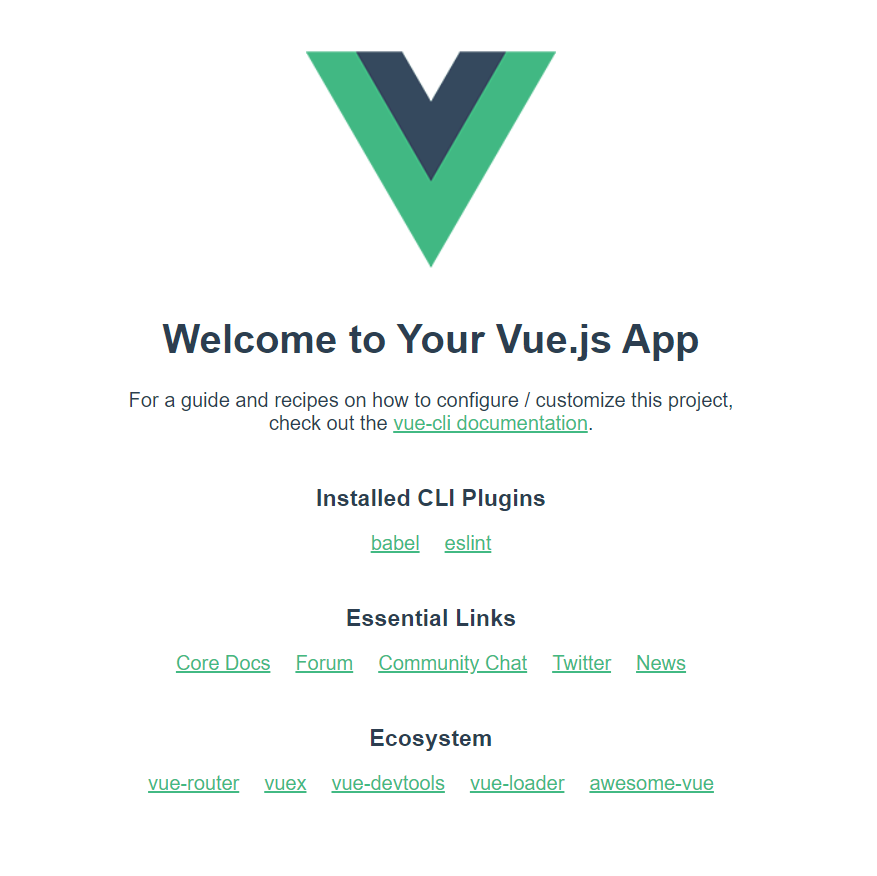
Nice! The Vue CLI has scaffolded a basic app for us, and is rendering it right into the browser. It'll also reload the page automatically upon file changes, and throw errors if something in the code looks amiss.
Let's open the project directory in our code editor to take a look at the file structure, which should look like this:

If you're OCD like I am, you can go ahead and delete the "favicon.ico" file and "/assets" folder as we won't need them for this project.
Diving into /src/main.js, we see:
import Vue from 'vue'
import App from './App.vue'

Vue.config.productionTip = false

new Vue({
  render: h => h(App),
}).$mount('#app')
This file is the main entry point for our client. It tells the browser to mount our App.vue file to the div with id "#app" in /public/index.html.
Let's look at /src/App.vue (I've omitted some code for readability):
<template>
  <div id="app">
    <img alt="Vue logo" src="./assets/logo.png">
    <HelloWorld msg="Welcome to Your Vue.js App"/>
  </div>
</template>

<script>
import HelloWorld from './components/HelloWorld.vue'

export default {
  name: 'App',
  components: {
    HelloWorld
  }
}
</script>

<style>
#app {
...
}
</style>
App.vue is a typical Vue component, with ,