By Hugo
Building chat in your app can be pretty complex. Yet, with Chatkit, implementing fully-featured chat is nothing but a few lines of code.
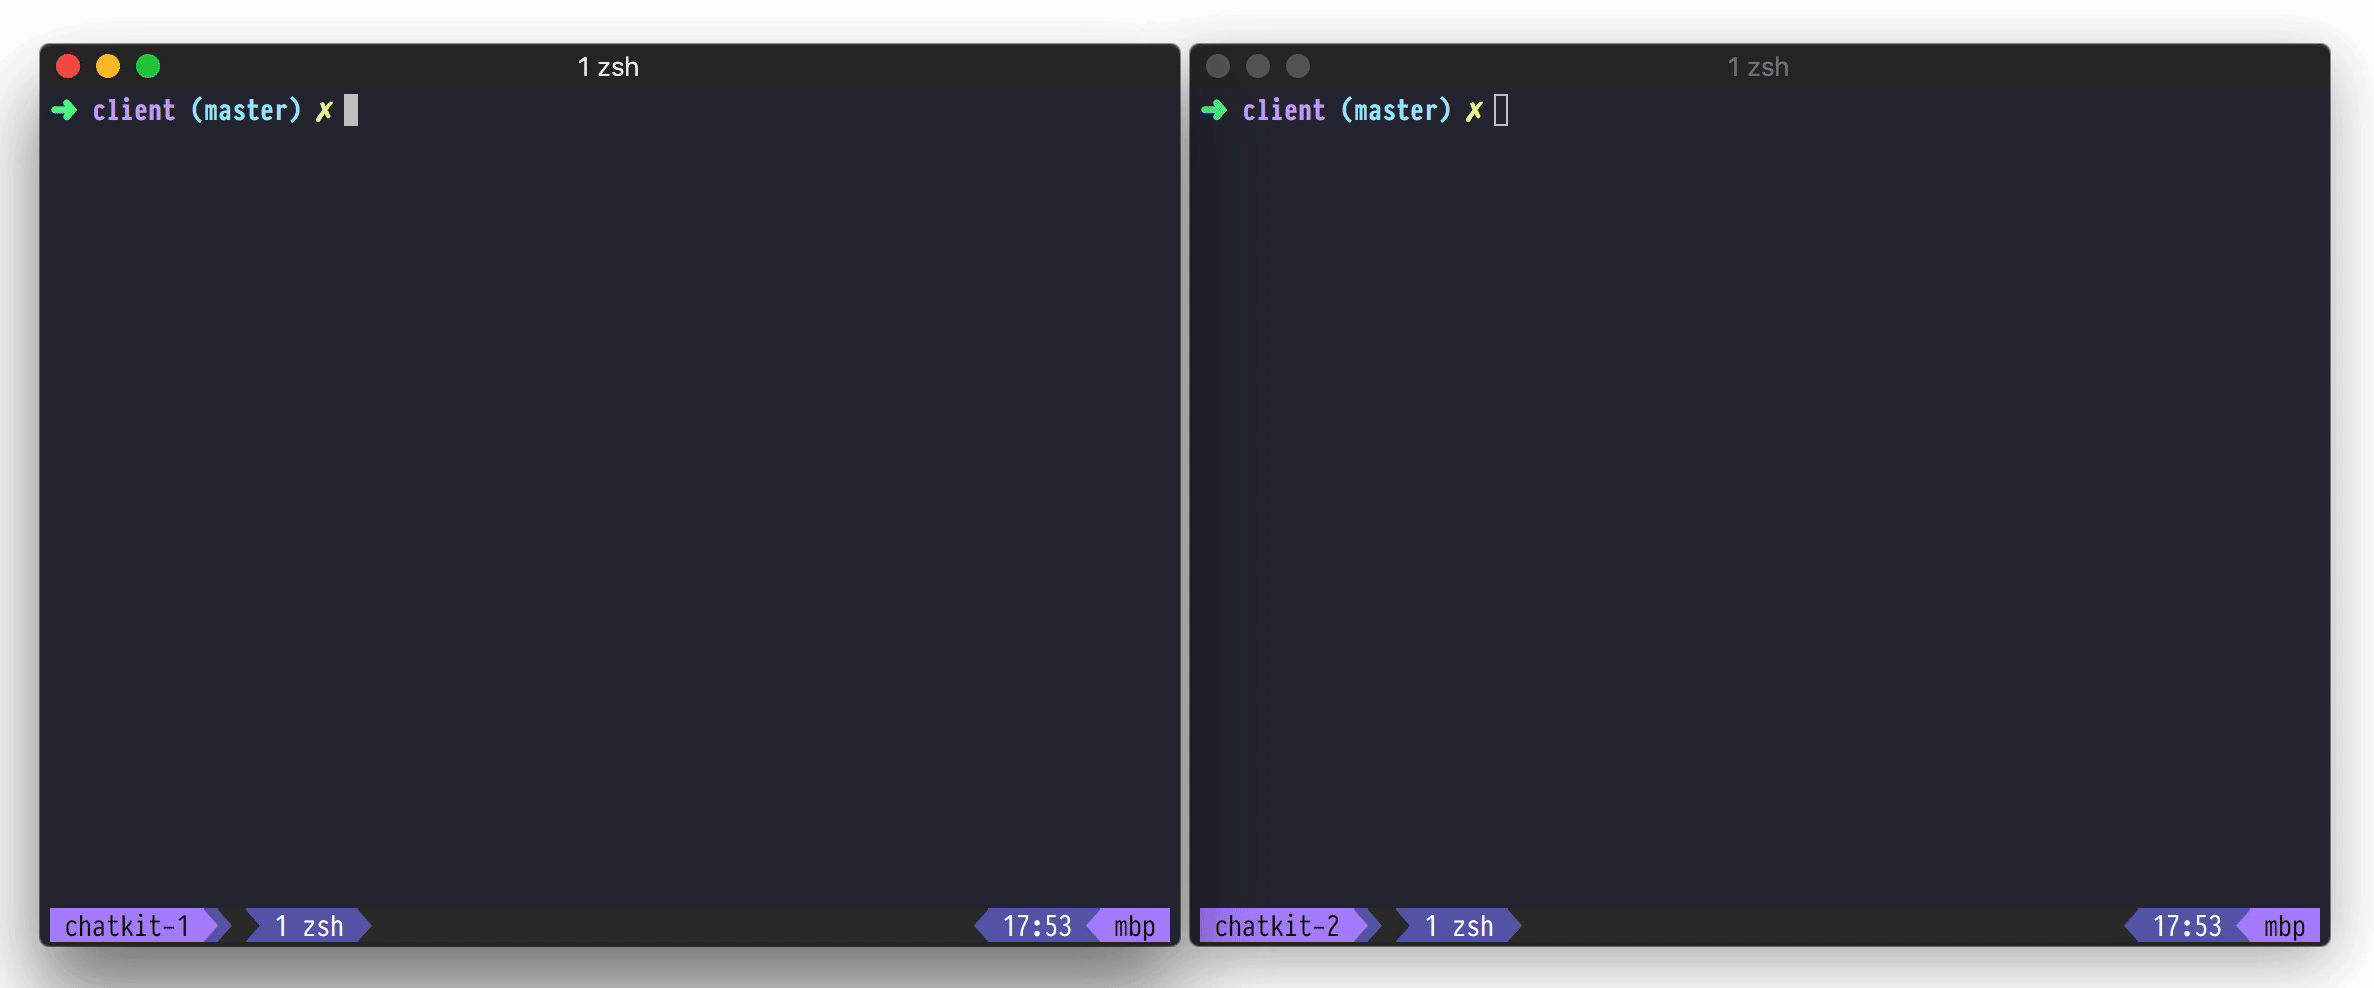
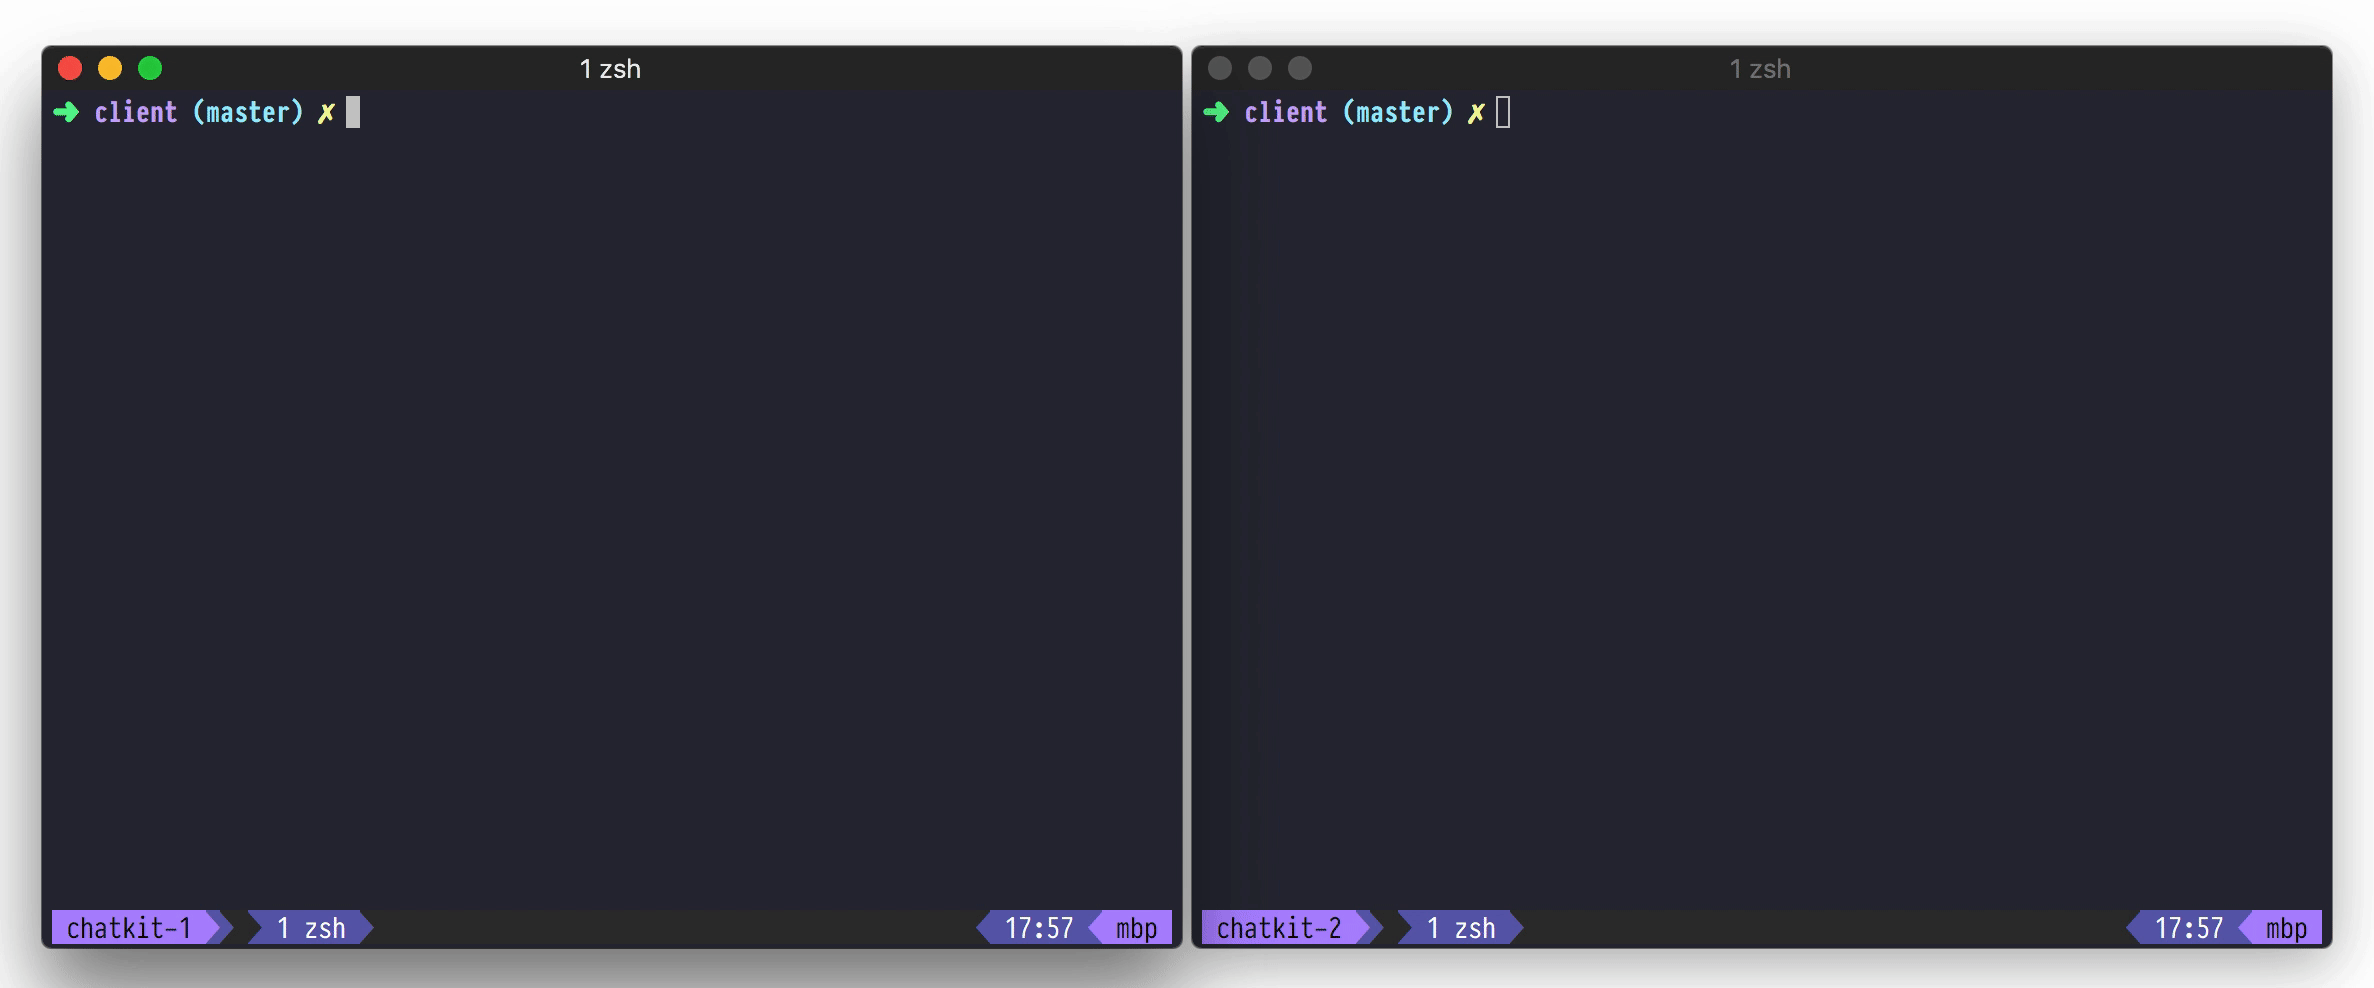
In this tutorial, I’ll walk you through how to build a command-line chat, like this:
The complete code can be found on GitHub.
What is Chatkit?
You might be wondering, “what is Chatkit?”
In a nutshell, Chatkit is an API to help you build chat functionality in your app. Functionality like:
- Rooms
- Online presence
- Typing indicators
- Read indicators (unread message count, read receipts)
- Rich media messages
- And more
Additionally, Chatkit handles tricky details that come up when building real-time chat like reliability, and scale.
To me, using Chatkit means not having to deal with rolling a web socket server, managing infrastructure for it, and dealing with managing chat at scale!
In this tutorial, we’ll only touch the surface of what Chatkit can do. To give you an idea of what you can build, check out this open source Slack clone, powered by Chatkit:
Pretty neat, right?
Create a Chatkit instance
Before diving into the tutorial, you should setup a Chatkit instance. It only takes a second.
To create one, head to pusher.com/chatkit and click Sign Up. Within the dashboard, beneath “Chatkit”, hit Create new + then enter a name for the instance. I called mine “My Awesome Chatkit App!”:
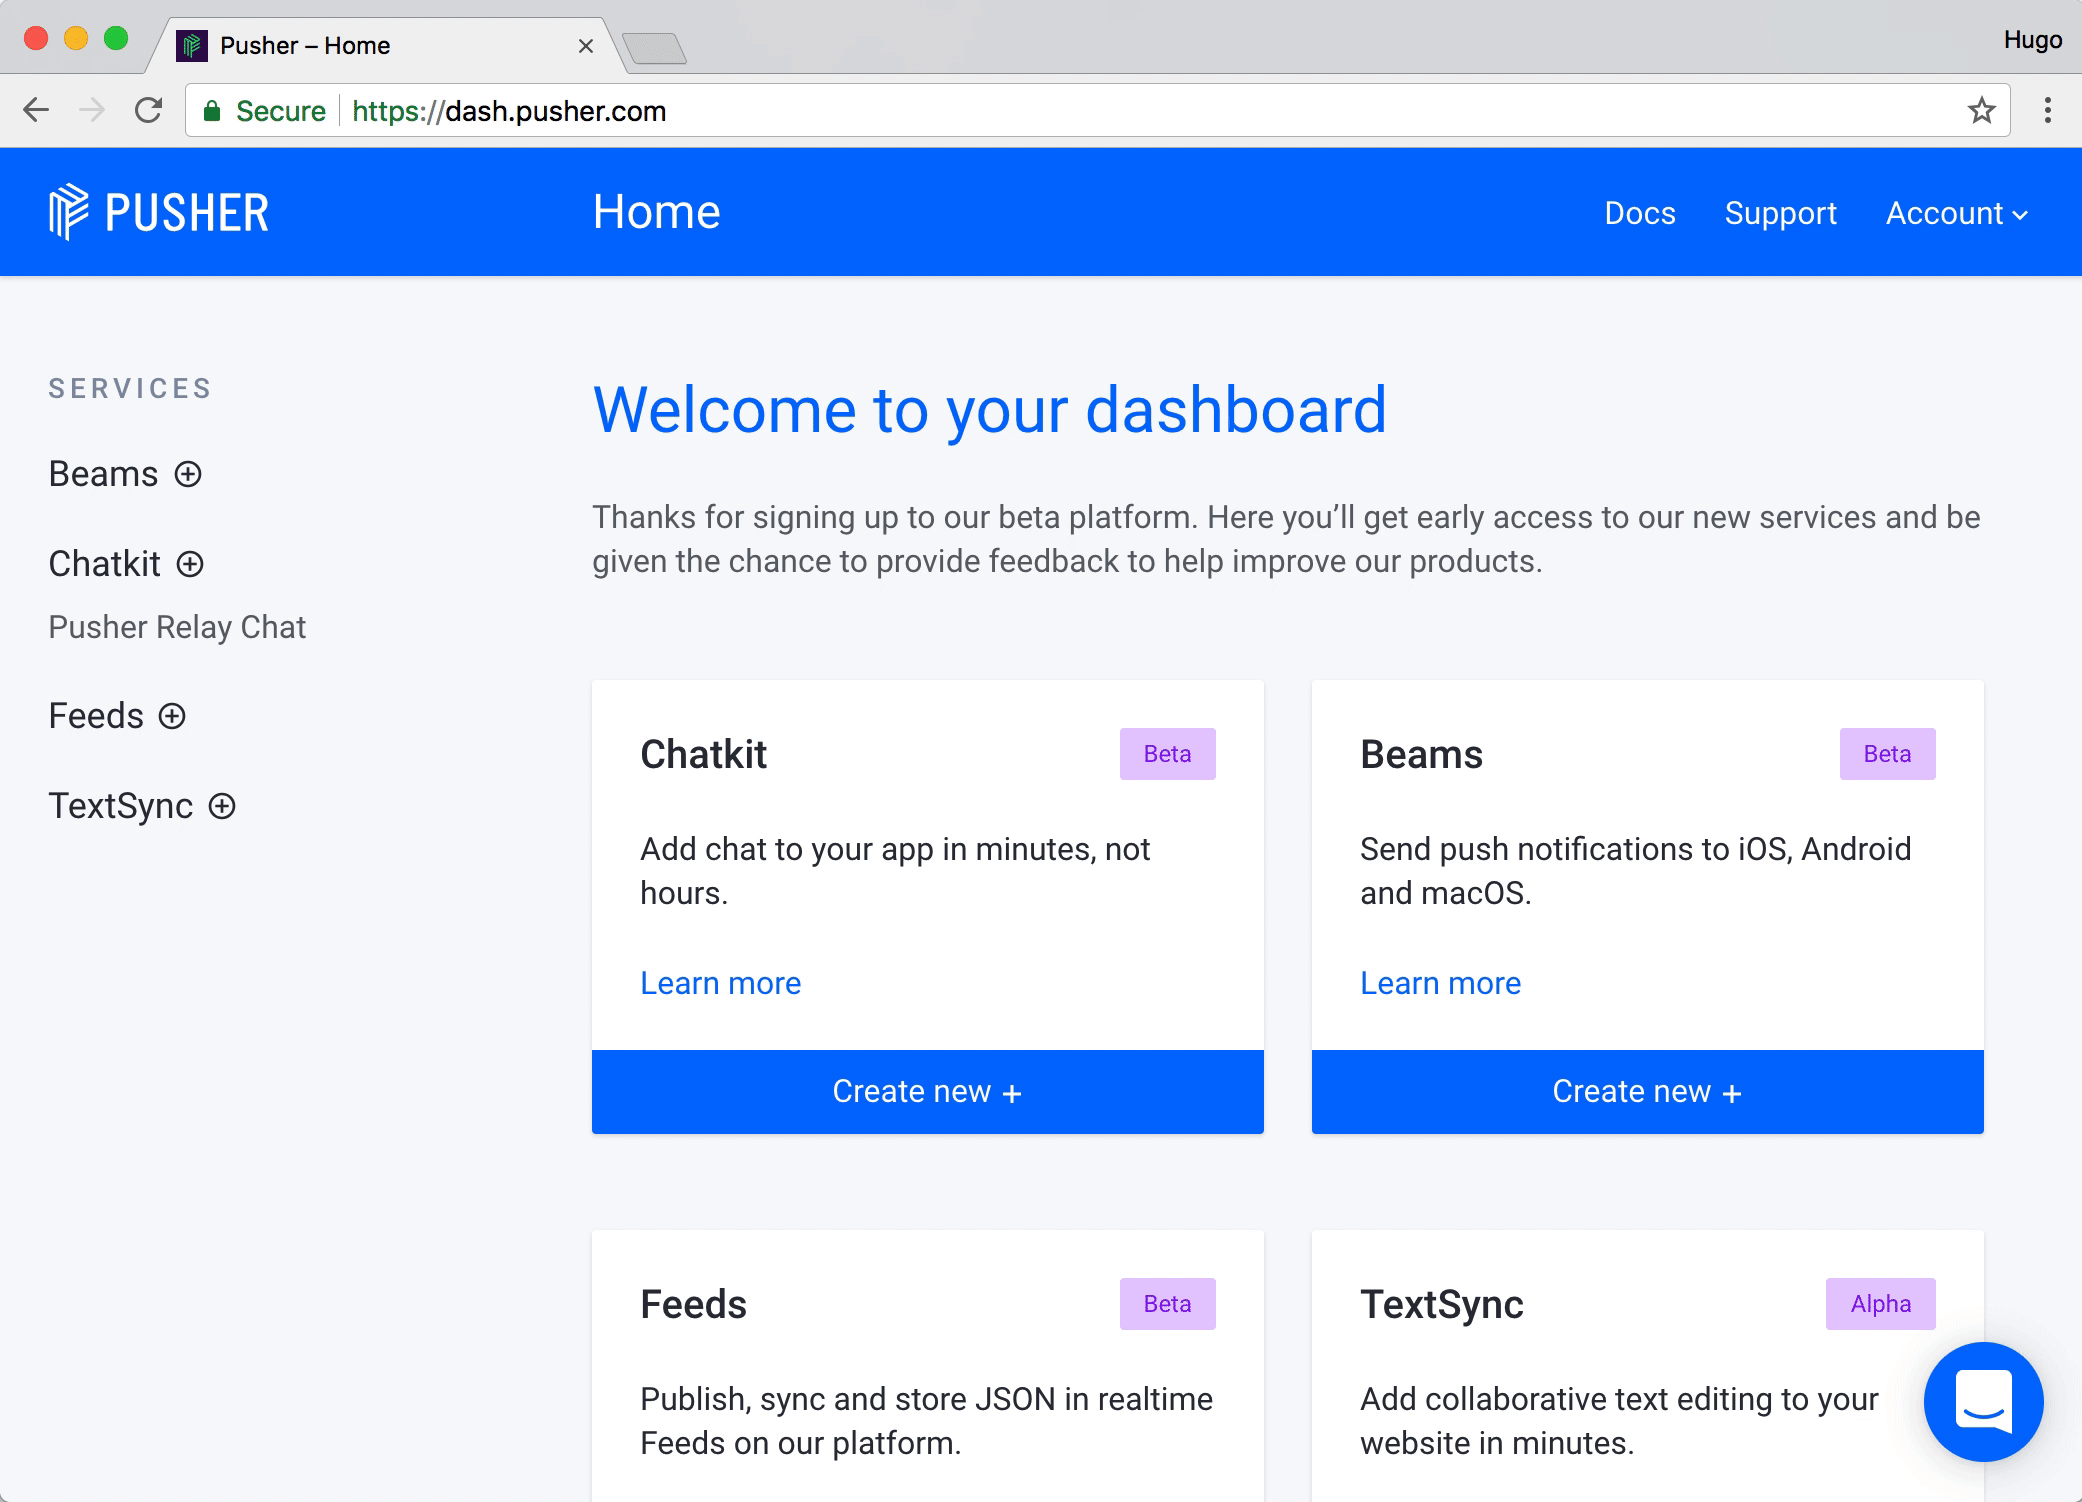
Within the Keys tab, take note of your Instance Locator and Secret Key. We’ll need these in a moment.
Create a Chatkit room
Chatkit enables us to create public or private chat rooms, and even supports one-to-one chat.
Normally, you’d create rooms dynamically — for example, when an end user creates a new room—but in this tutorial we’ll the Inspector to create one manually:
Create an authentication server
Authentication is the action of proving a user is who they say they are. Normally, this involves a password.
In this tutorial, we won’t authenticate users —we won’t ask them for a password — but we’ll still need to write an /authenticate route that returns a Chatkit token.
Additionally, we’ll need to define a route called /users that creates a Chatkit user.
To do this, create a new folder, I called mine terminal-chat. Then, install @pusher-chatkit-server , express, and some Express middleware:
mkdir terminal-chat
cd terminal-chat
npm init -y
npm install --save @pusher/chatkit-server npm install --save express npm install --save body-parser cors
Then, create a new file called server.js and paste in the following code:
Remember to replace YOUR_INSTANCE_LOCATOR and YOUR_CHATKIT_KEY with your own.
Setup our client
Now we have a server and a Chatkit instance, we can start building the command-line client.
In the same project, install @pusher/chatkit and jsdom:
npm install --save @pusher/chatkitnpm install --save jsdom
To be clear, in the previous step, we installed the Chatkit server SDK (@pusher/chatkit-server) and here, we install the client Chatkit SDK (@pusher/chatkit-client). We also installed jsdom, but more on that in a moment.
In a new file called client.js, paste the following:
Starting at the top, we first import ChatManager and TokenProvider from @pusher/chatkit. We’ll reference these soon.
We also import jsdom, the dependency I mentioned earlier.
In a nutshell, @pusher/chatkit-client works in the browser but not in Node. In a function called makeChatkitNodeCompatible, we use jsdom to “trick” Chatkit into thinking it’s running in the browser ?. This is a temporary workaround, but it works perfectly.
At the bottom of the module, we define an async function called main, which enables us to use await when calling asynchronous functions.
If await is a new concept to you, here’s a great introduction.
Prompt the user for their username
Before we can allow a user to join a room, we need prompt them for their name. To do this, we can use prompt.
First, install prompt:
npm install --save prompt
And then, import it:
Then, update our main function:
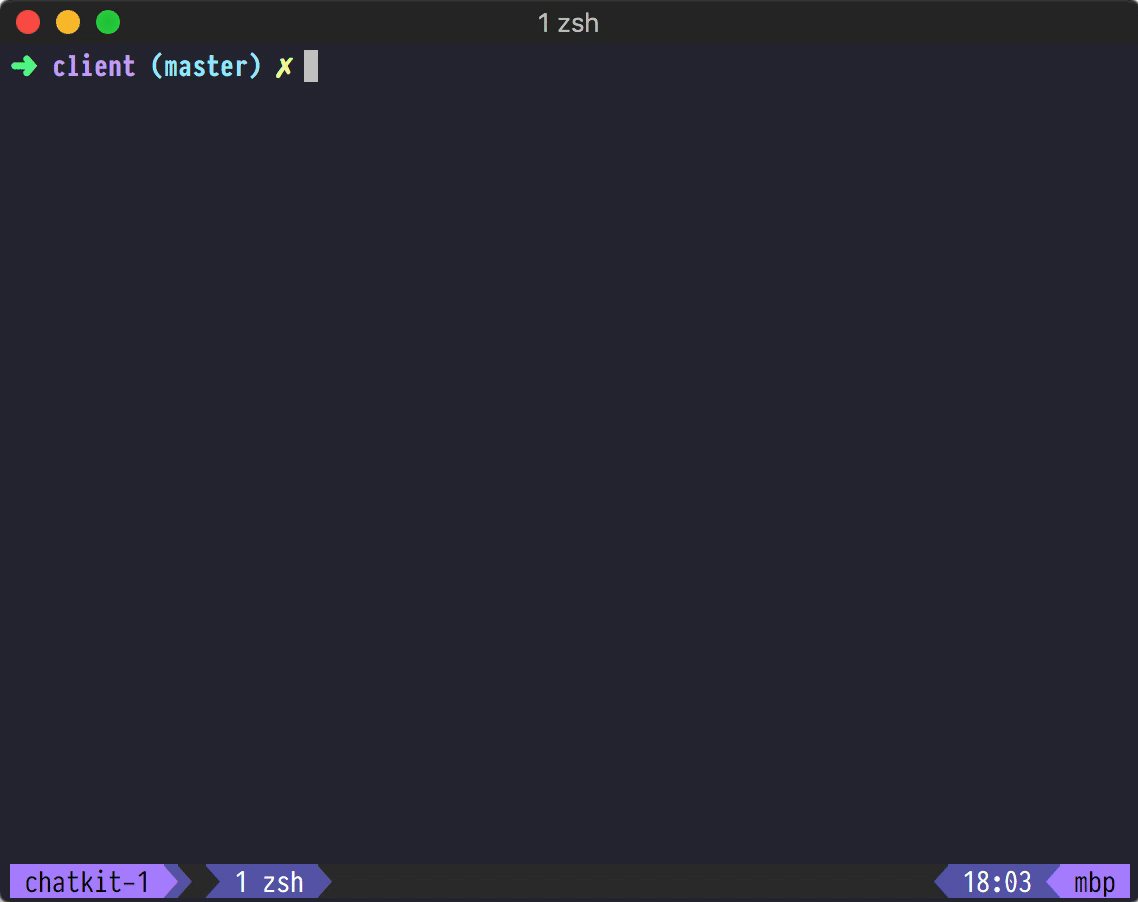
Now, if we run the app with the command node client.js, we should have our prompt:

Woo ?!
Create a user
Before connecting to Chatkit, we must first create a Chatkit user via the server we wrote earlier.
To do this, we’ll send a request to the /users route using axios, which is a HTTP client:
npm install --save axios
After installing axios, import it:
Then, define a function called createUser:
We can now call this function with the prompted username:
Let’s test this out.
Open two terminal windows. In one, start the server with node server.js and in the other, run the client with node client.js. If all is well, you should be prompted for a username, and you’ll see User created: <username> in the server output.
If you see an error along the lines of Failed to create a user, connect ECONNREFUSED then your server might not be running, so double check that.
Setup the Chatkit SDK
At this point, we have a username and the ability to create a user. Next, we’ll want to connect to Chatkit as that user.
To do this, beneath the call you just made to createUser, paste the following:
Again, remember to replace your YOUR_INSTANCE_LOCATOR with the Instance Locator you noted earlier.
This code initialises Chatkit then connects to the service, returning the currentUser. Note how we provide a TokenProvider which points to our authentication server.
Listing rooms
Now we have an authenticated user, we can show them a list of rooms they can join.
To do this, we should update the main function in client.js to fetch joinable rooms (getJoinableRooms), and list them alongside the rooms a user has already joined (user.rooms):
The ... syntax there is called destructuring, and it provides a succinct way to merge two or more arrays.
Running node client.js should now print out a list of rooms:
You’ll probably just see one room to start with. To create additional rooms, go back to the Inspector or use the the [createRoom](https://docs.pusher.com/chatkit/reference/server-node#creating-a-room) function.
Subscribe to a room
Next, we should prompt the user to pick a room, with this code:
One cool thing about prompt is that you can create validation rules. Above, we create one to make sure the user’s input is between 0 and the number of joinable rooms.
Once we have the user’s room choice, we can set that as the room and subscribe to the room:
Upon subscribing, we add a **onNewMessage** hook.
You can think of a hook as a function that is called whenever an event occurs. In this case it’s when a new message is received.
onNewMessage will be called in real-time whenever a new message is sent by “a user”. When I say “a user”, that includes the current user, so within the function we only print the message if it was sent by someone else.
Send messages from user input
Being able to receive messages isn’t much use if we can’t also send messages now, is it?
Fortunately, sending a message is but one line of code with Chatkit.
First, install [readline](https://nodejs.org/api/readline.html) to read input from the user:
npm install --save readline
Then, import it:
Finally, reference it below:
If you run two instances of the client, you should be able to send and receive messages:
Add a loading spinner for a bit of fun ✨
As ever, sending data over the network might take a second or two. For a bit of fun, and to make our application feel faster, let’s add a nifty loading spinner:
First, install ora, a loading spinner module:
npm install --save ora
Then, in client.js,we can call start, succeed, etc. depending on the status of the command.
Here’s the complete client.js file, with the new spinner-related code highlighted:
Conclusion
Amazing, we’re done!
To recap, you learned how to:
- Prompt and authenticate the user
- Connect to Chatkit
- List the users available rooms
- Join a room
- Send and receive messages from a room
- And, for fun, add a loading spinner
In this tutorial, we barely touched the surface of Chatkit. There’s so much more we could build, including:
- Switch between rooms
- Create new rooms
- Show users offline/offline status
- Show typing indicators
- Show read receipts
Want to learn how? Let me know in the comments and we’ll write part 2.
Alex Booker created a video tutorial based on this article. Check it out!