
In this article, you'll learn how to build a personal dev server by installing Git, Node.js, Rust, and Docker on a Raspberry Pi. The cheapest option costs just $5. You can get a starter kit ($25) for free here.
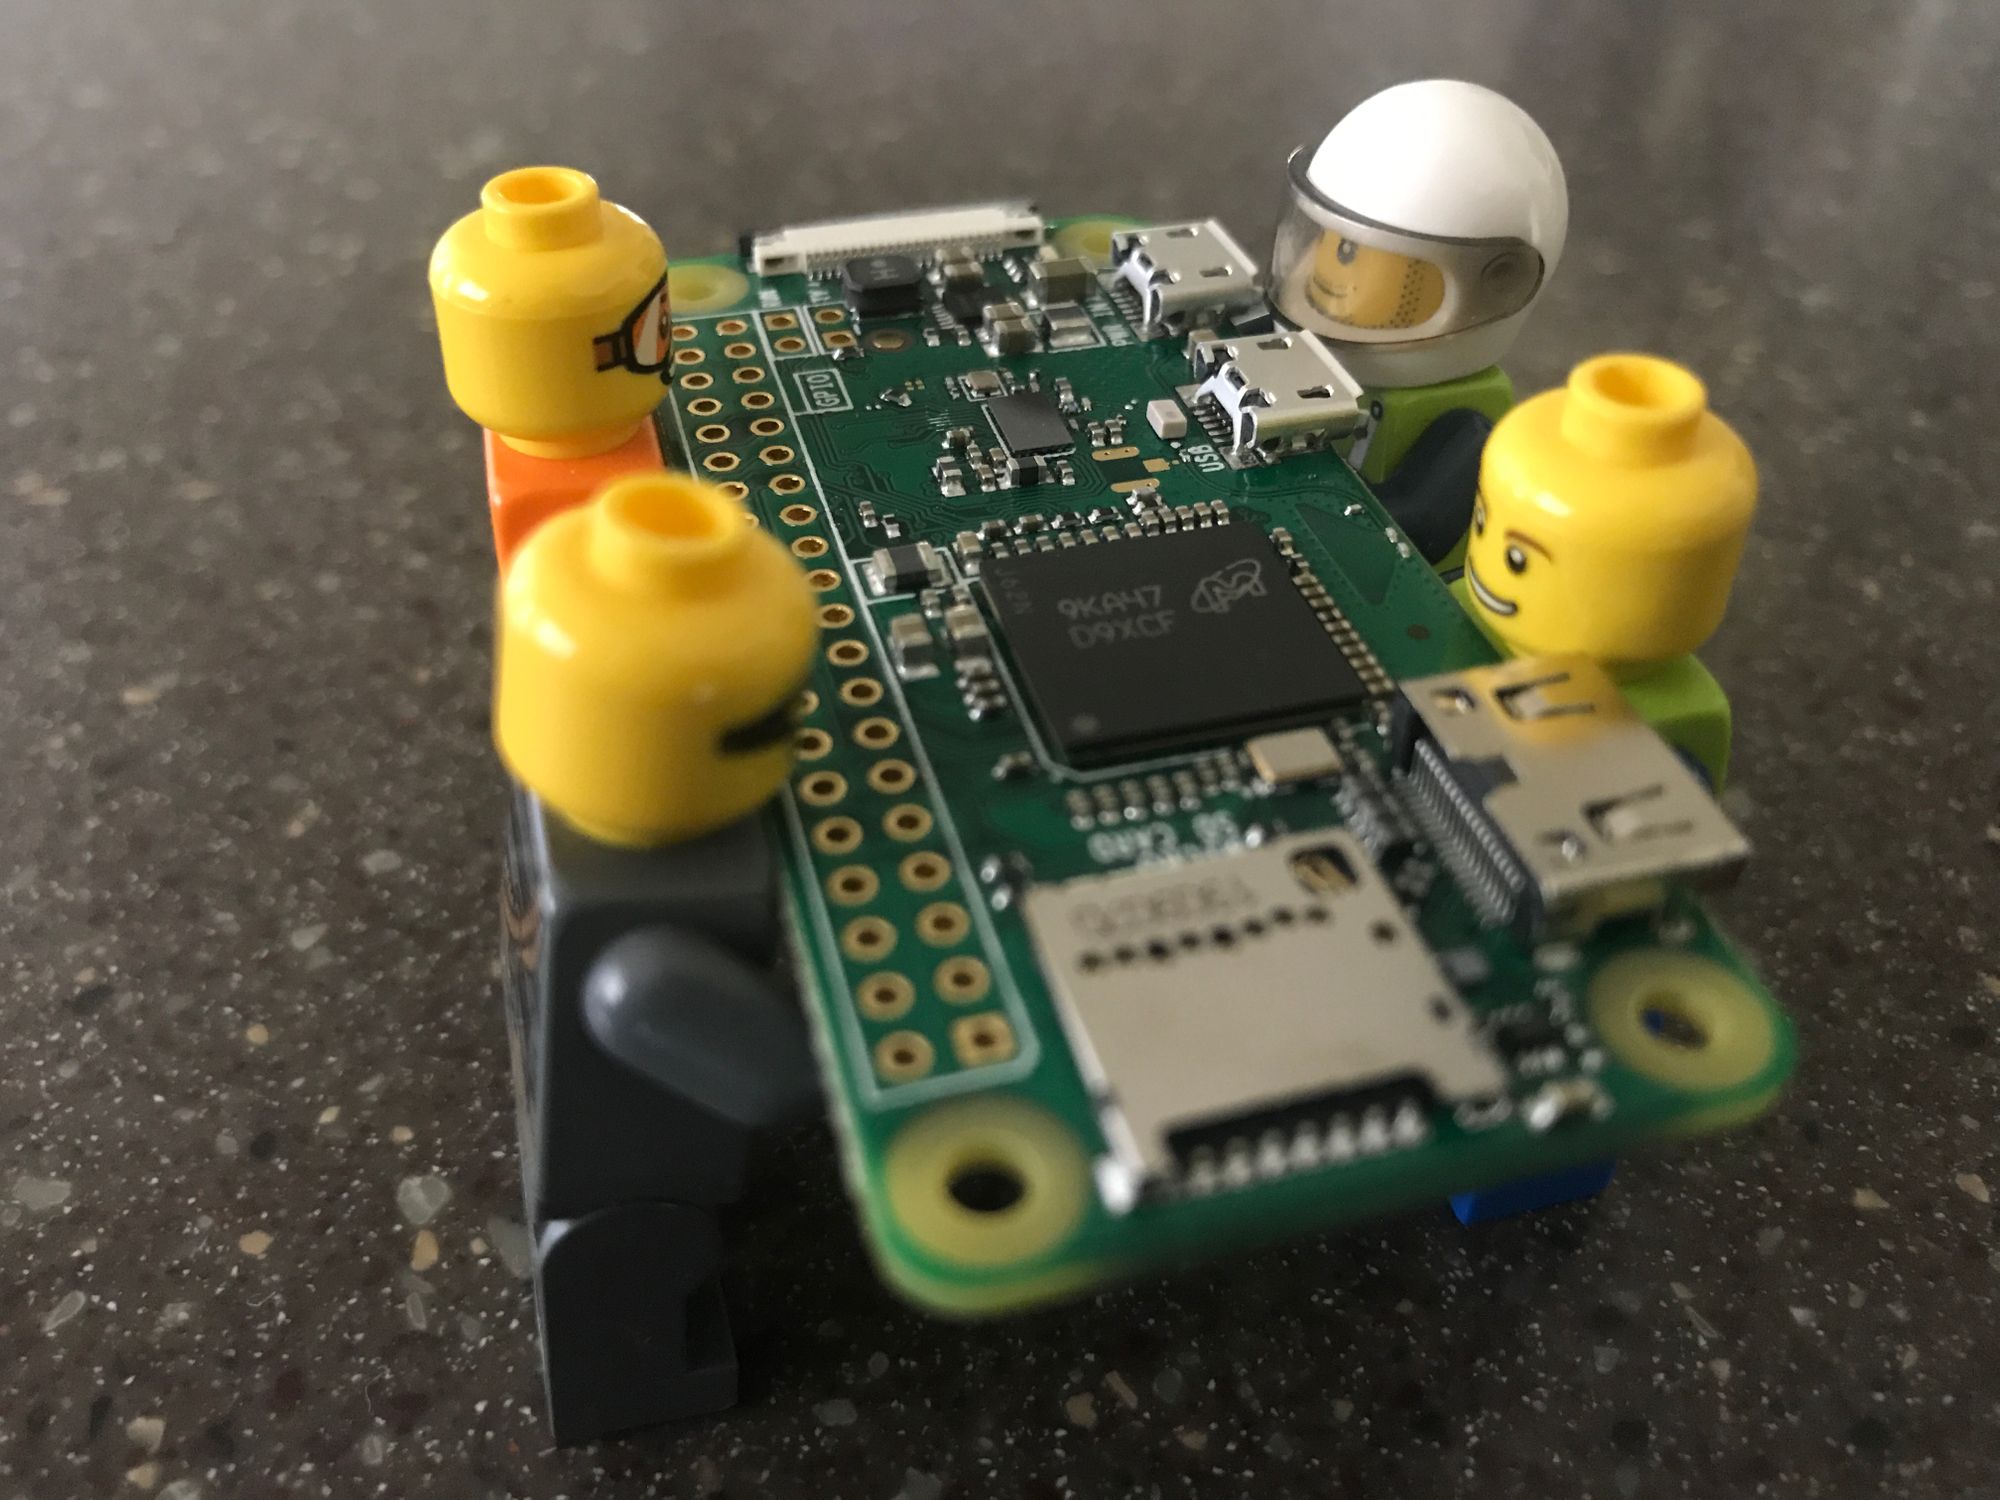
The Raspberry Pi is a very powerful computer in a tiny package. The cheapest option, the Raspberry Pi Zero, is capable of running a fully featured Linux distribution and driving a high definition display. It is the size of two coins (US Quarters) and costs $5.
At $10, the Raspberry Pi Zero W comes with integrated WiFi and Bluetooth.
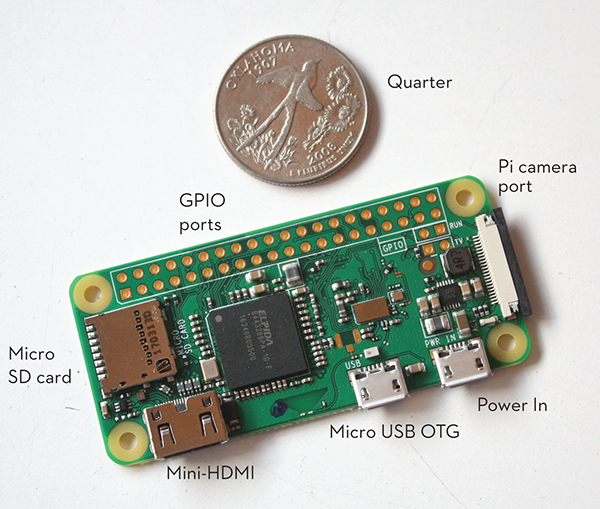
The $10 Raspberry Pi Zero W has a powerful CPU, WiFi, Bluetooth, and all kinds of connectors
At the “high end”, you can purchase a Raspberry Pi 4 desktop kit for less than $100. It has a 4-core ARM CPU running at 1.5GHz, GPU, 2GB (up to 8 GB) of RAM, 16GB (up to 2TB) of storage on MicroSD cards, wifi and Ethernet connectors, USB ports, HDMI ports that can drive 4K displays, as well as a keyboard and mouse.
The Raspberry Pi is also more than a standard computer. It is fun and hackable. The Raspberry Pi exposes a row of GPIO (General Purpose Input Output) pins. You can attach simple sensors (eg. temperature, humidity, light) to those pins, and capture their data from your applications running on the Pi.
You could also attach LED lights and motors to those pins, and use your Pi application to drive those peripheral devices.
For more complex sensors or devices, such as camera modules, you can also connect to the Pi via USB or Wifi, and access them in software. The Pi is a great device for learning and hardware hacking. Because of this, it is widely used in educational settings.
However, fun and learning are not just for kids. With so much computing power and easy networking, the Raspberry Pi can easily become a personal application server for you.
For example, you can put a web application (for example, a collaborative note taking app, or just some documents / videos to share) on a Pi, bring it to a meeting, and make it accessible to everyone in the room. You do not even need the Internet. It is completely decentralized and censorship-resistant.
The personal server is especially useful for developers. You can have a separate environment to deploy and test your server-side applications without having to mess with your laptop. A personal dev server is like Docker on steroids. In this article, I will teach you how to set one up.
First, get a Raspberry Pi
If this is your first Raspberry Pi, the easiest (and most expensive) way to set up is just to buy a desktop kit for around $100. It comes with everything you need for a computer except for the display.
If you are using the Pi as a personal dev server, you would NOT need a display after the initial setup. You can just SSH into it from your laptop once it is turned on!
Learn how to get your Raspberry Pi starter kit for free when you participate in this high performance web application learning exercise.
Of course, if you have spare computer parts, such as MicroSD cards, USB power supply, a keyboard, and a mouse laying around, you could save money by purchasing only the boards. You could get a Raspberry Pi Zero board for $5 and a Raspberry Pi 4 board for $35.
But the thing missing from the board is a MicroSD card that acts as the “hard drive” for storing the operating system and data. You can purchase a 16GB MicroSD card for $10 online, a MicroSD card reader, and use the Raspberry Pi Imager to load an operating system onto the MicroSD card from your laptop.
The two popular choices are Raspberry Pi OS and Ubuntu Linux. Both are Debian-based Linux distributions. Most starter kits pre-install the Raspberry Pi OS on their MicroSD cards (it is called NOOBS).
In the next two sections, I will talk you through both operating systems.
How to set up Raspberry Pi OS
Once you put in the MicroSD card with NOOBS, and connect a display, a keyboard, and a mouse, you can turn on the power!
From there, just follow on screen instructions to install Raspberry Pi OS (previously known as the Raspbian OS). Then setup a password for the user pi, and setup the wifi connection.
After you are logged in, go to the Preferences → Raspberry Pi Configuration menu and enable SSH. That will allow you to log into the Pi from another computer.
Note: in order to use the Pi as a “headless” server, you could request a static IP address from your router. In the future, you can just power on the Pi, and connect to it via SSH from your other computers or phones.
The Raspberry Pi OS is derived from the Debian Linux distribution. It comes with a full desktop UI environment with a modern web browser, a command line terminal, and learning programs such as IDEs for Python, Java, and Scratch.
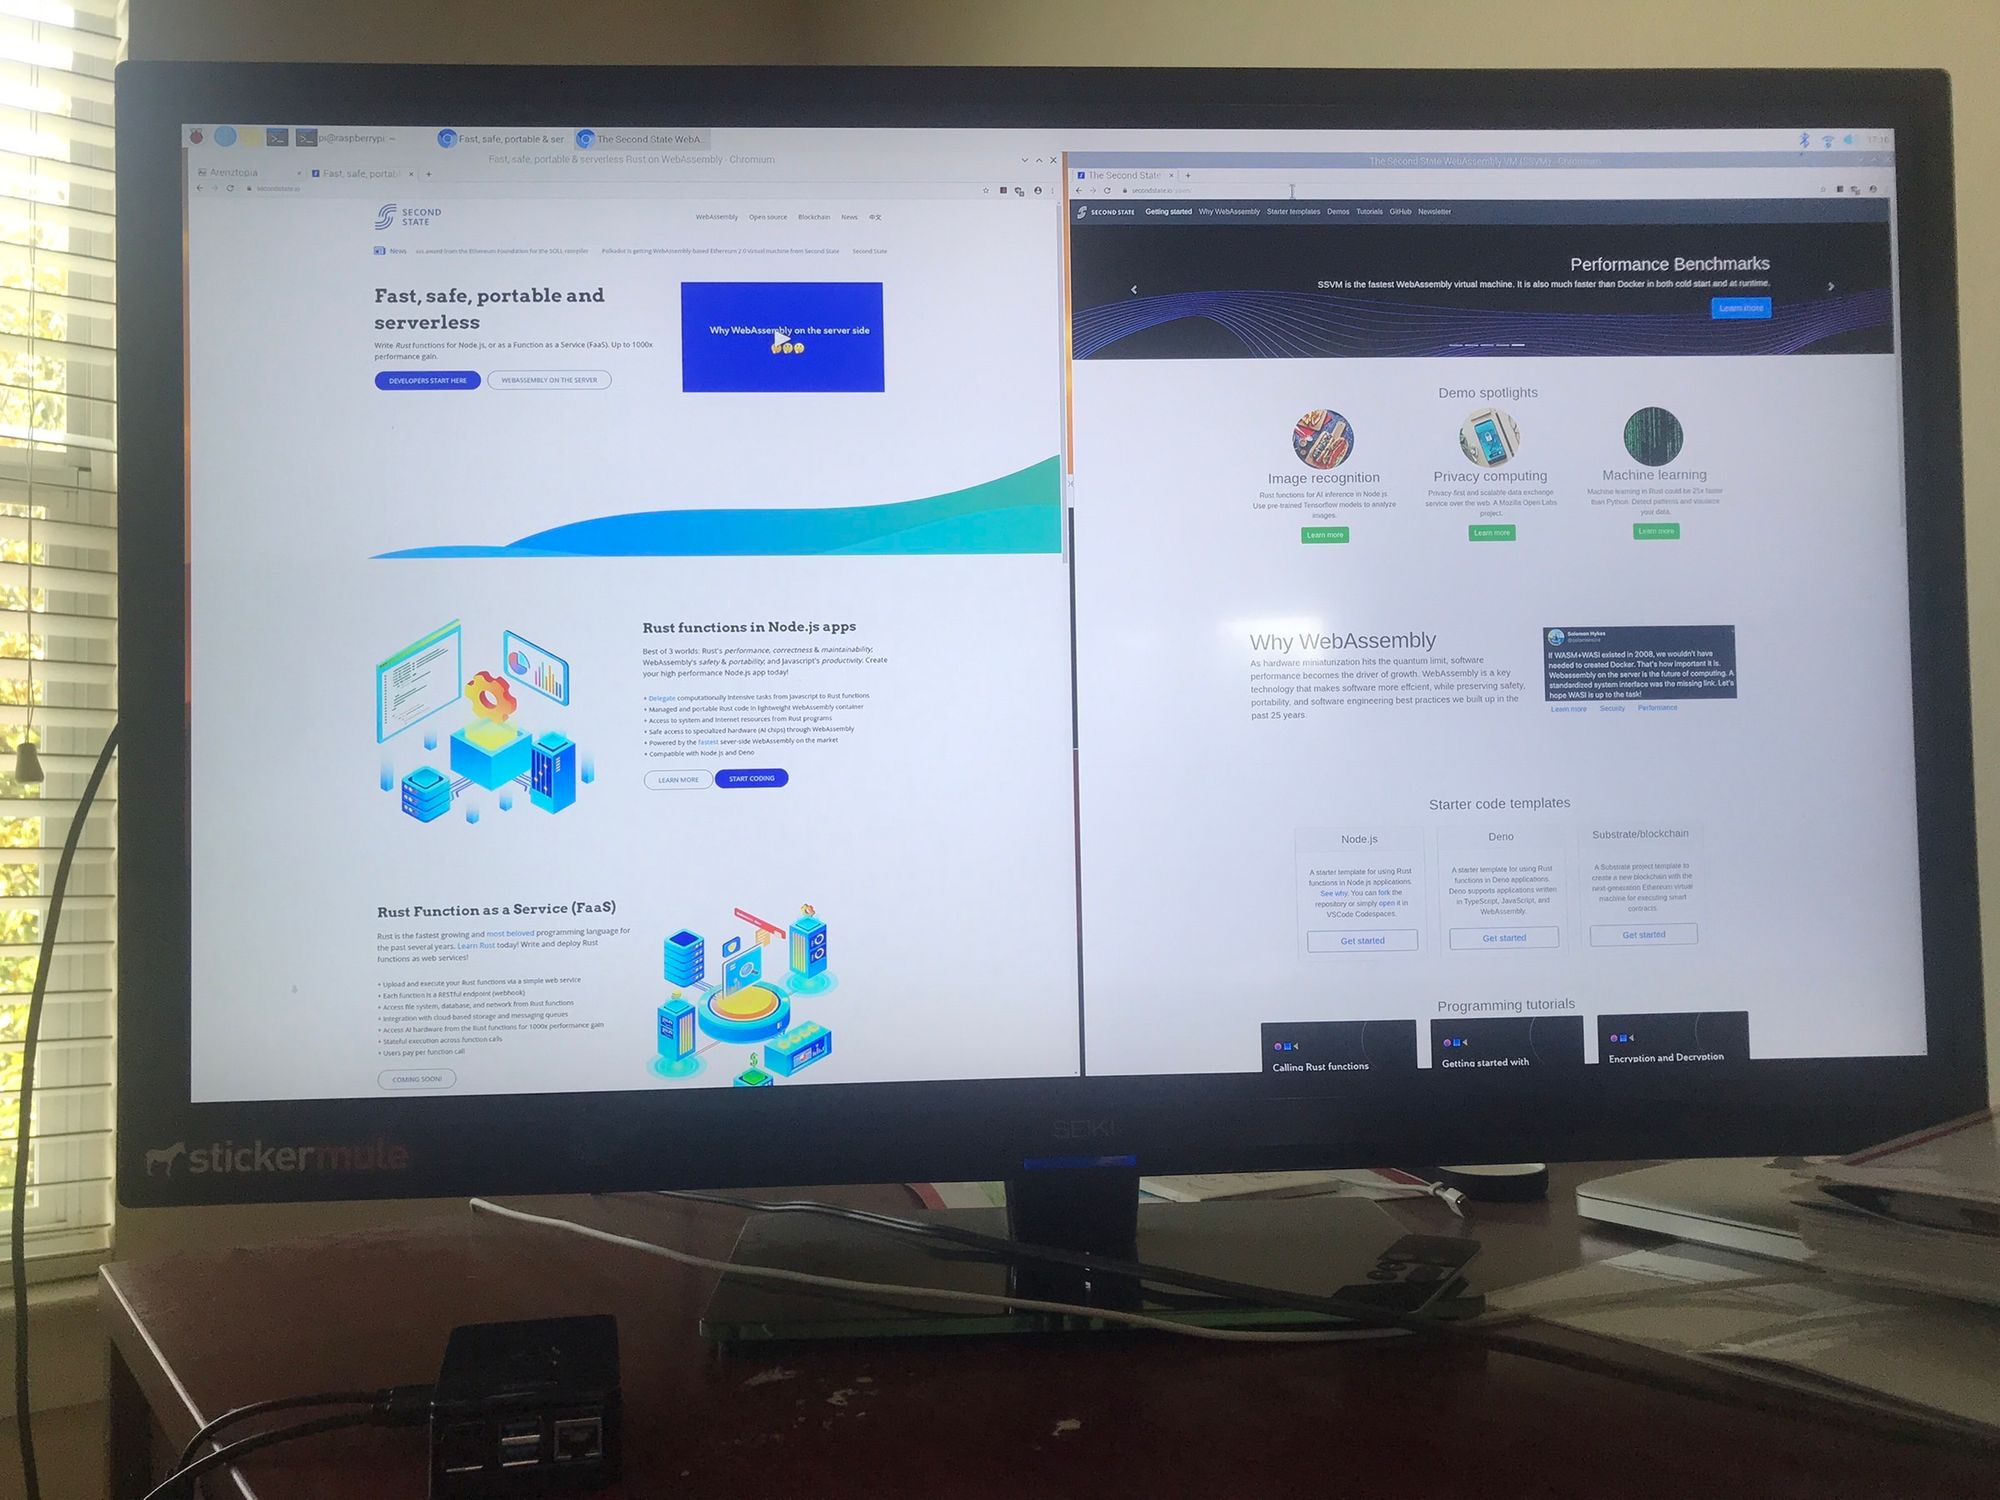
My Raspberry Pi 4 with Raspberry Pi OS setup. Notice how small the actual computer is.
For our purposes, we are mostly interested in installing dev and server software through the command line terminal.
At this point, you could also find out the IP address of the Pi on your local network by running the following command. Then you can SSH into the Pi using that local IP address, username pi, and the password you gave pi during setup.
$ hostname -I
192.168.2.108 172.17.0.1
You can find a complete list of software packages installed on the Raspberry Pi OS here. It is always a good idea to update and upgrade to the latest packages. Run the command below and be patient. It could take an hour.
$ sudo apt update && sudo apt upgrade
How to set up Ubuntu Server 20.04
The Raspberry Pi OS is primarily geared toward a desktop experience. For developers who just want to use the device as a server or IoT device, the Ubuntu Linux is a much better choice. It has the latest software packages and libraries, and could be far more efficient without the desktop windows, web browser, Java, games, and learning tools.
You can download Ubuntu Server images for Raspberry Pi from the web, and load it on a MicroSD card. But perhaps a much easier way is just to use the Raspberry Pi Imager, select Ubuntu Server 20.04 TLS from the menu, and write into an empty MicroSD card.
Once the MicroSD card is prepared, you should follow these instructions to put in your WiFi network name and password. This allows the Raspberry Pi device to connect to the network as soon as it boots.
Basically, you can just put the MicroSD card into the Raspberry Pi, connect USB power, then wait for it to come online. You can find the raspberrypi device IP from your WiFi router, and then SSH into from any computer on your network.
The initial username and password are ubuntu / ubuntu. There is no need to even connect a monitor or keyboard. That’s it for a completely headless setup!
Note: if, for some reason, your Raspberry Pi cannot connect to WiFi at startup, you can hook up an HDMI display and a USB keyboard to it. Then follow these instructions to debug and set up WiFi on the running system.
Next, let's install the developer tool stack on the Pi.
Install Git
I always install Git on all my development environments because a lot of software can be directly retrieved from Git repositories. It saves me the trouble of downloading and copying.
Git also allows me to save and backup my own work in private repositories. For a small computer like Raspberry Pi, I would recommend that you save work in Git in case you lose the device or MicroSD card.
The following command installs Git:
$ sudo apt install git
Install Node.js
To turn the Raspberry Pi into a personal dev server for web applications, you need to install a modern web application runtime.
For most developers today, the best starting point is Node.js, which allows you to write server-side applications in JavaScript. The following two commands install Node.js on your Pi.
$ curl -sL https://deb.nodesource.com/setup_10.x | sudo bash -
$ sudo apt install nodejs
You can verify the installation is done correctly by running the following two commands. Both node and npm are now available.
$ node -v
v10.19.0
$ npm -v
5.8.0
From here, you can use npm to install modules. For example, a commonly used npm module is the express framework for web applications.
$ npm install express
Now, you can go through the ExpressJS hello world example to create a web server on your Pi, and use web browsers from any computer on your network to access the application!
Install Rust
Rust is a fast growing programming language for writing both systems and web applications. It is close to the hardware, high performance, and memory safe. That makes Rust a great language for writing applications on resource constrained devices like the Raspberry Pi.
Also, Rust is the most beloved programming language by StackOverflow users for the past 5 years in a row. It is well worth your time to learn it!
An important use case of Rust is to compile Rust functions into WebAssembly and run them inside Node.js applications to achieve performance, safety, and code portability. It is a great choice for running computationally intensive web applications on a small Raspberry Pi device. In fact, you could get a free Raspberry Pi starter kit if you learn how to do that.
Note: strictly speaking, you do not need to install Rust tools on the Pi. You typically only need to run Rust programs in the Pi. You can compile your Rust program on any computer and then copy the compiled binaries to the Pi.
But still, with the powerful CPU, you can compile Rust programs on the Raspberry Pi. So why not?
The following command installs the Rust compiler toolchain on the Pi.
$ curl --proto '=https' --tlsv1.2 -sSf https://sh.rustup.rs | sh
Run the following command to set up the correct path without logging out and back in again.
$ source $HOME/.cargo/env
The above command also installs the Rust package manager called cargo. Most Rust developers use cargo to build and share their work.
$ cargo -V
cargo 1.44.1 (88ba85757 2020-06-11)
Next, you can clone our Rust learning repository, and learn from examples.
$ git clone https://github.com/second-state/wasm-learning.git
Here is the hello world example. Have fun!
$ cd wasm-learning/rust/hello
$ cargo build
   Compiling hello v0.1.0 (/home/pi/Dev/wasm-learning/rust/hello)
    Finished dev [unoptimized + debuginfo] target(s) in 4.35s
$ target/debug/hello
Hello, world!
Check out the official Rust web site and the Rust by Example books for more learning resources.
Learn Docker
We have seen that the Raspberry Pi OS and Ubuntu Server are both very capable Linux distributions with lots of software packages.
But what if I want to test applications on other OSes? Do I need to wipe clean and reinstall a different OS on the MicroSD card? The answer is no. You can just use Docker! The following two commands install docker on the Raspberry Pi:
$ curl -fsSL https://get.docker.com -o get-docker.sh
$ sudo sh get-docker.sh
Run the following command so that you can use Docker as the pi user:
$ sudo usermod -aG docker pi
The Docker info command shows that Docker is now installed on an ARM system with Raspberry Pi OS.
$ docker info
... ...
 Kernel Version: 4.19.118-v7l+
 Operating System: Raspbian GNU/Linux 10 (buster)
 OSType: linux
 Architecture: armv7l
 CPUs: 4
 Total Memory: 3.814GiB
 Name: raspberrypi
 ID: XERI:ZVVZ:XQVA:HXSH:KRPI:6GL2:5QRE:E7GZ:Z72Q:6SGF:CEI6:GKTC
 Docker Root Dir: /var/lib/docker
... ...
Next, you can pull a Docker image for the latest Ubuntu distribution, run it, and log into Ubuntu as a command line user.
$ docker pull ubuntu
... ...
$ docker run -it ubuntu bash
root# ... enter commands ...
What’s next?
In this article, we have touched on the basics and learned how to turn your Raspberry Pi 4 device into a personal dev server for software developers.
There is much to learn about Git, Node.js, Rust, WebAssembly and Docker. There are also many other developer stacks you can install on the Raspberry Pi.
Grab your free Raspberry Pi kit and let us know what you did with it!
Subscribe to our newsletter and stay in touch.