
By Michael Bagley
React Native has become a very important tool in the world of mobile application development.
What's not to love? It's fast, cross-platform, hooks into native modules, and uses languages and patterns that are familiar to front-end developers.
Furthermore, serverless technology has empowered developers with the ability to deploy enterprise-level applications without the overhead of a traditional server infrastructure. It takes away the administrative tasks involved with managing an application's backend, while increasing productivity.
This no-worry, plug-and-play infrastructure pairs well with frameworks like React and React Native because it makes it super easy for individuals and small teams to scale up production applications with no overhead costs.
Let's walk through how to create a React Native application with user authentication. Then I'll cover how to integrate this process with a serverless database.
For now, my example app will just be a simple demonstration of stateful user authentication – but get creative and build what interests you! This demonstration will eventually turn into a full-serverless collaborative to-do list mobile app.
Table of Contents:
- How to Set Up Your Project
- Sign Up / Sign In Workflow
- How to Plug In The Back End
- Conclusion
How to Set Up Your Project
There are many different ways to implement serverless in your React project, but we are going to use the easybase-react library for this project. The functions are stateful and are built for React and React Native.
Go to your React Native project and do npm install easybase-react.
If you don't know how to create a React Native project, you can use create-react-native-app by doing npx create-react-native-app MyNativeApp in the console. After this completes, install the library as stated above.
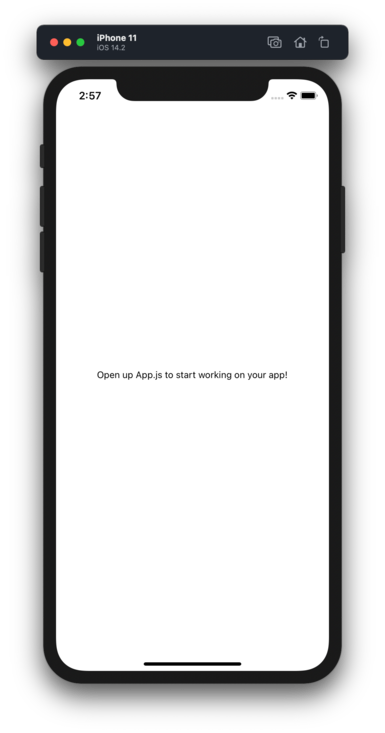
At this point you can open you application by running npm run ios or npm run android depending on the platform you want to test on. Your starting point will look something like this:
Sign Up / Sign In Workflow
When establishing the workflow for our application, this view should be shown by default if a user is not signed in. For the sake of brevity, the styling of my example will be very rudimentary, but be unique with your styling!
Let's start with some basic routing so that we can distinguish two different views based on whether or not a user is signed in. For now, we'll just have this automatically return false until we implement the proper hooks.
If a user is not signed in, they are presented with a view to sign in or sign up. If a user is signed in, we'll show a confirmation message.
import React, { useState, useEffect } from 'react';
import { StyleSheet, Text, View, TextInput, Button } from 'react-native';

export default function App() {
  return (
    <Router />
  );
}

function Router() {
  const isUserSignedIn = () => false;

  return (
    isUserSignedIn() ?
      <Text>Congrats! You're signed in.</Text>
      :
      <Account />
  )
}
This Account component will contain the a Sign in / Sign up template that should look familiar. In React Native this view could look something like this:
function Account() {
  const [userVal, setUserVal] = useState("");
  const [passVal, setPassVal] = useState("");

  return (
    <View style={styles.container}>
      <Text style={styles.title}>Welcome to React-flix!</Text>
      <TextInput value={userVal} onChangeText={e => setUserVal(e)} style={styles.accountInput} placeholder="Username" />
      <TextInput value={passVal} onChangeText={e => setPassVal(e)} style={styles.accountInput} placeholder="Password"/>
      <View style={{ display: "flex", flexDirection: "row", marginTop: 30 }}>
        <Button title="Sign In" />
        <Button title="Sign Up" />
      </View>
    </View>
  )
}

const styles = StyleSheet.create({
  container: {
    flex: 1,
    backgroundColor: '#fff',
    alignItems: 'center',
    justifyContent: 'center',
  },
  accountInput: {
    height: 40,
    borderColor: 'gray',
    borderWidth: 1,
    width: "75%",
    margin: 10,
    fontSize: 22,
    textAlign: "center"
  },
  title: {
    fontSize: 30,
    fontWeight: "500",
    fontStyle: "italic",
    marginBottom: 30
  }
});
Although somewhat basic, this view features everything required for a secure, functional user authentication interface. For reference, here's a screenshot of the application at this point:

How to Plug In The Back End
Now we're going to connect our Native app to a serverless back end to handle user authentication and token administration.
There are various libraries that aim to implement serverless capabilities to React and React Native. The one that we are going to use is called Easybase. Among other things, this service aims to make React + serverless extremely intuitive.
Developers can leverage the service's project management interface to scale their applications easily and effectively. We'll be able to manage the users of our projects with this interface. The service's web application (screenshots below) integrates exceptionally with the easybase-react npm package.
The reason I've chosen to use this package is twofold. First, the installation and configuration process is extremely simple with one config file.
Second, there is a significant overhead of implementing a user authentication module, such as session token storage and networking. The EasybaseProvider component handles most of this overhead so we can right to work.
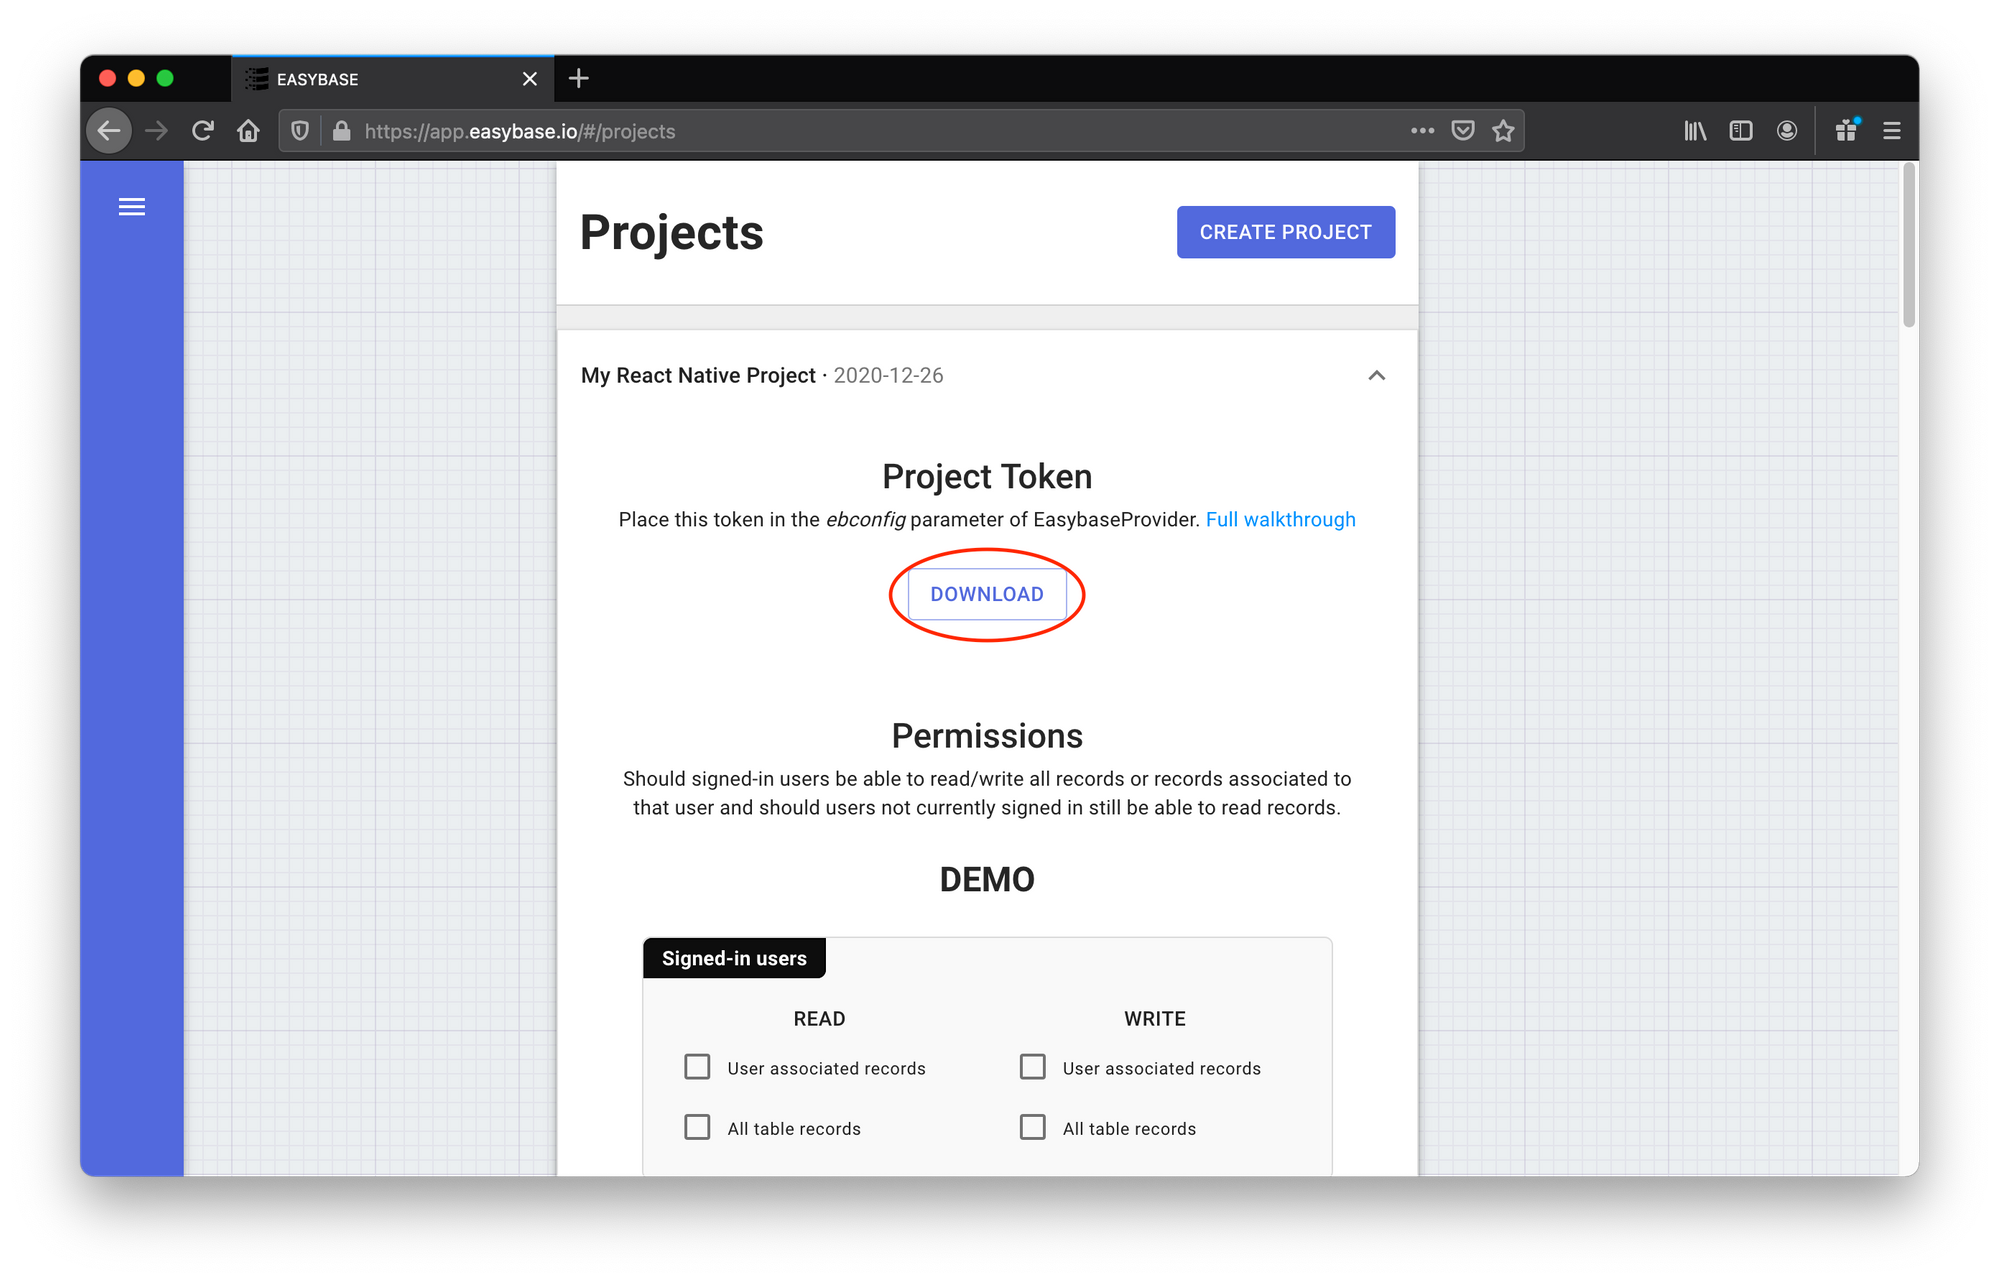
Login to Easybase and create a new table. If you don't have an account, quickly create one (it's free). From there, create a new project like so:

Then, download your project token here (we'll create some tables later):
Place the newly downloaded ebconfig.js in your React Native project folder next to App.js, like so:
├── android/
├── ios/
├── node_modules/
├── App.js
├── ebconfig.js <---
├── index.js
└── ...
Next, we will import two things in App.js:
import ebconfig from "./ebconfig"import { EasybaseProvider, useEasybase } from "easybase-react"
Then we'll wrap our app in this EasybaseProvider component, passing the ebconfig as a corresponding prop. The changes will look like the following:
import ebconfig from "./ebconfig";
import { EasybaseProvider, useEasybase } from "easybase-react";

// ...

export default function App() {
  return (
    <EasybaseProvider ebconfig={ebconfig}>
      <Router />
    </EasybaseProvider>
  )
}

// ...
At this point we can access a variety of serverless application capabilities by using the useEasybase() hook. This includes functions like signIn, signUp, setUserAttributes, and so on. Created users and their associated attributes will appear in the 'Users' section of Easybase.io.
The documentation for the useEasybase hook is available here. Information is also available on the Github repo.
So we can now finish our Account component by filling in the onPress props of our buttons with the corresponding function provided by the useEasybase hook:
function Account() {
  const [userVal, setUserVal] = useState("");
  const [passVal, setPassVal] = useState("");

  const { signIn, signUp } = useEasybase();

  const clearInputs = () => {
    setUserVal("");
    setPassVal("");
  }

  const handleSignInPress = async () => {
    await signIn(userVal, passVal);
    clearInputs();
  }

  const handleSignUpPress = async () => {
    const res = await signUp(userVal, passVal, {
      created_at: new Date().toString
    });
    if (res.success) {
      await signIn(userVal, passVal);
    }
    clearInputs();
  }

  return (
    <View style={styles.container}>
      <Text style={styles.title}>Welcome to React-flix!</Text>
      <TextInput value={userVal} onChangeText={e => setUserVal(e)} style={styles.accountInput} placeholder="Username" />
      <TextInput value={passVal} onChangeText={e => setPassVal(e)} style={styles.accountInput} placeholder="Password"/>
      <View style={{ display: "flex", flexDirection: "row", marginTop: 30 }}>
        <Button title="Sign In" onPress={handleSignInPress} />
        <Button title="Sign Up" onPress={handleSignUpPress} />
      </View>
    </View>
  )
}
Lastly, we have to handle the isUserSignedIn function used in the Router component. Lucky for us, the useEasybase hook also provides this function by the same name. Just plug that one in and we can use it for conditional rendering.
function Router() {
  const { isUserSignedIn } = useEasybase();

  return (
    isUserSignedIn() ?
      <Text>Congrats! You're signed in.</Text>
      :
      <Account />
  )
}
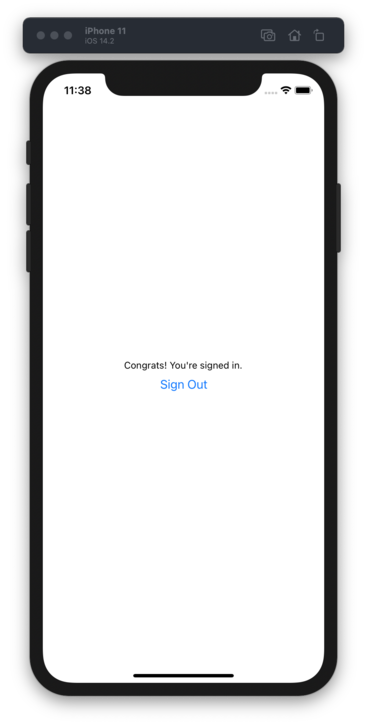
Just like that, we've implemented a secure user authentication workflow in React Native. Notice that if you close or reload the app, your user will stay signed in as is standard with most mobile platforms.
How to add a sign out button
Lastly, I'm going to add a sign out button for users that are signed in. That will require changing the current Congrats... text element for signed in users.
Fortunately, the useEasybase hook features a function with this name, so we can edit our Router component as follows:
function Router() {
  const { isUserSignedIn, signOut } = useEasybase();

  return (
    isUserSignedIn() ?
      <View style={styles.container}>
        <Text>Congrats! You're signed in.</Text>
        <Button title="Sign Out" onPress={signOut} />
      </View>
      :
      <Account />
  )
}
Clicking this new button will handle un-authenticating the current user. This will change the state of your EasybaseProvider, and now the app will route back to the Account component because isUserSignedIn() will return false.
Conclusion
Navigating to the 'Users' section of Easybase will show all your current users. For reference, here is what it looks like after I created a series of example users:
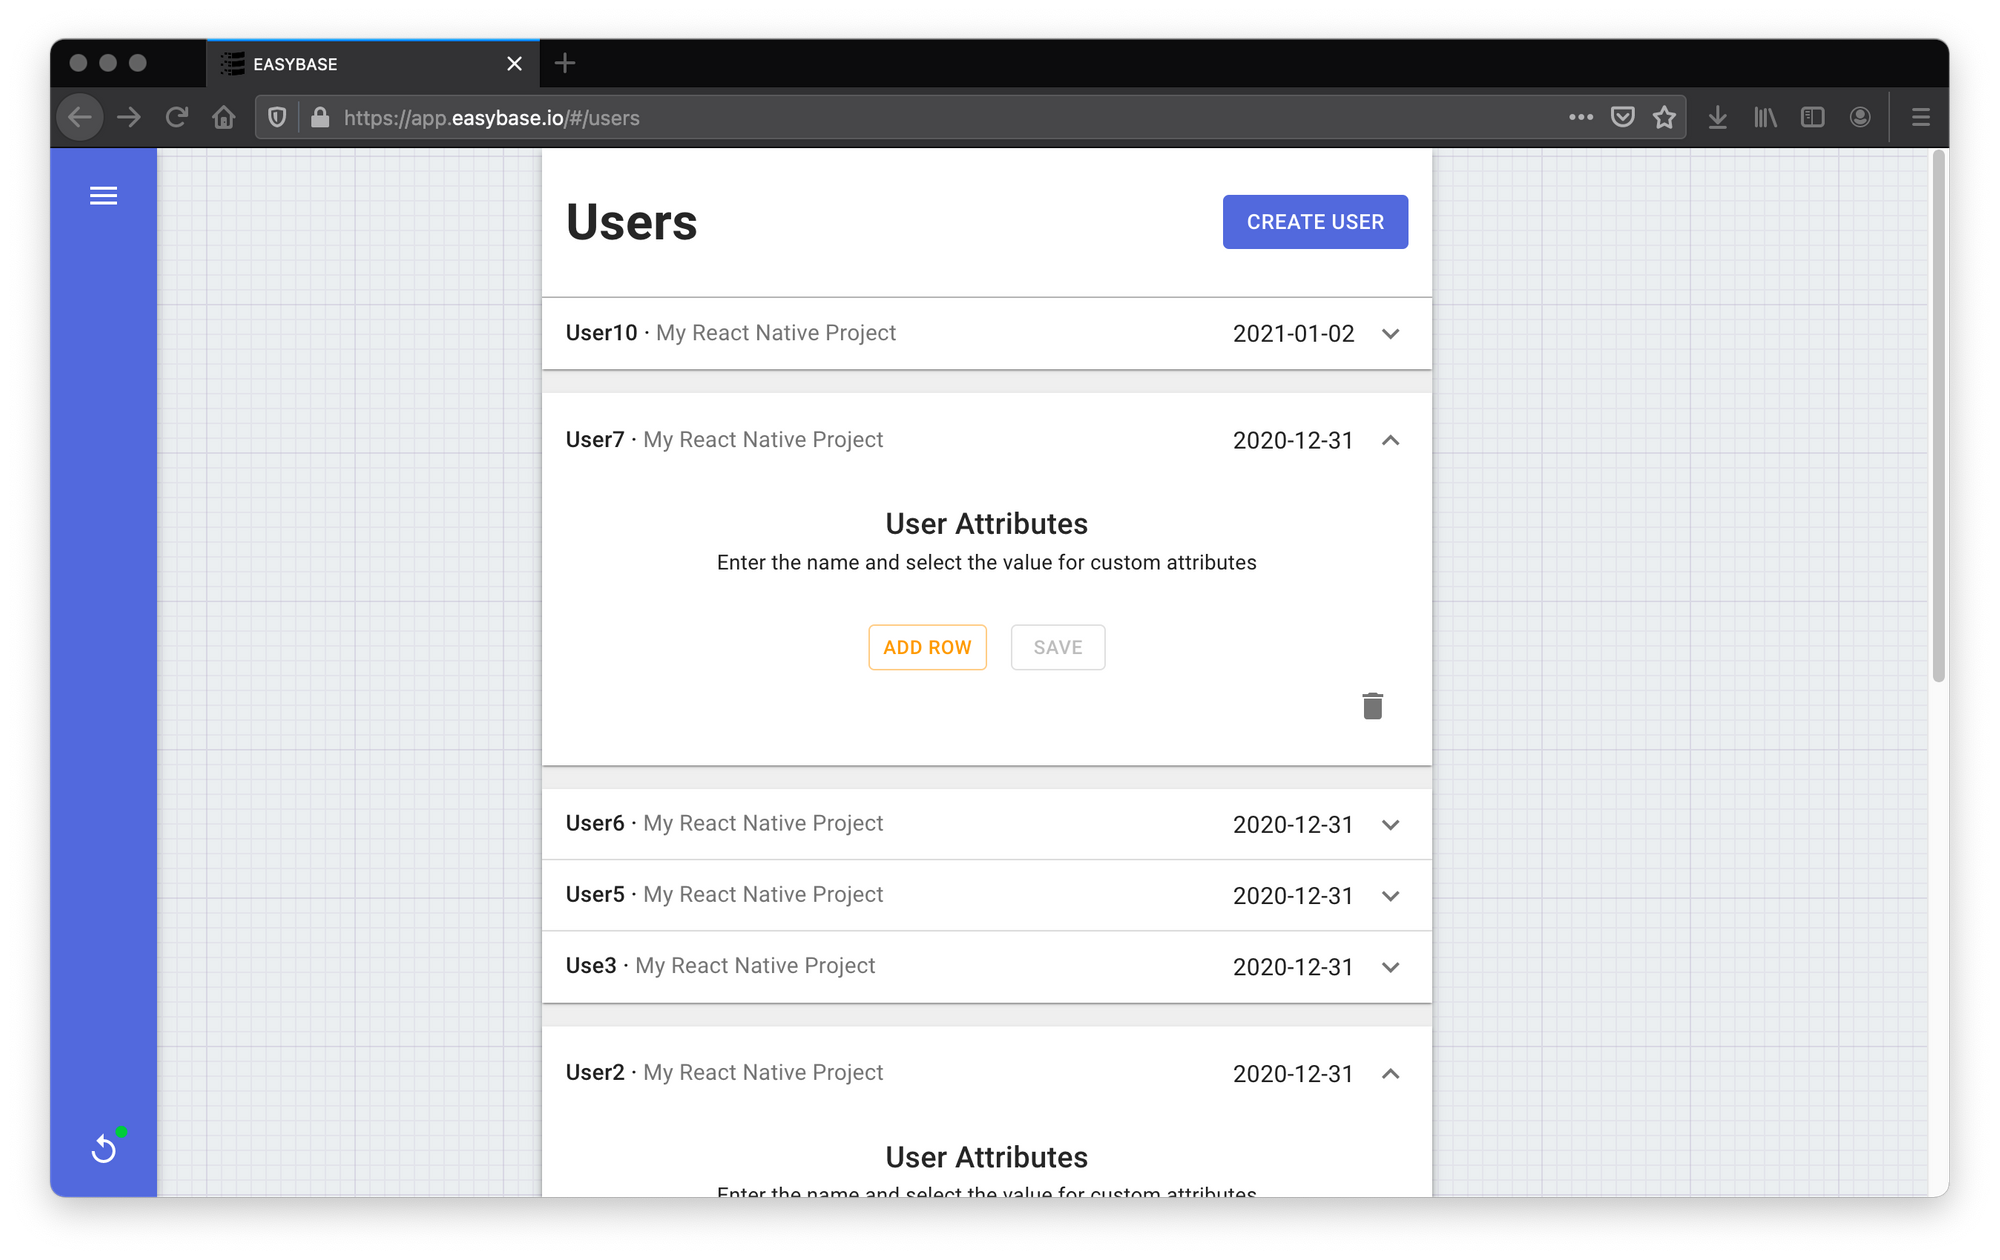
Note that in this menu you have the options to delete a user or edit their corresponding attributes. You can also set a user's attribute individually using setUserAttribute(). From there, attributes can be retrieved in your front end with the getUserAttributes() function.
For more information on serverless with React and React Native, take a look a Easybase's React page. It has some good detail on other topics not yet expressed in my demonstration, but we'll get to that stuff later.
Thanks a lot for reading! I hope this method of implementing user authentication will be helpful to those looking into software development with React Native.
In my next article, I'll be getting into how to use this authentication workflow with a serverless database. This database will feature user permissions and individual record querying.