
By Sam Galizia
In this article, I want to show you how I created a Python-like decorator function in JavaScript and, in the process, show at least one practical use case.
At the end, I want to demonstrate how I used this to solve a more in-depth problem and maybe inspire some of you to do the same!
Getting started
Let’s start with a quick refresher (or lesson) on decorators in Python. In Python, there are functions called decorators that follow this syntax, @decorator.
In code, they would be followed by another function like so:
The above code snippet is using the syntactic sugar version of using decorators in Python. To understand better what is going on here, let’s remove that syntactic sugar.
In this second snippet, we’re looking at the definition of the decorator and how we decorate a function without the syntactic sugar.
One of the most important points to take away from this is that the decorator is simply wrapping our original function inside a wrapper function and calling it.
By using this technique of wrapping our function, we are able to perform tasks before and after our function runs. Let’s take a look at a use case that will shed some more light on how this all works.
Creating our decorator
We are going to create a timing decorator that will tell us how long it takes a function to run.
In the timing decorator, we start by noting the current time and saving it as start. We then execute the original function, and after that has finished, mark the current time as end. Finally we return the difference between the start and end times, essentially giving us the time it took to run the function.
This simple use case is just the tip of the iceberg when it comes to decorators. Before we go more in depth with use cases, I want to show how easy it is to achieve the same result in JavaScript.
What you see above is the same timing decorator that we made in Python, but written in Javascript. I want to highlight a few of the small syntax changes that are different form the Python version.
First, inside our decorator function we make use of anonymous functions in JavaScript. Using the anonymous function also allows us to return it while defining it.
Second, we also used an anonymous function in the function expression syntax on line 10. We pass an anonymous function as the argument to timing rather than using a named function.
These are minor syntax differences in the language and hopefully won’t trip you up too much if you aren’t familiar with them.
Diving deeper
Now that we have looked at a simple example, I want to go into some depth on a more useful case. In the process we are going to step through the problem I ran into when I decided to pursue this solution.
This is a two part problem so let’s take a look at the first part: failing network calls.
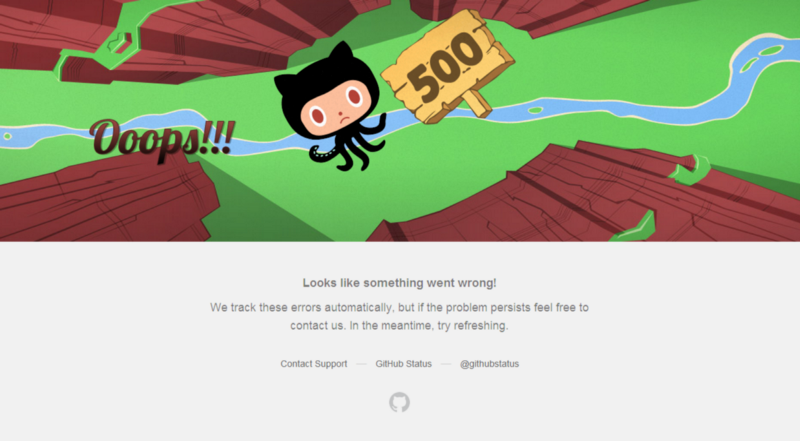 GitHub’s 500 Internal Server Error Page
When working with APIs, you will undoubtedly find yourself dealing with network calls that fail for any number of reasons. Wouldn’t it be nice if we could have those network calls retry themselves?
Well it just so happens that you can! In the following snippet, we will create a decorator in Javascript that will use an npm library called retry to do just that.
*On a side note, it is totally possible to write the retry code yourself. I chose to use a library to make things a bit simpler, since it is not the focus of this article.
Okay that was a lot to take in! I tried to comment portions to help explain what is going on, but let’s break it down step by step.
First off, we require the retry library, which can be found here, and proceed with creating our decorator function.
Inside our decorator, the first thing we want to do is create an operation. Operations are part of the retry library and denote that we have something we want to do that may require more than one attempt.
In the setup of the operation you can see I have set {retries: 2}. Options can be passed into the operation constructor as an object containing the config option you want to change. Setting retries is how you can specify the maximum number of attempts.
The retry library has quite a bit of configuration that you can leverage to customize how your retries function, but I don’t want to get side tracked by it. Check out the npm library to learn more!
Next, we setup our anonymous function that will wrap our original function. You may have been a bit confused when you took a look at line 9, const args = arguments;. I know I was confused by this when I first saw it, so let me explain.
Basically, since we are calling wrapped further inside the function in a lower scope, we need to grab the arguments from it now so that we can access them later. The keyword arguments grabs the arguments from the current function scope as an array. We store the current arguments in args allowing us to use it later.
The next part is where things start to get a little confusing. I am using a networking library that returns promises, and because of this, we need to intercept the promise inside the decorator. Intercepting it allows us to check whether it succeeded or failed and then do something about it.
Below is just the internal part of our decorator wrapping function.
In order to intercept the response from the networking call, we wrap our operation (which contains our function we want to retry) inside of another promise. To those of you who have used promises before, I know this might be strange, but it is needed to make sure that we handle the result of that call here. It will be even more apparent why when I show my final example, so stay tuned!
Moving on, now that we have wrapped or original function and the operation retry inside of the promise, we can actually call wrapped. When we call it, we need to make sure to use apply(context, args...) so that our original parameters passed into it can be used.
Once we get a response from our network call, we handle the success and error case. The success case is pretty boring here: basically if we get a successful response we resolve the outer promise with the result.
The error case is much more interesting! If the request fails, we want to try again right? This snippet, if (operation.retry(err)) { return; } is interesting because this is the heart of the retry library. We are basically attempting to call the function again. In doing so, we pass the current error into the retry function.
The operation has an internal array of errors, and calling retry with an error pushes that error onto the array and then calls the operation again. This is why we had to call our original function inside of operation.attempt().
I was a little bit confused at first by the return; statement inside of the braces. What I learned by playing around with this, though, is that after calling retry() the function has to return so that operation can be executed again. Otherwise, without the return it got stuck in execution and failed with an unresolved promise.
The final interesting piece in the above code is when we can’t make another attempt — that is, we just executed our final attempt. In that case, the if statement is going to fail when you try and call retry() , and we bypass that block to the final section where we reject(err). This is very important, because if you don’t include this final error handling, the outer promise will never resolve.
The final piece of the puzzle
Wow, that was a lot to explain and I am sure that was a lot to take in. I want to show you one final snippet though, straight from my codebase, that shows how I leveraged this functionality to deal with tokens expiring during network calls.
A quick backstory: I am working with the Spotify API, and their auth tokens are only good for 60 minutes. Because of the short lifespan, I found myself having to refresh frequently during development. Realizing that this could be a real problem for users, I thought back to how we had solved this problem during an internship I did.
My previous experiences with a similar situation (in Swift on iOS) brought me around to writing this final chunk of code here. I have tested it and it works wonderfully! The user will probably never even know their token expired, which is how it should be, might I add.
There is a lot of branching code paths in the above function, and the majority of it is not new. I did my best to explain all the logic in comments. I use this code and have tested it out numerous times and the token refreshes and the response is returned as expected!
Below is a short use case of how I use this function after writing it up.
I really enjoyed writing up this article, and I would love to hear some feedback from anyone who feels up to it. The code above can probably be further optimized in some way, but this is what I am currently using and it works :)
I hope this helped at least one person solve a similar problem. If so I would love to hear how you used this!