
By Anthony Ng
This is part of my plan for deliberate practice to improve as a developer. Take a look at this article to learn more.
In this article, we’ll look at a library called classNames (here’s the GitHub repository). classNames provides a simple API to construct class names in React. We’ll take a look at what it does, and what I learned by going through their repo.
How to use?
The classNames API is very simple. They have great examples in their README.md.
You can pass string arguments like so:
classNames also accept objects as arguments. If the value of the key is falsy (false, null, undefined, 0, NaN, empty string), classNames omits the value.
classNames also accepts arrays as arguments. Array arguments are recursively flattened and processed using the above rules. You can mix and match different types of arguments (strings, arrays, objects).
Usage with React
This package’s primary use case is to make React’s class name simpler to work with.
Without classNames, you might have used string manipulation to create React’s class names.
Now with the classNames package, it would look like this:
Common mistakes: “undefined” classnames
The most common mistake I see at work using classNames are undefined class names.
Remember that falsy values are ignored inside the classNames package.
Knowing this, we can update our classNames example to:
Different versions that you can opt into: Dedupe
There’s 2 issues that you might run into. Do you see them?
Luckily, classNames provides an opt-in version of its library for us to use, called dedupe.
That’s more like it. Note that dedupe is around 5x slower than the default classNames package. Use this only if needed.
Different versions that you can opt into: Bind
bind is another opt-in version of classNames. It’s meant to help us when we’re using CSS modules with React. But I find that the default classNames package does well with CSS modules.
Take a look at the README.md for more information.
Object.create(null)
It’s a best practice to use hasOwnProperty when iterating over an Object’s keys. You can check if the key belongs to the object, or is inherited.
We would use hasOwnProperty to get properties that belong to our created object.
Instead of using hasOwnProperty, we can create a new Object that inherits nothing!
But this also means methods that Objects inherit, such as toString will not exist on this new object.
Awesome documentation and great tests
Take a look through the source code of classNames. It’s littered with amazing comments and documentation.
Awesome documentation isn’t something that’s exclusive to open source projects.
Did you find a great code snippet that you used on your personal project?
Have you spent hours searching for the perfect StackOverflow answer? Include these links as comments in your code! It will save other developers (and the future you) time when figuring out what’s going on.
classNames has amazing documentation on their README.md. It has rich examples that show everything this package can do.
Documentation and comments are great. Yet, they can rot and become out of sync with what the code actually does. But tests don’t lie! Well-written tests will tell you everything that the package should be able to do and not do. If you’re new to a library, check out their tests to get a better understanding of the library.
apply/call
Knowing how to use JavaScript’s apply and call are great interview questions. But I rarely get to use them in the real world. Seeing it inside of the classNames package was a nice refresher of what it does.
apply and call basically do the same thing. It sets the this of the calling function.
For example,
The difference comes when you want to pass in arguments into the calling function. Let’s take a look at a function that takes in arguments.
Notice the small difference here. apply takes its arguments in an array (I remember it by remembering that apply and array both start with a). call takes its arguments provided individually, like a normal function would.
classNames uses apply to handle array arguments passed into it.
Don’t trust anything
Take a look at the code snippet below.
Why would we save the hasOwnProperty function to a variable? This is because we have to be defensive about the arguments given. We grab the hasOwnProperty from the Object.prototype. Let’s take a look at why.
That makes sense. But what if someone passed us an object like this:
Using the hasOwnProperty function from the Object.prototype is a safer alternative.
But note that even this isn’t foolproof. The below is still possible.
HTML entities
I always forget about HTML entities. I always look for a fancy image, but using HTML entities are well supported and can save you an HTTP request for an image.
Before you start scouring Google Images for assets, take a look at this chart to see if it has what you need.
Benchmark Performance
You don’t need to argue with your coworker any more about for-loops vs for-each loops! You can settle all disputes by seeing how it performs using benchmarking tools (such as jsPerf).
classNames is downloaded and used by many, and performance is of greatest concern. Performance differences are looked at before any pull requests are accepted.
Your personal projects might not be concerned with performance. But it is good to keep performance in mind. Take a couple of minutes to play around with jsPerf and set up your own tests.
travis.yml
 Fancy badges from
 classNames README.md
Interested in getting adding fancy badges to your README.md? Check out this great egghead tutorial by Kent C. Dodds on starting your own Open Source project. It covers often-ignored topics, such as setting up Continuous Integration, using Semantic Release, publishing to npm, and more.
git blame, follow, history
Have you ever run into a certain line of code and was curious about how it came to be? Use the git blame feature from the Github website. It will tell you when it was written, who wrote it, and what commit it was from.
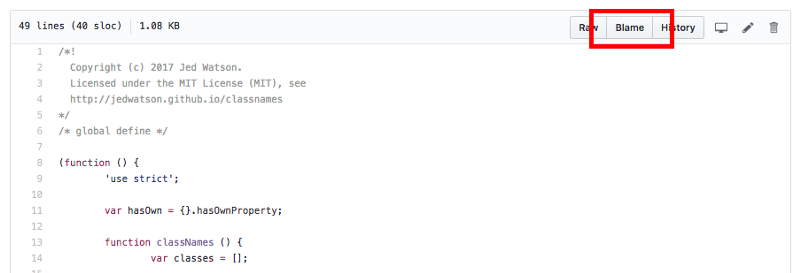 git blame
You can also view the history of a file and see how it evolved by using git history, located right next to git blame. Viewing all the commits shows you how a certain file evolved over time.
I recommend that you find an Open Source project that you like and use, and start contributing back to it. You can watch a repository and get notifications whenever there are any updates. You might not be ready to push code changes. But updating documentation or helping with other people’s issues are valuable as well.
 watch
watch
Thank you for reading this, and I hope you learned something new.