By Neil Ruaro
If you're like I am, then you've probably watched and read a number of tutorials on creating machine learning models with TensorFlow, PyTorch, Scikit-Learn or any other framework out there.
But there is one thing that these tutorials tend to miss out on, and that's model deployment.
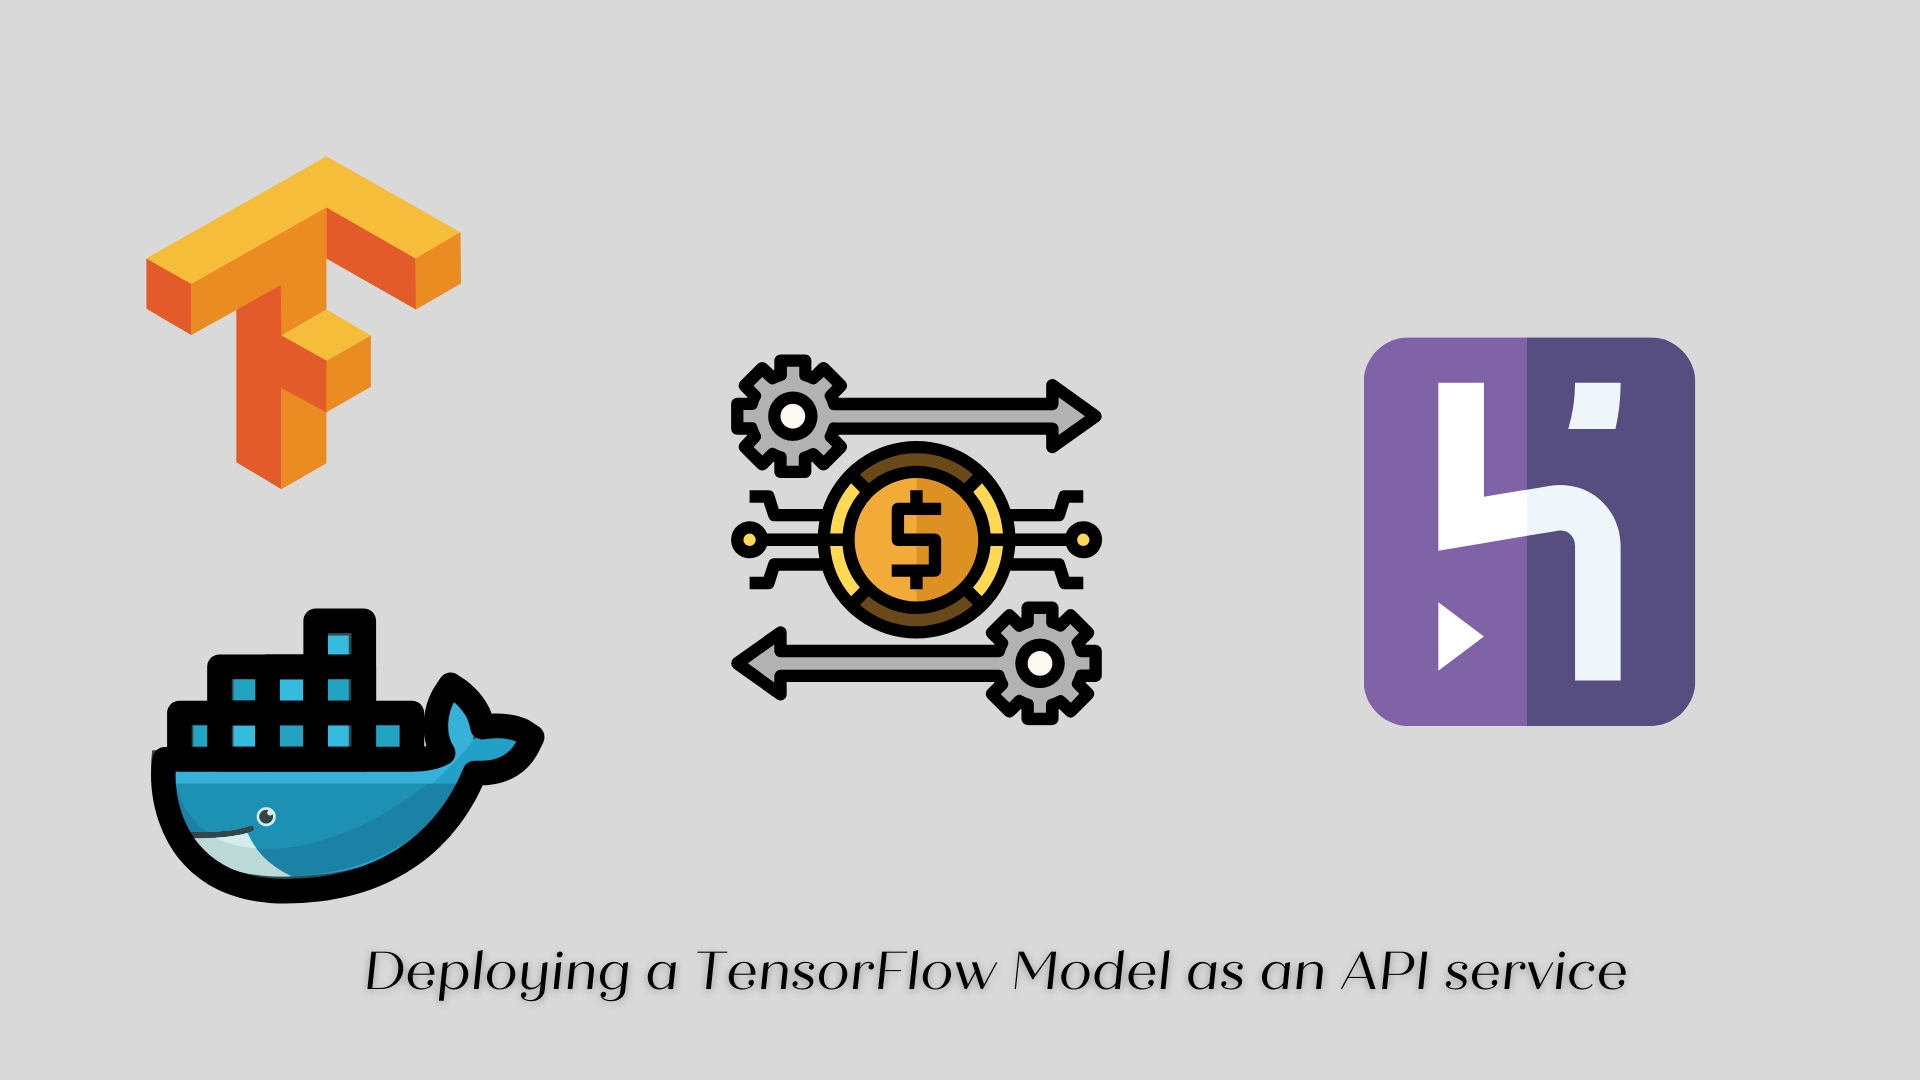
In this tutorial, I'll discuss on how to deploy a CNN TensorFlow model that classifies food images to Heroku using FastAPI and Docker.
Tech We'll Be Using
If you're unfamiliar, FastAPI is a Python web framework for creating fast API applications. And in my opinion, it is the easiest to learn out of all the Python web frameworks out there.
FastAPI also has default integration with swagger documentation and makes it easy to configure and update.
Docker, on the other hand, is an industry staple in software engineering, as it is one of the most popular containerization softwares out there. Docker is used for developing, deploying, and managing applications in virtualized environments called containers.
The main selling point of using Docker is that it solves the problem "it works on my machine, why not in yours?". Coincidentally, I actually faced this exact issue working on this very project, ultimately fixing it when I decided to use Docker.
Heroku, lastly, is a cloud platform where you can deploy, manage, and scale web applications. It works with back-end applications, front-end applications, or full-stack applications.
Prerequisuites
Before we begin, you'll first need the following:
- A Docker account
- A Heroku account, and the Heroku CLI
- A Python installation
The Application We're Building
We're going to be building a RESTful API service for a TensorFlow CNN model that classifies food images.
After building the API service, I'll show you how to dockerize the application, and then deploy it to Heroku.
How to Download the Necessities
You'll first need to clone the GitHub repository at this link.
git clone https://github.com/eRuaro/food-vision-api.git
There are two branches in this repository – you'll use the start-here branch as main is the completed branch.
Once you've gotten the cloned repository, you'll need to download Docker to your local system, and the Heroku CLI as well.
You must also install the following packages on pip:
- FastAPI
- TensorFlow
- Numpy
- Uvicorn
- Image
To do so, create a requirements.txt file on the start-here branch, and put in the following. Note that you can use any other version of the listed packages below, as long as they still work together.
fastapi==0.73.0
numpy==1.19.5
uvicorn==0.15.0
image==1.5.33
tensorflow-cpu==2.7.0
After which you can install the packages using the commandpip install -r requirements.txt.
Currently our start-here branch has the saved model file, as well as the Jupyter notebook used in creating the model. The notebook also has the code that implements our API feature. That is, it implements predicting the food class of an image based on its URL link.
Brief introduction to FastAPI
With that in mind, let's start writing the code! In the root directory, create a main.py file. In that file, add the following lines of code:
from fastapi import FastAPI
from fastapi.middleware.cors import CORSMiddleware
from uvicorn import run
import os

app = FastAPI()

origins = ["*"]
methods = ["*"]
headers = ["*"]

app.add_middleware(
    CORSMiddleware,
    allow_origins = origins,
    allow_credentials = True,
    allow_methods = methods,
    allow_headers = headers
)

@app.get("/")
async def root():
    return {"message": "Welcome to the Food Vision API!"}

if __name == "__main__":
    port = int(os.environ.get('PORT', 5000))
    run(app, host="0.0.0.0", port=port)
Running the command python -m uvicorn main:app --reload will run the app, and will listen to changes we make on the server.
Alternatively, you can use python main.py and it will run the app on port 5000, courtesy of the last 3 lines of code. However, this won't let the app listen to changes we make, so you'll have to re-run the app every time you want to see your changes.
We also added the CORSMiddleware which essentially allows us to access the API in a different host. That is, we can extend the app further by creating a front-end interface for it. We won't cover that in this article but I put it here just in case you want to create a front-end to interact with the API as well.
Going to the port where the app is running, you'll get this.
{
    "message": "Welcome to the Food Vision API!"
}
The command python -m uvicorn main:app --reload refers to the following:
main -> The file main.py
app -> The object created inside of main.py with the line app = FastAPI()
--reload -> Make the server restart after code changes
Let's dissect the code we've written so far.
@app.get("/")
async def root():
    return {"message": "Welcome to the Food Vision API!"}
@app is needed for FastAPI commands. The get is an HTTP method, while the "/" is the URL path of that specific API request. Below that we call a function that will return something. Here we just return a simple json message.
That is, we have a template for writing API endpoints with FastAPI.
@app.http_method("url_path")
async def functionName():
    return something
How to Write the API Functionality
Let's write the main API functionality, that is, taking a food image URL from the internet, and predicting the name of that food.
First, let's extend the code that we wrote earlier, import all the required functions that we'll use, and load the model itself.
from fastapi import FastAPI
from tensorflow.keras.models import load_model
from tensorflow.keras.utils import get_file
from tensorflow.keras.utils import load_img
from tensorflow.keras.utils import img_to_array
from tensorflow import expand_dims
from tensorflow.nn import softmax
from numpy import argmax
from numpy import max
from numpy import array
from json import dumps
from uvicorn import run
import os

app = FastAPI()
model_dir = "food-vision-model.h5"
model = load_model(model_dir)

...
...
...

if __name == "__main__":
    port = int(os.environ.get('PORT', 5000))
    run(app, host="0.0.0.0", port=port)
After loading in the model, let's add in the food classes that we have, which are based on the Food 101 dataset.
class_predictions = array([
    'apple pie',
    'baby back ribs',
    'baklava',
    'beef carpaccio',
    'beef tartare',
    'beet salad',
    'beignets',
    'bibimbap',
    'bread pudding',
    'breakfast burrito',
    'bruschetta',
    'caesar salad',
    'cannoli',
    'caprese salad',
    'carrot cake',
    'ceviche',
    'cheesecake',
    'cheese plate',
    'chicken curry',
    'chicken quesadilla',
    'chicken wings',
    'chocolate cake',
    'chocolate mousse',
    'churros',
    'clam chowder',
    'club sandwich',
    'crab cakes',
    'creme brulee',
    'croque madame',
    'cup cakes',
    'deviled eggs',
    'donuts',
    'dumplings',
    'edamame',
    'eggs benedict',
    'escargots',
    'falafel',
    'filet mignon',
    'fish and chips',
    'foie gras',
    'french fries',
    'french onion soup',
    'french toast',
    'fried calamari',
    'fried rice',
    'frozen yogurt',
    'garlic bread',
    'gnocchi',
    'greek salad',
    'grilled cheese sandwich',
    'grilled salmon',
    'guacamole',
    'gyoza',
    'hamburger',
    'hot and sour soup',
    'hot dog',
    'huevos rancheros',
    'hummus',
    'ice cream',
    'lasagna',
    'lobster bisque',
    'lobster roll sandwich',
    'macaroni and cheese',
    'macarons',
    'miso soup',
    'mussels',
    'nachos',
    'omelette',
    'onion rings',
    'oysters',
    'pad thai',
    'paella',
    'pancakes',
    'panna cotta',
    'peking duck',
    'pho',
    'pizza',
    'pork chop',
    'poutine',
    'prime rib',
    'pulled pork sandwich',
    'ramen',
    'ravioli',
    'red velvet cake',
    'risotto',
    'samosa',
    'sashimi',
    'scallops',
    'seaweed salad',
    'shrimp and grits',
    'spaghetti bolognese',
    'spaghetti carbonara',
    'spring rolls',
    'steak',
    'strawberry shortcake',
    'sushi',
    'tacos',
    'takoyaki',
    'tiramisu',
    'tuna tartare',
    'waffles'
])
Now that we have the food classes, let's write the main API functionality.
@app.post("/net/image/prediction/")
async def get_net_image_prediction(image_link: str = ""):
    if image_link == "":
        return {"message": "No image link provided"}

    img_path = get_file(
        origin = image_link
    )
    img = load_img(
        img_path,
        target_size = (224, 224)
    )

    img_array = img_to_array(img)
    img_array = expand_dims(img_array, 0)

    pred = model.predict(img_array)
    score = softmax(pred[0])

    class_prediction = class_predictions[argmax(score)]
    model_score = round(max(score) * 100, 2)

    return {
        "model-prediction": class_prediction,
        "model-prediction-confidence-score": model_score
    }
Here, we make a post request to the endpoint /net/image/prediction/ and provide the image_url as a query parameter. That is, the full endpoint when posting an image URL link would be /net/image/prediction/image_url=image-url.
For simplicity's sake, we give the image_link a default value of "" and when there's no link passed to the endpoint, we simply return a message saying that there's no image link provided.
get_file() downloads the image through the provided URL link, while load_img() loads the image in PIL format, and turns it into the appropriate image size that the model wants.
img_to_array() converts the loaded image to a NumPy array. expand_dims() expands the dimensions of the array by one at the zero'th index.
We then use model.predict() to get the model prediction on the loaded image, and get the model's confidence score on said prediction using softmax(). I used softmax here as that's the activation function used in creating the model.
We finally then get the food type by using argmax() on the model's confidence score. We'll use that as the index that we'll use in searching through the class_predictions array which contains the various food classes we have.
Lastly, we multiply the model's confidence score by 100 so that the range of the score would be from 1 to 100.
We then return the model's prediction, and the model's confidence score.
Why We Need to Use Docker to Deploy this App
You can actually deploy this app as is on Heroku, using the usual method of defining a Procfile. But when I tried this method, I kept on getting a ValueError: Out of range float values are not JSON compliant error. I also get this error when running the app on Windows Subsystem for Linux (WSL). When I run on Windows, however, the error disappears.
You can actually avoid this error by adding this line of code, after the initial assignment of the model_score variable:
model_score = dumps(model_score.tolist())
This lets the app run on both Heroku and WSL, but it will only return these values when making the POST request.
{
    "model-prediction": "apple pie",
    "model-prediction-confidence-score": NaN,
}
So, it works on my machine (Windows), but not on Heroku (using Procfile), nor on WSL. This is the kind of problem that Docker solves!
How to Dockerize the Application
Let's start dockerizing the application. Create a Dockerfile in the project's root directory and put in the following content:
FROM python:3.7.3-stretch

# Maintainer info
LABEL maintainer="your-email-address"

# Make working directories
RUN  mkdir -p  /food-vision-api
WORKDIR  /food-vision-api

# Upgrade pip with no cache
RUN pip install --no-cache-dir -U pip

# Copy application requirements file to the created working directory
COPY requirements.txt .

# Install application dependencies from the requirements file
RUN pip install -r requirements.txt

# Copy every file in the source folder to the created working directory
COPY  . .

# Run the python application
CMD ["python", "main.py"]
This pulls the Python 3.7.3 image, and installs all the necessary packages defined in the requirements.txt file. Then it runs the application by using the command python main.py as defined in the last line of the file.
You can then build and run the application using the following CLI commands:
$ docker image build -t <app-name> .
$ docker run -p 5000:5000 -d <app-name>
Then you can stop the app, and free up system resources by running the following:
$ docker container stop <container-id>
$ docker system prune
container-id is returned when running the docker run command above.
How to Deploy to Heroku
With the app now dockerized, we can deploy it to Heroku. I'm assuming you already have the Heroku CLI installed, and have already logged the CLI into your Heroku account.
Let's first create the app in Heroku through the CLI:
$ heroku create <app-name>
Then we can push and release the app through the Docker container we made earlier with the following commands:
$ heroku container:push web --app <app-name>
$ heroku container:release web --app <app-name>
After this, you can go to your Heroku dashboard and open the app. You should be greeted with the JSON message we have in the "/" directory of the application.
 JSON message greeting on
 "/" directory
When you navigate to the /docs you'll be greeted with the Swagger documentation of the application. Here you can play around with the POST request we created and see if the model predictions are correct. Note that you must upload image links with the jpeg or png in its URL.
 Swagger documentation of the application on
 /docs
Let's try this out by using a picture of a chocolate cake, its URL link is this.
 Image from tallypress.com
Paste the link to the text box in the /docs as so, then press Execute.
 Demonstration of the app
After pressing the Execute button, it will take a few seconds until we get the model prediction. That's because we're using tensorflow-cpu because we're limited with the RAM and the slug size of our application when using the free tier of Heroku.
After the execution is finished, you should be greeted with this response:
 Response of the API after usage
As you can see, the model predicted it correctly, with a confidence score of 2.65%. This confidence score is alright as we're not dealing with model accuracy (which requires the truth value beforehand), and we're dealing with data the model hasn't seen before.
Conclusion
In this article, you learned how to deploy a TensorFlow CNN model to Heroku by serving it as a RESTful API, and by using Docker.
If you find this article helpful, feel free to share it on social media. Let's connect on Twitter! You can also support me by buying me a coffee.