

Hashnode recently released a tool that lets you set up your own developer blog on your own domain within minutes.
In case your wondering, I am not sponsored by Hashnode. They don't even know I'm writing this article. I'm just incredibly impressed with their tools, and I thought I'd share them with you.
First of all, you may be asking: why not just use Medium or some other open publishing platform?
Well, here are some major reasons Hashnode is better for developers.
Reason #1: You can host your Hashnode blog on your own domain.
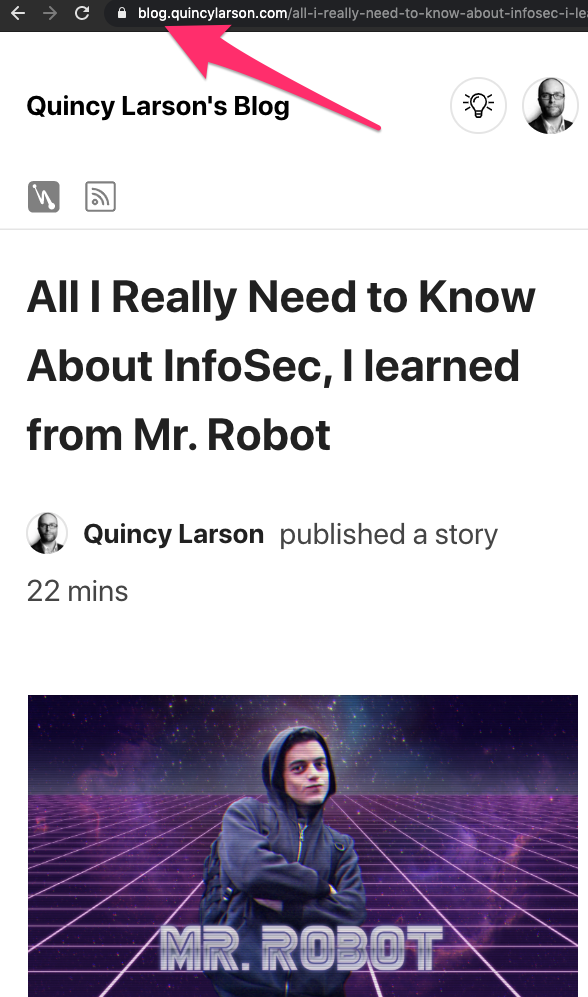 I published this article on my Hashnode blog and now it's available on my own personal website's subdomain.
This is a big deal if you want to build up your own blog's SEO over a longer time horizon.
This also saves you from becoming dependent on blogging platforms that have a nasty tendency to throw up ads or popups on your articles (or even put paywalls / sign-in walls in front of your blog posts).
I mean sure – you could always just migrate your articles later when these platforms get too spammy. But migrating can be a huge hassle. (And yes - I speak from experience.)
"Possession is nine tenths of the law." – One prominent Silicon Valley intellectual property lawyer I talked to
Reason #2: Hashnode is designed with developers in mind.
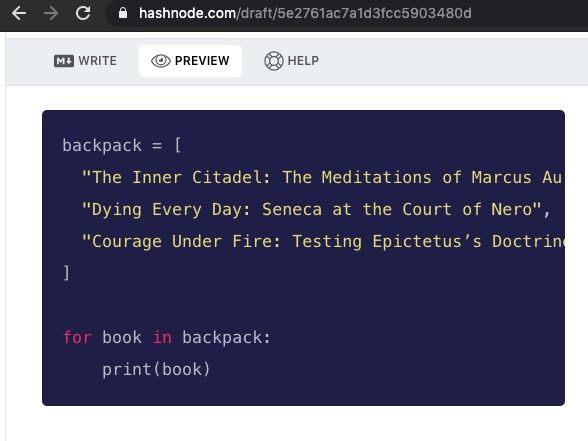 A preview of Hashnode's Python Syntax highlighting on my Hashnode blog article
You can type using markdown. And your code snippets get syntax highlighting, too.
Any images you upload get cached in Hashnode's CDN for speed, so you're not hot-linking or relying on CDNs that might be blocked in some countries (like Google's or Facebook's).
Reason #3: Hashnode will distribute your article throughout its network so you can get more readership
 My Hashnode blog article showing up in Hashnode's global algorithmic newsfeed
Many of Hashnode's authors are blogging on their own personal domains. But their articles still automatically show up on Hashnode's website in its algorithmic newsfeeds.
This means your blog will start with a baseline audience that you can grow from there.
Other reasons Hashnode blogs are better:
- You own your own data.
- You can customize your Hashnode blog way more than most other blogging websites allow.
- Hashnode blog is free. You don't even need to pay for your own server or serverless function calls.
- Hashnode automatically creates an SSL certificate for you and keeps it updated for you.
OK – so how do I set up a Hashnode blog?
The good news is it's pretty simple. You can create the blog by going to https://hashnode.com/ and signing in.
You just need to choose a name and you're good to go. Then you can come back to compose your first article after you've configured your domain.
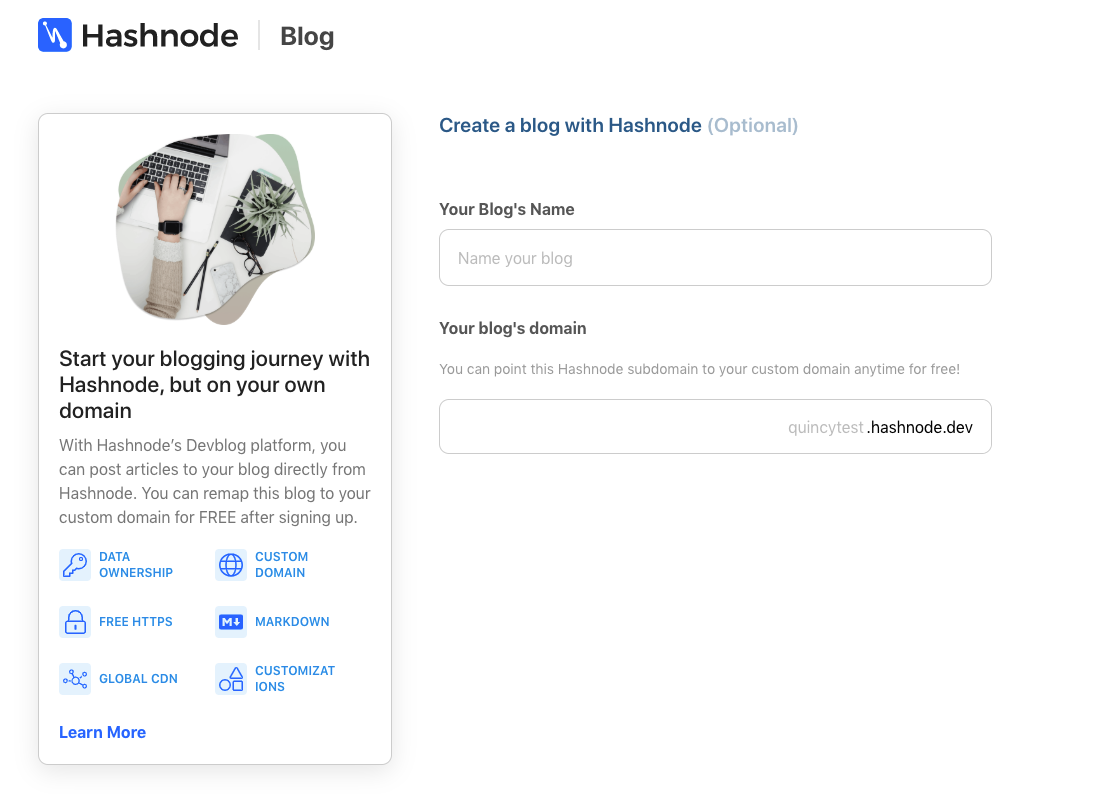 The Hashnode blog creation flow
Your Hashnode blog will immediately get a hashnode.dev subdomain.
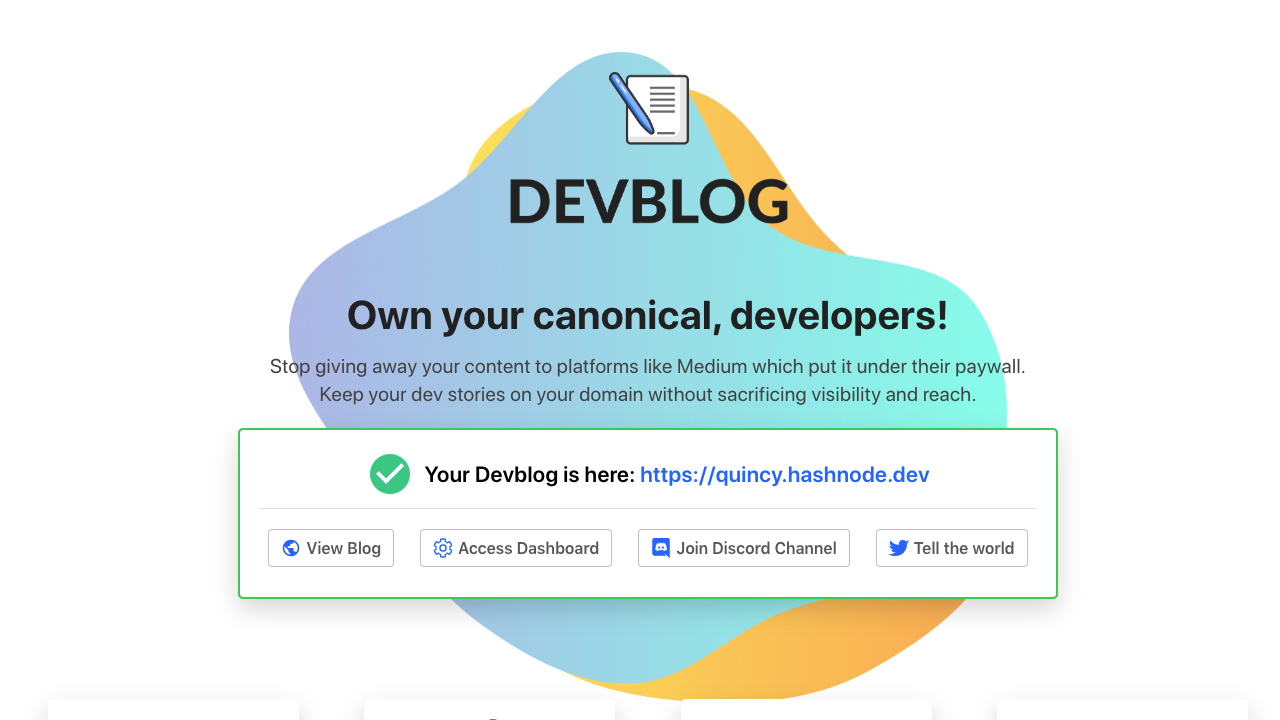 What you see after you've created your Hashnode blog and before you've configured it.
After you create your Hashnode blog you'll see a screen like this. Enter your domain name (with your subdomain if you're using one) and click "update". Then click "Access Dashboard" to configure it.
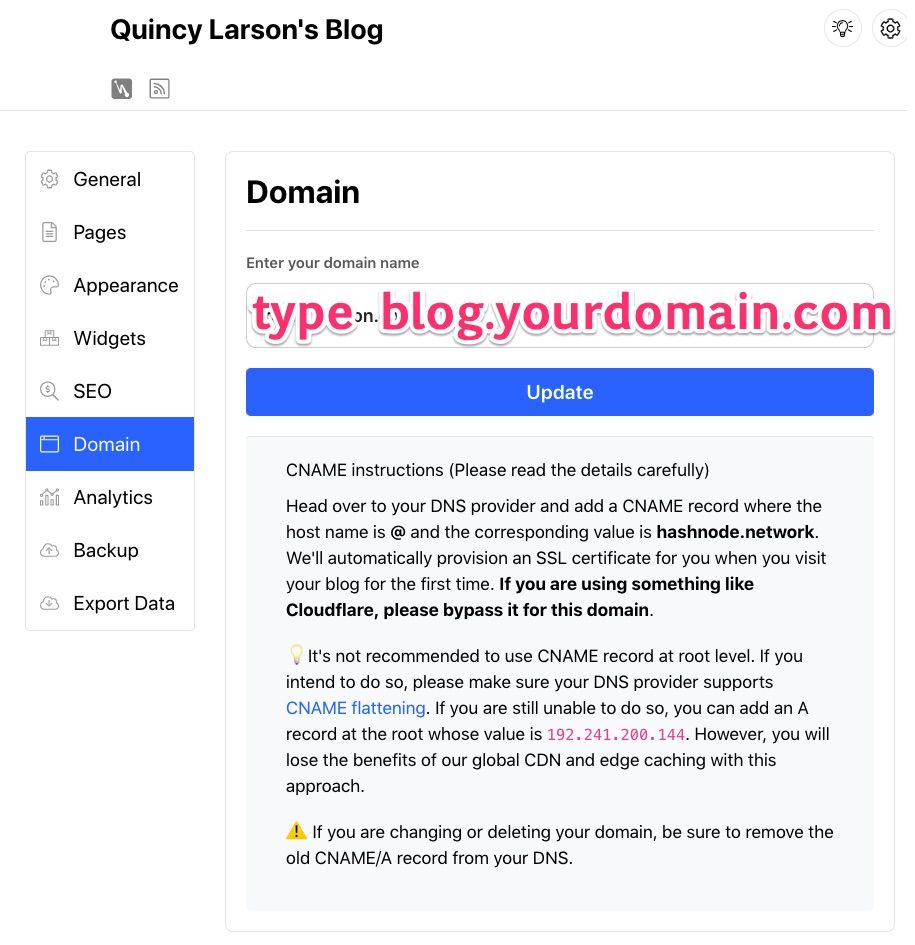
There are a ton of ways you can customize your Hashnode blog. But today we're just going to focus on getting it live on your own domain.
Hashnode recommends using a subdomain for this so that you can get access to their global CDN and edge caching, so that's what we're going to do in this tutorial.
If you haven't already bought a domain, you can do so. I recommend choosing a domain name where you can buy the same name for .com, .org, and .net, since those are the "big 3" original top-level domains that have existed since the 1990s. (Before the great TLD cash-grab.)
You only need to configure your Hashnode blog for one of your domains. You can then redirect your other domains over to it.
Here is how you should configure your DNS. Note that this is NameCheap's DNS dashboard, but most dashboards will look similar, and all will have a CNAME option:
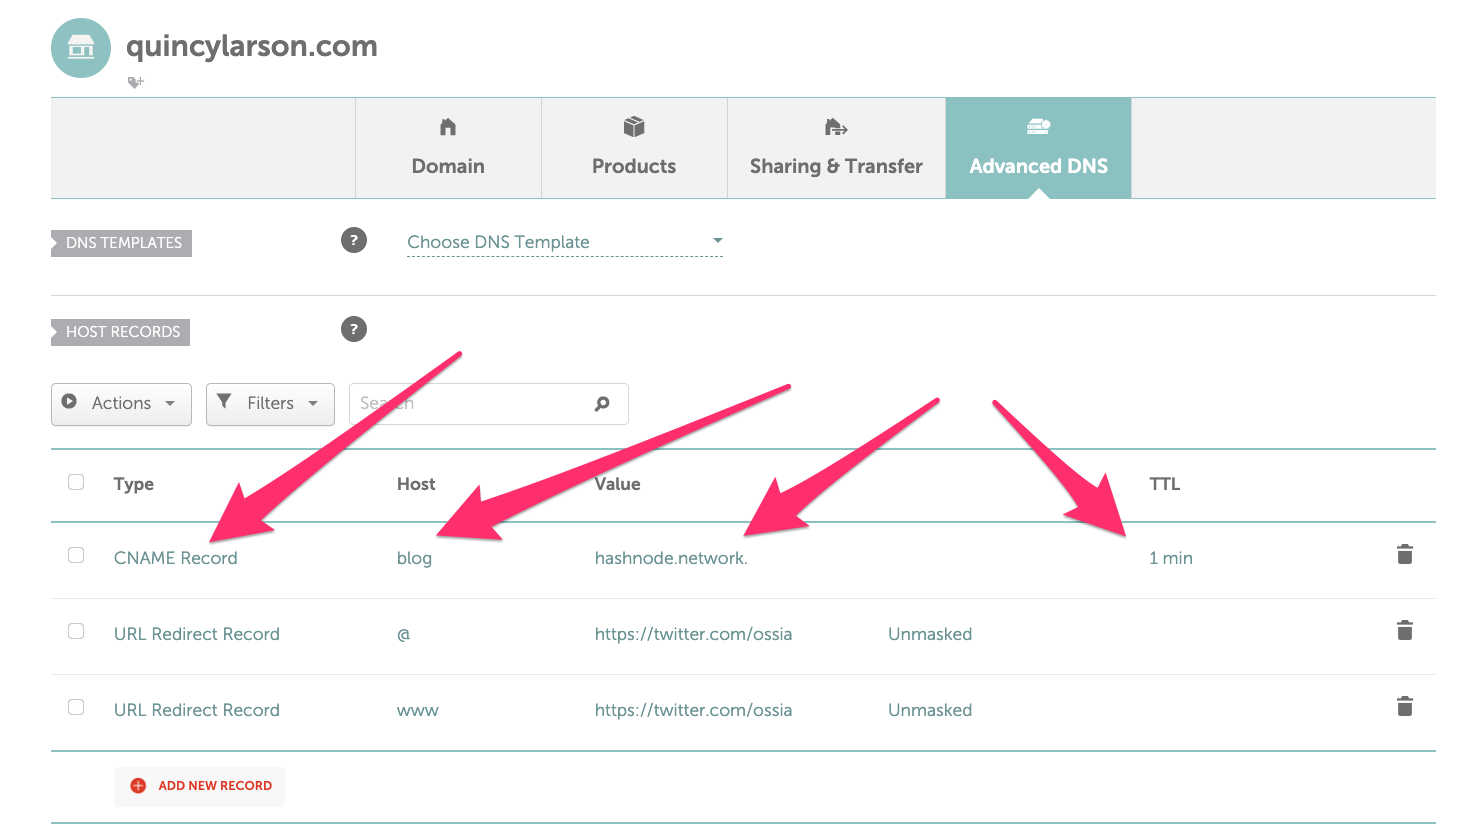 A picture of my personal domain name dashboard on Namecheap. The blog subdomain is pointed to my Hashnode blog and the www and root domains redirect to my personal Twitter account.
Create a CNAME record and set the host to whatever you want your subdomain to be (I chose blog).
Then set its value to hashnode.network
Hashnode will handle issuing your SSL certificate for you, so you'll automatically get a nice https at the front of your blog's URL. ?
I set the TTL to 1 minute so it would refresh faster but you may not have to do this.
Presto. You can go to https://[your subdomain].[your domain].[your TLD] and see your Hashnode blog.
For example, my Hashnode blog is at https://blog.quincylarson.com.
You're done.
I told you it was fast.
Now you can use Hashnode's markdown editor to create your first blog post.
Happy blogging.