
By Michael Xavier
What is Continuous Integration and why should we do it?
Continuous Integration (CI) is the process of automating the building and testing of code. This happens every time a project team member commits changes to version control.
For example, you make changes to your GitHub repository’s code and push that change to the master branch. This triggers a CI process to build a virtual environment and run commands. The commands configure the environment as it would be on a production server. Then they run the automated test suite you wrote to test your code.
CI is often used to:
- validate separate branches that a developer is working on. Branches are well tested before getting merged into the main branch of the project.
- to validate and deploy the latest versions of a project as branches pass validation.
Having code continuously integrated into the project and testing it reduces:
- merge conflicts
- hard to fix bugs
- diverging code strategies
- duplicated efforts
It keeps the master branch clean. Read more about Continuous Integration here.
Tutorial Goals
This is your first step into the Continuous Integration process. So, let’s keep things very simple. Our goal is to create a repository on GitHub and run CI on that repository every time a new commit is pushed. We’ll also display a badge that indicates the status of our current build.
The tools we’ll use for this demo:
Now let’s get started.
Setup a Github account
If you don’t have one already, get yourself a free GitHub account.
Next, head over to the Billing settings and enter your payment information. Don’t worry about getting charged. We’ll have 1000 minutes monthly of free build minutes with the option we will choose (Circle CI). That’s more than enough for this demo project.
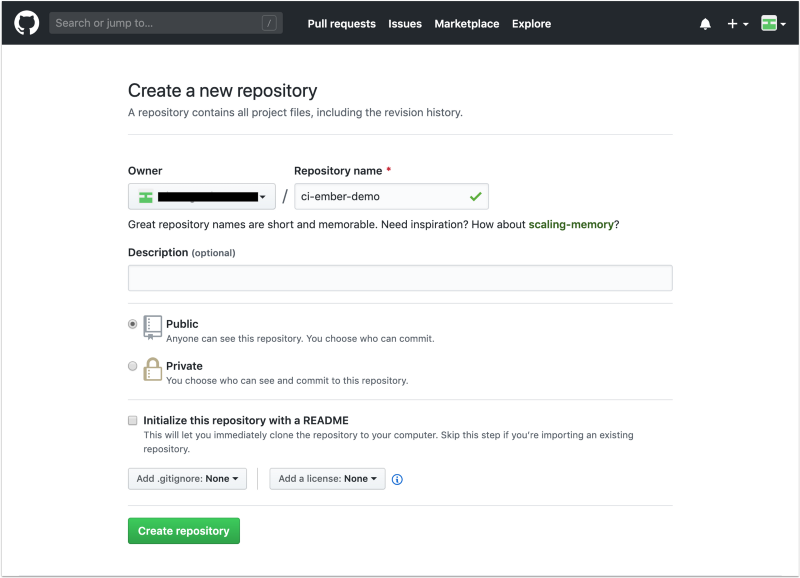
Finally, create a new repository called ci-ember-demo. Do not initialize it.
Create a basic Ember application
Install Ember CLI
Let’s use NPM to install Ember CLI. It includes the tools we need to generate a basic project.
npm install -g ember-cli
Create an Ember Project
Let’s create a project called ci-ember-demo using Ember CLI:
# cd into the desktop
  cd ~/desktop/
# create a new project
  ember new ci-ember-demo
# cd into the directory
  cd ci-ember-demo
# run the server
  ember s
Now, head over to http://localhost:4200 and you should see this screen:
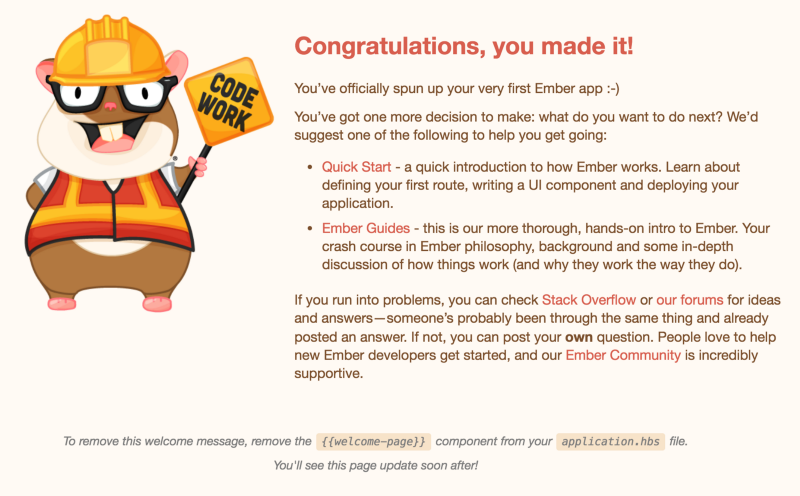
The base Ember project is running as expected. You can shut down the server with ctrl+C.
Check that the default tests are passing
Now in the terminal let’s run the tests that were generated with the project:
npm test
# alternatively
ember test
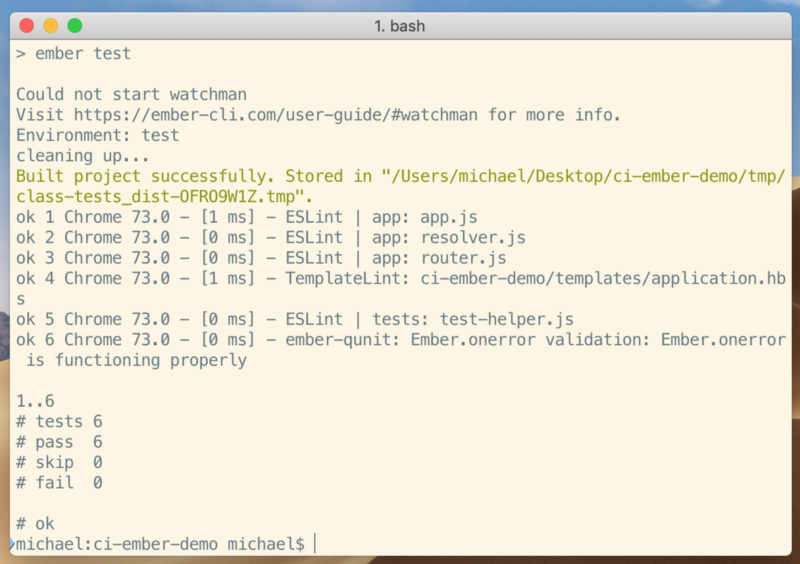
You should see a series of six default tests run. All should pass.
The idea is that these and other tests you write as you develop your project will be continually run as you push changes to the repository.
Push your project to Github
Head over to the ci-ember-demo project folder to edit the README.md file. Replace what’s there with something like:
## ci-ember-demo
This is a basic Ember CI demo application. Check out the tutorial: 'First Step into Continuous Integration with Circle CI'.
Get your remote URL and set it
Head back to your GitHub repository and grab the remote URL which should look like this:
git@github.com:username/repo_name.git
Inside the ci-ember-demo folder initialize the repository:
git init
Then add the remote URL so Git knows where we’re pushing our files to:
git remote add origin git@github.com:username/repo_name.git
# check that it's been set, should display the updated origin
  git remote -v
Time to push our code to Github:
# add all changes
  git add .
# create a commit with a message
  git commit -m "[INIT] Project"
# push changes to the repo's master branch
  git push origin master
The remote Git repository updates with the changes we’ve pushed:

Now we have a main project directory and a repository. It’s time to set up the CI platform.
Setup CircleCI — A continuous integration and delivery platform
CircleCI will be our tool of choice for Continuous Integration. It’s straightforward, popular, and comes with 1000 free monthly build minutes.
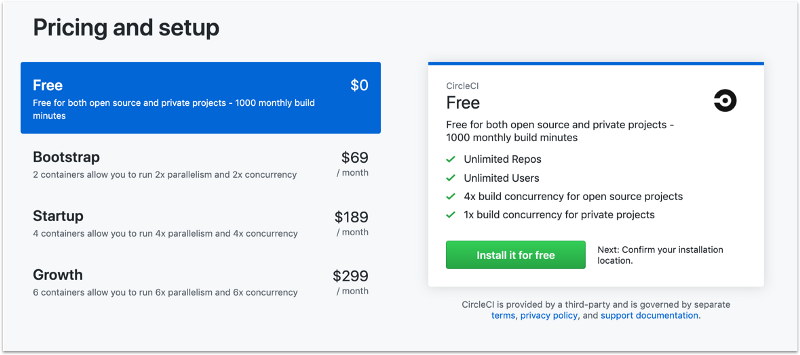
Head over to GitHub’s marketplace and set up a plan.
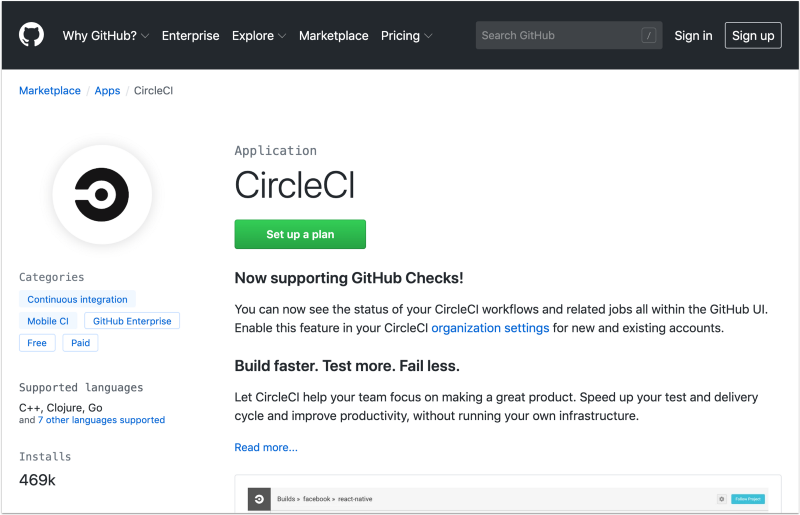
Select the Free plan.
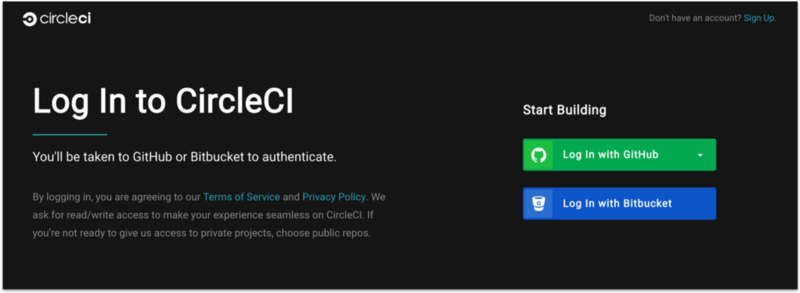
Next head over to CircleCI and login with your GitHub account:
Once you’re in, go to the Add Project section. You’ll see a list of all your GitHub repositories.
Click Setup Project on our ci-ember-demo.
Then select Linux as our operating system and Node for language.
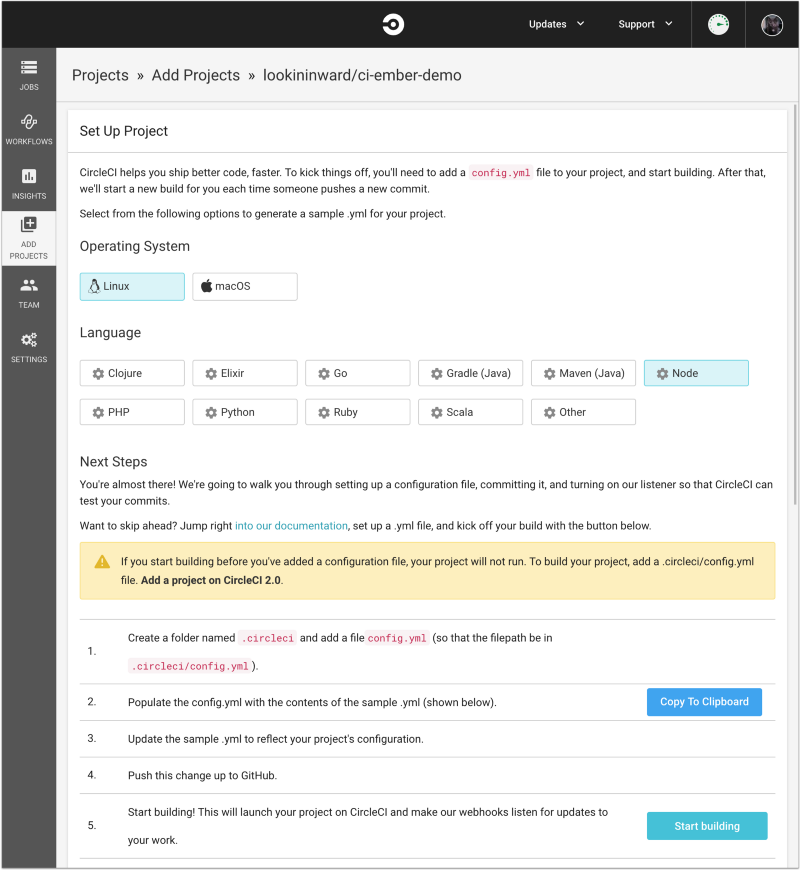
Click Start Building. The project will attempt to build and do what continuous integration processes do.
Since we have no configuration settings the process will almost immediately fail.
Head over to the Builds tab that lists any Jobs that ran, you should see that failure like so:

This is what we expected. Nothing really works because the CI process isn’t configured.
Configure CI in the Ember Project
Get the markdown to display our project’s CI status
CircleCI provides embeddable status badges. They display the status of your latest build. Before we go let’s get the markdown for a status badge.
Go to Settings → Projects → ember-ci-demo’s settings → Status Badges.
Copy the embed code in Markdown.
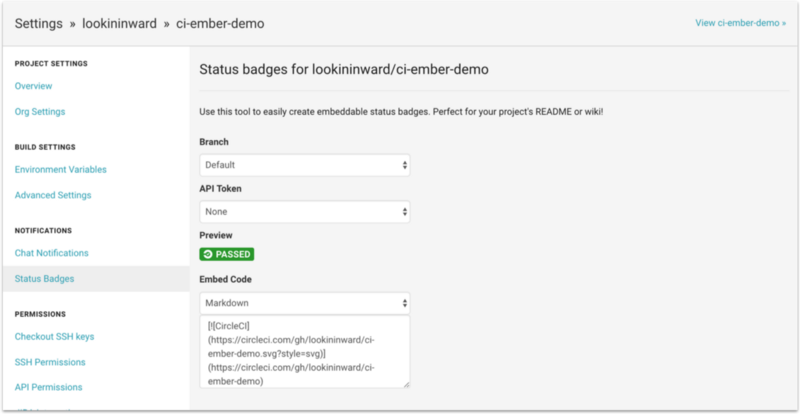
In the ci-ember-demo's README.md file, paste the embed code under the title. It will look something like this:
## ci-ember-demo
[](https://circleci.com/gh/username/ci-ember-demo)
...
Add the CI configuration
In the root of ember-ci-demo create a folder named .circleci and create a file called config.yml. This is where all of our configuration settings will go. Add the following:
version: 2
jobs:
  build:
    docker:
      - image: circleci/node:7.10-browsers
        environment:
          CHROME_BIN: "/usr/bin/google-chrome"
    steps:
      - checkout
      - run: npm install
      - run: npm test
Let’s stop and take a look at what’s happening here.
# set the version of CircleCI to use.
# we'll use the latest version.
version: 2
Next, we’ll set up jobs to run when the CI is triggered.
jobs:
  # tell CI to create a virtual node environment with Docker
  # specify the virtual image to use
  # the -browsers suffix tells it to have browsers pre-installed
  build:
    docker:
      - image: circleci/node:7.10-browsers

        # use Google Chrome to run our tests
        environment:
          CHROME_BIN: "/usr/bin/google-chrome"
Finally, let’s tell it what to do once the environment is setup:
steps:
  - checkout

  # install the required npm packages
  - run: npm install
  # run the test suite
  - run: npm test
Push the changes to the master branch.
Review your changes and push them up to the master branch of the repository.
Now, head back to CircleCI and check out the Jobs tab. You’ll now see a passing build. It was able to take the settings from config.yml, set up the correct virtual environments, and run our tests just as we did locally when we first generated the project.

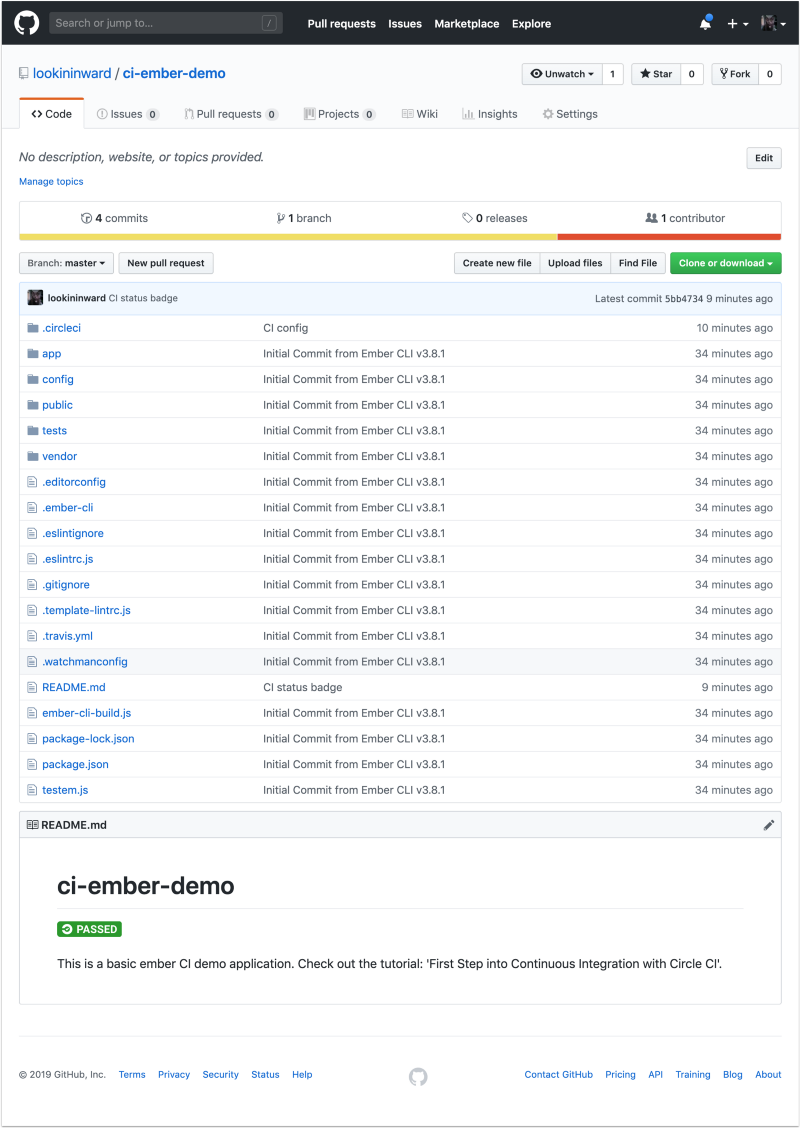
If you look at the repository on GitHub, you’ll see the CircleCI status badge in green. This indicates again that the latest build is passing.
Conclusion
That’s it! Now whenever you create a new pull request or push any changes to master, the CI will run all the tests. The status of that job will be displayed in CircleCI and the badge on your repository. Pass or fail, you get the right information you need to develop well.
Congratulations on taking your first steps into Continuous Integration!