
By Sam Williams
I’ve read a lot of articles in the last few months, and have noticed that many had disclaimers saying that the post was originally posted on a personal blog. I’ve written a few articles and wanted to increase my exposure, so I decided that I wanted to have a blog on my site as well. But how to do it?
Options
There were a few options for incorporating a blog into my site. The main two were a custom content management system (CMS) or WordPress. I wanted to get it set up quickly, so I went with WordPress.
WordPress API
I’d heard a few things about the WordPress API over the last few weeks so started to Google. I set up a free blog at WordPress.com and imported my articles from Medium. This was super simple with Medium’s export facility and WordPress’s “import from Medium” facility.
Now that I had my articles on WordPress, I had to figure out how to access them. I found this page in the documentation and I built a very basic web page to test with.
<h1>wordpress checker</h1>

<script src="https://cdnjs.cloudflare.com/ajax/libs/jquery/3.1.0/jquery.min.js"></script>

<script src="getWordpress.js"></script>
console.log("this is a proof of concenpt");

$.get(
  "https://public-api.wordpress.com/rest/v1/sites/YourSite.wordpress.com/posts",
  function(response) {
    console.log(response);
  }
);
This does the very simple task of calling the WordPress API and asking for all of the posts from “YourSite.wordpress.com.” From this, I got a response object containing the number of posts and an array of each of the posts.
Routing
Now that I was going to add a blog section to my site, I had to change from the single page that I had. I installed react-router-dom and imported BrowserRouter and Route into my layout file.
<BrowserRouter>
    <div id="center-stripe">
        <Nav />
        <Route exact path="/" component={main} />
        <Route exact path="/blog" component={Blog} />
    </div>
</BrowserRouter>
Creating the Blog in React
My personal website is built using create-react-app and has a very basic structure. The next thing that I needed to do was to add a new “blog” page that would show previews of all the articles.
export default class Blog extends Component {
  constructor(props) {
    super(props);
    this.state = {
      posts: []
    };
  }
  componentDidMount() {
    axios
      .get(
        "http://public-api.wordpress.com/rest/v1/sites/samwcoding.wordpress.com/posts"
      )
      .then(res => {
        this.setState({ posts: res.data.posts });
        console.log(this.state.posts);
      })
      .catch(error => console.log(error));
  }

  render() {
    return (
      <div className="blog">
        <h1 className="sectionTitle">Articles</h1>
        {this.state.posts.map(post => <ArticlePreview post={post} />)}
      </div>
    );
  }
}
I’ll talk you through this code. The top section sets the state of the component with an empty array of posts. Then I use the componentDidMount function to execute the call to the WordPress API with axios. When the API call returns, I set this.state.posts to be the array of posts. This then causes line 24 to render an ArticlePreview component for each of the posts.
render() {
    if (this.props.post) {
      return (
        <div className="article">
          <a href={"/blog/" + this.props.post.ID} className="blackLink">
            {this.props.post.featured_image ? (
              <img
                className="img-responsive webpic"
                alt="article header"
                src={this.props.post.featured_image}
              />
            ) : (
              ""
            )}
            <h1 className="text-center">{this.props.post.title}</h1>
            <div className="content">{excerpt}</div>
          </a>
          <Link to={"/blog/" + this.props.post.ID}>
            <button className="btn">Read More</button>
          </Link>
        </div>
      );
    } else {
      return null;
    }
  }
ArticlePreview takes each post and renders the preview with a title and excerpt, which are both provided by the WordPress API. If the post also has a featured image, it includes that too.
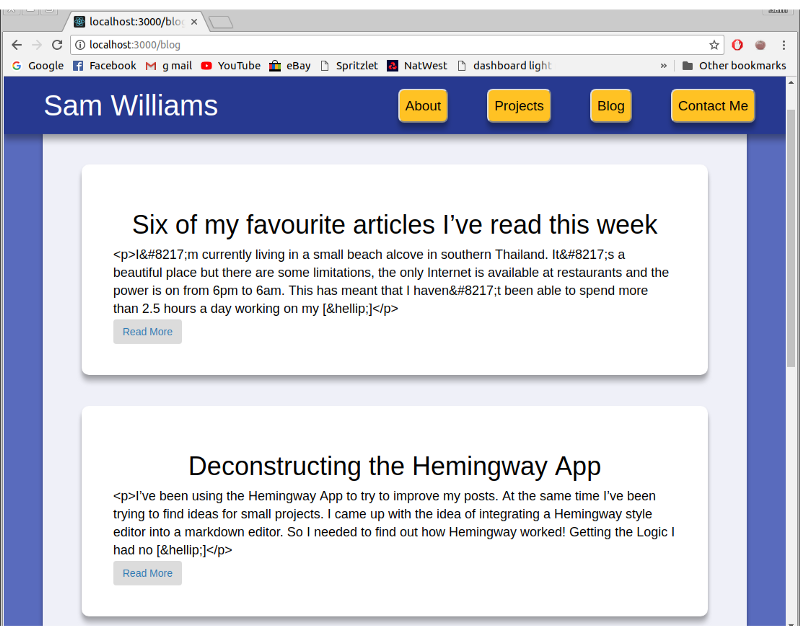 Previews from the WordPress API
I reused a lot of the CSS from the rest of the website to style the article previews, and it looks quite good. One major error is the “
I’” and similar bits dotted throughout the excerpt. To solve this, I set the excerpt to run though a removeUnicode() function before being rendered to the screen. It simply replaced all ’ with just a comma and removed the <p> and […]tags. It’s not elegant, but it works.
I then had to create a component for whole articles. I added another route for /blog/:id and started on the new component. It was almost identical to the ArticlePreview component, except that instead of rendering just the excerpt, it would render one article. Getting the article from WordPress was very simple, just adding the article ID onto the end of the previous API call.
axios.get(
    "http://public-api.wordpress.com/rest/v1/sites/samwcoding.wordpress.com/posts/" +
    this.props.match.params.id
)
Getting the article response was where I hit my first stumbling block. The body of the article was in stringified HTML format. I found a solution with the dangerouslySetInnerHTML function. (If anyone has any suggestions on how to implement this better, please let me know.)
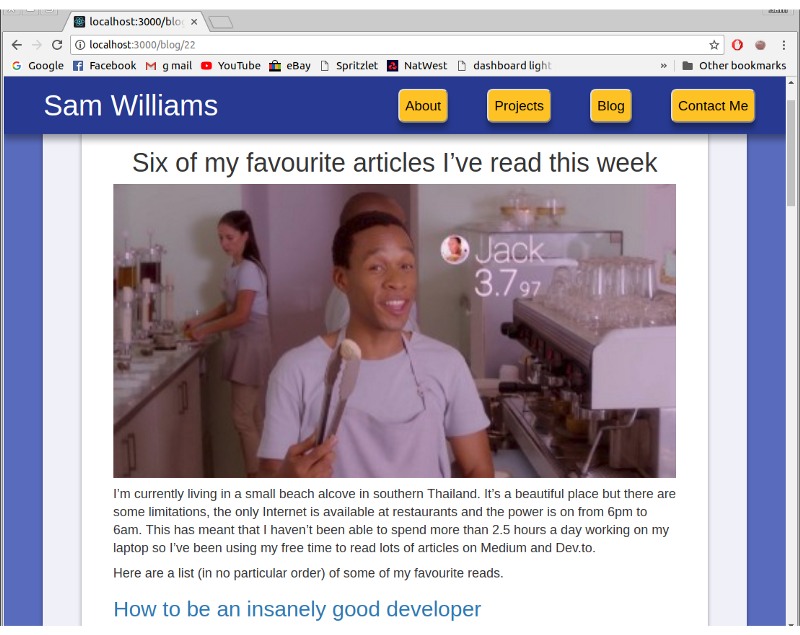 Working article
I had a few more changes to make. The nav buttons at the top just connected to anchor tags. That worked fine on a single page website, but now they were sending users to /blog#about, which doesn’t work. This was solved by defining the link specifically as /#about and /#projects .
The blog works well with the number of articles I currently have written, but how will it cope when there are 50 or 100 articles? In the future I may have to render a few of the article previews at a time, rendering more if the user scrolls to the bottom. Another feature I could add is searching.
Check out the blog at SamWSoftware blog and view my whole code here.