By Vasyl Lagutin
In this tutorial, you'll learn what version control is and how you can contribute to open-source projects using Git.
We'll get through the fundamentals of Git and I'll give you the knowledge that is indispensable for any web developer.
What is Git?
Git is a version control software which lets you collaborate with other programmers. The biggest problem Git solves is that it helps developers keep track of the different versions of the codebase they're working on.
Before the invention of the version control systems, it was quite hard for different developers to synchronize their work.
Why use Git?
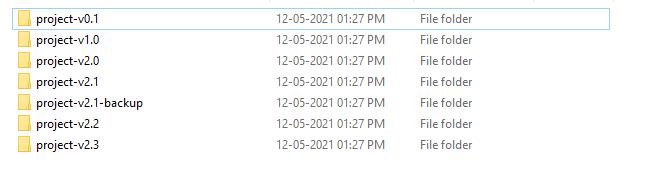
If you don't use Git, creating a project would look something like this:
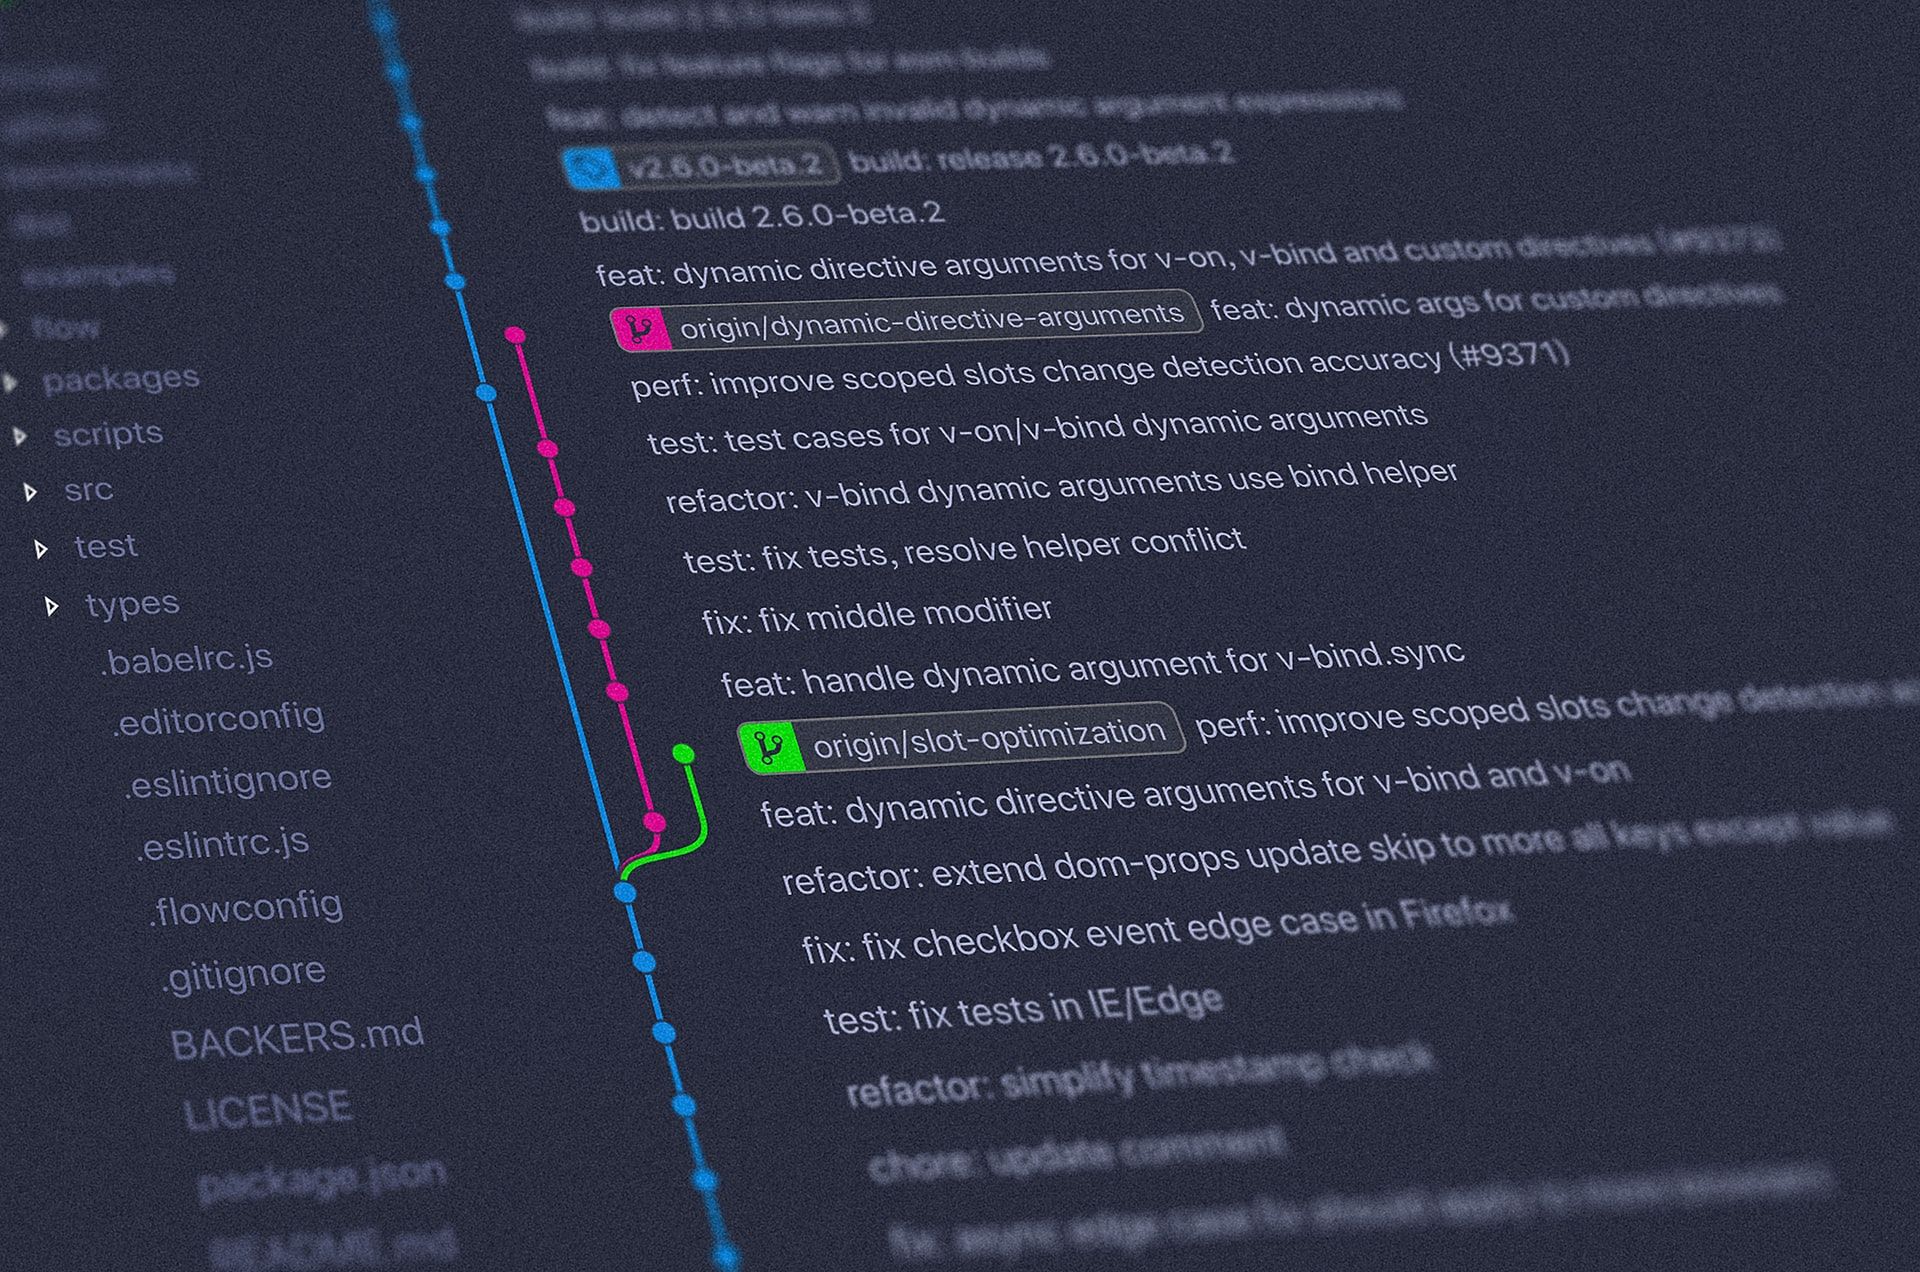
And with Git, it looks much more elegant, like this:
How to Install Git
You can download and install Git from the official website.
Make sure you add Git to Path in case you are using it on Windows.
In Linux, you can directly install it from the terminal using this command:
sudo apt-get install git
After installation is complete, you can check if Git was installed correctly by executing this command:
git --version
If you get the currently installed version, the installation was successful, and you’re good to go.
Git Basics
Now let's go through some small examples to learn the basics of Git.
First of all, let's discuss how you can create a single source of truth for your code.
In terms of Git, the place where your code is stored is called a repository.
How to initialize an empty Git repository
The first step to using Git in your project is to initialize a Git repository. You can initialize a Git repository with this command:
git init
This command creates a subdirectory .git within your current directory. It will hold all the internal Git metadata, like the commit history.
How to stage changes in Git
We need to create some files to stage changes and make commits (which I'll discuss below). Let's create test.txt and insert some text into it.
Staging means telling Git about which files are you ready to commit (add) to the repository. It's very useful when you have work in progress and want to commit a single file.
Now, we are ready to stage our changes. You can individually list out the files you want to stage like this:
git add test.txt
Once we execute this command, Git knows that test.txt is ready to be committed.
Alternatively you can stage all files using this command:
git add .
It's useful when you have a bunch of files and don't want to type every single filename.
How to commit changes in Git
Committing changes creates a snapshot of the codebase at a given point in time. You can come back to this snapshot at a later point in time or share it with your teammates so that they can build up from your progress.
Remember that only the files that were staged for the commit will be included in it. If you don't stage anything, you won't be able to commit.
After staging our changes, it's time for us to commit the changes. To commit the changes, use:
git commit -m "<message describing the change>"
Once we've executed the git commit, we have finalized changes to the codebase.
How to view logs in Git
You might want to view the log for the changes in your project. You can do so using this command:
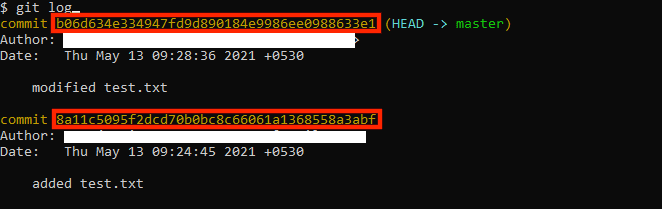
git log
A log looks like this:
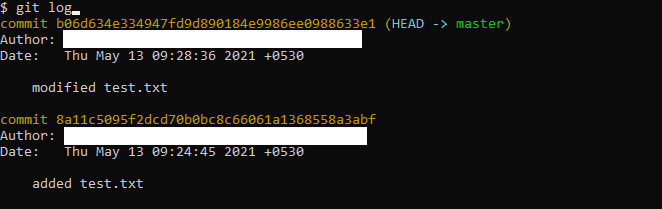
As you see, there are 2 commits. The first one shows that we've created a new file and the second one describes the modifications to it.
Keep in mind that Git doesn't automatically keep track of the changes you make. You should you stage and commit them manually.
How to reset and revert commits in Git
If you made a mistake in a commit, you may want to undo the changes.
There are 2 ways to undo the changes:
- Reset
- Revert
Git Reset
The general syntax for the Reset command looks like this: git reset <reset types> HEAD~<number of commits to undo>
The most commonly used reset types are:
- --soft: uncommit and keep changes
- --hard: uncommit and delete changes
If we want to uncommit the changes from Git, but keep local modifications of the code, we use this command:
git reset --soft HEAD~1
It's useful when you've accidentally staged some files that didn't belong in the commit.
After resetting, you can stage the necessary changes and commit them.
Git Revert
You might also have noticed that each commit is associated with a hash.
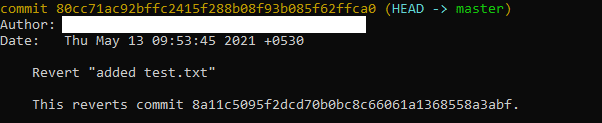
You can also use the hash to undo a specific commit:
git revert 8a11c5095f2dcd70b0bc8c66061a1368558a3abf
This is different from resetting, as it allows you to undo the changes made in a specific commit.
When we break down the command, we find git revert <commit hash>.
Git adds an additional commit when you revert the changes.
How to use Git branches
Git allows you to create different branches. These branches let you keep the scope of the code versions separate (for example, bug fixes, development, production, and so on – all different branches).
To create a new branch use this command:
git checkout -b <new branch name>
To switch to an existing branch, drop the -b flag and use the existing branch name instead of the new one:
git checkout <branch name>
How to merge Git branches
After you make changes in a branch, you may want to update a main branch with the code from another branch. To do so, first move to the branch you want to update and use this command:
git merge <update source branch name>

If everything went well, this action will create a merge commit in the target branch and add all you commits there.
How to resolve conflicts in Git
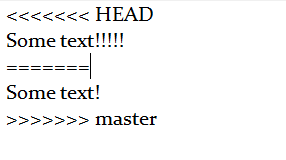
While merging branches, it may happen that the same part of the same file was updated in each branch.
In this case, a conflict occurs as Git doesn't know which change to keep and which to discard. So Git creates a conflict message and prompts you to manually select which branch is correct.

The conflict message outlines where the conflict occurred as well as the current and incoming changes.
After deciding how to solve the conflict, you need to add a commit to resolve the conflict.
How to Work with a Remote Git Repository
To collaborate with others, you'll need to work on remote repositories. We will be focusing on how to use Git in collaboration with GitHub, but you may use any other similar sites like GitLab or BitBucket.
To collaborate with others, you need to create an account on the website. Now you are ready to contribute to an open source project on GitHub.
Not so long ago I found that there was a minor issue in the open-source Hugo theme Papermod that I used for my programming blog.
The fix was quite simple and I wanted to contribute to the project to improve it.
Steps to contribute:
- Find a repository you want to contribute to. Or, if you are working in a corporate environment, your company might provide a repository for you to use.
- Fork the repository. Now you have a copy of the repository with you.
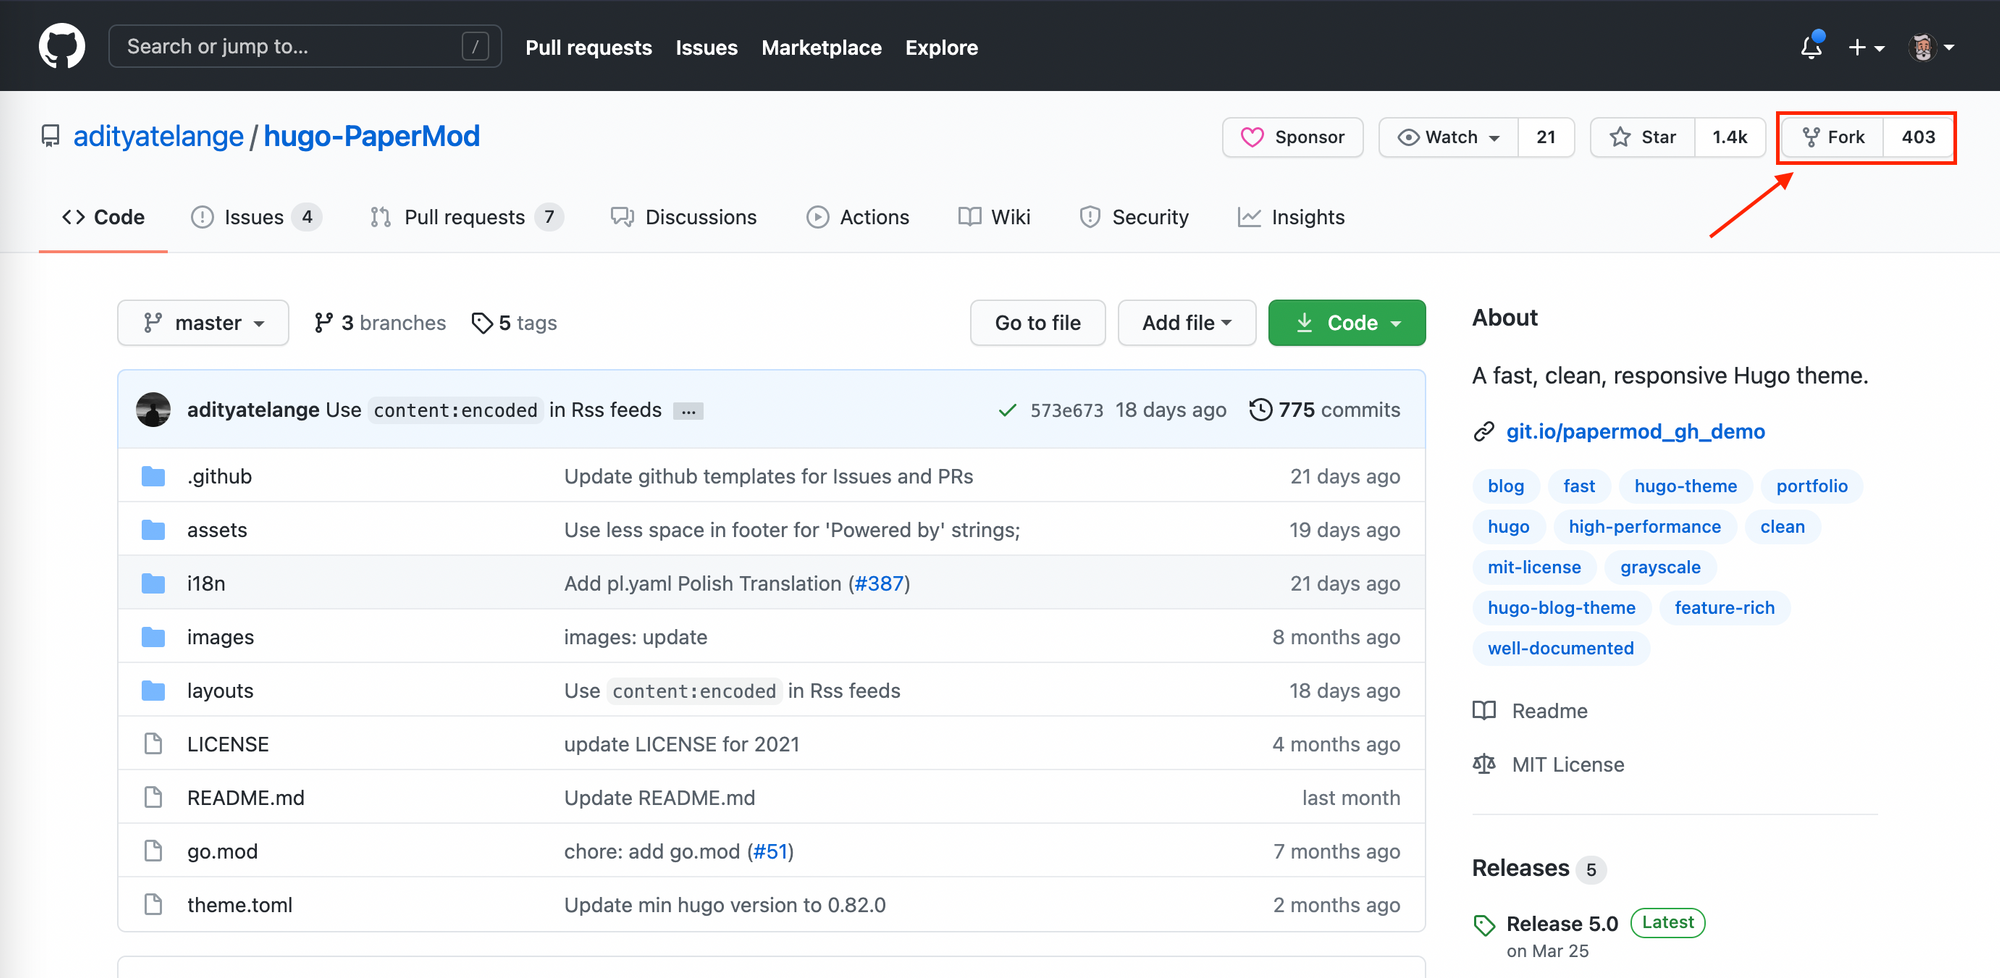
- Copy the clone link found here:
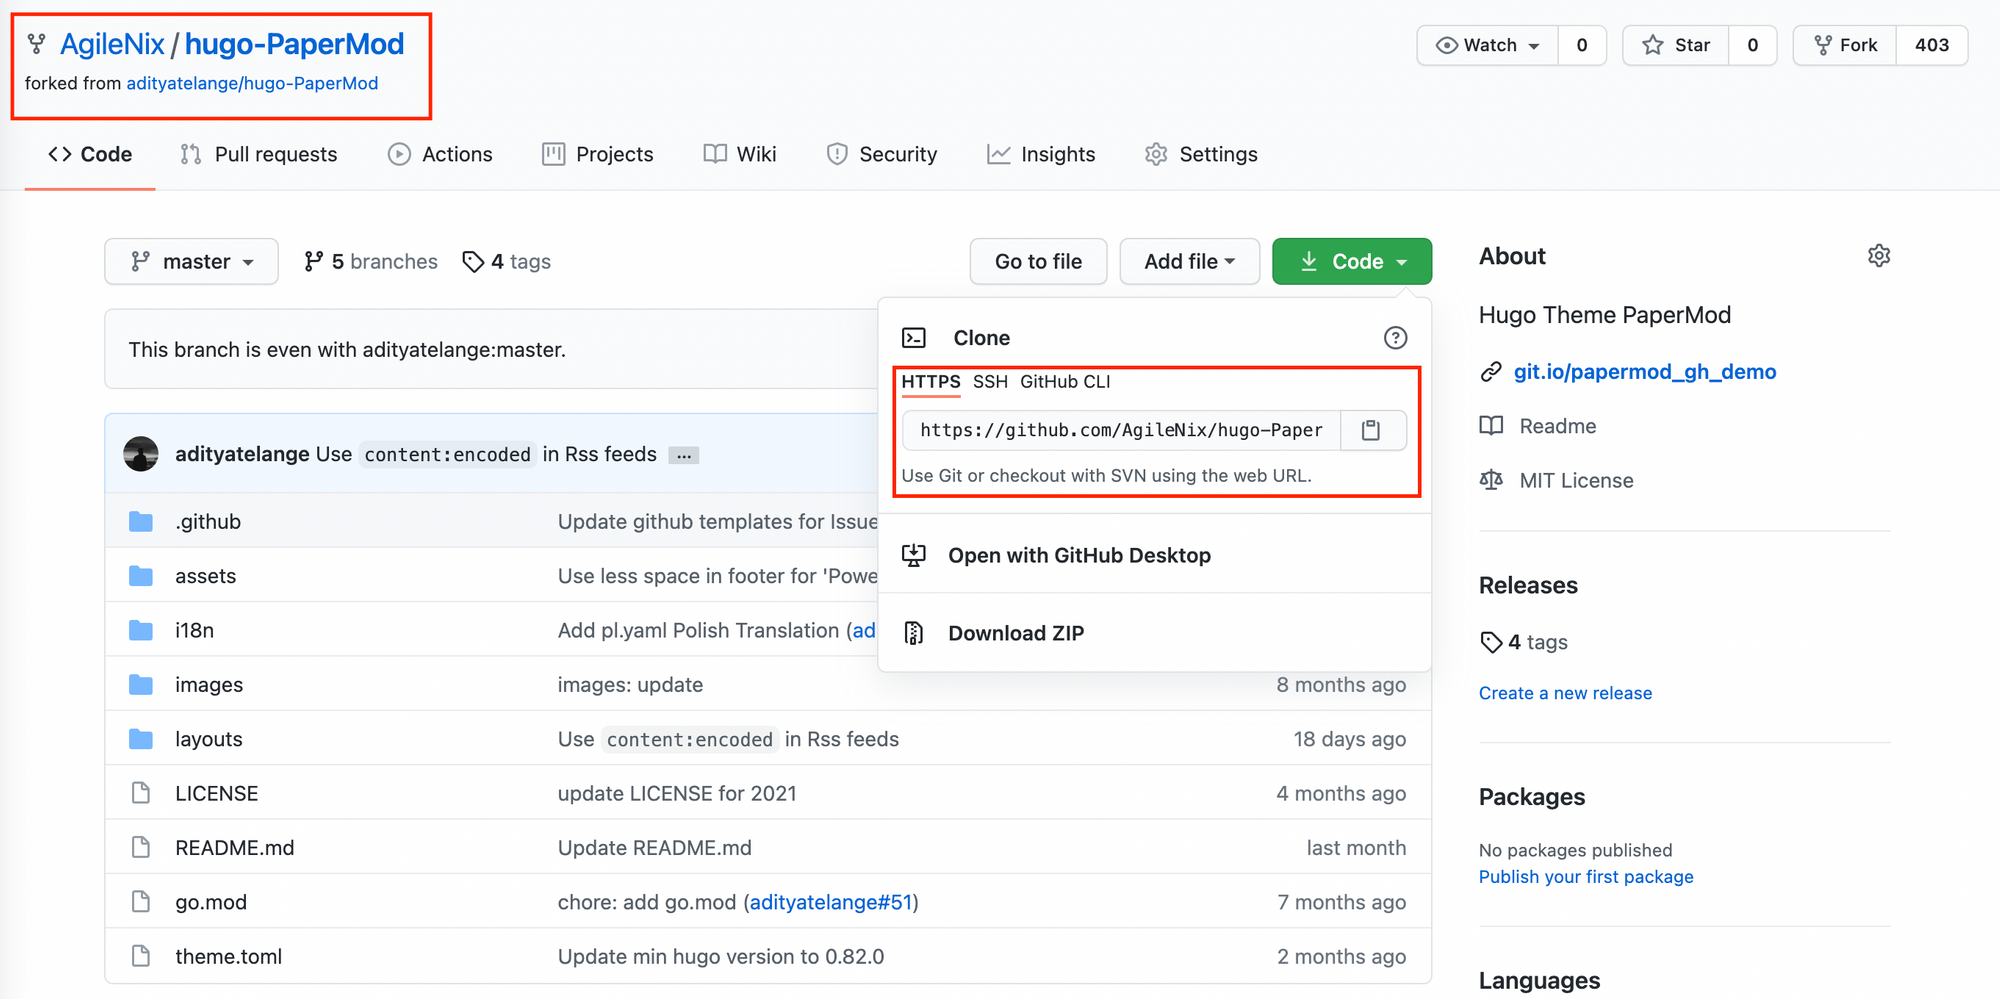
- Execute the following command:
git clone <clone link>
A copy of the repository will be created on your machine. Add Upstream remote, just a fancy name for the source repository, using:
git remote add <upstream remote name> <source repository clone link>
Now you can use Git fundamentals you learned to modify the code.
After committing the changes, you can update the source repository using this command:
git push origin <branch name to push changes>
Now you can create a Pull Request in the source repository, and the maintainers will review and merge your code.
Conclusion
In this article, we learned the fundamentals of Git. Now you have the tools to use version control and can use it in your own projects or contribute to the thousands of Open Source Projects available online.
If you're interested in a deeper dive into modern Web-Development, take a look at my Full-Stack JavaScript course and a free e-book with the 35 most common JS interview questions.