By Carl-Johan Kihl
Introduction
Let’s talk about code coverage, and how you can do coverage reports in Jest and Codecov.
What is Code Coverage?
If you’re familiar with testing. You know its main purpose:
Tests gives the developers freedom to make changes and refactor code with the confidence that everything should work fine as long as all the automated tests will pass.
However, if the unit tests don’t cover all scenarios, there’s still a chance your changes can break something. That’s why we have Code coverage: the measure of how much of the code-base is covered by automated tests.
Without Code coverage analysis, your tests have lost their main purpose.
This is important when your project grows and many developers are involved.
✅ We can maintain quality of our test when new code is added.
✅ We get a deeper understanding of existing tests.
✅ Give developers confidence to refactor code without worrying about breaking things.
✅ We can catch untested flows before they cause trouble.
Ok, now that we know what code coverage is, let’s implement it! ?
Prerequisites
To keep this article short and concise, I will start here: Step by Step Building and Publishing and NPM Typescript Package.
What’s been done so far:
✅ Setup a basic NPM-package
✅ Add testing with Jest
✅ Write a basic test
If you have your project already setup with Jest you’re good to go. ? If not, I recommend that you clone or fork the repository for this article to start off from a basic NPM-package foundation:
git clone git@github.com:caki0915/my-awesome-greeter.git && cd my-awesome-greeter &&git checkout basic-package && npm install
If you’re interested how to build NPM packages, I recommend my previous article here.
Alright, now when everything is set up, let’s go!
Create Coverage reports in Jest
Creating coverage reports in Jest is easy. Just add this line in your jest config file:
"collectCoverage":true
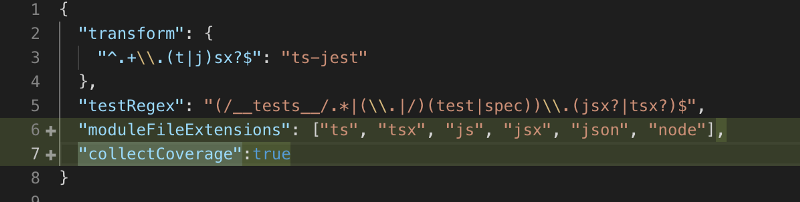 This is how my jest config file (jestconfig.json) looks like
collectCoverage: Should be set to true if you want jest to collect coverage information while running your tests. (Tests will run a little bit slower so it’s false by default.)
Make sure your script command test in your package.json file will run Jest with your config file.
“test”: “jest --config jestconfig.json”
Alright! Run npm test in your terminal, and voilà! You will have a new folder with code coverage files generated for you.
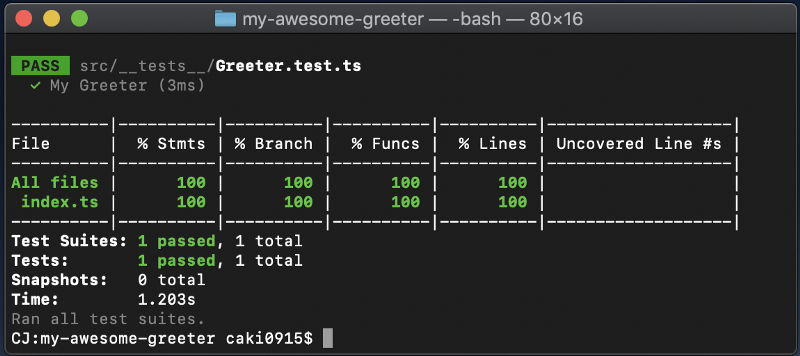 Run npm test in the terminal
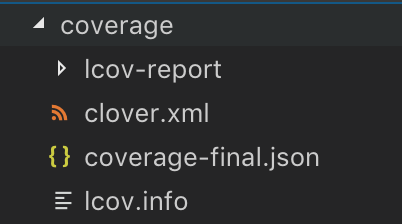 Code coverage data generated for you!
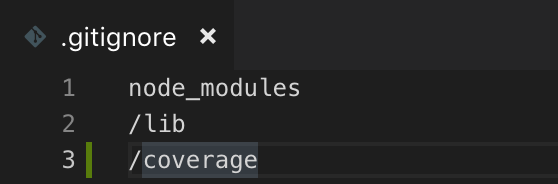
Don’t forget to add the coverage folder to .gitignore. We don’t want build-files in our repository. ?
Make something useful of your reports
Ok, that’s cool, we generated a folder with some files, but what should we do with this information? ?
First of all, you can manually review the coverage-report on a generated HTML-page. Open /coverage/lcov-report/index.html in your browser:
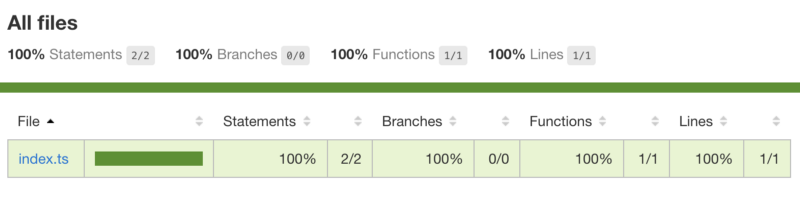 coverage/lcov-report/index.html
Ok, that’s nice, but do we REALLY need to manually review the reports on every build??
No, you shouldn’t. You should publish the reports online to make something useful of them. In this article, we’re going to use a coverage reporting tool called codecov.io.
Codecov is free for open-source projects. It takes code coverage reports to the next level. With Codecov, we can also auto-generate badges and run it on continuous integration builds. (More on it later.)
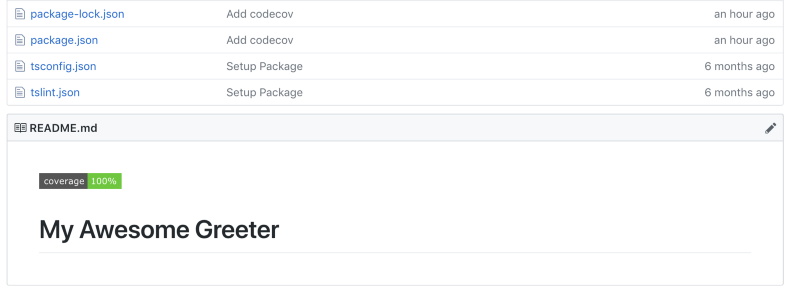
 A coverage badge with a link to a coverage report on codecov.io in a **package README.md
Sign up at https://codecov.io/ and follow the guide to connect to Github and your repository. After that, you should end up seeing a screen like this:
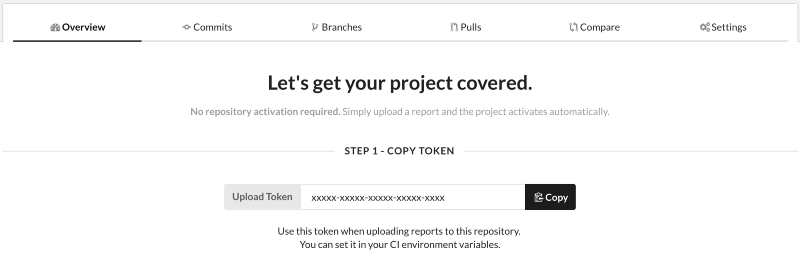
Nice! For now, this page will be empty since you haven’t uploaded any reports yet, so let’s fix that. In the terminal, run:
npm install --save-dev codecov
Normally you want to upload reports at the end of a continuous integration build, but for this article, we will upload the reports from our local machine. In the terminal run:
_(Replace with your repository-token found in codec_ov.io)
./node_modules/.bin/codecov --token="<Your token>"
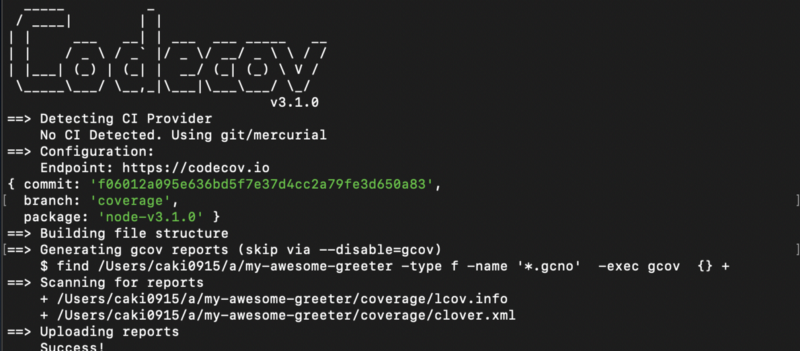
Success! Now you can view your report online in codecov.io.? ?
https://codecov.io/gh/<Github Username>/<Repository Name>/
Add a Badge to your README.md
Badges are important, especially for NPM packages. It gives the first impression of high quality when you see a beautiful code coverage badge in npmjs and Github.
In your README.md add the following line:
(Replace , and with your information)
[](https://codecov.io/gh/<Github Username>/<Repository Name>/)
In my case, it will look like this:
[](https://codecov.io/gh/caki0915/my-awesome-greeter/)
Awesome! Now you can show the rest of the world that you are using unit-testing and code coverage reports! ? ?
 A coverage badge with a link to your coverage analysis report.
Summary
If you’re using tests, code coverage reporting is a must and it should run every-time you make a pull-request or make changes on your branches.
You can find my NPM-starter package here on Github.
It’s an educational base for best practices NPM-package development. Comments, Forks and PR’s are welcome. ?
What’s next?
If you don’t use continuous integration (CI) yet, it’s time to set it up.
In my next article, I’m going to cover continuous integration with code-coverage for NPM packages.
If you find this article useful, please give it some claps and follow me for more articles about development.