

I'm going to explain Git the way I wish someone had explained to me back when I was first learning.
I'll show how you can get started with just a few commands, and the concepts at work behind those concepts.
Basic concepts
Your local code
This is the work that you do on your computer. Any edits, formats, features or development work that you have in your computer is your local code.
Staged site
Once you are happy with the changes or amount of work done, you can mark it as ready for stage. It means that you are declaring that these lines of code are ready to be committed.
The server
Once you are feel ready with the files you have staged, you can send them out to the server which stores all your code so that other people can use it too. Now your files can be viewed by other people and be worked on.
The end goal
The idea behind git is that your code on the remote server should be synced with the code on your machine. When you work with other folks, their code should be synced with your code. So if your co-workers pushed new code, you should be able to easily update your code to reflect their changes.
The end of goal is that everything on the server should be the same as everything on your local machine. You should send files to the server as soon as possible so that when others view your code, they have the most updated version.
Workflow
Let’s say you have a folder on your computer where you have your code. You want to put it in GitHub so you can version control it.
Here’s how you can do it.
1. Getting a repository.
There’s two ways of getting a repository — either you can create one of your own, or you can work off of someone’s repository and contribute to their repository. Which one you choose depends on the project you are working on. If you are working on a project by yourself, you are more likely to create a repository from scratch and start writing code. When you work on open source code or working in a team, you will most likely get a repository that already exists. Let’s talk about how to do both —
Create a Repository
First you will need to create a GitHub account if you don’t already have one. Click on Repositories tab and click “New”
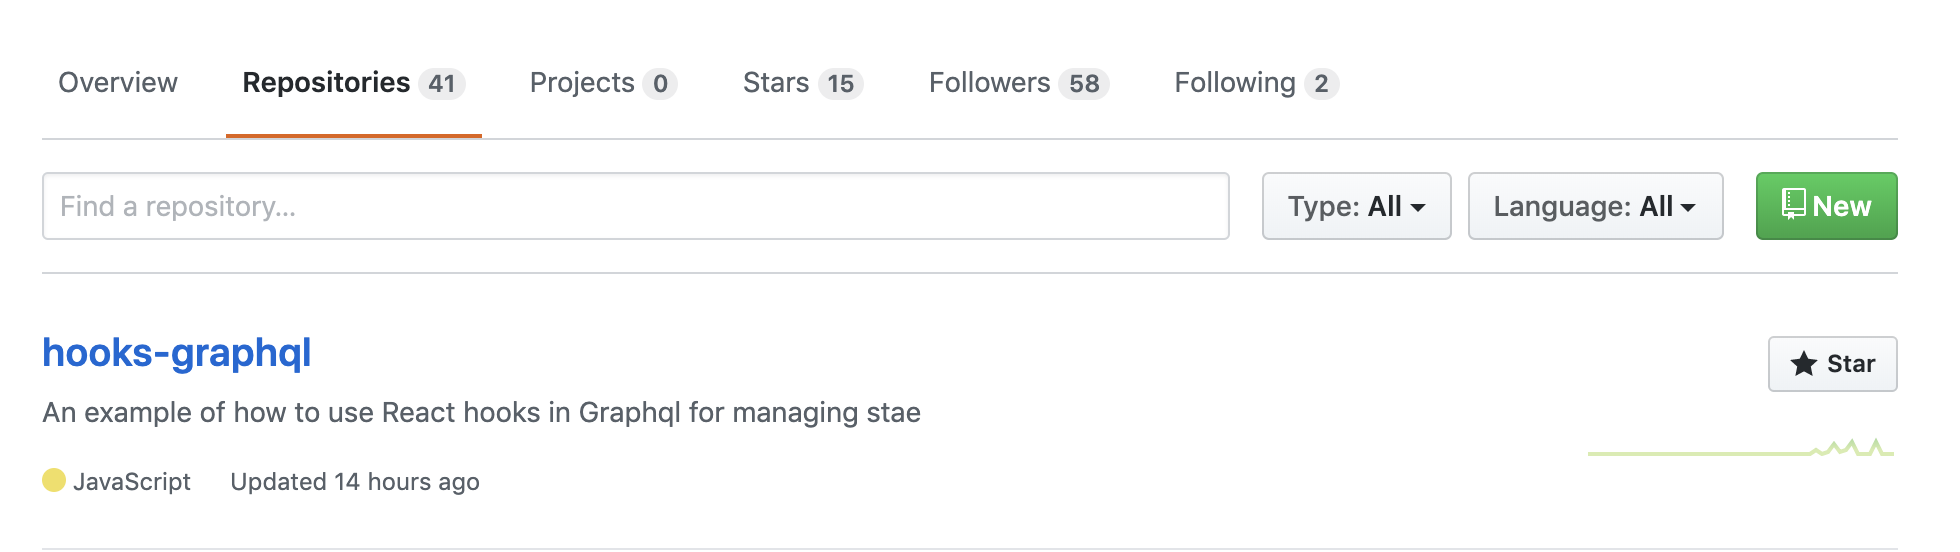 New button to create new repository
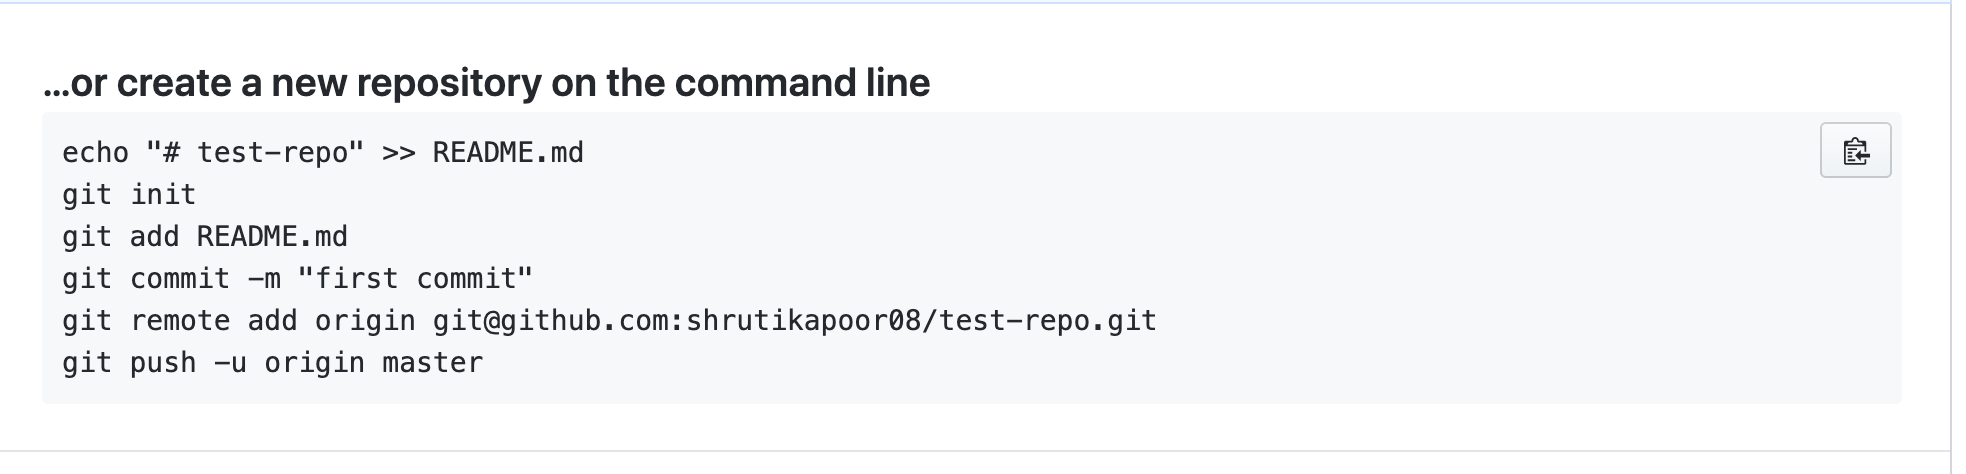
Follow instructions to create your new repository. Let’s say we name this repository test-repo . Once you have created this repo, GitHub gives instruction on how to set it up on your local computer.
Use the instructions to create a new repository on the command line -
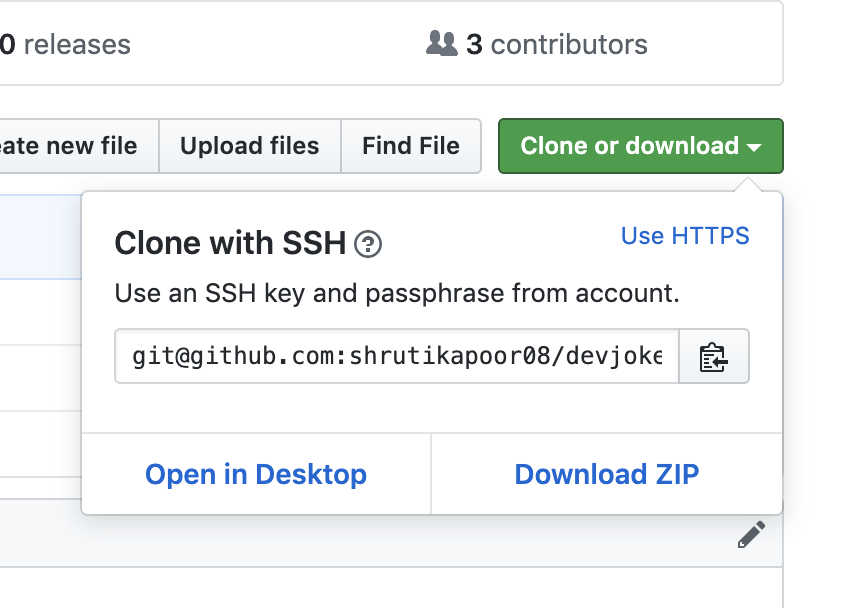
Cloning a repository
git clone <repository>
Let’s say you want to get the code I am working on so you can work off of it on your computer. You will need to find my github account and clone a repository that you are interested in. Today we are going to work on this repository —
git clone git@github.com:shrutikapoor08/devjoke.git
- Create a branch
Creating a branch helps to keep work in progress separate from a working piece of code. It also helps you modularize your code and keep features separate while you are still working on them. Let’s make a new branch joke-branch by using
git checkout -b joke-branch
You can push this branch to the server (origin)by —
git push origin joke-branch
Now let’s assume that you and I are teammates. We are working on a project together. Let’s walk through the workflow.
3. Modifying code
Once you understand what the code does, you are ready to make edits. If you are working on somebody else’s repository, it is a good idea to make a forkof their repository. “Forking” is making a copy of a repository. It is like running a repository through a copy machine and getting your own copy. You can do whatever you want to your copy, make changes, edit files, delete files or add new files. If you want, you can send your updates to the original repository and ask for your code to get merged into the original repository.
We are going to be modifying this code by creating a fork of this repository. To fork a repository, click on the Fork button at the top of the repository.

Now if you go to your Github profile, you can see your newly created fork repository in your profile. Woot Woot!
Now we are going to make some changes. Open the README.mdfile. To this file, we are going to add a DevJoke! Think of a clever programming joke and add it to the top of this file. Here is a #DevJoke for you —
Why do Java programmers wear glasses?
.
.
.
.
Because they don't C#!
4. Committing code
Now, let’s save and commit this file. If you are committing a newly created file, you will first have to add it to your stage. You can do so by —
git add <filename>
Once your file is staged, you can commit. Be sure to append your commit with a message that will help you remember in the future what this commit is about.
git commit -m "Adding DevJoke about C#
5. Pushing code
Remember, when you are working on a repository that other people are also working on, it is possible that while you were working on your local version, some people may have pushed code. So now the server is “one step ahead of you”. You now need to sync your computer to the server to make sure you have the most updated code. To do so, you can pull from the server —
git pull origin <branch-name>
If you have never made a branch, don’t worry. Git gives you master branch by default. You can also make a new branch by —
git checkout -b <branch-name>
Now that you have committed your code and your local machine is updated from server, you are ready to push your changes for the world to see. To push to branch master, you can do so by — git push origin master
YAYY!!! You made your first push! Give yourself a pat on the back. That was the hard part. Now you are ready to commit your ass off.
6. Making a Pull Request
Now, send me that wonderful #DevJoke of yours by creating a pull request. Pull request is a feature by which you — the developer, requests me — the code owner to merge your code into the repository. Creating a pull request is easy. Go to github.com and open the repository you have been working on.
You will see a Pull request button like this :
Click the button and follow the instructions to create a pull request. Make sure your changes are correctly reflected on the “Comparing changes” screen.
Click on “Create pull request” and that’s it! You are done! You successfully made your first Pull request!
?????????????????????????????
Now, go ahead and send me that DevJoke!
Did you learn something new? Have comments? Know a DevJoke? Tweet me @shrutikapoor08