
By Jennifer Bland
Firebase provides a very simple and quick way to add authentication to your Vue.js application. In this article I will show you how easy it is to allow users to register with your application using their email and password.
What we will be creating
We are going to create a very simple Vue application using the Vue CLI. We will modify the default scaffolded application so that it provides a form to register as a new user, a login page, and a dashboard page only shown to people that are logged in.
User’s will be able to register with the application using the email and password authentication system in Firebase. Once they have registered and logged in they will be presented with the dashboard page.
How to Create our Project
I will be using the Vue CLI to scaffold out a project for us to start with. To do that you need to have the Vue CLI installed on your system. If you DO NOT have it installed, you can install it globally with this command:
npm install -g @vue/cli
Now we can use the Vue CLI to create our project. Create a new project using this command:
vue create vue-firebase-auth-tutorial
You will be asked to pick a preset. Choose “Manually select features” and then select “babel”, “Router” and “Linter / Formatter”.
You will be asked if you want to use history mode for router. Choose “Yes” (should be the default).
You can select any linter you want but for this tutorial I will be selecting “Eslint + Prettier”.
After the Vue CLI is finished, it will give you the commands to change into the new directory that was just created and the command to start the server. Follow those directions.
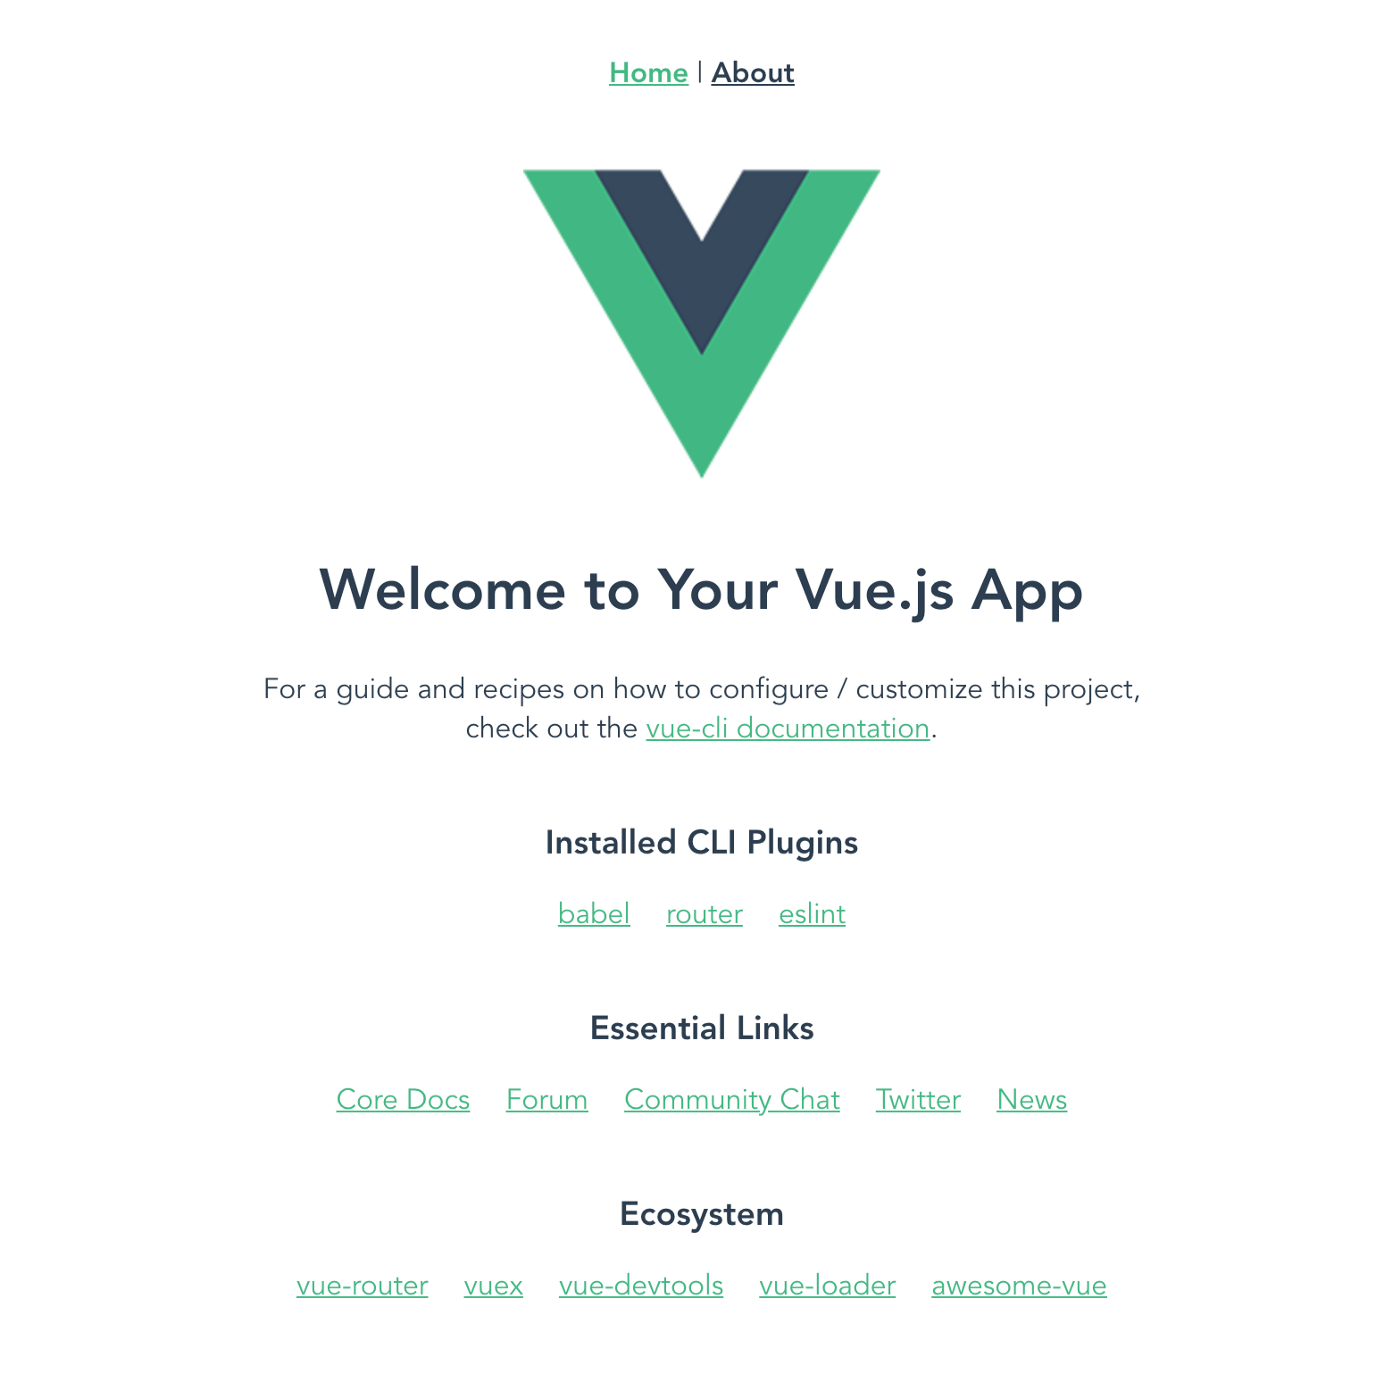
Once the server is started you can open your browser to localhost:8080. You should see this:
Firebase
For this tutorial I am assuming you have already created an account with Firebase. If not, you need to do that before continuing.
We will be using the Firebase SDK in our application to provide the authentication functionality. You can install Firebase in your application using this command:
npm install firebase
How to Create the Project in Firebase
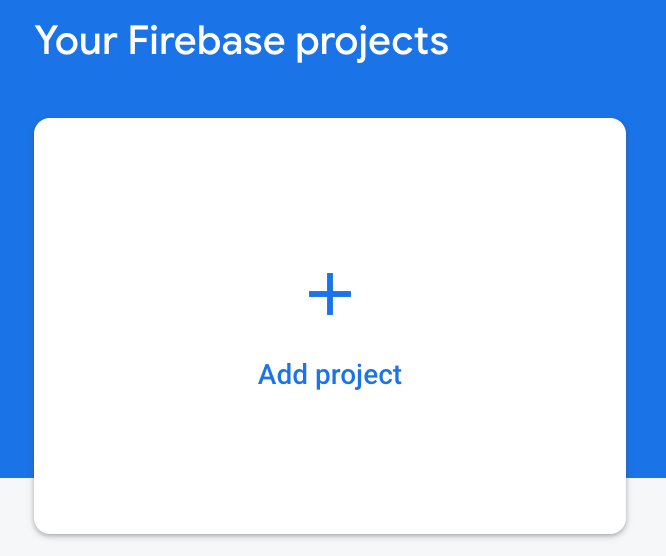
The next step is to add a project in your Firebase console. Login in to your Firebase console. Click the button to add a new project.
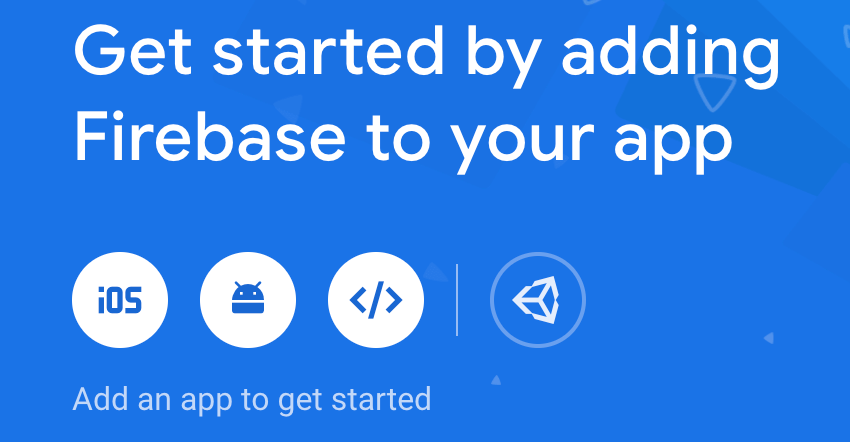
If you want to add Google Analytics to your project you can, but I will not add it for this tutorial. Click the “Create Project” button.
Once Firebase has created your new project, you will need to add Firebase to your app. Click on the web icon.
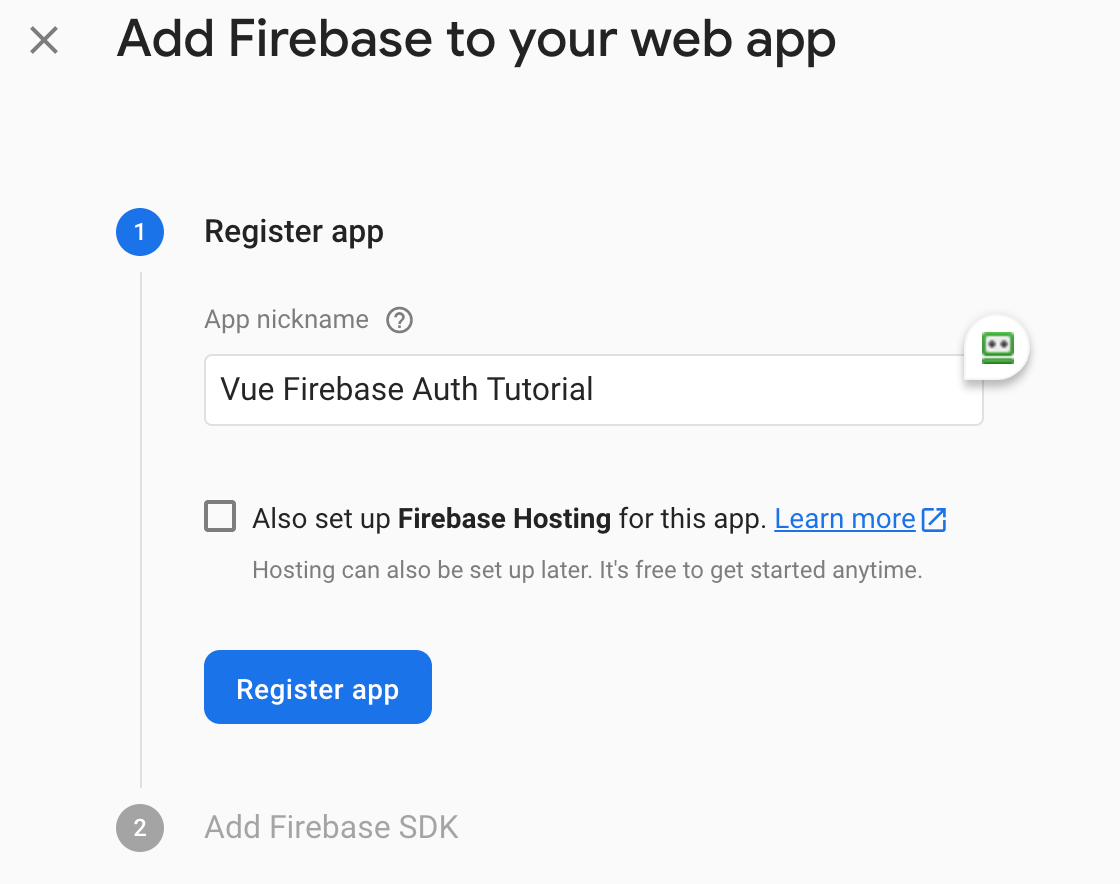
You will be asked to enter a nickname for your app. I have entered a nickname of “Vue Firebase Auth Tutorial”. After entering your nickname, click the “Register app” button.
For Step 2, it will provide you instructions on adding the Firebase SDK to your application. We only need to copy the firebaseConfig and the line to initialize the app.
Open up your main.js file. We will initialize Firebase in our Vue application. Below the existing import lines, paste in the firebaseConfig and the line to initialize the app. You will need to add an import for Firebase. Your main.js file should look like this:
import Vue from "vue";
import App from "./App.vue";
import router from "./router";
import firebase from "firebase";

var firebaseConfig = {
  apiKey: "YourConfigHere",
  authDomain: "YourConfigHere",
  projectId: "YourConfigHere",
  storageBucket: "YourConfigHere",
  messagingSenderId: "YourConfigHere",
  appId: "YourConfigHere"
};
// Initialize Firebase
firebase.initializeApp(firebaseConfig);

Vue.config.productionTip = false;

new Vue({
  router,
  render: h => h(App)
}).$mount("#app");
How to Set the Authentication Method
Open your Firebase console in your browser. From the console, find the project that you just created and click on it.
In the top of the left side navigation click on Authentication.

Click the “Get Started” button.
From the Authentication menu, click on the “Sign-in method” tab.

Hover over the first entry “Email/Password”. Click on the pencil icon to open up a dialog. Select enable.
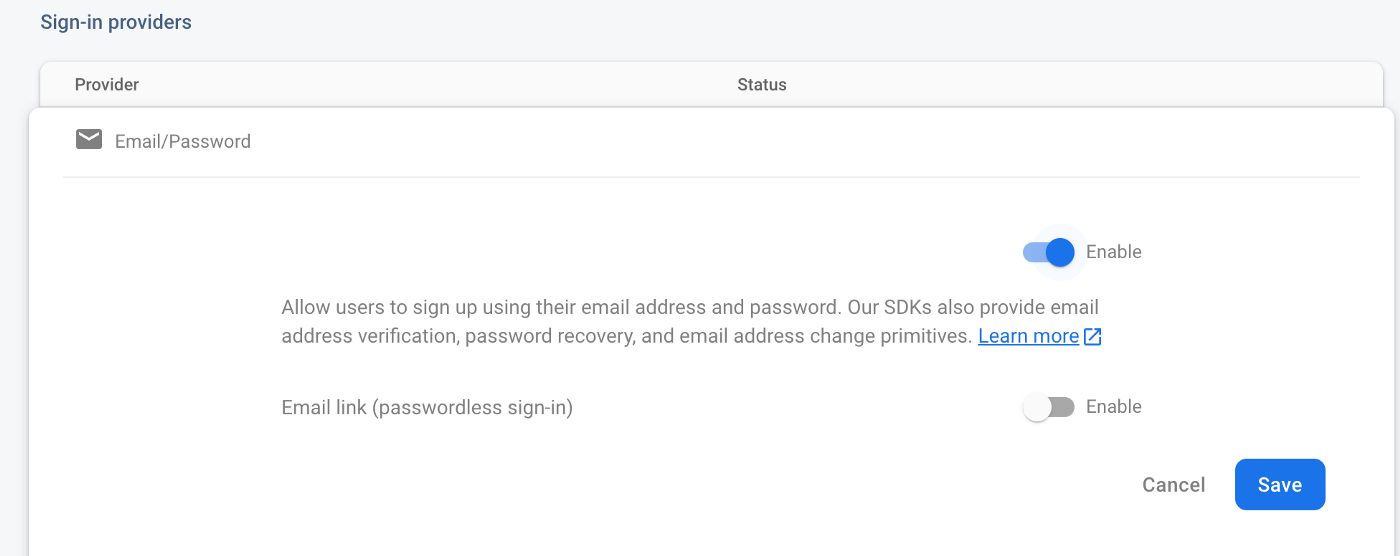
Click the “Save” button. You have now added the ability to create and authenticate users using their email address and a password.
How to Add New Components
When we created our application with Vue Router, it automatically created two routes for our application — Home and About. We will use Home as the login for our application. We will use the About as the page to register as a new user for our application.
When a registered user logs in to our application we want to show them the dashboard page. We also want to provide a way for a user to log out of our application. Currently neither of these options are available in our application so let’s add them now.
Open up the App.vue file. Currently the nav has two entries for Home and About. We will change About to be register and add two new entries for Dashboard and Logout. Update your nav so it looks like this:
<div id="nav">
  <router-link to="/">Home</router-link> |
  <router-link to="/register">Register</router-link> |
  <router-link to="/dashboard">Dashboard</router-link> |
  <button @click="logout">Logout</button>
</div>
When you click the logout button it calls the logout method. We will be defining that later.
How to Create Our Login Component
Open up the Home.vue file in the views folder. Delete all the HTML code in the template section. Replace it with this code that provides a very basic login form. Here is the code:
<div>
  <form @submit.prevent="login">
    <h2>Login</h2>
    <input
      type="email"
      placeholder="Email address..."
      v-model="email"
    />
    <input
      type="password"
      placeholder="password..."
      v-model="password"
    />
    <button type="submit">
       Login
    </button>
  </form>
</div>
Now if you view our application you will see the login form on the home page like this:

Our form is a little bit crowded with the input fields and button touching each other. We can change this by adding some CSS styling. We can add the CSS styling in the Home.vue file.
Since we are going to use this same form for registering a user we would need to duplicate the same CSS styling in that component. So instead we can put styling in the App.vue file and it will style both our Login and Register forms.
Open the App.vue file. In the style add this:
input {
  margin-right: 20px;
}
Now our login form looks better.

How to Create Our Register Form
Open up the About.vue file in the views folder. You can copy the HTML code from the Home.vue file and paste it into this file. Change every reference of Login to Register. Your About.vue file should look like this:
<div>
  <form @submit.prevent="register">
    <h2>Register</h2>
    <input
      type="email"
      placeholder="Email address..."
      v-model="email"
    />
    <input
      type="password"
      placeholder="password..."
      v-model="password"
    />
    <button type="submit">Register</button>
  </form>
</div>
How to Update Our Routes
Currently the URL to display our Register page is /about. Let’s change that to be /register. Open up the index.js file in the router folder. Change the second route for /about to be /register. Your routes array should look like this:
const routes = [
    {
        path: '/',
        name: 'Home',
        component: Home,
    },
    {
        path: '/register',
        name: 'Register',
        component: () =>
            import(/* webpackChunkName: "about" */ '../views/About.vue'),
    },
];
While we are in this file let’s go ahead and add an entry to display our dashboard component. Add a 3rd route to display /dashboard. Your routes array should now look like this:
const routes = [
    {
        path: '/',
        name: 'Home',
        component: Home,
    },
    {
        path: '/register',
        name: 'Register',
        component: () =>
            import(/* webpackChunkName: "about" */ '../views/About.vue'),
    },
    {
        path: '/dashboard',
        name: 'Dashboard',
        component: () =>
            import(/* webpackChunkName: "dashboard" */ '../views/Dashboard.vue'),
    },
];
How to Create the Dashboard Component
Create a new file called Dashboard.vue in the views folder. This page should only be visible to users that have logged on to our application.
In the template section add the following HTML code that says that.
<div>
  <h2>Dashboard</h2>
  <p>This page is only visible to users that are currently logged in</p>
</div>
How to Register Users
Earlier when we updated the About.vue file to register users we had a call to a method called Register. We need to add the functionality to register new users.
First let’s check out the Firebase documentation on how to create a password-based account. Firebase Auth has a method called createuserWithEmailAndPassword. You need to pass in the user’s email and password. This method will either register the user and return a user object or it will return an error message. Let’s implement this method now.
Open up the About.vue file. We need to add email and password to our data object. In your script section add the following data object:
data() {
  return {
    email: '',
    password: '',
  };
},
Next add a methods object with one method called register. We can literally copy the example from the Firebase documentation for this method. We will need to make the following changes to the code from the documentation:
- We will not use the user object
- Display an alert if login fails
- If user is registered redirect them to login page
Here is the code for the register method:
methods: {
  register() {
    firebase
      .auth()
      .createUserWithEmailAndPassword(this.email, this.password)
      then(() => {
        alert('Successfully registered! Please login.');
        this.$router.push('/');
      })
      .catch(error => {
        alert(error.message);
      });
  },
},
Let’s test registering our first user for our application. Click on the Register in the navigation. Enter an email address and password and click the Register button.
If the user was successfully registered you should get an alert and be redirected to the login page.
If the registration fails you should get an alert with an error message.
To check if the user was registered successfully, go to your Firebase console and click on your project. In the left side navigation click on Authentication. Then click on the Users tab. You will see your user listed:

Now that we have successfully implemented registering new users for our application, we need to implement the ability for the users to login.
How to Log In Users
We used the code provided by Firebase to register a new user. On the Firebase documentation page it provides sample code to log in a user with an email address and password. The Firebase auth method we will use is signInWithEmailAndPassword.
Like Register, we will make the same changes to the sample code. We will alert the user if they are logged in successfully and redirect them to the Dashboard page.
If login fails, then we display an alert with an error message.
Here is the login method which you should have in your Home.vue file.
methods: {
  login() {
    firebase
      .auth()
      .signInWithEmailAndPassword(this.email, this.password)
      .then(() => {
        alert('Successfully logged in');
        this.$router.push('/dashboard');
      })
      .catch(error => {
        alert(error.message);
      });
  },
},
How to Create A Route Guard
We don’t want users to be able to navigate to /dashboard unless they have logged in. We can do this by adding a route guard for /dashboard.
Open up the index.js file in the router folder. We will add a meta key to the /register route that will say that authentication is required. Here is the updated route:
{
  path: '/dashboard',
  name: 'Dashboard',
  component: () =>
    import(/* webpackChunkName: "dashboard" */ '../views/Dashboard.vue'),
  meta: {
    authRequired: true,
  },
},
Before Vue Router processes a route it has a method called beforeEach. We can check to see if the route requires authentication by checking the meta value.
If authentication is required, we need to be able to check if the user is logged in or not. Luckily there is a currentUser object in Firebase Auth. We will use that to check if the user is logged in or not.
If they are currently logged in then we will display the Dashboard page.
If not we will display an alert telling the user they must be logged in and redirect them to the Home page for them to login.
Here is the code:
router.beforeEach((to, from, next) => {
  if (to.matched.some(record => record.meta.authRequired)) {
    if (firebase.auth().currentUser) {
      next();
    } else {
      alert('You must be logged in to see this page');
      next({
        path: '/',
      });
    }
  } else {
    next();
  }
});
How to Logout Users
The last thing we need to add to our application is the logout method. Firebase Auth provides a signOut method that we will use.
Open up the App.vue file. We will logout the user. If successful, they will receive an alert and be redirected to the Home page.
If the logout fails we display an alert with the error message and redirect them to the Home page.
Add this code for the logout method:
methods: {
  logout() {
    firebase
      .auth()
      .signOut()
      .then(() => {
        alert('Successfully logged out');
        this.$router.push('/');
      })
      .catch(error => {
        alert(error.message);
        this.$router.push('/');
      });
  },
},
In the code above, we are using Firebase but we do not have any reference to it in our index.js file. We need to add that. Scroll up to the top of the file where the existing import lines are. Add this line:
import firebase from 'firebase';
Now with that added, you can practice registering a new user. Then login with that user and verify that you are redirected to the Dashboard page. Then logout and verify you are redirected to the Home page.
Congratulations – you have successfully added Firebase Authentication to your Vue application!
Get The Code
I have the complete code in my GitHub account here. If you get the code please do me a favor and star my repo. Thank you!
Using Other Authentication Methods
I have written several follow up articles on adding Authentication to your Vue application using other authentication methods.
If you want to use Auth0 for authentication, read this article.
If you want to use AWS Amplify for authentication, read this article.
Conclusion
Firebase is a very efficient method of adding authentication to your Vue applications. It allows you to add Authentication without having to write your own Backend service and implementing Authentication yourself.
Hope you enjoyed this article. If you like it please share it. Thanks for reading.
Originally published at https://www.jenniferbland.com on December 28, 2020.