
By Krissanawat
The Flutter mobile application development framework is rapidly making its mark as one of the leading cross-platform app development tools out there today.
Many companies and developers are choosing to use Flutter to develop their apps, and you can see those apps in the market. Flutter also provides many customized app templates to help you get started.
But these days, once you build an app, you might want to monetize it. And what better way to do that than Google's AdMob? AdMob is one of the easiest ways to monetize you app, and we'll see how in this article.
Here, we are going to learn how to integrate Google AdMob with your Flutter app's development ecosystem.
The idea is to first learn how to set up a Firebase app as well as AdMob step by step. After that, we'll configure them to the Flutter environment. Finally, we will display a simple banner ad as a demo so you can see how AdMob works.
How to Integrate Firebase Configurations with Flutter
First, we are going to integrate Firebase services with our Flutter project. But first, we need to create a Firebase project. You can find the setup guidelines in the official Firebase documentation for Flutter.
To create a Firebase project, we need to log in to Firebase and navigate to the Firebase console. There we can simply click on 'Add a project' to get our project started.
At first, a window will appear asking you to input your project's name. Here, I've kept the project name simple – FlutterAdmob – as shown in the screenshot below:

Let's continue to the next step until the project has been created. After the project has been set up, we will get a project console as shown in the screenshot below:

Here, we are going to set up Firebase for the Android platform. So just click on the Android icon like what you see in the above screenshot. This will take us to the interface to register Firebase to our Flutter app.
STEP 1: Register Firebase to Your Android App
The registration process is platform-specific, so we are going to register for the Android platform. After you've clicked the Android icon, you will be directed to an interface asking for the Android package name.
In order to add the package name of our flutter project, we need to locate it first. The package name will be available in the ./android/app/build.gradle file of your Flutter project. You will see something like this:
com.example.backgroundSolution
We just need to copy it and paste it to the Android package name input field as shown in the screenshot below:

After that, you can simply click on the 'Register app' button. It will lead us to the interface where we can get the google-services.json file which will link our Flutter app to Firebase Google services.
We need to download the file and move it to the ./android/app directory of our Flutter project. The instructions are also shown in the screenshot below:

STEP 2: Add Firebase Configurations to Native Files in Your Flutter Project
Now in order to enable Firebase services in our Android app, we need to add the google-services plugin to our Gradle files.
First, in our root-level (project-level) Gradle file (android/build.gradle), we need to add rules to include the Google Services Gradle plugin. We need to check if the following configurations are available or not:.
buildscript {
  repositories {
    // Check that you have the following line (if not, add it):
    google()  // Google's Maven repository
  }
  dependencies {
    ...
    // Add this line
    classpath 'com.google.gms:google-services:4.3.4'
  }
}

allprojects {
  ...
  repositories {
    // Check that you have the following line (if not, add it):
    google()  // Google's Maven repository
    ...
  }
}
If not, we need to add the configurations as shown in the code snippet above.
Now in our module (app-level) Gradle file (android/app/build.gradle), we need to apply the Google Services Gradle plugin.
For that, we need to add the piece of code highlighted in the following code snippet to the ./android/app/build.gradle file of our project:
// Add the following line:
apply plugin: 'com.google.gms.google-services'  // Google Services plugin

android {
  // ...
}
Now, we need to run the following command so that some automatic configurations can be made:
flutter packages get
Now we have successfully integrated the Firebase configurations with our Flutter project.
How to Create an AdMob Account
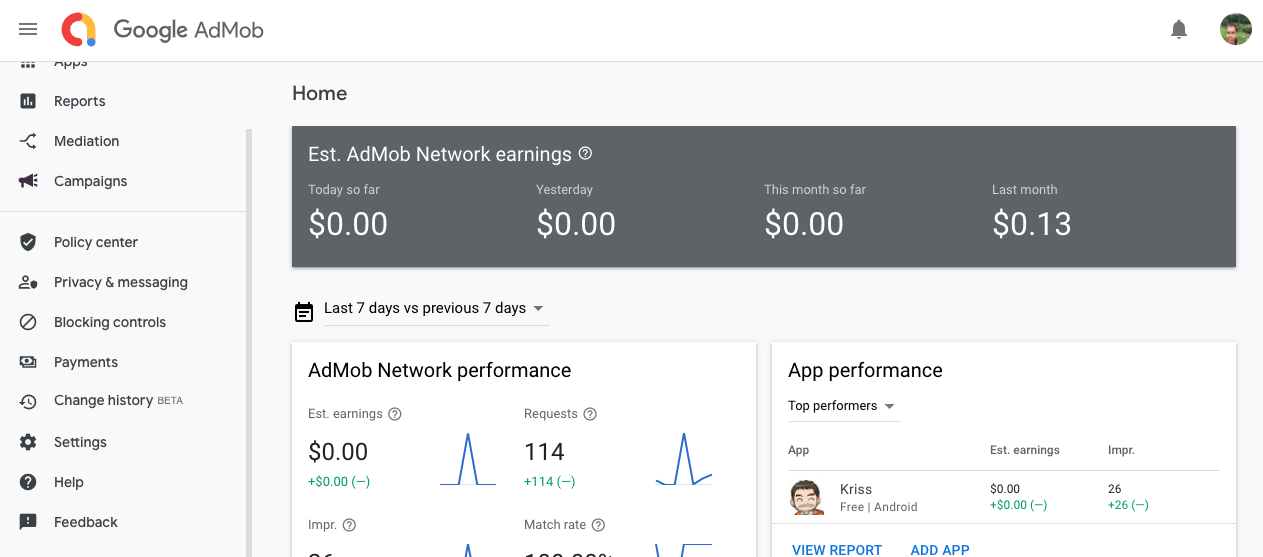
Now, we need a Google AdMob account in order to feed the ads into our app. For that, we need to register and login to AdMob. Then, we need to navigate to the Google AdMob console as displayed in the screenshot below:
Now, we need to setup a AdMob app which will give us access to Ad units. For that, we need to click on the 'ADD YOUR FIRST APP' button shown in the screenshot above.
Then, we will be directed to the screen where we setup the app, as shown in the screenshot below:

Here, it asks if our app is already available in the Google play or App Store. Since we are doing a test Ad demonstration, we do not have the app published. So just select 'NO' which will direct you to another screen as shown in the screenshot below:

Here, we need to enter our App Name as well as the platform. You can give the name of your choice. Then, since we are working with Flutter for Android, we need to choose Android and then click the 'ADD' button.
After that, we need to navigate back to the AdMob console. We will get our AdMob app in the Apps console as shown in the screenshot below:

Now, we need to click on 'ADD AD UNIT' in order to create an AD unit that feeds the test ad. After clicking, you'll see a screen showing different AD Units as you see in the screenshot below:

Here, we have a selection of different Ads. For simple implementation, we are going to choose the Banner Ad.
So, we need to click on 'Banner' Ad and then choose the Ad unit name as shown in the screenshot below:

Lastly, click on 'CREATE AD UNIT' and then 'DONE' to successfully create a AD unit, as shown in the screenshot below:

Here, we have the AD unit (and keep in mind that the AD Unit ID can be useful while feeding the actual ad).
How to Configure AdMob in a Flutter Project
Now that we have our AdMob app as well as the AdMob app AD unit ready, we can set up AdMob in our Flutter project.
For that, we need to install the Firebase plugin first as shown in the code snippet below:
firebase_admob: ^0.10.2
Now, we need to connect the AdMob app to our Native platform. For that, we need to add a meta to the AndroidManifest.xml file as shown in the code snippet below:
<meta-data
    android:name="com.google.android.gms.ads.APPLICATION_ID"
    android:value="[ADMOB_APP_ID]"/>
This file can be found in the path "./android/app/src/main/AndroidManifest.xml". Instead of [ADMOB_APP_ID], we need to input the actual AdMob App ID.
We can get that from the App Settings console in the AbMob console as shown in the screenshot below:

We just need to copy the App ID and paste it in the value argument.
How to Create a Banner Ad
Now, our AdMob app is connected to our Flutter project. Here, we are going to create a Banner ad. The idea is to show a test banner ad at the bottom of the app screen.
Note that we are using the same Flutter Wallpaper app project that we created in a previous tutorial. The process of setting up AdMob is the same in every project. We are just using this project as a demo.
But first, we need to import some necessary Firebase dependencies in the main.dart file as shown in the code snippet below:
import 'package:firebase_core/firebase_core.dart';
import 'package:firebase_admob/firebase_admob.dart';
Then, we need to initialize the test device. We can get the test device ID from the logs as well:
const String testDevice = 'Kris';
Now, we are going to create a function that returns the Banner Ad. For that, we are going to use the BannerAd instance provided by the Firebase AdMob library that takes in the Ad Unit ID, size, and listener function as parameters.
We can use the Banner Ad Unit ID that we created in the AdMob app earlier in the adUnitId property. The overall implementation of the function is provided in the code snippet below:
Future<void> main() async{
  WidgetsFlutterBinding.ensureInitialized();
  BannerAd createBannerAd() {
    return BannerAd(
      adUnitId: BannerAd.testAdUnitId,
      size: AdSize.banner,
      listener: (MobileAdEvent event) {
        print("BannerAd event $event");
      },
    );
  }
  runApp(MyApp());
}
Since we are going to display a test ad banner here, we are just going to use the testAdUnitId provided by the BannerAd instance. But we can paste the actual Ad unit ID that we created earlier here.
Now, we need to trigger the Banner Ad function in our main function. But first, we need to launch the Firebase instance.
Then, we need to initialize the FirebaseAdMob instance with the App ID that we got from the App Settings console of the AdMob console.
Lastly, we need to call the createBannerAd function and then load the Ad and show the ad as well. The overall implementation is provided in the code snippet below:
 Future<void> main() async{
  .
    .
    .
  await Firebase.initializeApp();
  FirebaseAdMob.instance.initialize(appId: FirebaseAdMob.testAppId);
  createBannerAd()
    ..load()
    ..show();
  runApp(MyApp());
}
Hence, we will see the Banner Ad at the bottom of the app screen as shown in the emulator screenshot below:

As you can see, there is test Ad Banner at the bottom of the emulator screen.
Congrats – you have successfully setup AdMob in a Flutter app!
Note that if we use the actual App ID and Ad Unit ID, we will be able to get the actual Ad feed in the Banner.
Conclusion
Flutter is a growing cross-platform mobile app development framework that has caught the attention of many developers and companies. So it is important to learn about some of its most useful features.
In this article, we integrated AdMob into a Flutter project. The process was a bit lengthy but straightforward.
AdMob is one of the best ways to monetize your apps – but to get the most out of it, you need to know how to integrate it properly on the screen.
The main objective of this tutorial was to show how to configure AdMob in your Flutter project and then display a simple Banner ad. The process is the same for any Flutter app.
Now, the challenge is to showcase other types of Ad units such as Interstitial ads, Native ads, Rewarded Ads, and so on which are popular nowadays. We can use the actual AbMob App ID as well as Unit ID to show the real ad feed in place of the test ads.
You can see full-fledged applications with state of the art UI and features in some great Flutter apps out there in the market.