

You can use data insights derived from your website or app to make important decisions that'll help grow your business. This information can help you improve user experience, create effective content strategies, and so on.
Google Analytics is an effective tool for tracking and analyzing traffic and events on your websites and mobile apps. In this article, you'll learn how to add Google Analytics to your Astro website.
To follow along, you'll need the following:
- A Google account.
- A deployed Astro project.
Let's get started!
How to Add Google Analytics to an Astro Website
Before adding Google analytics, make sure you've already deployed your project. Here's one that I've deployed using Netlify: https://astro-article.netlify.app/. This is an Astro blog template created with the npm create astro@latest -- --template blog command.
This section will be divided into two sub-sections. In the first sub-section, you'll learn how to create an Analytics account and how to set up your account for tracking and monitoring your website.
In the second sub-section, you'll learn how to configure your code to sync with Google Analytics.
How to Set Up Google Analytics
You can follow these steps to set up Google Analytics:
Step #1 – Account Creation Page
The first step is to create a Google Analytics account. You can do that by visiting the Google Analytics website.
When the page loads, you should see something similar to this:
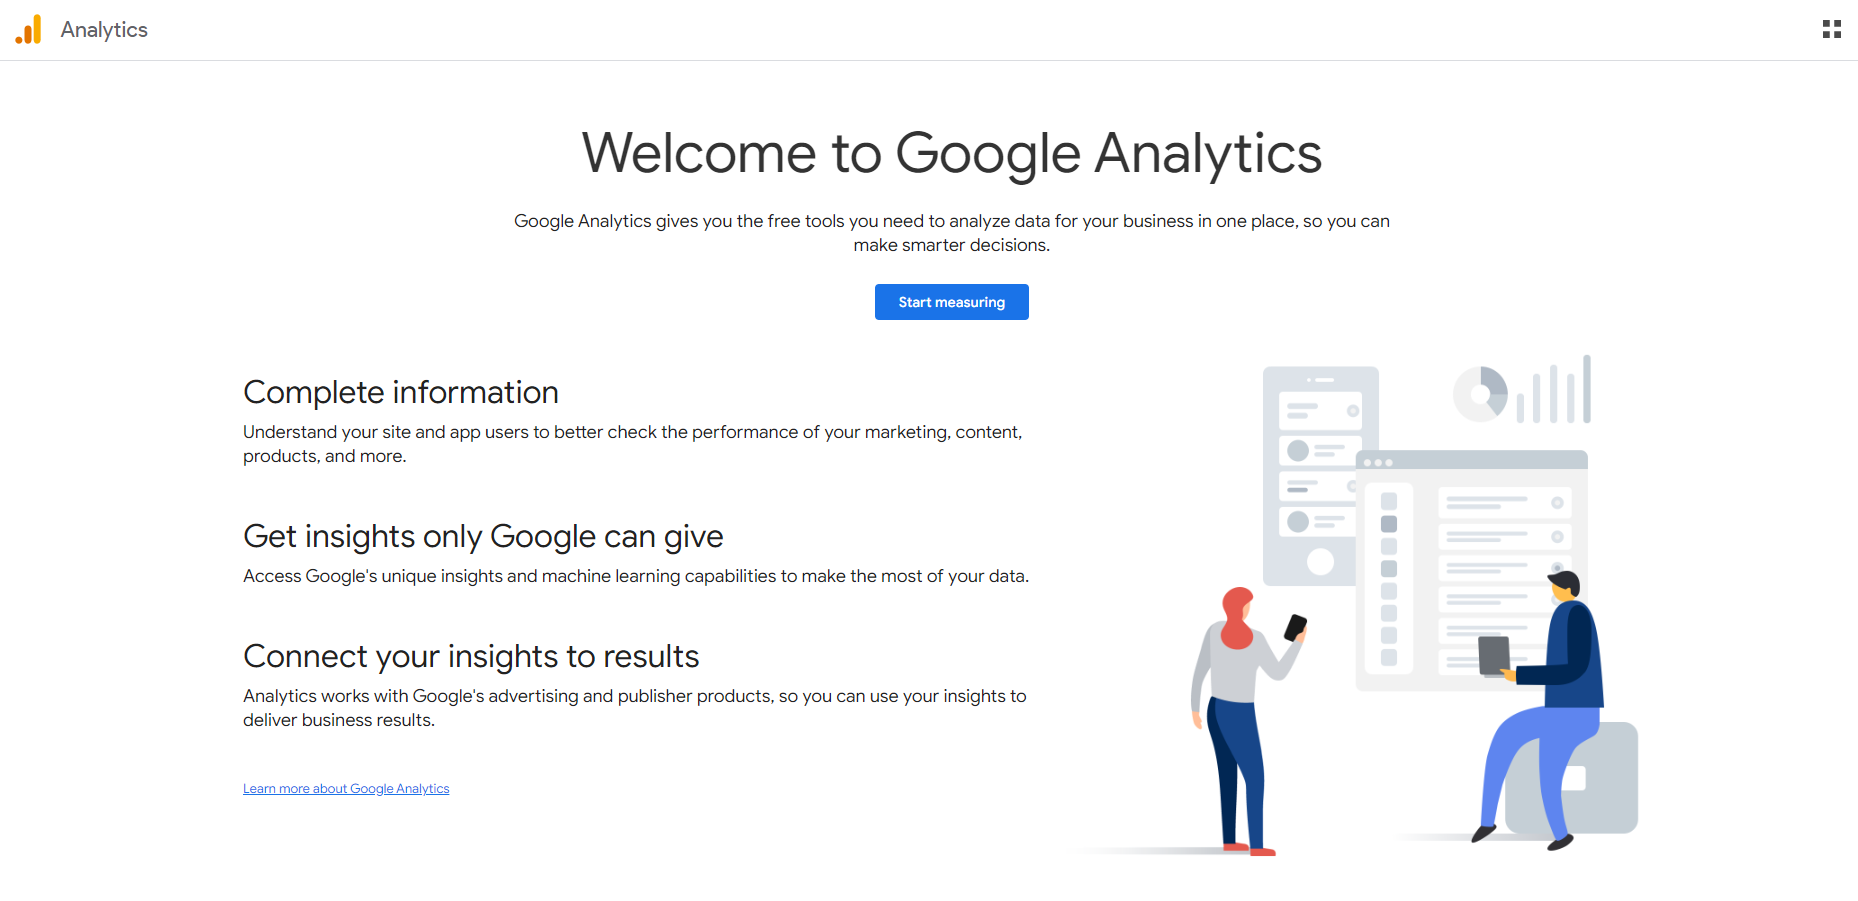 Google Analytics home page
Click on the "Start measuring" button. This will take you to the account creation page where you'll fill in some info about your website/app. That is:
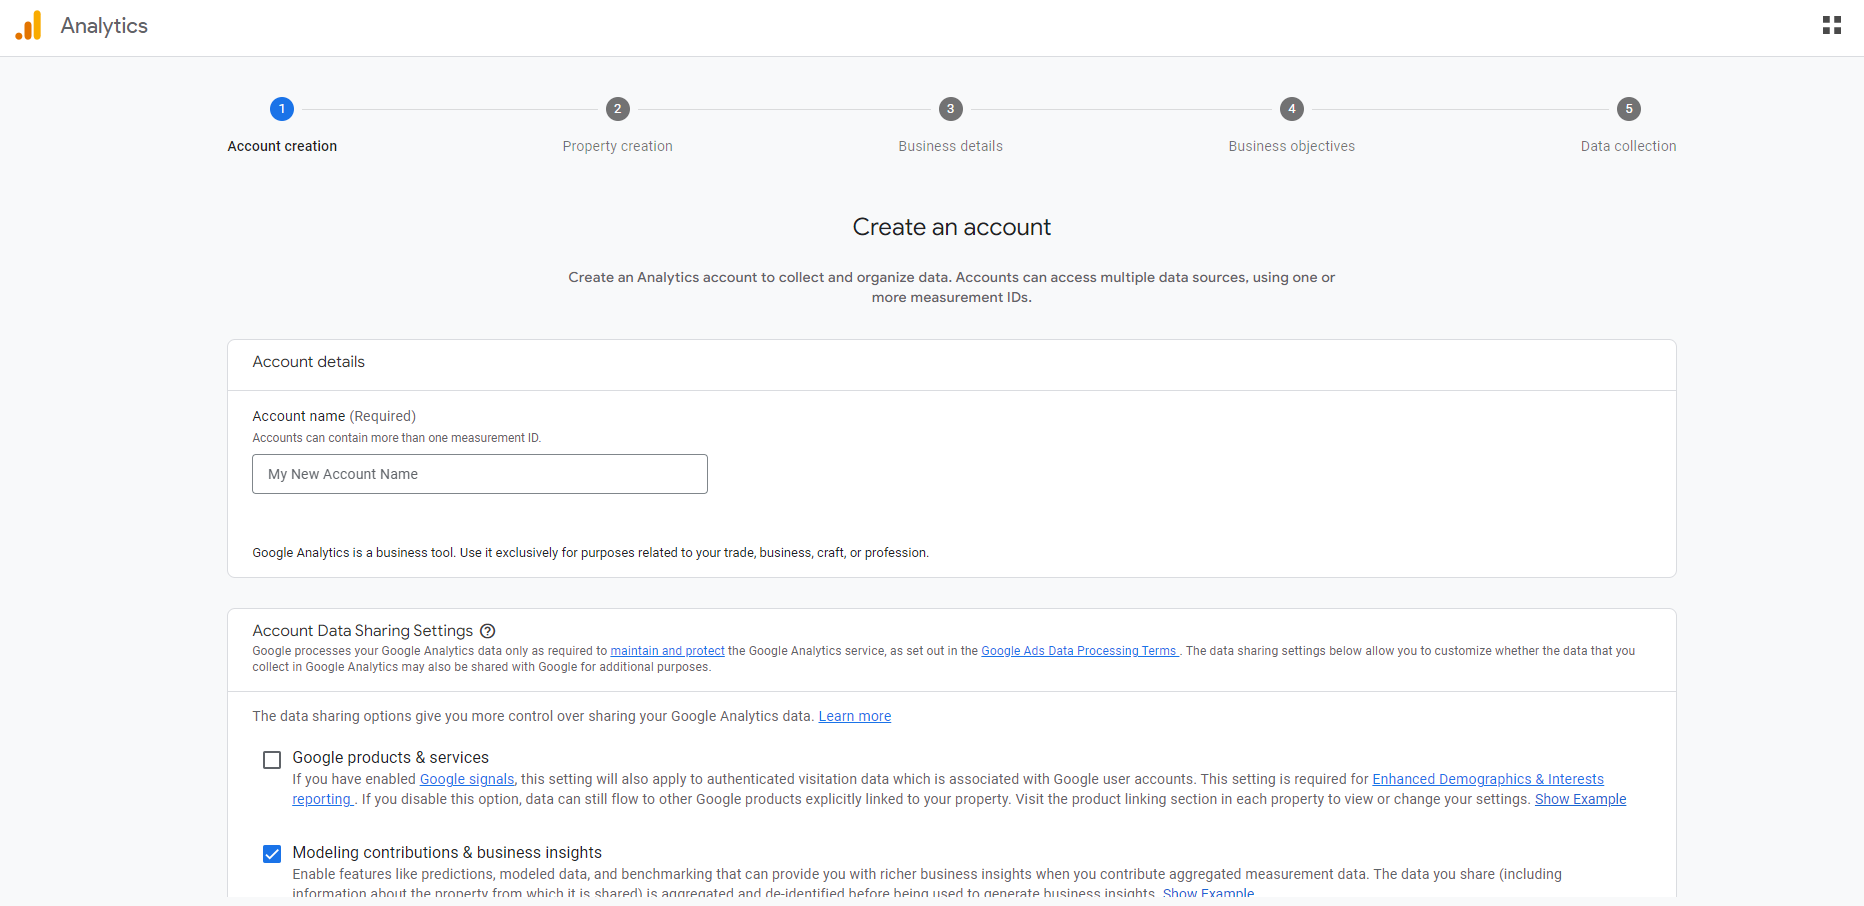 "Create an Account" page on Google Analytics
After inputting an account name, scroll down the page and click on the "Next" button.
Step #2 – Property Creation Page
On the property creation page, you can create a property name, time zone, and currency.
A property acts as a unique identifier for your websites and apps. So it is like a container for all the data related to a specified website or app.
 "Create a Property" page on Google Analytics
Step #3 – Business Details Page
On the business details page, you can specify your industry category and the business size.
 "Describe your business" page on Google Analytics
Step #4 – Business Objectives Page
The business objectives helps Analytics generate personalized reports for your business. You can select the options that are important to your website, app, or product category.
 "Business objectives" page on Google Analytics
After selecting the options, click on the "Create" button.
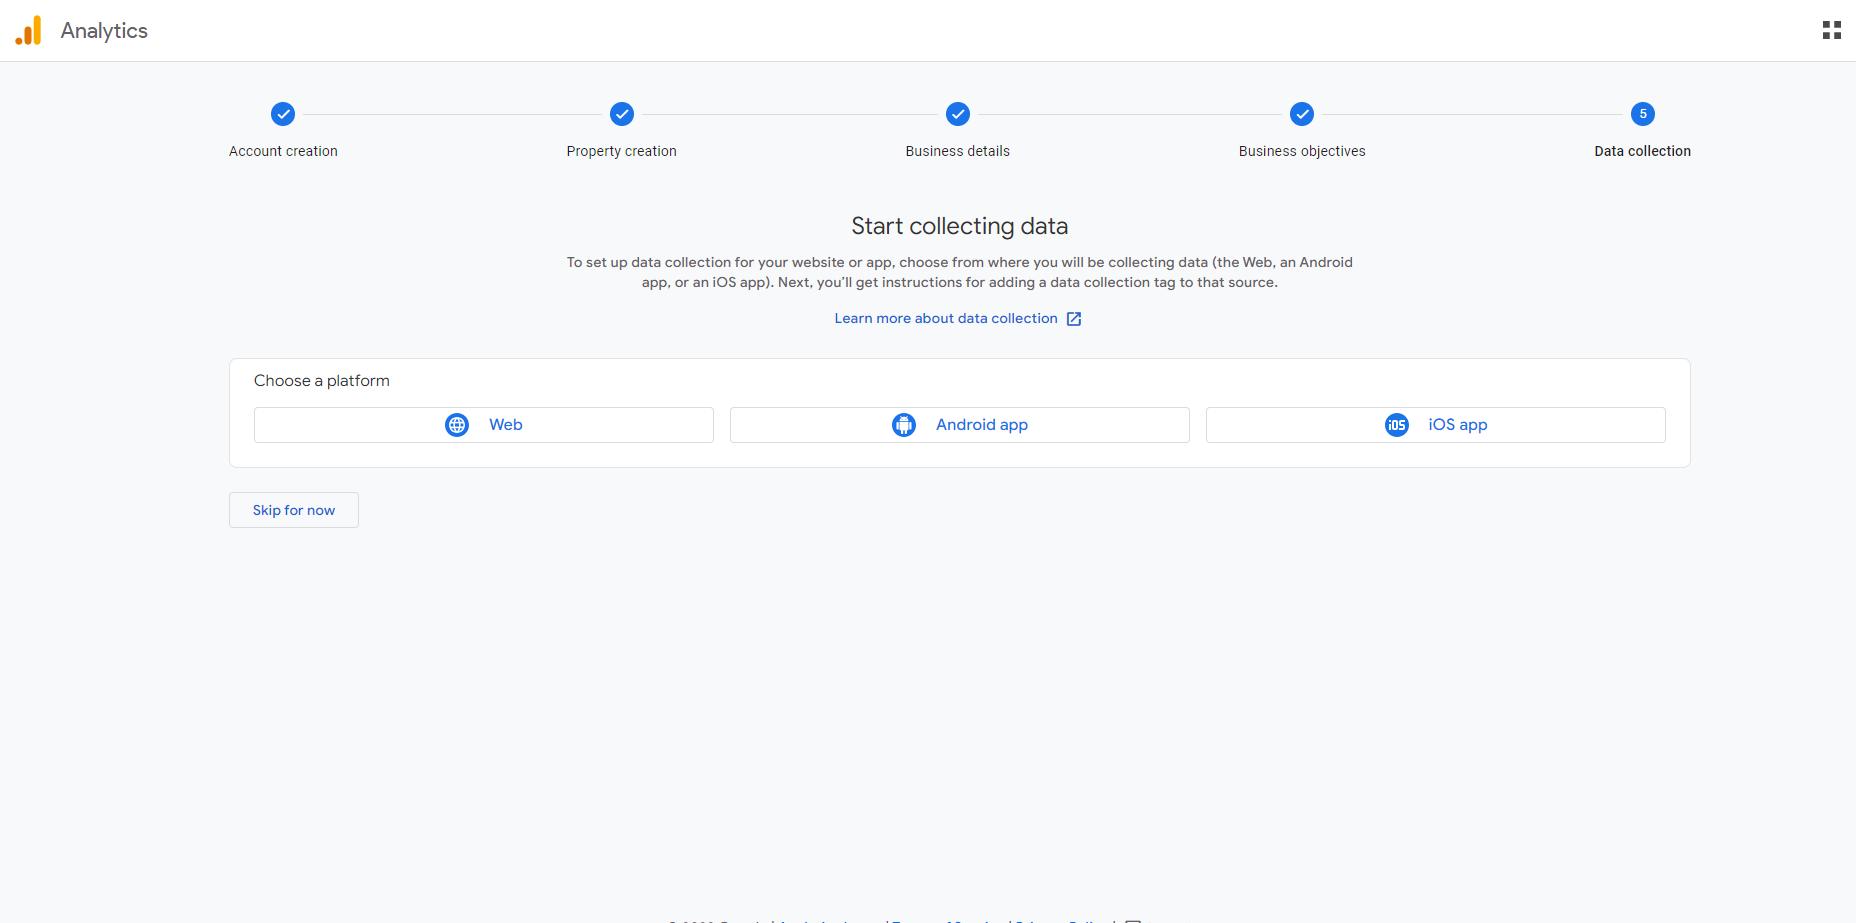
Step #5 – Data Collection Page
On the data collection page, you can choose between different platforms to collect data from. Since we're working with a website, we'll go with the Web option.
 "Start collecting data" page on Google Analytics
Next, you'll have to create a data stream by inputting your website URL and your stream name (this can be whatever you want, but I'll recommend using a name related to your website).
 Page to setup a data stream on Google Analytics
In my data stream information, I used https://astro-article.netlify.app/ as the URL and "Astro Blog Template" as the stream name.
Make sure you remove the "https://" part of the link in the input box so you don't get the "Valid website URL is required" error.
So instead of https://astro-article.netlify.app/, it should be astro-article.netlify.app/.
This is what mine looks like:
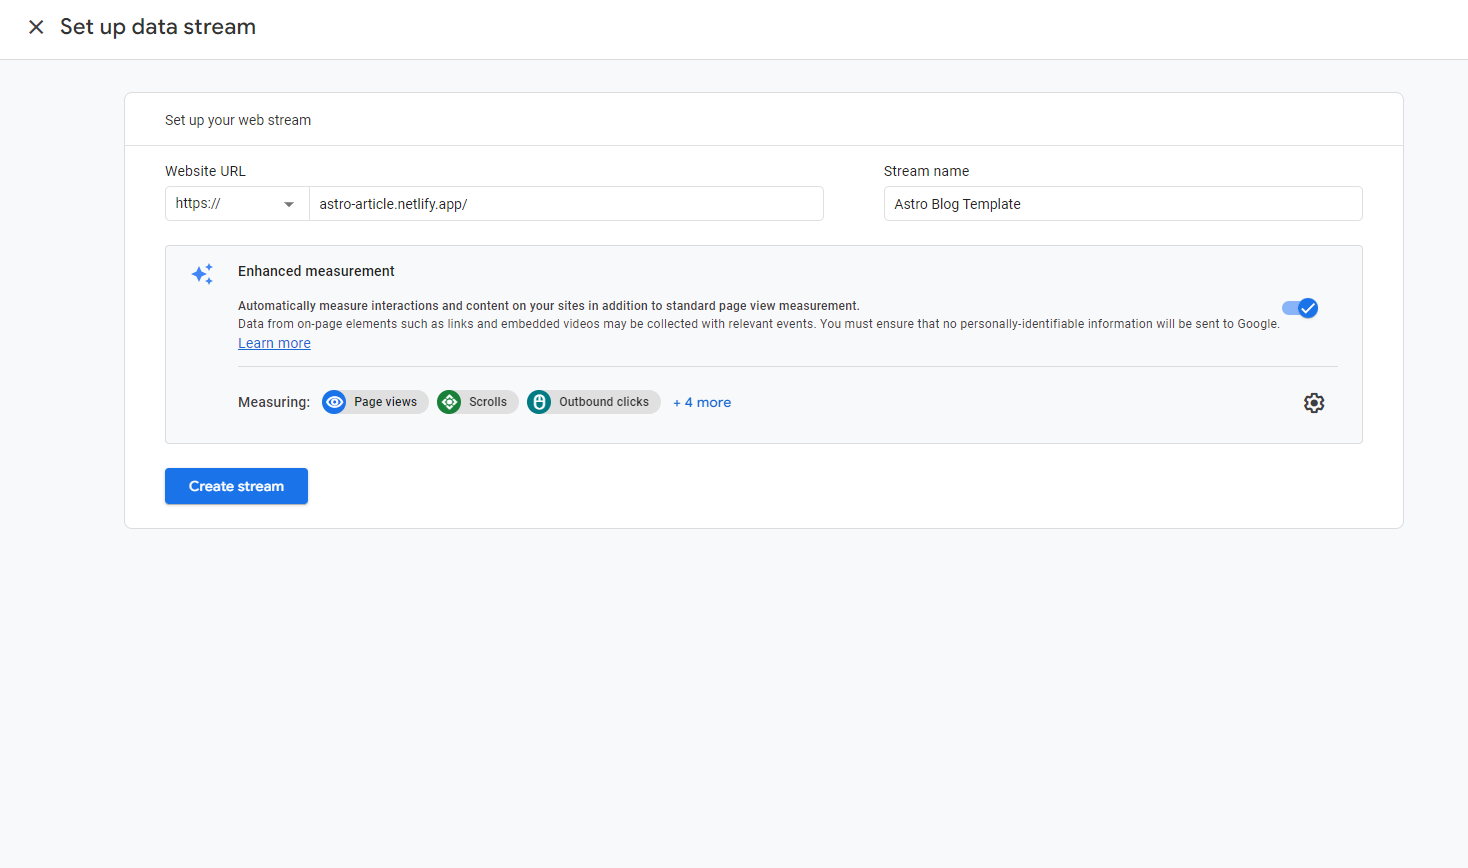 Example of information entered properly in data stream setup page
Go ahead and click on the "Create stream" button.
On the next page/prompt, you'll see your stream name, URL, ID, and measurement ID values.
The measurement ID will be important in our code integration so you can copy and paste it somewhere.
Here's what the page looks like:
 "Web stream details" page on Google Analytics
If you click on "View tag instructions", you'll see a code snippet for manual integration with code. Copy the code and paste somewhere because we'll make use of it soon.
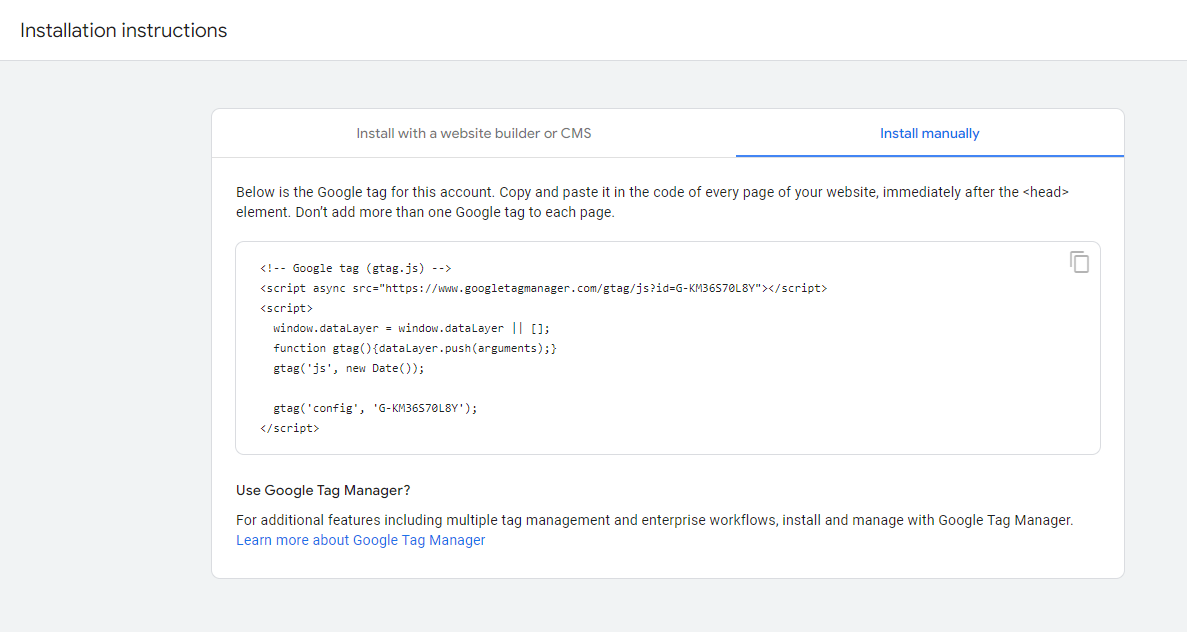 Installation instructions
Here's the code snippet if you missed it:
<!-- Google tag (gtag.js) -->
<script async src="https://www.googletagmanager.com/gtag/js?id=MEASUREMENT_ID"></script>
<script>
  window.dataLayer = window.dataLayer || [];
  function gtag(){dataLayer.push(arguments);}
  gtag('js', new Date());

  gtag('config', 'MEASUREMENT_ID');
</script>
If you're copying the code above, make sure you replace the two MEASUREMENT_ID values with the actual value of your measurement ID.
How to Integrate Google Analytics and Astro
At this point, we've created a Google Analytics account and generated our project's measurement ID. The next thing to do is to sync our code to Google Analytics.
But first, we have to install a library called Partytown. When using third party integrations, you may run into performance issues because you're making use of third-party code.
Partytown allows these integrations to run as expected without reducing your site's performance. You can read more about that here.
Step #1 – Install Partytown
Head to your Astro project terminal and run this command to install Partytown:
npm install @astrojs/partytown
Step #2 – Configure Partytown
After the installation is complete, you'll need to add the integration to your astro.config.mjs file:
import { defineConfig } from 'astro/config';
import mdx from '@astrojs/mdx';
import partytown from '@astrojs/partytown'

import sitemap from '@astrojs/sitemap';

// https://astro.build/config
export default defineConfig({
    site: 'https://astro-article.netlify.app/',
    integrations: [
        mdx(),
        sitemap(),
        partytown({
            config: {
              forward: ["dataLayer.push"],
            },
        }),
    ],
});
In the code above, we imported the Partytown library: import partytown from '@astrojs/partytown'.
We then added this piece of code to the integrations object:
partytown({
      config: {
        forward: ["dataLayer.push"],
      },
})
Everything else in the code came with the Astro project.
Step #3 – Add Google Tag to your Pages
Remember the code snippet from Google Analytics? This is where we'll use it.
<!-- Google tag (gtag.js) -->
<script type="text/partytown" async src="https://www.googletagmanager.com/gtag/js?id=MEASUREMENT_ID"></script>
<script type="text/partytown">
  window.dataLayer = window.dataLayer || [];
  function gtag(){dataLayer.push(arguments);}
  gtag('js', new Date());

  gtag('config', 'MEASUREMENT_ID');
</script>
Note that we added the type="text/partytown" attribute to both <script> tags.
Remember to change the MEASUREMENT_ID values to the value of your measurement ID. Mine looks like this:
<!-- Google tag (gtag.js) -->
<script type="text/partytown" async src="https://www.googletagmanager.com/gtag/js?id=G-KM36S70L8Y"></script>
<script type="text/partytown">
    window.dataLayer = window.dataLayer || [];
    function gtag(){dataLayer.push(arguments);}
    gtag('js', new Date());

    gtag('config', 'G-KM36S70L8Y');
</script>
Do not use the snippet above as it has my measurement ID so it's already associated with my website (not my actual website :)). Copy the first code snippet and change the MEASUREMENT_ID values to the value of your measurement ID.
To track and monitor a page, you need to paste the code snippet in that page. Copy the code and paste it in the <head> section of every page file (index.astro, BlogPost.astro, and so on) you want to track and analyze using Google Analytics.
Here's an example using the index.astro file in the pages directory:
---
import BaseHead from '../components/BaseHead.astro';
import Header from '../components/Header.astro';
import Footer from '../components/Footer.astro';
import { SITE_TITLE, SITE_DESCRIPTION } from '../consts';
---

<!doctype html>
<html lang="en">
    <head>
        <!-- Google tag (gtag.js) -->
        <script type="text/partytown" async src="https://www.googletagmanager.com/gtag/js?id=MEASUREMENT_ID"></script>
        <script type="text/partytown">
            window.dataLayer = window.dataLayer || [];
            function gtag(){dataLayer.push(arguments);}
            gtag('js', new Date());

            gtag('config', 'MEASUREMENT_ID');
        </script>
        <BaseHead title={SITE_TITLE} description={SITE_DESCRIPTION} />
    </head>
... <!-- The rest of the HTML code -->
In the code above, we put the code from Google Analytics in the <head> tag. You can do this for all the pages you want to track and monitor.
Remember to add the type="text/partytown" attribute to the <script> tags, and to change MEASUREMENT_ID (used in two places in the snippet) to the value of your measurement ID.
Step #4 – Build and Deploy your Project
Deploy your project using your preferred process.
In my case, I use npm run build to build into the dist folder, and then push the code to GitHub. This automatically triggers a Netlify deployment.
You don't have to use my method, but make sure your project builds before deployment.
Once your website has been deployed, you may have to wait up to 48 hours to start seeing your analytics in the Google Analytics dashboard.
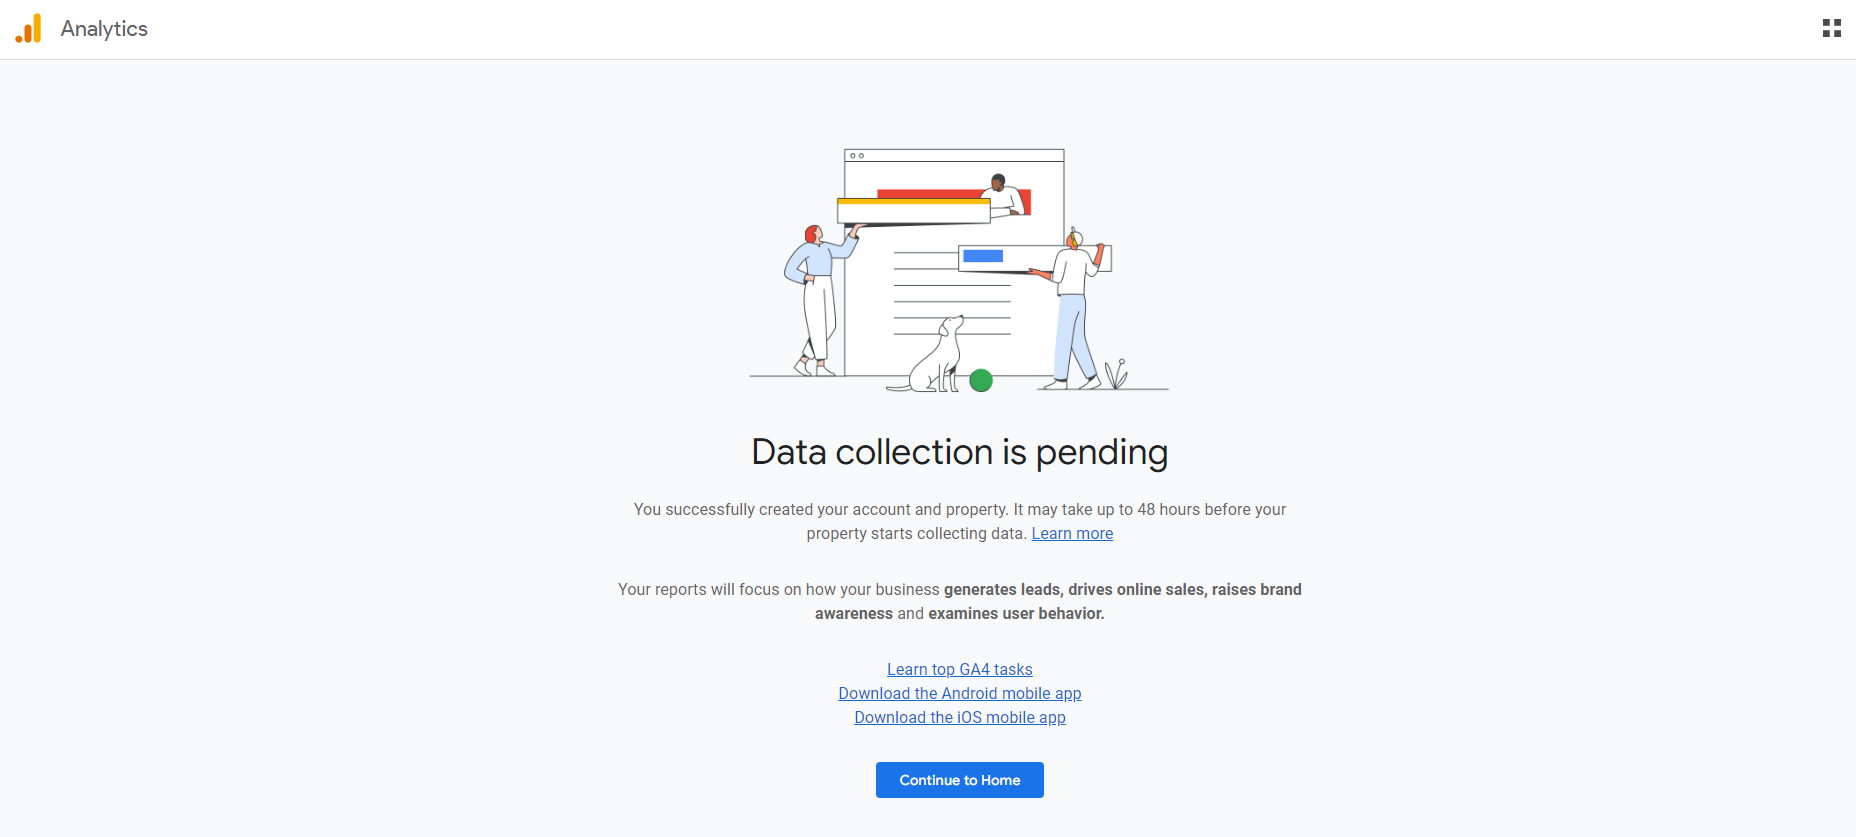 Pending page
You'll see this page when you click on the "Continue to Home" button:
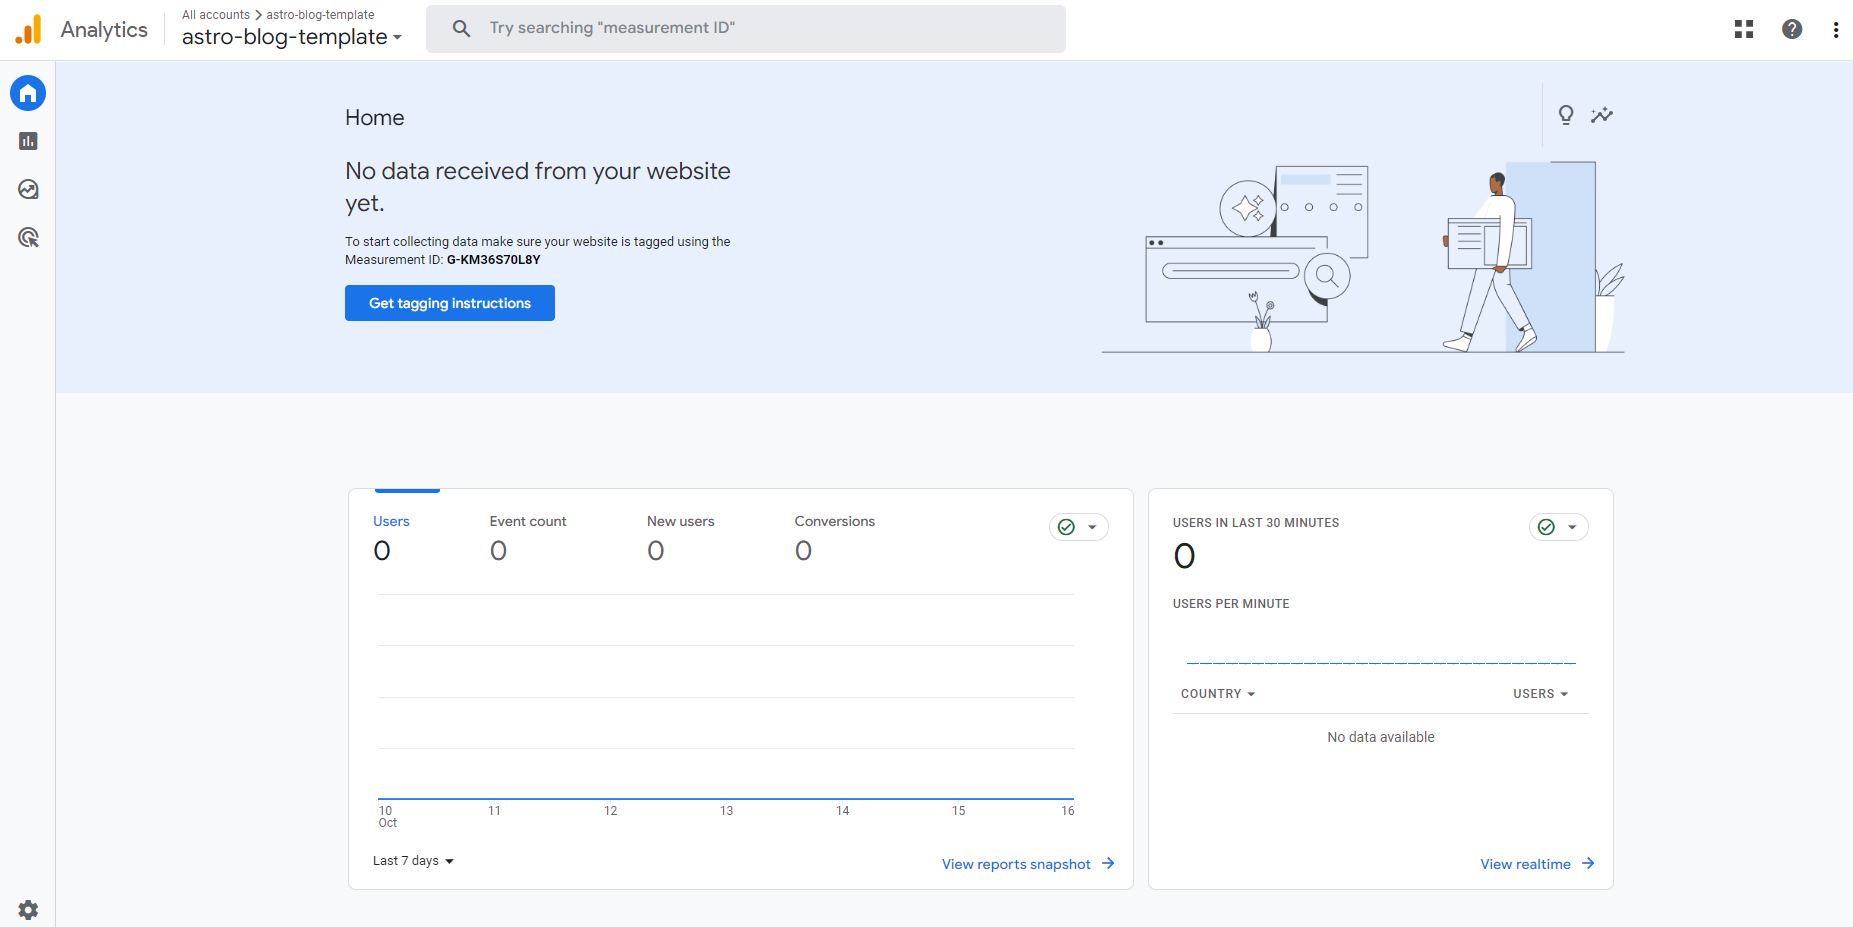 Analytics dashboard
This is your Analytics dashboard. You can view and analyze your data here when there's data available.
And there you have it! You've successfully integrated your project with Google Analytics.
Summary
In this article, we saw how to add Google Analytics to an Astro project. This can be used to track and analyze traffic and events on websites and apps.
We saw how to create and set up an Analytics account.
We then saw how to integrate Google Analytics to an Astro project using code.
Happy coding! You can read more Astro tutorials on my blog.