By Kofo Okesola
There is a famous quote by James Grenning, one of the pioneers in TDD and Agile development methodologies:
If you’re not doing test-driven development, you’re doing debug-later development - James Grenning
Today we’ll be going on a Laravel journey driven by tests. We’ll create a Laravel REST API complete with authentication and CRUD functionality without opening Postman or a browser. ?
Note: This walkthrough assumes that you understand the basic concepts of Laravel and PHPUnit. If you’ve got that out of the way? Let’s drive.
Setting up the project
Start by creating a new Laravel project with composer create-project --prefer-dist laravel/laravel tdd-journey.
Next, we need to run the authentication scaffolder that we would use, go ahead and run php artisan make:auth then php artisan migrate.
We will not actually be using the routes and views generated. For this project, we would be using jwt-auth. So go ahead and set it up in your application.
Note: If you’re having errors with JWT’s
generatecommand, you can follow this fix till it’s been added to the stable release.
Finally, you can delete ExampleTest in both the tests/Unit and tests/Feature folders so that it doesn’t interfere with our test results and we’re good to go.
Writing the code
- Begin by setting your
authconfiguration to use the JWT driver as default:
Then add the following to your routes/api.php file:
- Now that we have our driver set up, set up your user model in the same way:
What we did was that we just implemented the JWTSubject and added the required methods.
- Next, we need to add our authentication methods in the controller.
Run php artisan make:controller AuthController and add the following methods:
This step is pretty straight forward, all we do is add the authenticate and register methods to our controller. In the authenticate method, we validate the input, attempt a login and return the token if successful. In the register method, we validate the input, create a new user with the input and generate a token for the user based on that.
- Next, onto the good part. Testing what we just wrote. Generate the test classes using
php artisan make:test AuthTest. In the newtests/Feature/AuthTestadd these methods:
The comments in the code above pretty much describes the code. One thing you should note is how we create and delete the user in each test. The whole point of tests are that they should be independent of each other and the database state ideally.
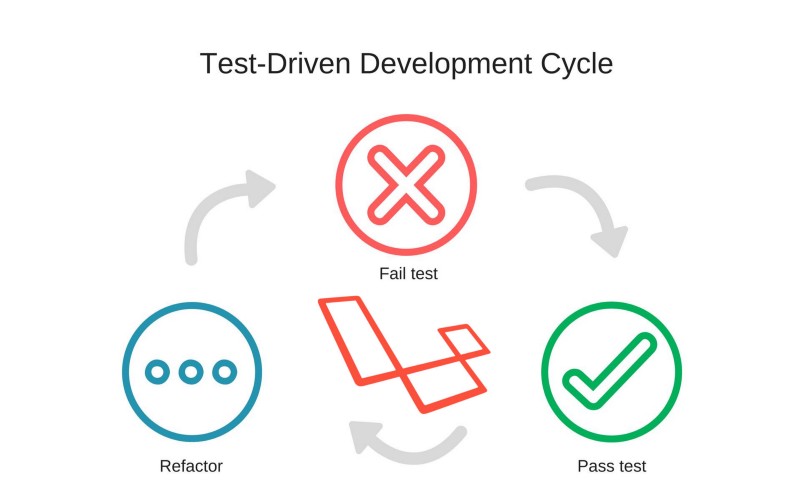
Now run $vendor/bin/phpunit or $ phpunit if you have it globally installed. Running that should give you successful assertions. If that was not the case, you can look through the logs, fix and retest. This is the beautiful cycle of TDD.
- Now that we have our authentication working, let’s add the item for the CRUD. For this tutorial, we’re going to use food recipes as our CRUD items, because, why not?
Start by creating our migration php artisan make:migration create_recipes_table and add the following:
Then run the migration. Now add the model using php artisan make:model Recipe and add this to our model.
Then add this method to the user model.
- Now we need endpoints for managing our recipes. First, we’ll create the controller
php artisan make:controller RecipeController. Next, edit theroutes/api.phpfile and add thecreateendpoint.
In the controller, add the create method as well
Generate the feature test with php artisan make:test RecipeTest and edit the contents as under:
The code is quite self-explanatory. All we do is create a method that handles the registering of a user and token generation, then we use that token in the testCreate() method. Note the use of the RefreshDatabase trait, the trait is Laravel’s convenient way of resetting your database after each test, which is perfect for our nifty little project.
OK, so for now, all we want to assert is the status of the response, go ahead and run $ vendor/bin/phpunit.
If all goes well, you should receive an error. ?
There was 1 failure:
1) Tests\Feature\RecipeTest::testCreateExpected status code 200 but received 500.Failed asserting that false is true.
/home/user/sites/tdd-journey/vendor/laravel/framework/src/Illuminate/Foundation/Testing/TestResponse.php:133/home/user/sites/tdd-journey/tests/Feature/RecipeTest.php:49
FAILURES!Tests: 3, Assertions: 5, Failures: 1.
Looking at the log files, we can see the culprit is the publisher and recipes relationship in the Recipe and User classes. Laravel tries to find a user_id column in the table and use that as the foreign key, but in our migration we set publisher_id as the foreign key. Now, adjust the lines as under:
//Recipe filepublic function publisher(){ return $this->belongsTo(User::class,'publisher_id');}
//User filepublic function recipes(){ return $this->hasMany(Recipe::class,'publisher_id');}
And then re-run the test. If all goes well we get all green tests! ?
... 3 / 3 (100%)
...
OK (3 tests, 5 assertions)
Now we still need to test the creation of the recipe. To do that we can assert the recipes count of the user. Update your testCreate method as under:
We can now go ahead and fill the rest of our methods. Time for some changes. First, our routes/api.php
Next, we add the methods to the controller. Update your RecipeController class this way.
The code and comments already explain the logic to a good degree.
Lastly our test/Feature/RecipeTest
Other than the additional test, the only other difference was adding a class-wide user file. That way, the authenticate method not only generates a token, but it sets the user file for subsequent operations.
Now run $ vendor/bin/phpunit and you should have all green tests if done correctly.
Conclusion
Hopefully, this gave you an insight into how TDD works in Laravel. It is definitely a much wider concept than this, one that is not bound to a specific method.
Though this method of development may seem longer than the usual debug later procedure, it’s perfect for catching errors early on in your code. Though there are cases where a non-TDD approach is more useful, it’s still a solid skill and habit to get used to.
The entire code for this walkthrough is available on Github here. Feel free to play around with it.
Cheers!