
It's the holiday season and Santa's coming! But just like he watches all of us, we can build a map-based tracking app to keep an eye on him and find out when he'll come on Christmas night with Next.js and React Leaflet.
- How can we track Santa?
- How can I create a map?
- What are we going to build?
- Step 0: Creating a new Next.js app from Next.js Leaflet Starter
- Step 1: Fetching Santa Data with SWR
- Step 2: Showing Santa's Stops on a Map with React Leaflet Markers
- Step 3: Adjusting Santa arrival and departure datetimes to current year
- Step 4: Updating Markers to custom icons
- Step 5: Showing where Santa's at and where he's been by comparing datetimes
How can we track Santa?
The people who brought you Google's Santa tracker in years past created an unofficial endpoint that gives you a list of destinations where Santa stops for presents.
While there's a chance they might all of a sudden kill it, it's been running strong since 2019. So there's a good chance it will stay up (I also backed up the data to a Gist 👀).
But with that data, we can add points on a map telling us the locations Santa will stop along with whether or not he's stopped there yet.
How can I create a map?
We'll use React Leaflet, which is a wrapper around the popular Leaflet mapping library.
The library allows us to build a map and add lots of different types of visuals like data, imagery, or it can even create custom maps of sci-fi worlds if you get advanced enough.
But we'll use this to build our map to track Santa on.
What are we going to build?
We're going to build a Santa Tracker application that gives us a map with all of the destinations. It will tell use if Santa has stopped there, if Santa's currently there, and if he's already left.
We'll do this in Next.js by using a Starter I created called Next.js Leaflet Starter. This will give us our basic map that we can use to get productive in React Leaflet.
Step 0: Creating a new Next.js app from Next.js Leaflet Starter
We’re going to start off with a new Next.js app using the Next.js Leaflet Starter. This will get us moving quickly with a basic map we can start to play with.
Inside of your terminal, run:
yarn create next-app -e https://github.com/colbyfayock/next-leaflet-starter my-santa-tracking-app
# or
npx create-next-app -e https://github.com/colbyfayock/next-leaflet-starter my-santa-tracking-app
Note: feel free to use a different value than my-santa-tracking-app as your project name!
Once installation has finished, you can navigate to that directory.
cd my-santa-tracking-app
Then you can start your local development server with:
yarn dev
# or
npm run dev
And once you visit it in your browser at http://localhost:3000, we should see our new application:
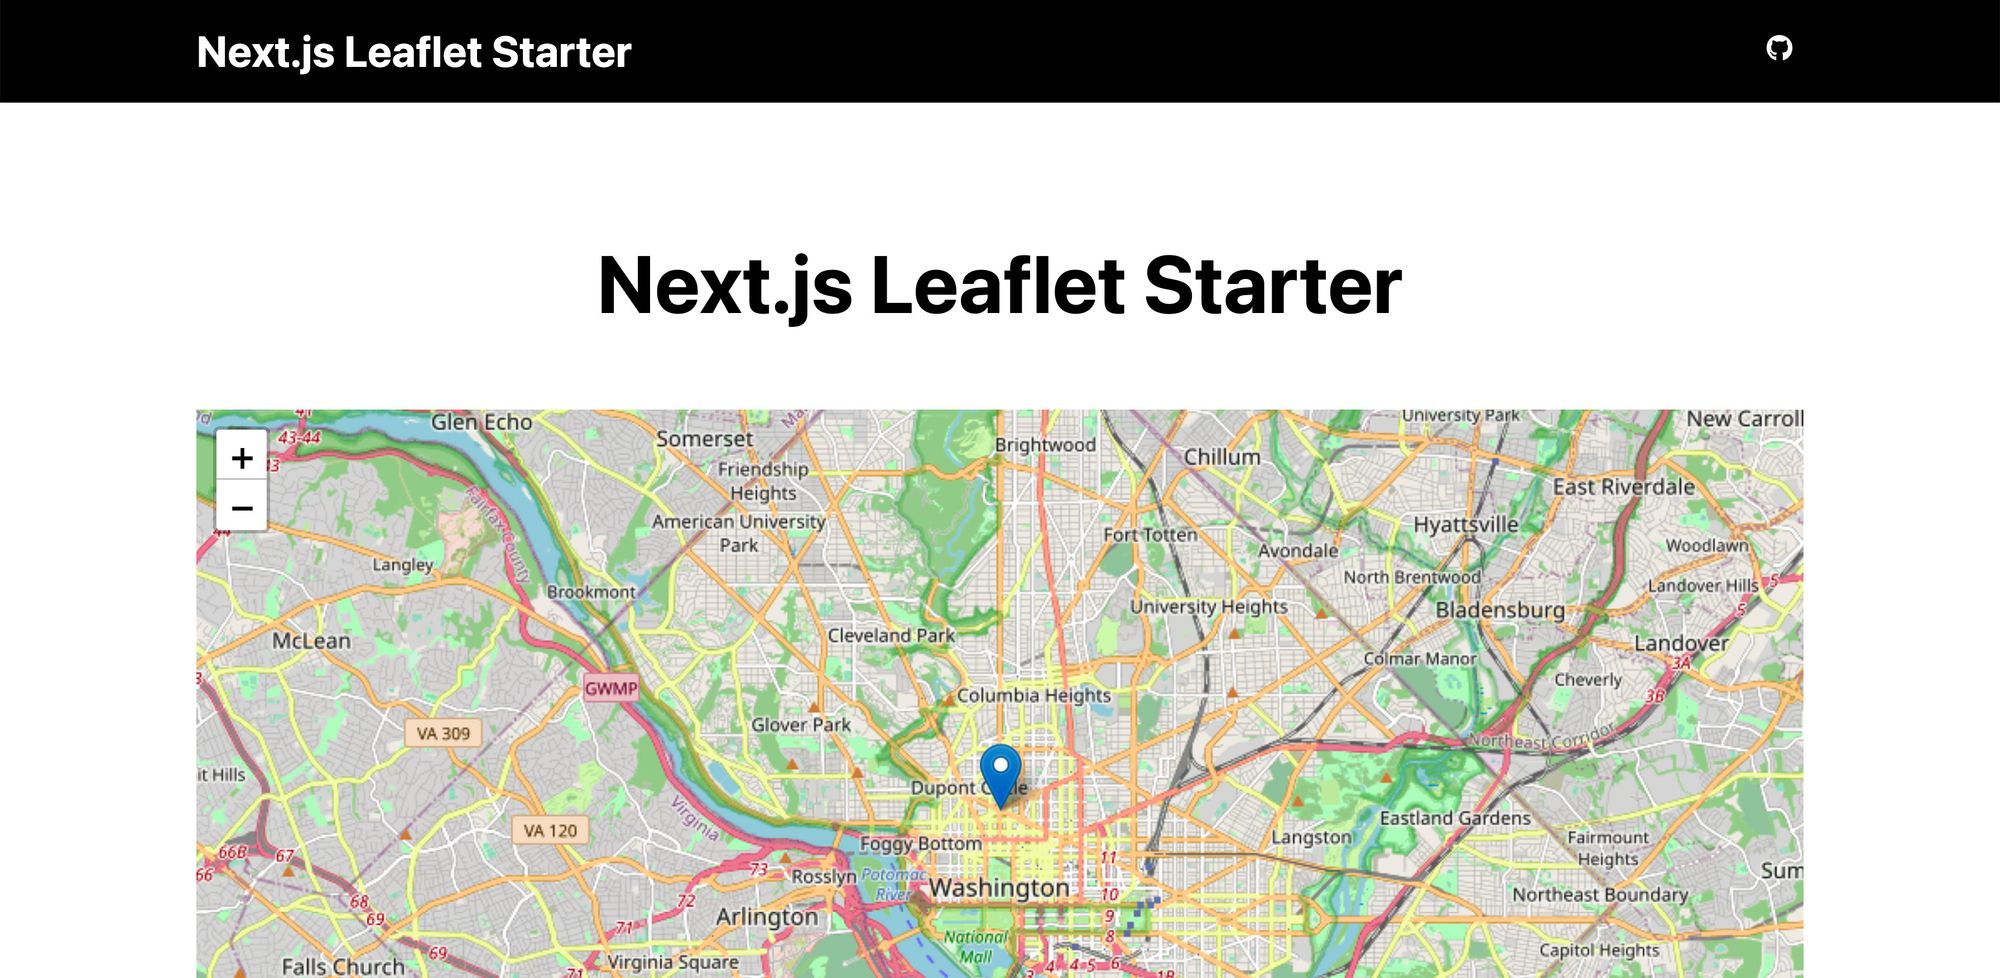 Next.js Leaflet Starter
If we take a second to browse around the project, we're primarily interested in the homepage managed inside src/pages/index.js for this tutorial. There, along with some basic UI, we have a map.
The map is built by wrapping the React Leaflet Map with a Next.js Dynamic Import. The tricky thing with Leaflet and React Leaflet is that it requires the browser's window object to work. So we use the Dynamic Import to only load it once it hits the client.
But in the homepage, we can see how we're currently utilizing our map, along with some introductory components, which will allow us to get started building our tracker app!
Step 1: Fetching Santa Data with SWR
In order to get our Santa data, we need to fetch it from our API.
While we could technically just use fetch and store it in state, let's use SWR which gives us a little bit cleaner of a way to manage that request.
In your terminal, first install SWR with:
yarn add swr
# or
npm install swr
Next, let's import it into our project.
At the top of src/pages/index.js add:
import useSWR from 'swr';
And to use our newly imported SWR hook, we have two parts, where first let's define our "fetch" function, which is essentially the abstracted request logic.
Above the Home page component add:
const fetcher = (url) => fetch(url).then((res) => res.json());
And then we can set up the request itself inside, at the top of our Home page component:
const { data } = useSWR(
  'https://firebasestorage.googleapis.com/v0/b/santa-tracker-firebase.appspot.com/o/route%2Fsanta_en.json?alt=media&2018b',
  fetcher
);
To quickly review what's happening, we're using the useSWR hook which will give us some data fetching features (caching, revalidation). But we need to tell SWR 2 things: how to fetch the data (fetcher) and where (our endpoint).
And with that, we should have our data, which we can now test by adding a console log. There, when we load our page and look in the console, we should see a bunch of destinations logged out:
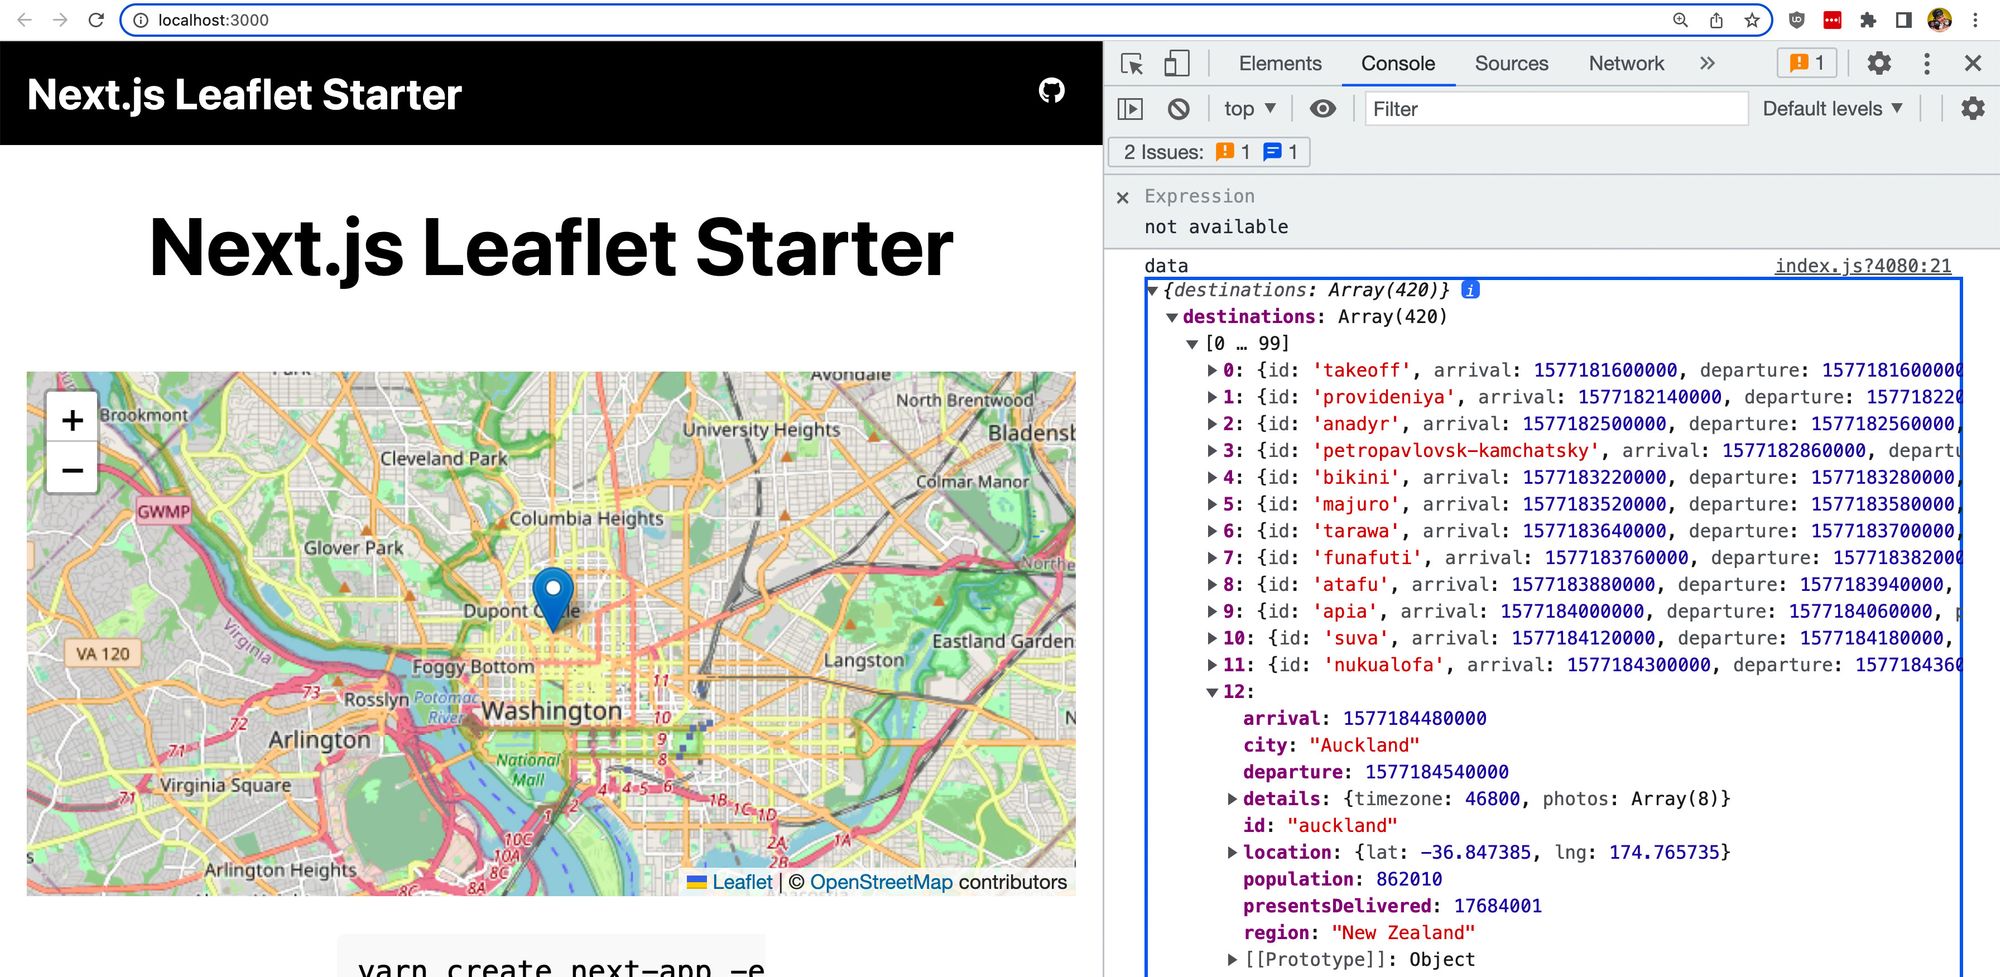 Santa destinations
Step 2: Showing Santa's Stops on a Map with React Leaflet Markers
We have Santa's future stops! Now let's throw them on the map.
If we scroll down to our Map component, we should see that we're nesting two components:
- Tilelayer: this is the background, the actual map imagery
- Marker: the pin that's dropped on the map (and a Popup inside)
These are abstracted as React components, so like any other React component, we can map through our data adding a new Marker for every stop.
Let's replace the Marker component with:
{data?.destinations?.map(({ id, location, city, region }) => {
  return (
    <Marker key={id} position={[location.lat, location.lng]}>
      <Popup>{ city }, { region }</Popup>
    </Marker>
  )
})}
If we reload the page, we'll see...the same thing.
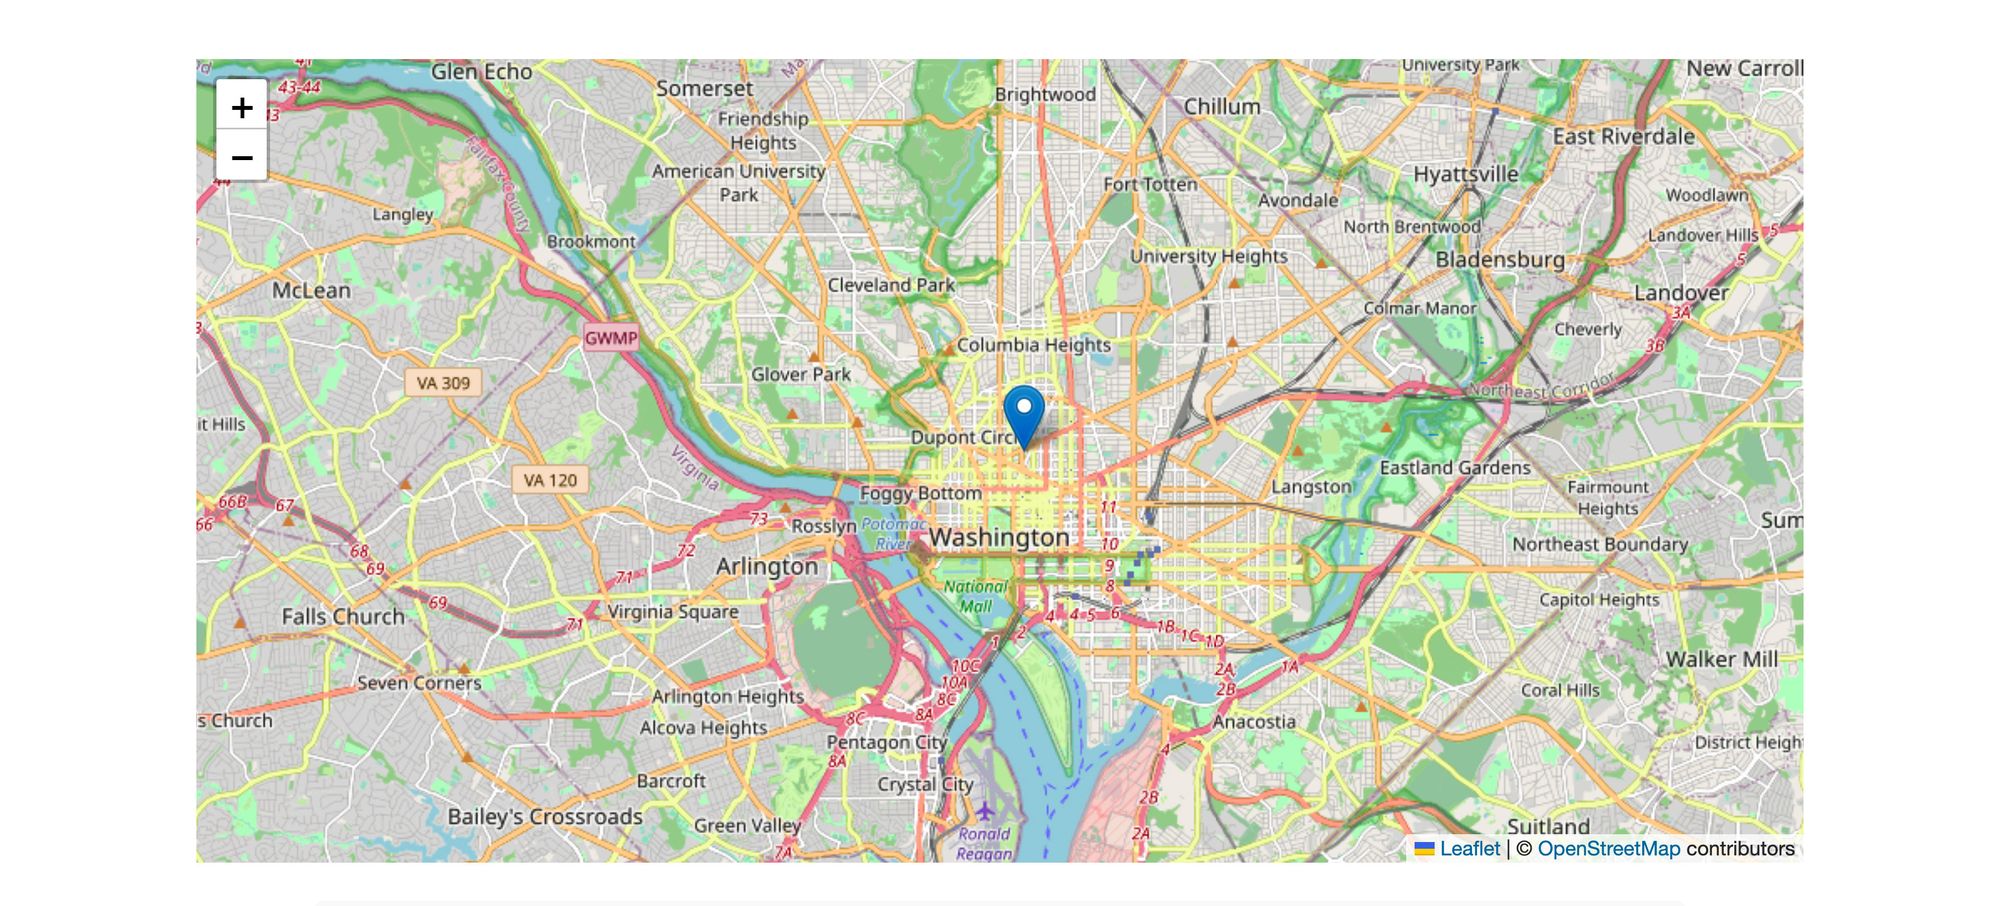 Still showing Washington, DC
But this is deceiving. Zoom out on the map and we'll see all of our pins:
 Zoomed out showing pins
We can even click each of those pins, which we'll see the location of since we added it in a Popup.
 World Cup 2022 winner with location popup!
Everything is working well so far, but we don't want people to have to zoom out every time, so let's fix that.
On the Map component, we can see a center prop and a zoom prop:
- Center: the default location to center the map on
- Zoom: the zoom left the map starts with
Let's make those more appropriate for our project:
<Map ... center={[0, 0]} zoom={1}>
This will set it in the center of the world with a zoom level of 1, which lets us see the entire world.
 Map showing pins all over world
Now as one final thing, instead of only showing what the location name is, let's add when Santa will arrive.
Update the map statement for destinations with:
{data?.destinations?.map(({ id, arrival, departure, location, city, region }) => {
  const arrivalDate = new Date(arrival);
  const arrivalHours = arrivalDate.getHours()
  const arrivalMinutes = arrivalDate.getMinutes()
  const arrivalTime = `${arrivalHours}:${arrivalMinutes}`;

  const departureDate = new Date(departure);
  const departureHours = departureDate.getHours()
  const departureMinutes = departureDate.getMinutes()
  const departureTime = `${departureHours}:${departureMinutes}`;

  return (
    <Marker key={id} position={[location.lat, location.lng]}>
      <Popup>
        <strong>Location:</strong> { city }, { region }
        <br />
        <strong>Arrival:</strong> { arrivalDate.toDateString() } @ { arrivalTime }
        <br />
        <strong>Departure:</strong> { arrivalDate.toDateString() } @ { departureTime }
      </Popup>
    </Marker>
  )
})}
Here we're:
- Using the arrival and departure times to create new dates
- Getting specific values for both date and time
- Formatting the time
- Adding arrival and departure datetimes to Popup
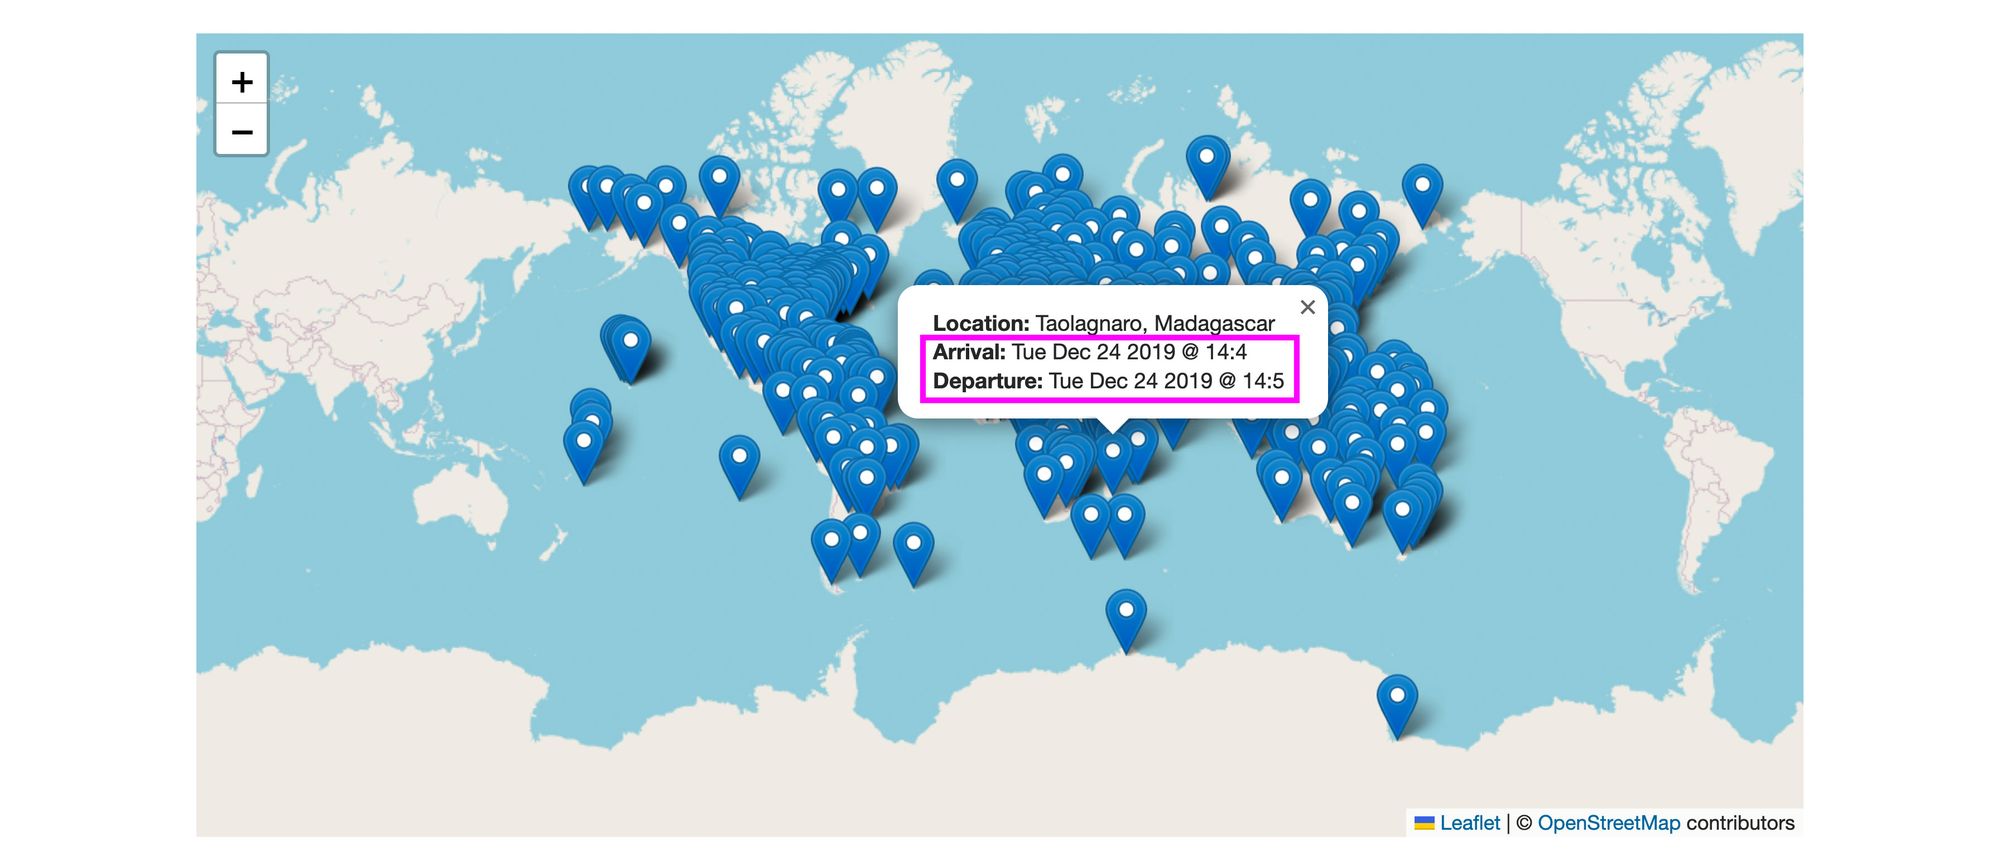
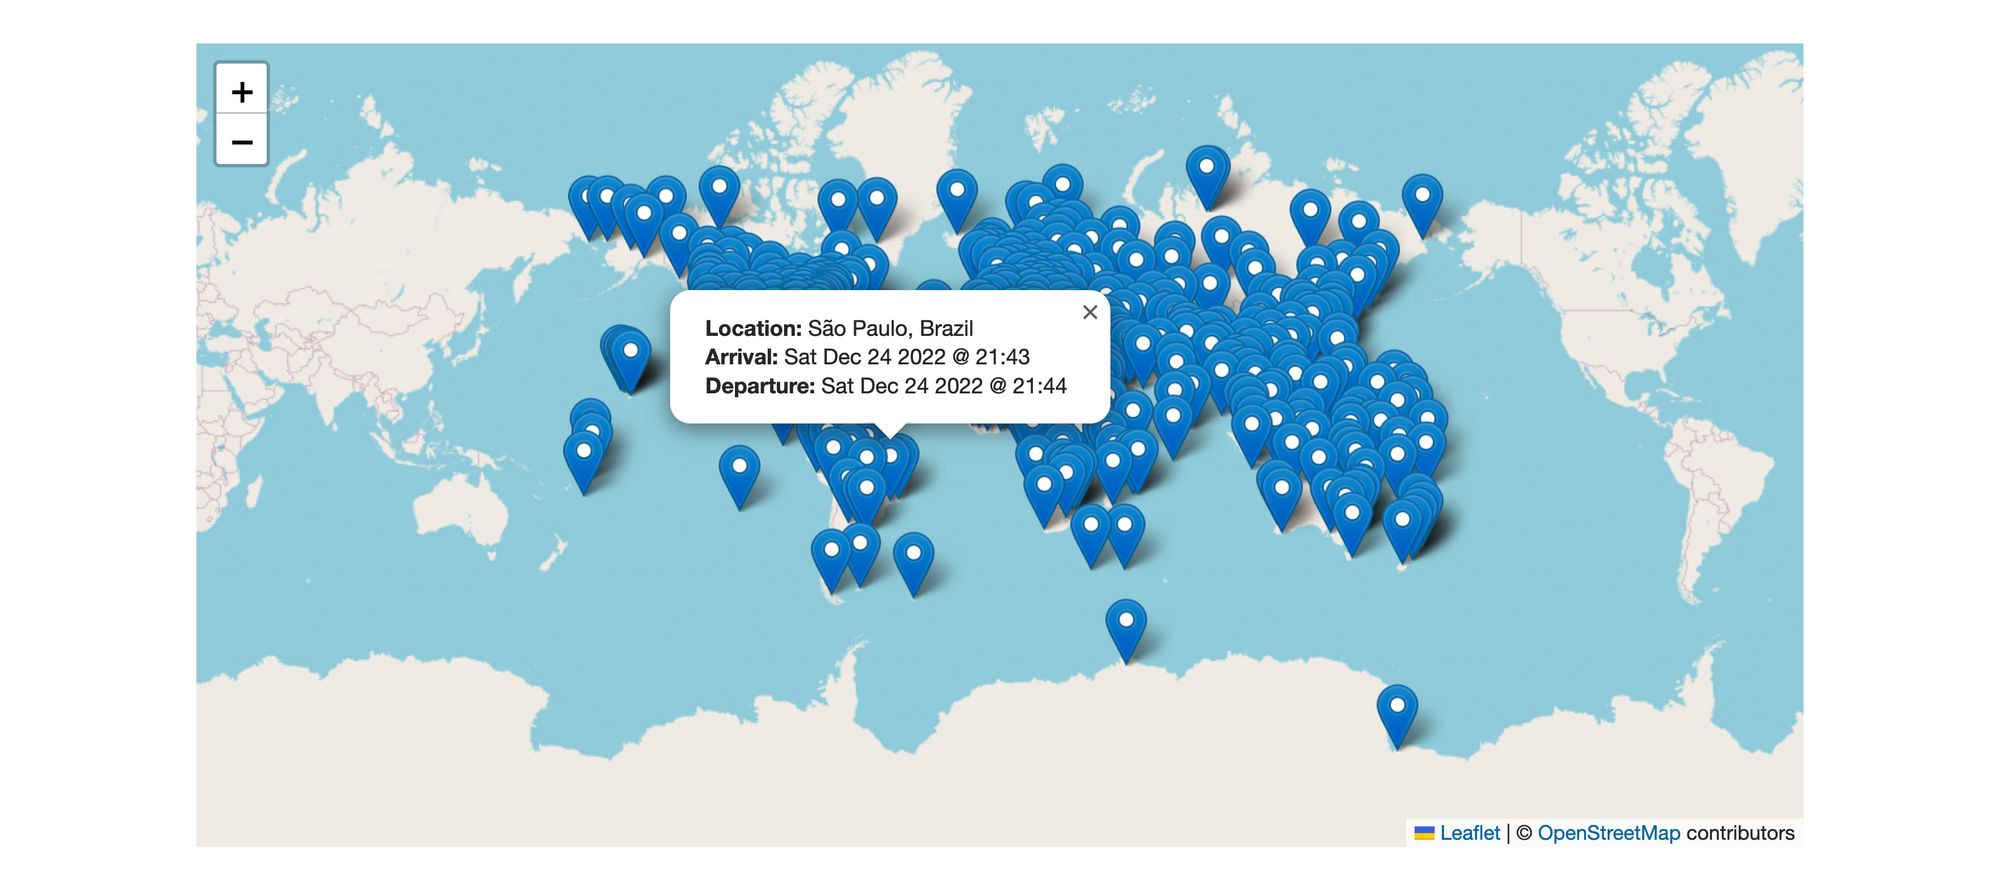
And when we reload the page and click on a pin, we should see all of our information!
 Ukraine's Santa destination
Step 3: Adjusting Santa arrival and departure datetimes to current year
Plot twist! The API we're using to load Santa's destinations is currently showing 2019 😱.
 Santa's in the past!
Turns out that after 2019, Google stopped updating this API. But that's okay, the timings and locations remain the same, we just need to correct it to the current year, which we can do dynamically to also future proof this.
At the top of the Home page component and under the SWR request, let's first get the current date and time:
const currentDate = new Date(Date.now());
const currentYear = currentDate.getFullYear();
Next, we can create a new "corrected" set of destinations:
const destinations = data?.destinations.map((destination) => {
  const { arrival, departure } = destination;

  const arrivalDate = new Date(arrival);
  const departureDate = new Date(departure);

  arrivalDate.setFullYear(currentYear);
  departureDate.setFullYear(currentYear);

  return {
    ...destination,
    arrival: arrivalDate.getTime(),
    departure:  departureDate.getTime(),
  }
});
Here we're:
- Mapping through each destination, ultimately creating a new array of
destinations - Getting the arrival and departure dates into a new Date object
- Using our
currentYearvalue to adjust our arrival and departure - Returning all the destination data with the updated values
Finally as one last step, we need to update the code that's creating our Markers from data?.destinations?.map to:
{destinations?.map(({ id, arrival, departure, location, city, region }) => {
And if we open up our app.
 Popups with correct date!
We should now see that all of our popups have the right date.
Step 4: Updating Markers to custom icons
Right now we're using the default graphics that come with React Leaflet for our Markers, but we can do better.
We can provide our own custom images that will replace the marker, including something fun like Christmas trees!
To help out, I created an image for this already, which you can grab here:
![]() 2x: https://github.com/colbyfayock/my-santa-tracking-app/blob/main/public/images/tree-marker-icon-2x.png
2x: https://github.com/colbyfayock/my-santa-tracking-app/blob/main/public/images/tree-marker-icon-2x.png
![]() 1x: https://github.com/colbyfayock/my-santa-tracking-app/blob/main/public/images/tree-marker-icon.png
1x: https://github.com/colbyfayock/my-santa-tracking-app/blob/main/public/images/tree-marker-icon.png
Note: you can use whatever images you want, you'll just need to be sure to adjust the sizes and use the right filenames.
First, place your images inside of the public/images directory to make them available for us to use.
Then we're going to tell our Marker we want to use our custom icon.
To start, we need to make the Leaflet library available to use in our Map component:
<Map className={styles.homeMap} width="800" height="400" center={[0, 0]} zoom={1}>
  {({ TileLayer, Marker, Popup }, Leaflet) => (
Here we're adding the Leaflet variable as a second argument to our function prop.
Then we need to use it to create our icon using a Leaflet Icon instance.
Inside of our destinations map, update the Marker opening tag to:
<Marker
  key={id}
  position={[location.lat, location.lng]}
  icon={Leaflet.icon({
    iconUrl: '/images/tree-marker-icon.png',
    iconRetinaUrl: '/images/tree-marker-icon-2x.png',
    iconSize: [41, 41]
  })}
>
Here we're adding a new prop of icon to our Marker where we're creating a new Leaflet Icon along with the path to our Icons.
We additionally specify the size as we're providing square images as opposed to the rectangular images that are there by default.
And just like that, we now have Christmas tree markers!
 Christmas tree marker icons!
But we can take this a step further and show where Santa is with a custom icon as well as where he's already been with another custom icon, which we'll do in the next step.
Step 5: Showing where Santa's at and where he's been by comparing datetimes
Previously, we set up our custom icons for all of Santa's stops.
We can take that further and use Santa's arrival and departure times to determine if he's currently at a location and if he was at a location, then show different icons.
This will include a couple of steps:
- Determining if Santa "is here" and "was here"
- Adding and showing different icons
- Faking the current time to test that it works
Starting off, let's figure out where Santa currently is.
For every destination, we have our arrival time and departure time, which we're already using in the Popup. We can compare those values to the current time to determine where he is.
Inside of the destinations map and right before the return statement (under the time variables) add:
const santaWasHere = currentDate.getTime() - departureDate.getTime() > 0;
const santaIsHere = currentDate.getTime() - arrivalDate.getTime() > 0 && !santaWasHere;
Here we're determining:
- If Santa was here – essentially if the current time is later than the departure time
- If Santa is here – essentially if the current time is later than the arrival time AND Santa hasn't left (the above is false)
Next, we need to dynamically set our icon URLs to use new icons in different time instances.
To do that, we need new images. Luckily, I'm providing them for you again!
![]() Gift 2x: https://github.com/colbyfayock/my-santa-tracking-app/blob/main/public/images/gift-marker-icon-2x.png
Gift 2x: https://github.com/colbyfayock/my-santa-tracking-app/blob/main/public/images/gift-marker-icon-2x.png
![]() Gift 1x: https://github.com/colbyfayock/my-santa-tracking-app/blob/main/public/images/gift-marker-icon.png
Gift 1x: https://github.com/colbyfayock/my-santa-tracking-app/blob/main/public/images/gift-marker-icon.png
![]() Santa 2x: https://github.com/colbyfayock/my-santa-tracking-app/blob/main/public/images/santa-marker-icon-2x.png
Santa 2x: https://github.com/colbyfayock/my-santa-tracking-app/blob/main/public/images/santa-marker-icon-2x.png
![]() Santa 1x: https://github.com/colbyfayock/my-santa-tracking-app/blob/main/public/images/santa-marker-icon.png
Santa 1x: https://github.com/colbyfayock/my-santa-tracking-app/blob/main/public/images/santa-marker-icon.png
Like before, we want to drop all four images into the public/images directory.
Note: again, you can use different images if you'd like, but be sure to pay attention to the size and filenames.
With our images, we can set up our dynamic image URL.
First, let's create a variable to store this information:
let iconUrl = '/images/tree-marker-icon.png';
let iconRetinaUrl = '/images/tree-marker-icon-2x.png';
And update our Marker icon prop to use these variables:
<Marker
  key={id}
  position={[location.lat, location.lng]}
  icon={Leaflet.icon({
    iconUrl,
    iconRetinaUrl,
    iconSize: [41, 41]
  })}
>
Putting it all together, we can check our time comparisons and set the URL based on that:
if ( santaIsHere ) {
  iconUrl = '/images/santa-marker-icon.png';
  iconRetinaUrl = '/images/santa-marker-icon-2x.png';
}

if ( santaWasHere ) {
  iconUrl = '/images/gift-marker-icon.png';
  iconRetinaUrl = '/images/gift-marker-icon-2x.png';
}
If we open the map, we'll notice we have an issue. It's not Christmas yet, so how do we know if this is going to work?
We can fake the time to check!
At the top of the Home component, let's comment out our currentDate and set it to a static value:
// const currentDate = new Date(Date.now());
const currentDate = new Date('2022-12-25T02:34:30.115Z');
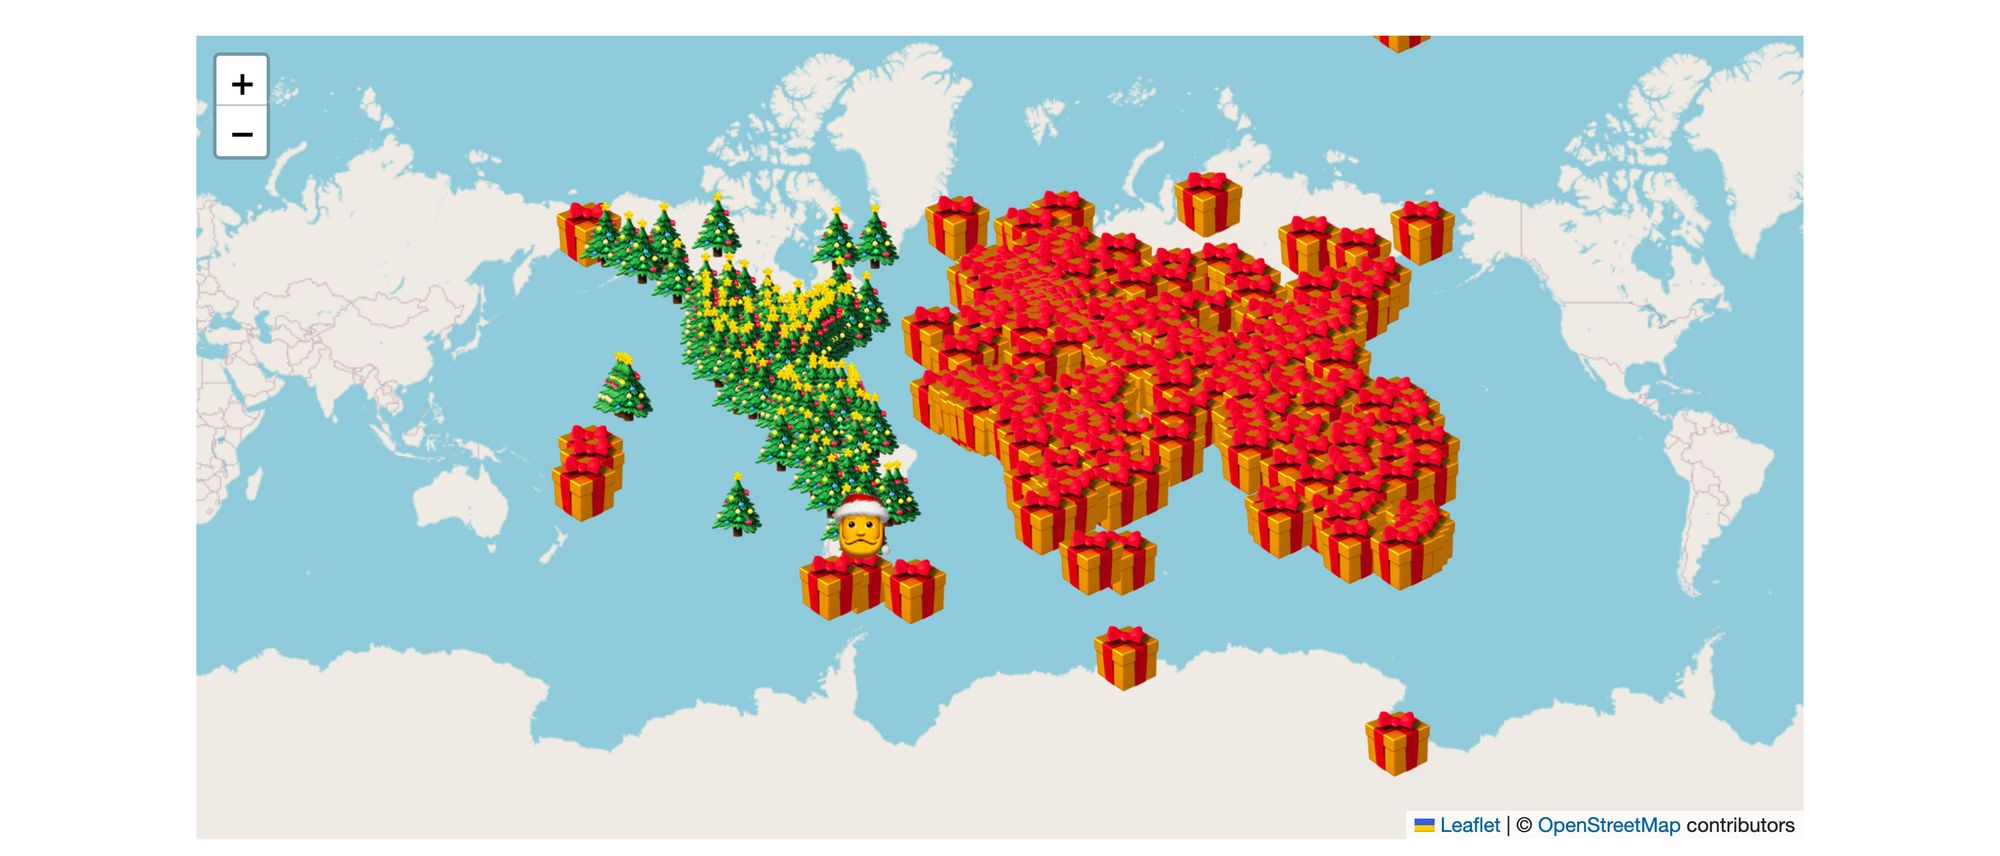
If we look at our map:
 So many gifts!
We should now see that because we set the time to Dec 25 at 2:34:30 UTC, which is Dec 24th around 9:34pm EST, we should see that Santa has started to give gifts in most of the world, but not quite yet on the east coast of the United States.
Now a tiny little issue, did you find Santa yet?
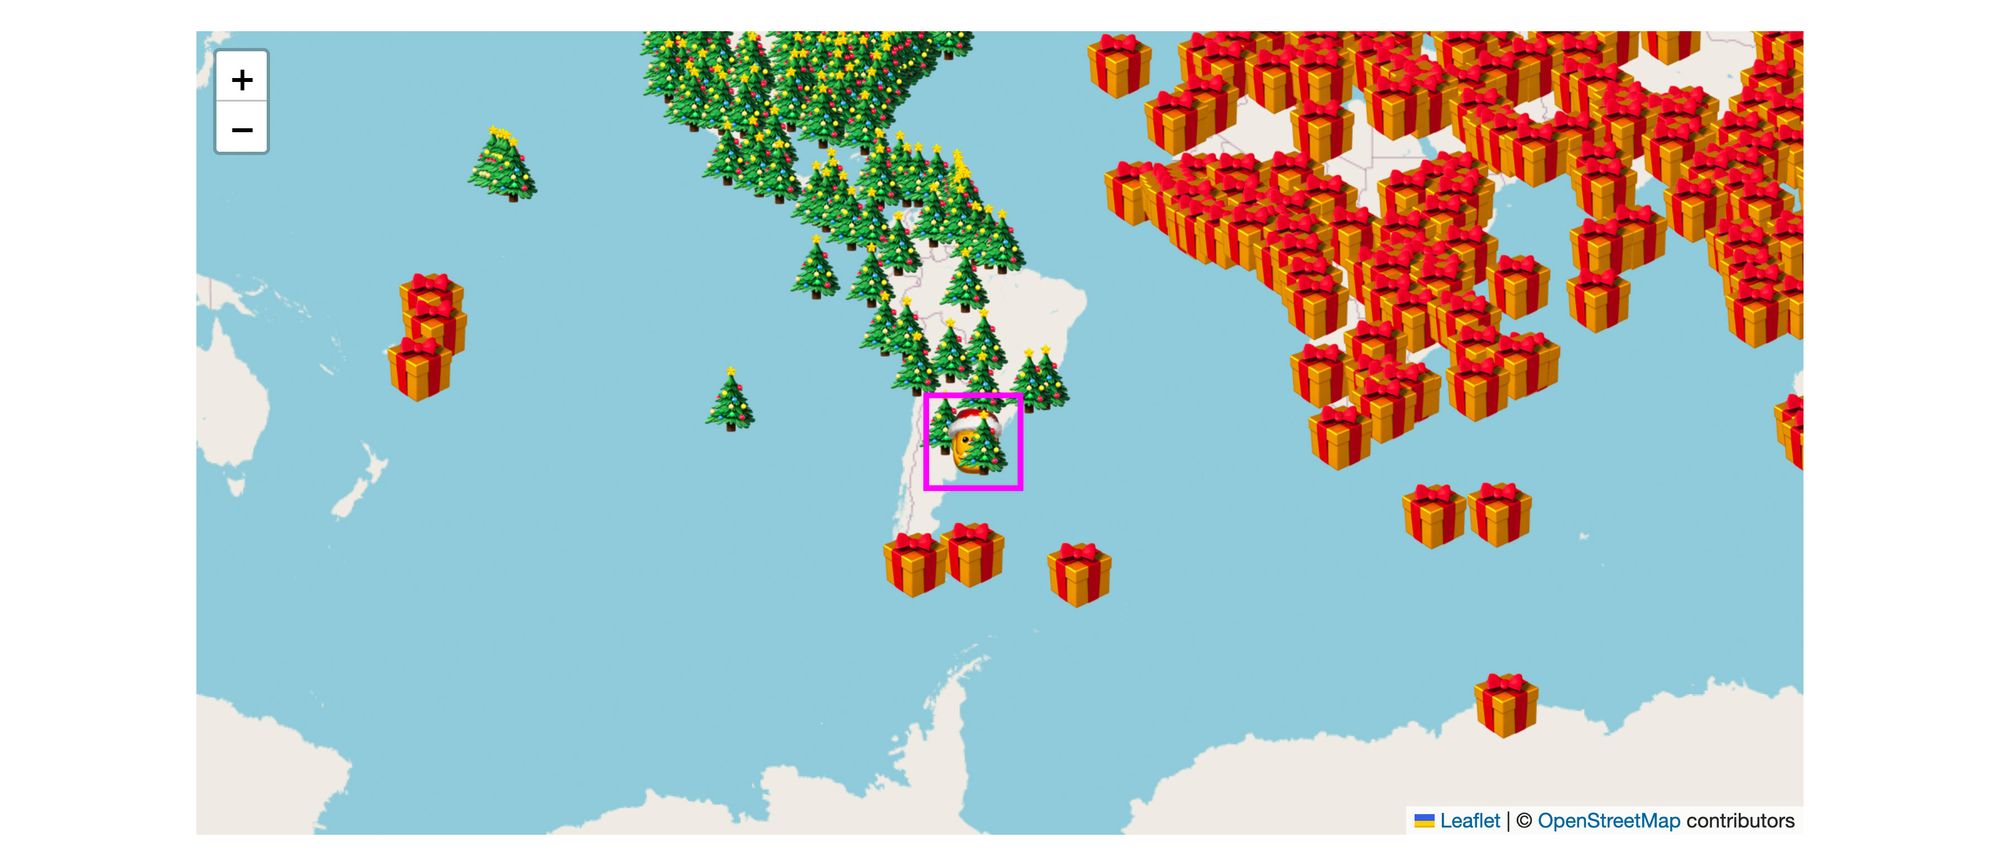 Santa!
There he is! Peeking around a tree from Buenos Aires.
This isn't ideal, as Santa is arguably the most important icon, right?
So we can fix this with a little CSS.
Similar to our icon URL, we're going to create a new variable to add a class dynamically to our icon.
First, the className variable:
let className = '';

if ( santaIsHere ) {
  className = `${className} ${styles.iconSantaIsHere}`;
}
And then we apply that to our icon prop:
<Marker
  key={id}
  position={[location.lat, location.lng]}
  icon={Leaflet.icon({
    iconUrl,
    iconRetinaUrl,
    iconSize: [41, 41],
    className
  })}
>
Then we can open up src/styles/Home.scss and add the following at the bottom:
.iconSantaIsHere {
  z-index: 9999!important;
}
And once we reload the page, we should now see Santa at the top of all of the icons:
 Santa clear on the map
Before moving on...
Important: be sure to update your currentDate variable to:
const currentDate = new Date(Date.now());
We don't want to be disappointed when the tracker isn't... tracking.
What else can we do?
Hope you had fun and that this put you in the holiday spirit! Looking to take it to another level? Here are a few more things you can do.
Refresh the time to update Santa's location
When you first load the page, we get a currentDate value, but that won't update throughout the night.
If you want to keep this app up and actively see where Santa is traveling to, try moving the time to React state and set an interval that automatically updates it every so often, such as every 30 seconds.
Show Santa's location if he's not at a stop
The static time I used to test where Santa was at was 2:34:30, which wasn't a coincidence. If I had set it to 2:34:00, he wouldn't have been at a location, rather, he would have been traveling to one.
Using this information, we can determine where Santa is by:
- Finding the last destination Santa departed
- Finding the next destination where Santa will arrive
- Finding the middle of the two geographical locations (latitude and longitude)
- Adding a Marker to that location
One way is by using JS library Turf, which along with a lot of other tools, allows you to find the midpoint between two locations:
https://turfjs.org/docs/#midpoint
Customize and style the map
It's Christmas! We don't want a boring map and application.
We can use tools like Mapbox to change the map imagery and CSS to theme our app.
This tutorial is for using Mapbox with Gatsby but the concepts should generally be the same: https://www.youtube.com/watch?v=KcPJr1b_rv0.
Add Santa's path so you know where he's going next
We see a bunch of locations, but we don't know where Santa is going when.
React Leaflet allows us to add other "shapes" to the map, such as a Polyline, where we can pass in an array of points.
The only issue is after you try that, because our line crosses over the Antimeridian, we get big zig-zags on our map.
This one will be a challenge, but try using the library Leaflet Antimeridian to fix this issue:
https://github.com/briannaAndCo/Leaflet.Antimeridian
Tip: I implemented this in Gatsby a few years ago. Maybe try checking out what I did there, again, the concepts should be the same.
Share your tracker with me!
Send a Tweet with a link to your deployed Santa Tracker and tag me @colbyfayock.
