
By Miles Till
Introducing mobx-state-tree-router

If you want to skip ahead to the finished example you can check it out at mobx-state-tree-router-demo.
I wrote a library that makes it easy to configure state-based routing in MobX State Tree powered React apps, and I want to share it with you. To do this I will demonstrate how to build a very simple Todo app.
Michel Weststrate, the creator of MobX, wrote a great article titled How to decouple state and UI (a.k.a. you don’t need componentWillMount). I recommend reading it to understand the philosophy that inspired me to write mobx-state-tree-router. The key idea is that the application UI should be a function of the state.
“This approach has better decoupling of state and UI. This has a few advantages:
The complete application flow can be tested without ever needing to instantiate a component.
More components can be dumb; they don’t have to fetch data or process routing.
Our stores become more like a state machine, making it easy to follow the transitions of our application.”
Michel Weststrate
Prerequisites
These will need to be installed to follow this tutorial:
Note: NPM can be used instead of Yarn but some commands may be different.
Create a basic React app
Use create-react-app to get started quickly
If you haven’t used it before, the easiest way to get started with a React app is to use a scaffolding tool by the developers of React called Create React App. This tool configures Webpack and Babel for you with the most common requirements met.
In your terminal run the following commands:
npx create-react-app state-router-democd state-router-demoyarn start
You will now have a fully functioning basic React app to play with.
Remove create-react-app stuff not needed for this example
For the purposes of this tutorial we don’t need a lot of the stuff that create-react-app generates so go ahead and delete:
src/App.csssrc/App.test.jssrc/index.csssrc/logo.svgsrc/serviceWorker.js
Note: Feel free to keep the css files and add your own styling.
To keep things organised, create a components directory in our src and move src/App.js to src/components/App.js.
Now update the following files to remove references to the files we deleted:
src/components/App.js
src/index.js
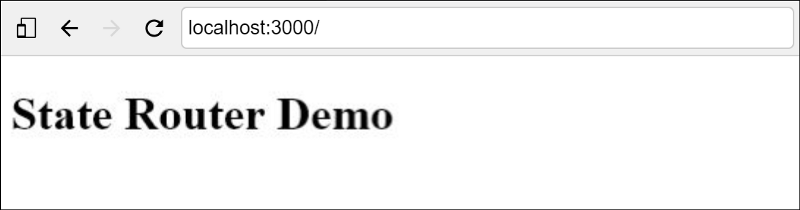
If you still have the app running you will notice your browser has updated to show you the following:
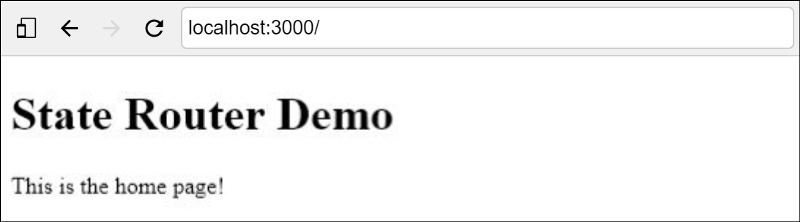
Create a Home page component
In the components directory, create a file for our Home page component:
src/components/Home.js
Update the App component to render our new Home page component:
src/components/App.js
Add MobX State Tree models
Install MobX and MobX State Tree
MobX is a library for state management, and it works great with React as our renderer. MobX State Tree is a tree shaped state container built on top of MobX.
In your terminal run:
yarn add mobx mobx-react mobx-state-tree
Like our we did for our components, create a models directory to keep our MobX State Tree models organised.
Create a RootStore model
In our state tree we’ll have a RootStore which holds our data stores (in this case a TodoStore) and our RouterStore, but we’ll get to that later.
src/models/RootStore.js
Create TodoStore and Todo models
Our TodoStore contains Todo objects which are able to be created, removed, and updated. We also need to be able to find a Todo object by its id.
src/models/TodoStore.js
Initialize the RootStore
When our app loads, we want to initialize the RootStore with a known state. For this trivial example we won’t be concerned about persisting our data to storage in any way. We then want to make sure the RootStore is available to be injected into our components, so we use the MobX React component Provider to do this.
src/index.js
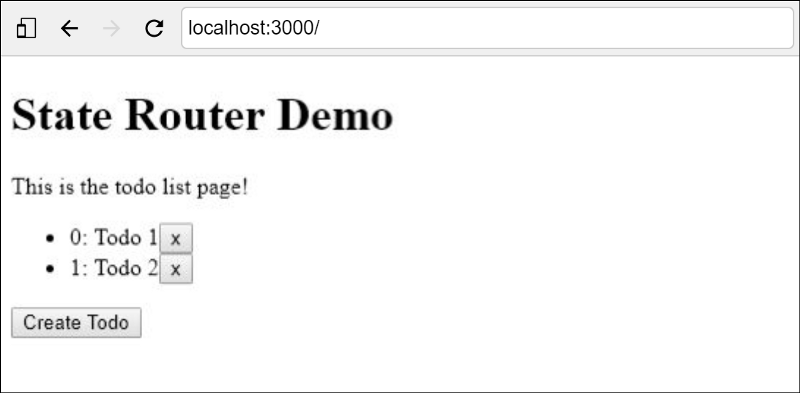
Create a TodoList page component
Now that we have a RootStore for our state tree, we need some components to view and change the data.
src/components/TodoList.js
Update the App component to display our new TodoList component.
src/components/App.js
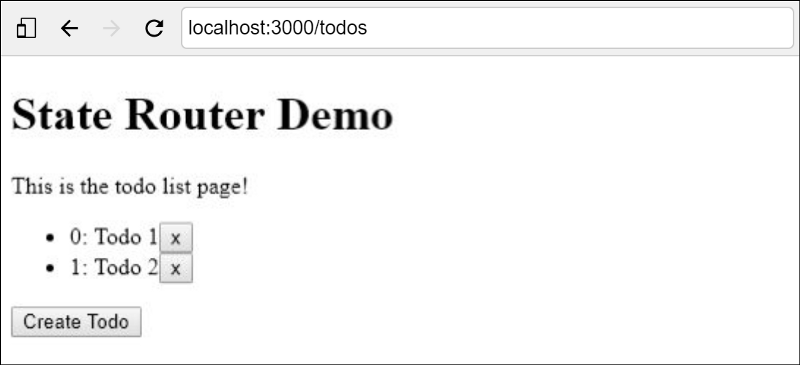
At this point the app should have a list of Todo objects which you can add to and remove from.
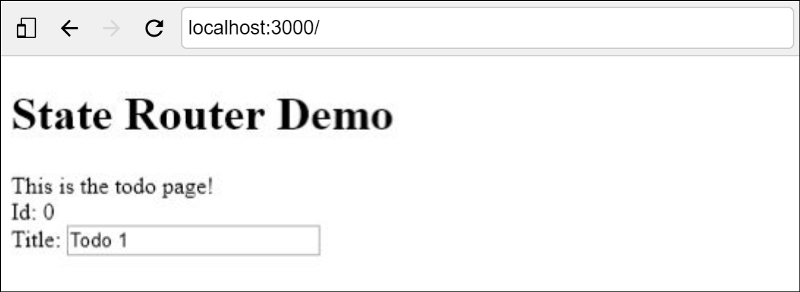
Create a Todo page component
Now we want to create a new component to display and edit a Todo object. Note that we are using inject to make the RootStore available in the component’s props.
src/components/Todo.js
Update the App component to display our new Todo component.
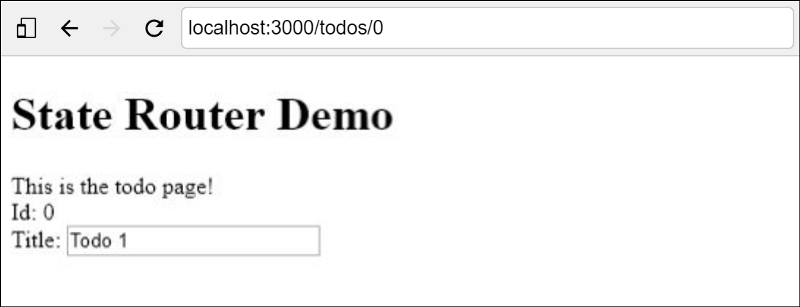
Now our updated app allows us to edit the data of the Todo whose id we pass to the Todo page component in <Todo todoId={0} />.
Add state-based routing
At this point we should have a React app with our data stored in a MobX State Tree container. The data container is then being injected into the components that need access to the data. Now we want to connect together our page components in our app. A common approach would be to use a component based router such as React Router. Often the components become cluttered with route definitions and mount event handlers. This doesn’t suit our state-first philosophy.
I will now show you how to add mobx-state-tree-router to your app.
Install mobx-state-tree-router
In your terminal run:
yarn add mobx-state-tree-router
Add the router to the RootStore
src/models/RootStore.js
Create views
The router needs to be configured with a map of view models which define the route paths to match against and the page components to display. Hooks into the page change cycle can be defined on a view to perform data fetching, route change cancelling, redirection, and other tasks. These hooks can be synchronous or asynchronous.
These hooks are:
beforeExit(self, params)beforeEnter(self, params)onExit(self, params)onEnter(self, params)
If either of the before hooks return false the route change will be cancelled.
Create a views file:
src/views.js
Initialize the router when our app starts
The router can be started by calling startRouter(router). This function connects the router to the browser’s history and configures the routing based on router’s views.
src/index.js
Render the StateRouter
Update the App component to include the StateRouter component, which renders the appropriate component for the router’s current view.
src/components/App.js
Now our app will respond to changes in the url path, for example /todos will show our TodoList component and /todos/0 will show our Todo component as configured in views.js.
Add navigation links
Currently our app doesn’t have any way to navigate around other than changing the url directly. This doesn’t work particularly well in this simple example as the data in our RootStore will get reset to the initial state as defined in index.js every time the page loads.
There are 2 other ways to change the route using mobx-state-tree-router:
Linkcomponents- Calling
router.setView(view, params)directly
I recommend using Link components where possible, but in some cases (like redirects) setting the view directly may be unavoidable. Let’s update our App and TodoList components to add some navigation links using both methods:
src/components/App.js
src/components/TodoList.js
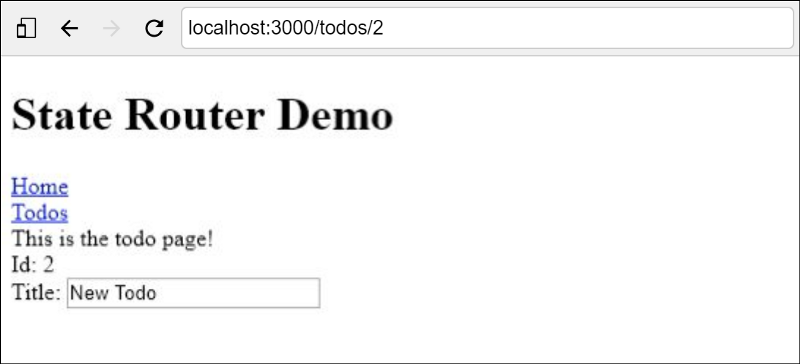
You will now be able to add a Todo item on the todos view, then click the open button to go the todo view for the new item:
Conclusion
I created mobx-state-tree-router because I found that there was a gap in the landscape for a state-based routing library to use with MobX State Tree. I have found it to be useful for me, so I hope it can also be useful to the wider community.
If you haven’t already please read Michel Weststrate’s article for some background on state-based routing.
If you have any issues to raise or contributions to make, please head over to mobx-state-tree-router on Github.