
By Yazeed Bzadough
React v16.7.0-alpha introduced Hooks, and I’m excited.
What Are Hooks?
They’re functions that give you React features like state and lifecycle hooks without ES6 classes.
Some benefits are
- Isolating stateful logic, making it easier to test.
- Sharing stateful logic without render props or higher-order components.
- Separating your app’s concerns based on logic, not lifecycle hooks.
- Avoiding ES6 classes, because they’re quirky, not actually classes, and trip up even experienced JavaScript developers.
For more detail see React’s official Hooks intro.
Adopt Hooks Gradually
At the time of writing, Hooks were in alpha, and their API could have changed any time.
React 16.8.0 was the first stable release to support Hooks, and there are more tutorials and example code every day. However, since there are no plans to remove classes from React and Hooks will work with existing code, the React team recommends avoiding "big rewrites". Instead, they suggest practicing Hooks in non-critical components first, then using them in place of classes going forward.
Let’s Build a Todo List
Todo lists are the most overused example for a good reason — they’re fantastic practice. I recommend this for any language or library you want to try out.
Ours will only do a few things
- Display todos in a nice Material Design fashion
- Allow adding todos via input
- Delete todos
Setup
Here are the GitHub and CodeSandbox links.
git clone https://github.com/yazeedb/react-hooks-todo
cd react-hooks-todo
npm install
The master branch has the finished project, so checkout the start branch if you wish to follow along.
git checkout start
And run the project.
npm start
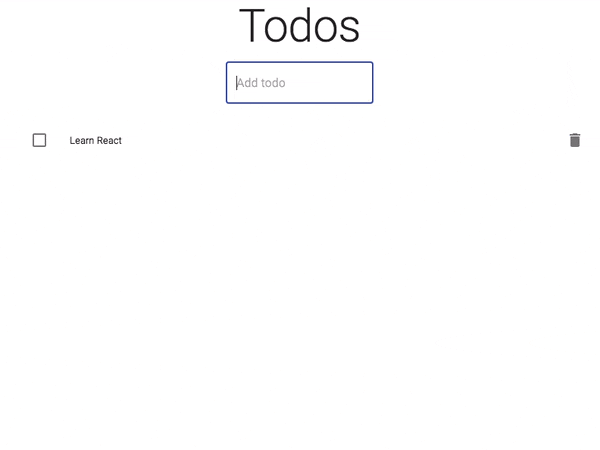
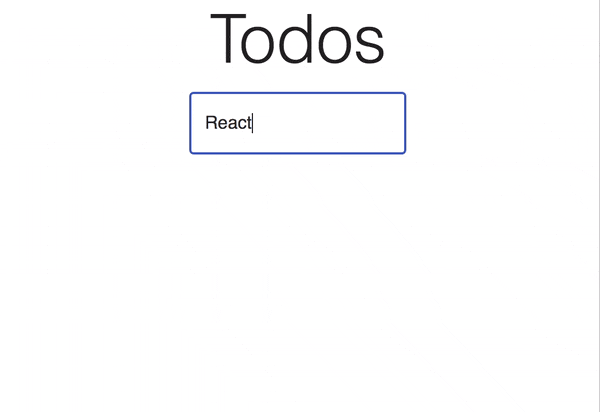
The app should be running on localhost:3000, and here’s our initial UI.
It’s already set up with material-ui to give our page a professional look. Let’s start adding some functionality!
The TodoForm Component
Add a new file, src/TodoForm.js. Here’s the starting code.
import React from 'react';
import TextField from '@material-ui/core/TextField';

const TodoForm = ({ saveTodo }) => {
  return (
    <form>
      <TextField variant="outlined" placeholder="Add todo" margin="normal" />
    </form>
  );
};

export default TodoForm;
Given the name, we know its job is to add todos to our state. Speaking of which, here’s our first hook.
useState
Check this code out
import { useState } from 'react';

const [value, setValue] = useState('');
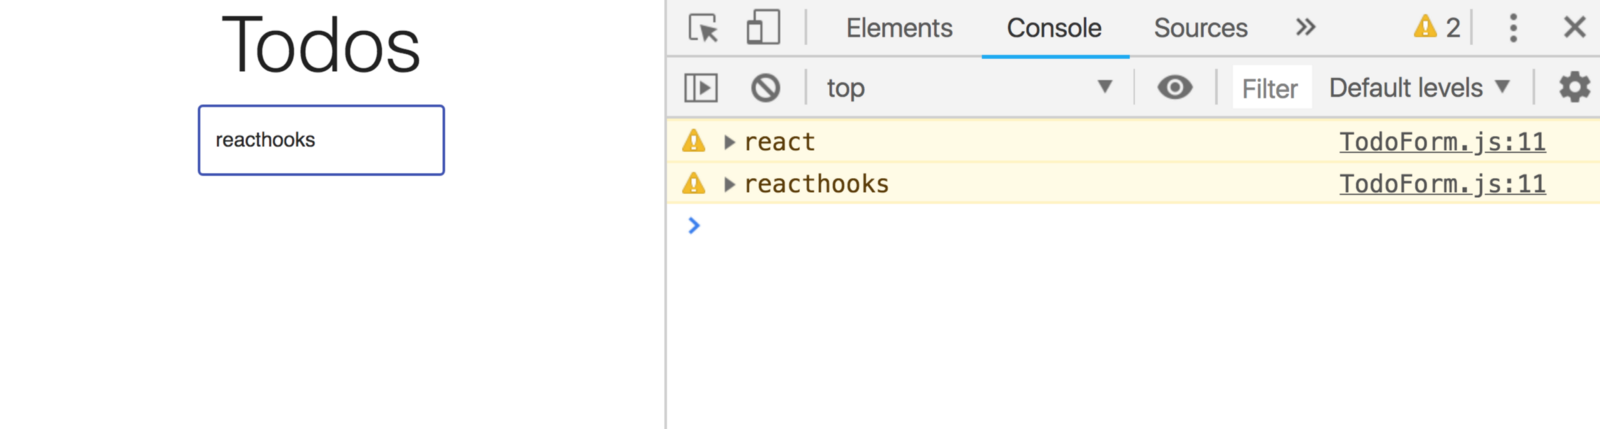
useState is just a function that takes initial state and returns an array. Go ahead and console.log it.
The array’s first index is your state’s current value, and the second index is an updater function.
So we appropriately named them value and setValue using ES6 destructuring assignment.
useState with Forms
Our form should track the input’s value and call saveTodo upon submit. useState can help us with that!
Update TodoForm.js, the new code’s in bold.
import React, { useState } from 'react';
import TextField from '@material-ui/core/TextField';

const TodoForm = ({ saveTodo }) => {
  const [value, setValue] = useState('');

  return (
    <form
      onSubmit={(event) => {
        event.preventDefault();
        saveTodo(value);
      }}
    >
      <TextField
        variant="outlined"
        placeholder="Add todo"
        margin="normal"
        onChange={(event) => {
          setValue(event.target.value);
        }}
        value={value}
      />
    </form>
  );
};

export default TodoForm;
Back in index.js, import and use this component.
// ...

import TodoForm from './TodoForm';

// ...

const App = () => {
  return (
    <div className="App">
      <Typography component="h1" variant="h2">
        Todos
      </Typography>

      <TodoForm saveTodo={console.warn} />
    </div>
  );
};
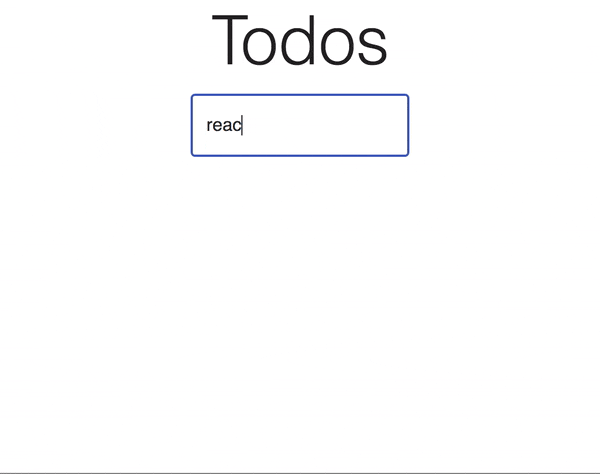
Now your value’s logged on submit (press enter).
useState With Todos
We also need state for our todos. Import useState in index.js. Our initial state should be an empty array.
import React, { useState } from 'react';

// ...

const App = () => {
  const [todos, setTodos] = useState([]);

  // ...
};
TodoList Component
Create a new file called src/TodoList.js.
Edit: Thank you Takahiro Hata for helping me move onClick to the correct spot!
import React from 'react';
import List from '@material-ui/core/List';
import ListItem from '@material-ui/core/ListItem';
import ListItemSecondaryAction from '@material-ui/core/ListItemSecondaryAction';
import ListItemText from '@material-ui/core/ListItemText';
import Checkbox from '@material-ui/core/Checkbox';
import IconButton from '@material-ui/core/IconButton';
import DeleteIcon from '@material-ui/icons/Delete';

const TodoList = ({ todos, deleteTodo }) => (
  <List>
    {todos.map((todo, index) => (
      <ListItem key={index.toString()} dense button>
        <Checkbox tabIndex={-1} disableRipple />
        <ListItemText primary={todo} />
        <ListItemSecondaryAction>
          <IconButton
            aria-label="Delete"
            onClick={() => {
              deleteTodo(index);
            }}
          >
            <DeleteIcon />
          </IconButton>
        </ListItemSecondaryAction>
      </ListItem>
    ))}
  </List>
);

export default TodoList;
It takes two props
todos: The array of todos. Wemapover each one and create a list item.deleteTodo: Clicking a todo’sIconButtonfires this function. It passes theindex, which will uniquely identify a todo in our list.
Import this component in your index.js.
import TodoList from './TodoList';
import './styles.css';

const App = () => {
  //...
};
And use it in your App function like so
<TodoForm saveTodo={console.warn} />
<TodoList todos={todos} />
Adding Todos
Still in index.js, let’s edit our TodoForm’s prop, saveTodo.
<TodoForm
  saveTodo={(todoText) => {
    const trimmedText = todoText.trim();

    if (trimmedText.length > 0) {
      setTodos([...todos, trimmedText]);
    }
  }}
/>
Simply merge the existing todos with our new one, extra whitespace cut out.
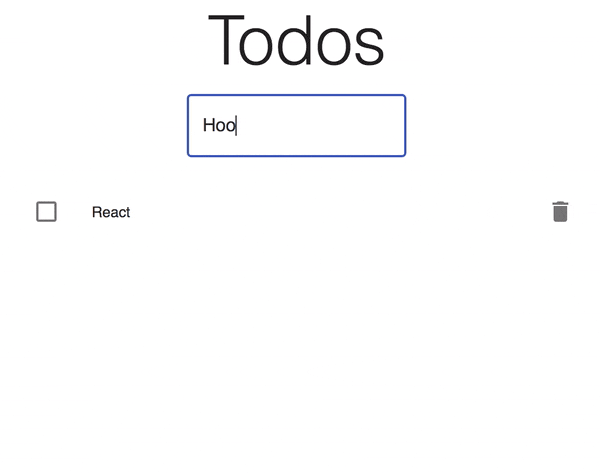
We can add todos now!
Clearing the Input
Notice the input isn’t clearing after adding a new todo. That’s a bad user experience!
We can fix it with a small code change in TodoForm.js.
<form
  onSubmit={(event) => {
    event.preventDefault();

    saveTodo(value);

    setValue('');
  }}
/>
Once a todo’s saved, set the form state to an empty string.
It’s looking good now!
Deleting Todos
TodoList provides each todo’s index, as it’s a guaranteed way to find the one we want to delete.
TodoList.js
<IconButton
  aria-label="Delete"
  onClick={() => {
    deleteTodo(index);
  }}
>
  <DeleteIcon />
</IconButton>
We’ll take advantage of that in index.js.
<TodoList
  todos={todos}
  deleteTodo={(todoIndex) => {
    const newTodos = todos.filter((_, index) => index !== todoIndex);

    setTodos(newTodos);
  }}
/>
Whatever todos don’t match the provided index are kept and stored in state using setTodos.
Delete functionality is complete!
Abstracting Todos useState
I mentioned that Hooks are great for separating state and component logic. Here’s what that may look like in our todo app.
Create a new file called src/useTodoState.js.
import { useState } from 'react';

export default (initialValue) => {
  const [todos, setTodos] = useState(initialValue);

  return {
    todos,
    addTodo: (todoText) => {
      setTodos([...todos, todoText]);
    },
    deleteTodo: (todoIndex) => {
      const newTodos = todos.filter((_, index) => index !== todoIndex);

      setTodos(newTodos);
    }
  };
};
It’s our same code from index.js, but separated! Our state management’s no longer tightly coupled to the component.
Now just import it.
import React from 'react';
import ReactDOM from 'react-dom';
import Typography from '@material-ui/core/Typography';
import TodoForm from './TodoForm';
import TodoList from './TodoList';
import useTodoState from './useTodoState';
import './styles.css';

const App = () => {
  const { todos, addTodo, deleteTodo } = useTodoState([]);

  return (
    <div className="App">
      <Typography component="h1" variant="h2">
        Todos
      </Typography>

      <TodoForm
        saveTodo={(todoText) => {
          const trimmedText = todoText.trim();

          if (trimmedText.length > 0) {
            addTodo(trimmedText);
          }
        }}
      />

      <TodoList todos={todos} deleteTodo={deleteTodo} />
    </div>
  );
};

const rootElement = document.getElementById('root');
ReactDOM.render(<App />, rootElement);
And everything still works like normal.
Abstracting Form Input useState
We can do the same with our form!
Create a new file, src/useInputState.js.
import { useState } from 'react';

export default (initialValue) => {
  const [value, setValue] = useState(initialValue);

  return {
    value,
    onChange: (event) => {
      setValue(event.target.value);
    },
    reset: () => setValue('')
  };
};
And now TodoForm.js should look like this.
import React from 'react';
import TextField from '@material-ui/core/TextField';
import useInputState from './useInputState';

const TodoForm = ({ saveTodo }) => {
  const { value, reset, onChange } = useInputState('');

  return (
    <form
      onSubmit={(event) => {
        event.preventDefault();

        saveTodo(value);
        reset();
      }}
    >
      <TextField
        variant="outlined"
        placeholder="Add todo"
        margin="normal"
        onChange={onChange}
        value={value}
      />
    </form>
  );
};

export default TodoForm;
And we’re all done! Hope you enjoyed, until next time!