

In today's digital age, having an online presence is crucial for businesses of all sizes.
Whether you're an established retailer or an aspiring entrepreneur, an ecommerce site can provide you with a platform to reach a global audience and sell your products or services around the clock.
Building an ecommerce site may seem like a daunting task, but with the right tools and guidance, anyone can create a professional and functional online store.
In this tutorial, you'll learn how to build your own e-commerce site with Medusa.
What is Medusa?
Medusa is an open source, composable commerce platform that's perfect for developers who want to create a customized ecommerce solution. With its flexible architecture and powerful features, Medusa offers a seamless and straightforward way to build a robust and scalable ecommerce site.
Medusa offers a variety of features, including order management with automated swaps, returns, and claims. It also enables customer management and assignment to customer groups, along with product customization and collection sorting.
With the ability to manage multiple regions and currencies, users can integrate various plugins and third-party services, create advanced pricing and discount rules, configure taxes, and set up multiple sales channels.
Additionally, Medusa offers bulk import and export strategies, and complete customization capabilities to create custom endpoints, services, subscribers, batch job strategies, and more.
In just over a year since its launch, this platform has quickly risen to become the #1 Node.js ecommerce solution, garnering over 17K+ stars on GitHub due to its immense popularity.
Architecture of Medusa
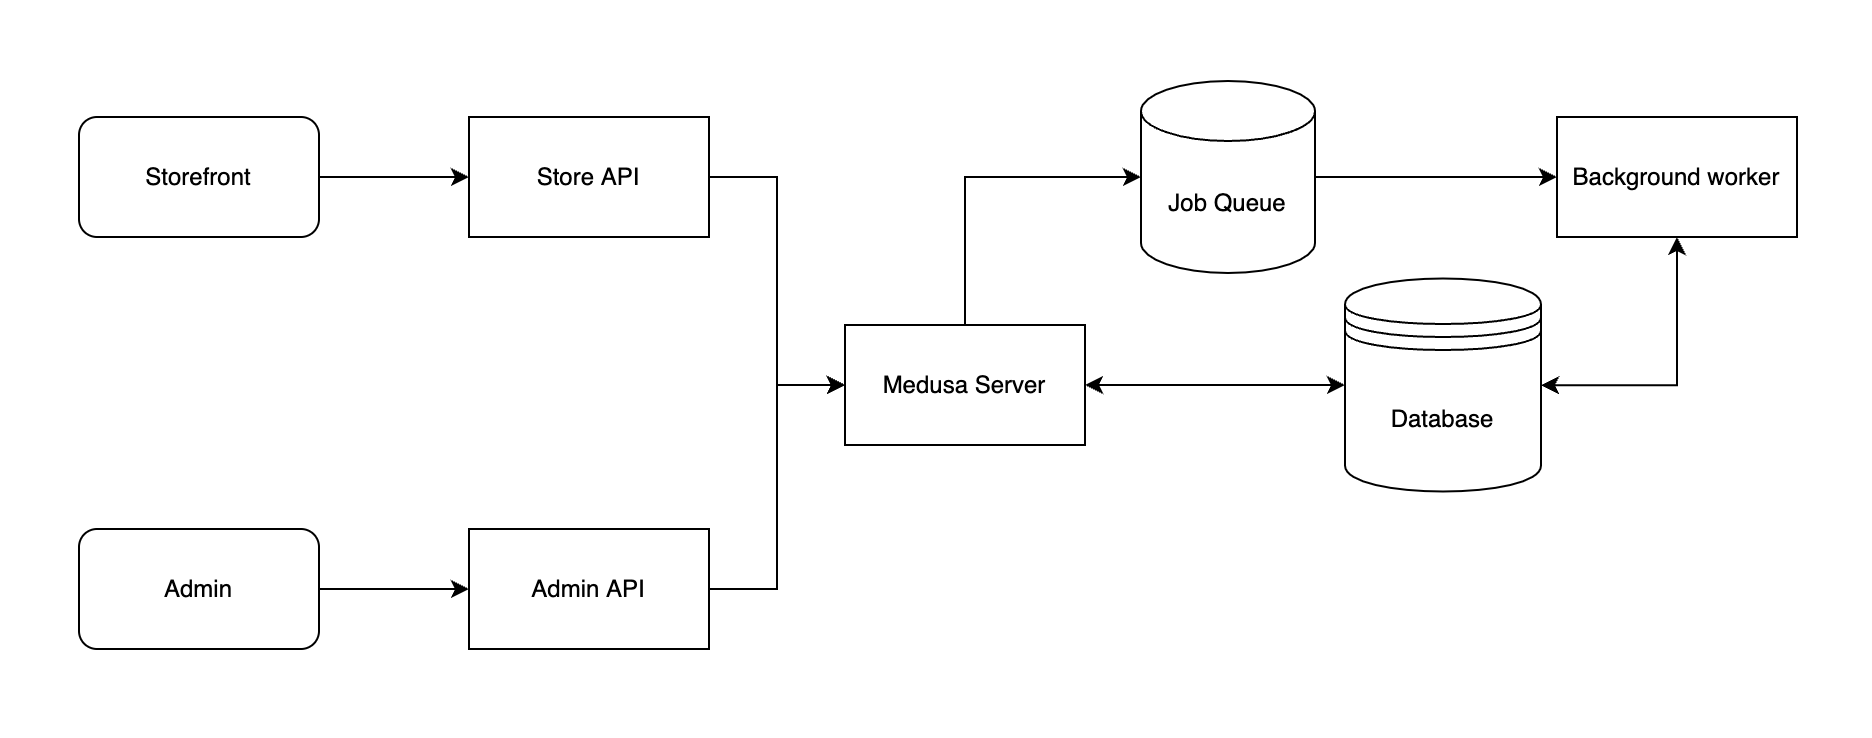
With a composable architecture, Medusa's frontend and backend components are loosely coupled. The platform consists of three different components: the headless backend, the admin dashboard, and the storefront.
You can choose to use the complete Medusa platform or just the parts that you require for your store.
Additionally, with the backend decoupled from the frontend, developers can focus on their respective areas of expertise. Backend developers can concentrate on the Medusa server, while frontend developers can focus on either the storefront or admin.
 Medusa Architecture
In the upcoming sections, you will see how Medusa delivers most ecommerce store functionalities right out of the box, with the ability to configure these features to your specific use case.
Medusa Server
The Medusa server, which is a Node.js ecommerce backend, serves as a core component of the platform. It contains all the store's data and logic, and the other two components use its REST APIs to create, retrieve, and modify data.
The server provides most of the features related to an ecommerce workflow. These functionalities include managing products, carts, and orders, as well as integrating with shipping and payment providers and managing users.
In addition to that, you can configure your store including your store’s region, tax rules, discounts, gift cards, and more.
Since Medusa is highly extensible, it allows developers to build custom features such as automating customer group assignments and integrating ChatGPT to automate writing product descriptions.
In addition to that, you can also integrate third-party services into Medusa using Plugins. You can find both official and community plugins to assist you with your common needs. Learn more about these plugins here.
Medusa also allows you to extend its functionalities with new endpoints, business logic, and database entities. Additionally, you can create subscribers that listen to events and trigger specific actions.
Medusa Storefront
The storefront serves as the main presentation layer or frontend of your ecommerce store where customers can view and purchase your products. These storefronts can be in the form of progressive web applications or mobile apps.
Medusa offers two storefront starters built with Next.js and Gatsby, respectively. The storefront includes several features such as product listing and detail pages, customer authentication and profile functionalities, and a full checkout flow supporting shipping details and methods. It also comes with search capabilities ready for integration with top solutions like Algolia and MeiliSearch.
Below is a demonstration of what the Next.js storefront looks like:
In addition to the provided storefront starters, you have the freedom to create your own custom storefront using the Storefront REST APIs.
Medusa Admin
An ecommerce store's essential component is the Admin dashboard, which enables merchants to view, create, and modify data such as products and orders.
With the Medusa Admin dashboard, Medusa provides functionalities for store management, including product management, order management, and user management. You can manage your orders from various regions and channels using a single dashboard.
For merchants migrating their stores from other platforms, the admin dashboard provides easy import and export functionalities for large datasets of products, orders, and customers. The dashboard also offers customer-group functionality to create customized pricing lists, discounts, and gift cards.
This is what the Medusa Admin Dashboard looks like:
However, if you are not satisfied with the existing admin dashboard, you can utilize the Admin REST APIs to extend it beyond.
How to Set Up an Ecommerce Store Using Medusa
In this section, you'll set up the three components of your Medusa ecommerce store.
Prerequisites
Before you get started with the tutorial, you should have installed:
How to Set Up the Medusa Server
Creating a new Medusa server is a simple process using the Medusa CLI. Navigate to the directory where you want to create your Medusa server and run the following command to create a new Medusa server with the name my-medusa-store:
medusa new my-medusa-store --seed
This command will create a new Medusa server with the specified name. The --seed option tells the Medusa CLI to seed the data after creating the server. The seed data includes sample data such as products, categories, and more.
Once the command finishes executing, navigate to the my-medusa-store directory and start the server by running the following command:
cd my-medusa-store
medusa develop
In a couple of minutes, the server will start running on the default 9000 port. You can test it out by sending a request using a tool like Postman or through the command line:
curl localhost:9000/store/products
If your server is successfully set up, you will see a list of products and other details as below:
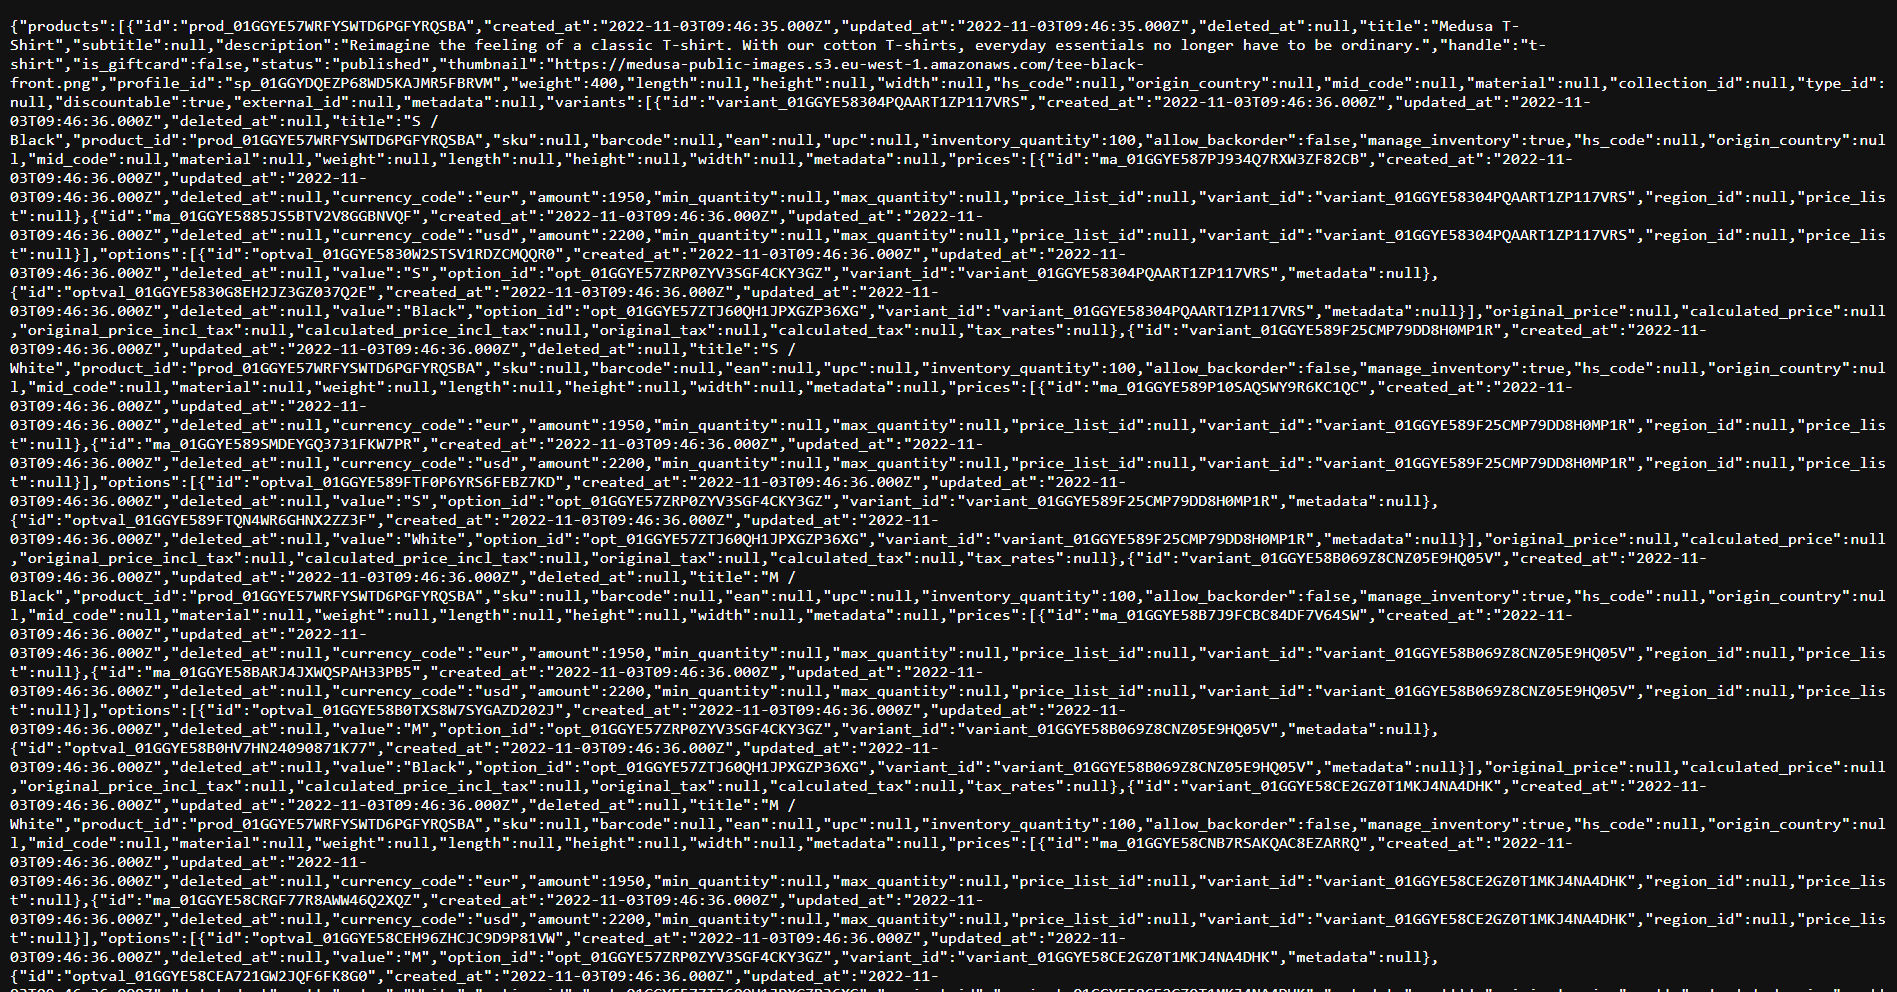 Output of cURL command
How to Set Up the Next.js Storefront
Now that your Medusa server is up and running, it's time to configure your storefront. In this section, you'll set up the Next.js storefront.
Create a new Next.js project using the Medusa Next.js starter template:
npx create-next-app -e https://github.com/medusajs/nextjs-starter-medusa my-medusa-storefront
Navigate to the newly created directory my-medusa-storefront folder and rename the template environment variable file to use environment variables in development:
cd my-medusa-storefront
mv .env.template .env.local
Make sure the Medusa server is running, then run the local Next.js server:
npm run dev
Your Next.js storefront will now be running on its default port 8000.
Note: Medusa also provides you with the Gatsby starter template to create the storefront.
How to Set Up the Medusa Admin Dashboard
Since the Medusa Admin uses the Medusa server, make sure your server is up and running.
Start by cloning the Admin GitHub repository:
git clone https://github.com/medusajs/admin my-medusa-admin
Navigate to the cloned my-medusa-admin folder and install all the dependencies:
cd my-medusa-admin
npm install
Run the development server:
npm run start
In a couple of minutes, the admin will start running on the default 7000 port. So, in your browser, go to localhost:7000 to view your admin.
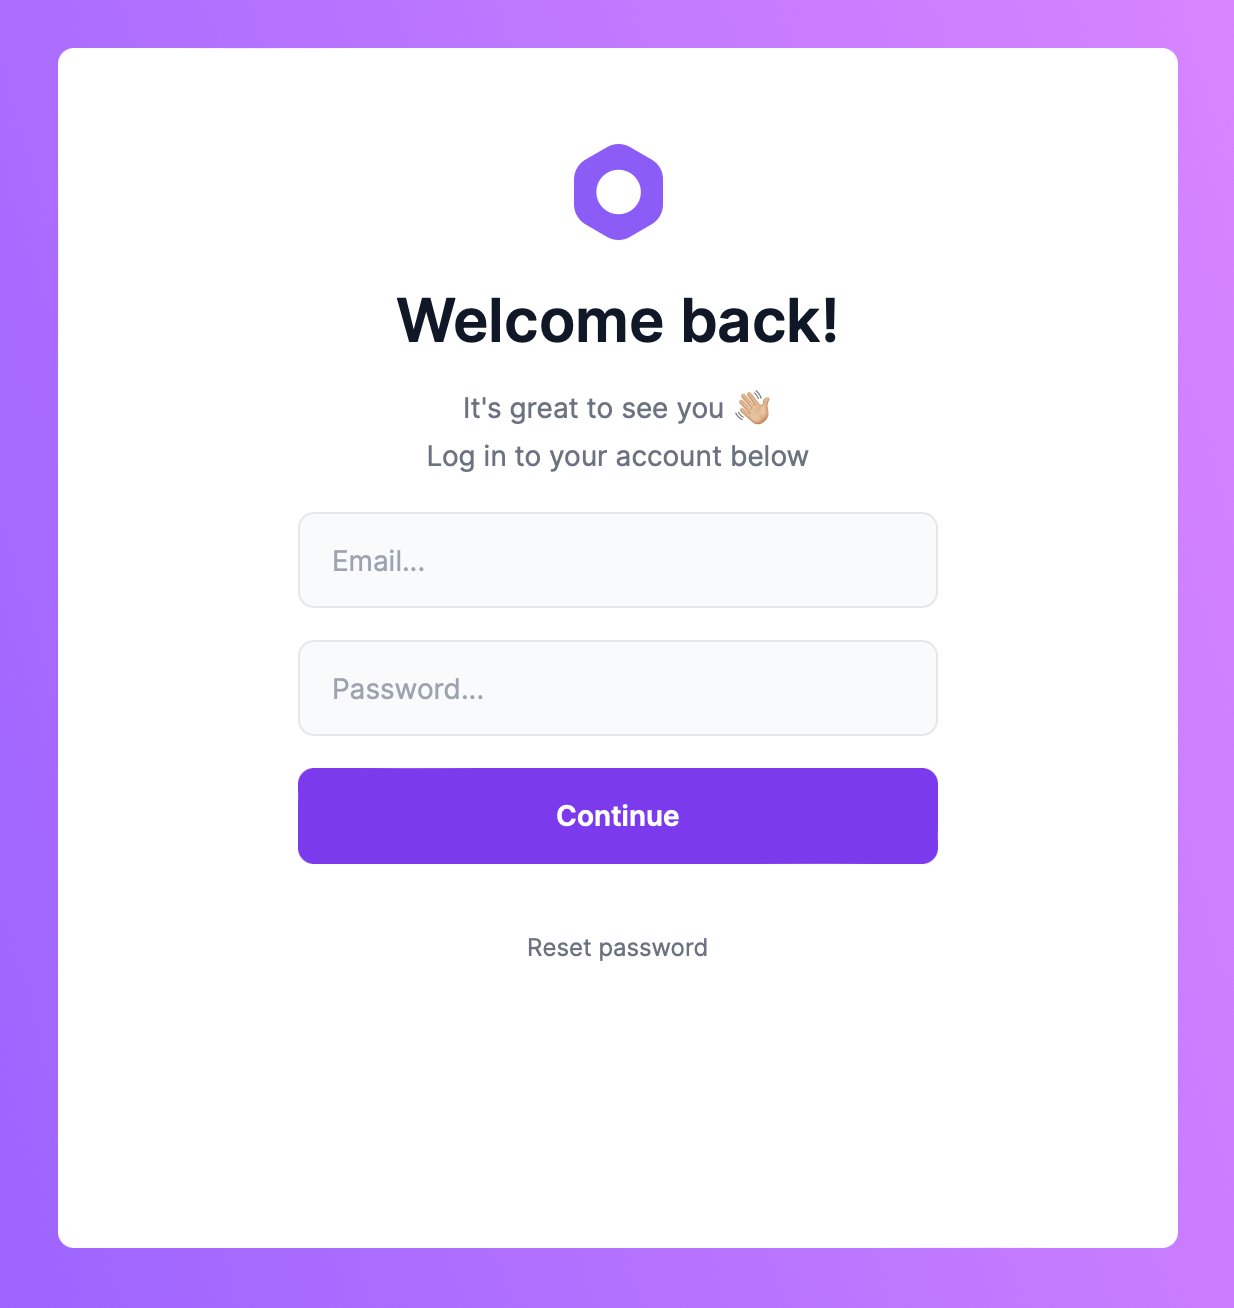 Medusa Admin Login
If you had already seeded the data in your Medusa server, you can use the email admin@medusa-test.com and password supersecret to log in. If you hadn't, you can create a new admin user.
How to Set Up Medusa with create-medusa-app
Up to this point, you have seen how to set up individual components of a Medusa project. But in this section, you will learn how to set up a complete Medusa project with all three components using a single command.
Medusa now provides you with a create-medusa-app command to set up a project. This command provides an interactive prompt that guides you through the setup process.
To use create-medusa-app, simply run the following command:
npx create-medusa-app
 Creating Medusa Project Using create-medusa-app
In this interactive setup, you will be prompted to enter the name of the directory where you want to install the Medusa project. The default name is my-medusa-store, but you can choose to name it something else.
Next, you will be asked to select a Medusa server starter from the available options, which include the default starter, the Contentful starter, and the option to enter a custom starter URL. The server will be installed in the backend directory of your project, and a demo SQLite database will be created within it.
Following the Medusa server setup, you will be prompted to choose a storefront starter from the available options. If you choose to install a storefront, it will be installed in the storefront directory of your project. If you choose "None", no storefront will be installed.
The admin is set up automatically inside the admin directory of your project.
Once the setup is complete, you will receive instructions on how to start each component of the Medusa project.
Your project is ready. The available commands are:

Medusa API
cd my-medusa-store/backend
yarn start

Admin
cd my-medusa-store/admin
yarn start

Storefront
cd my-medusa-store/storefront
yarn develop # for Gatsby storefront
yarn dev # for Next.js storefront
Just keep in mind that the commands can differ based on your choices in previous prompts.
Project Directory Structure
Inside the root project directory (which was specified at the beginning of the installation process – my-medusa-store in this case) you’ll find the following directory structure:
my-medusa-store
  ├── admin
  ├── backend
  └── storefront
Conclusion
In this tutorial, we've explored Medusa, an open-source e-commerce platform that provides a robust set of features for building online stores. We've looked at the architecture of Medusa, its key features, and how to set up the server, admin dashboard, and storefront.
One of the strengths of Medusa is its flexibility and extensibility. With a variety of plugins and extensions, you can customize your e-commerce site to meet your specific needs. You can also create your own plugins or themes, making it easy to build a site that reflects your brand.
If you're looking to build an e-commerce site, Medusa is a solid choice that offers a lot of functionality out of the box. With its user-friendly interface, setting up an online store is a straightforward process. Plus, since it's an open-source platform, you have the freedom to modify and extend it as needed.
Additional Resources
Here are some resources that you can use to extend the functionalities:
- Integrate SendGrid as a notification provider.
- Integrate Stripe as a payment provider.
- Create a service.