
When you add text to your HTML file with an HTML tag, you won't always want the text to remain the default size. You'll want to be able to adjust how the text displays in the browser.
In this article, you will learn how to change the text size with an HTML tag.
Before you proceed, it is essential to know that there is only one way we can do this: through CSS's font-size property. We can use the font-size property through inline, internal, or external styling.
In the past, we could adjust text size within our HTML tag without using CSS. But that was before HTML5. Then we added text using the <font> tag, which can take in an attribute of size as seen below:
<font size="5">
    Hello World
</font>
This size attribute can take in value from 1-7 in which the text size increases from 1 to 7. But like I said, this has long been depreciated, and most people don't even know it existed.
In case you are in a rush to see how you can change the size of your text, then here it is:
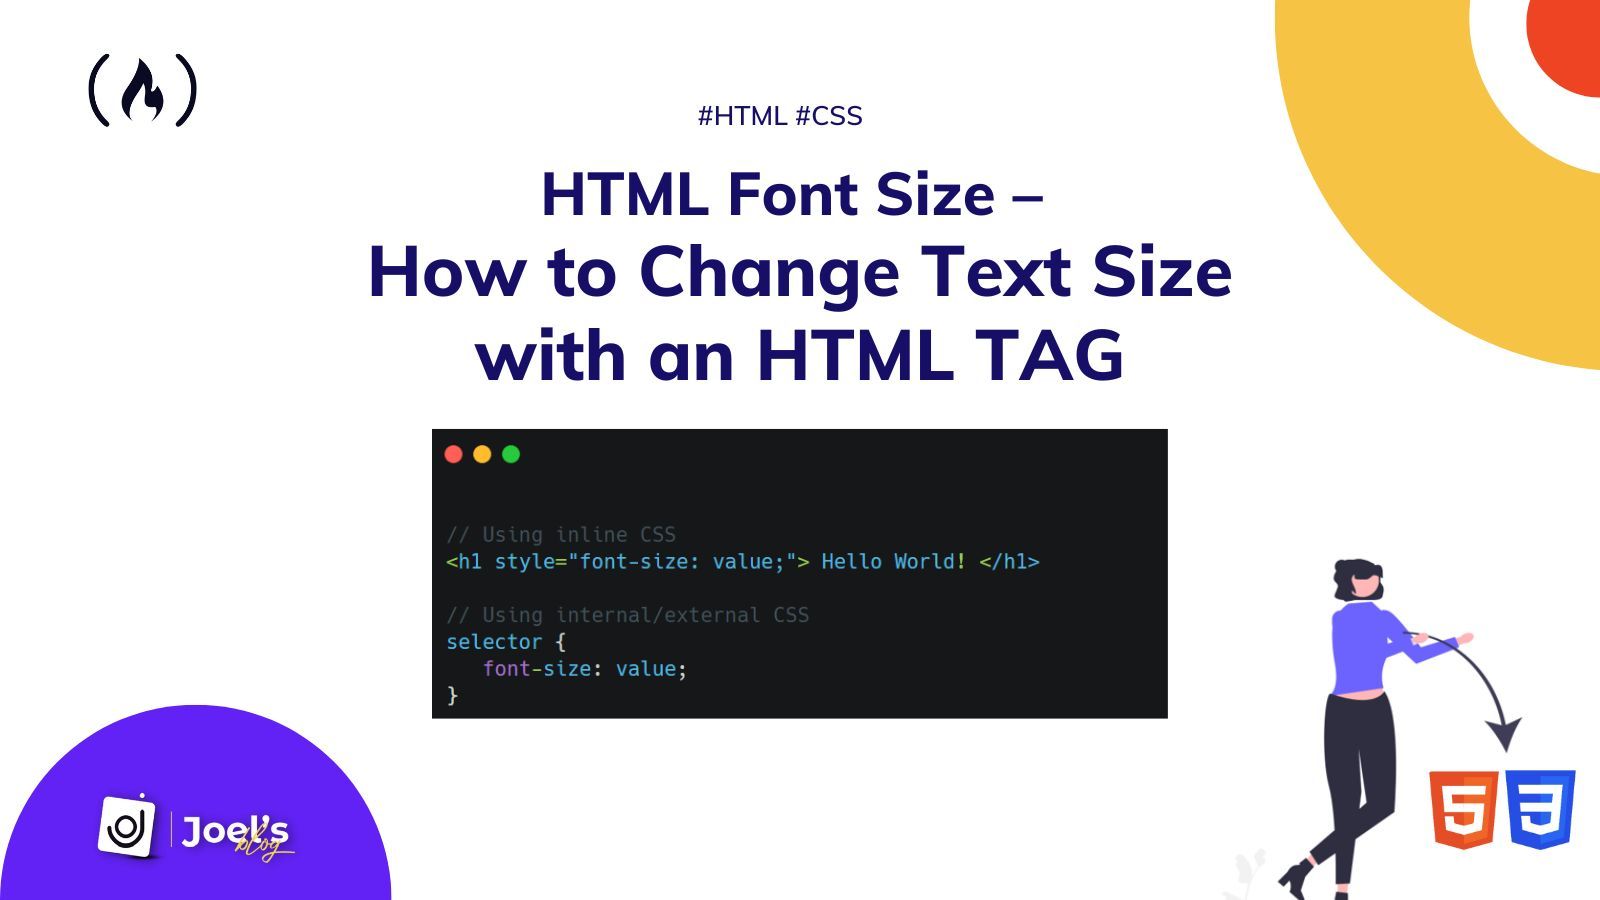
// Using inline CSS
<h1 style="font-size: value;"> Hello World! </h1>

// Using internal/external CSS
selector {
    font-size: value;
}
Suppose you are not in a rush. Let's briefly dive right in.
How to Change Text Size With Inline CSS
Inline CSS allows you to apply styles to specific HTML elements. This means we are putting CSS into an HTML tag directly. We use the style attribute, which now holds all our styling.
<h1 style="...">Hello World!</h1>
We use the font-size property alongside our value to change the text size using inline CSS. This value can use any of your preferred CSS units such as em, px, rem, and so on.
<h1 style="font-size:4em; "> Hello World! </h1>
<p style="font-size:14px; "> Any text whose font we want to change </p>
A perfect syntax would be:
<TEXT-TAG style="font-size:value;"> ... </TEXT-TAG>
How to Change Text Size With Internal or External CSS
The approach you use to change text size in internal and external CSS styling is similar, since you use a selector. The general syntax for this is:
selector {
    font-size: value;
}
The selector can either be our HTML tag or maybe a class or an ID. For example:
// HTML
<p> Any text whose font we want to change </p>

// CSS
p {
    font-size: 14px;
}
Or we could use a class:
// HTML
<p class="my-paragraph" > Any text whose font we want to change </p>

// CSS
.my-paragraph {
    font-size: 14px;
}
Wrapping Up
In this article, you learned how to change the font/text size of an HTML element using CSS. You also saw how developers did it before the introduction of HTML5.
Also, keep in mind that it's always better to style your HTML elements using internal or external styling, as it offers a lot of flexibility compared to inline styling.
For example, you can make use of one CSS class for all your p tags rather than having to add inline styles to all your p tag elements.
Using inline styles is not considered best practice because it results in a lot of repetition – you cannot reuse the styles elsewhere. To learn more, you can read my article on Inline Style in HTML.
I hope this tutorial gives you the knowledge to change the size of your HTML text so you can make it look better.
Have fun coding!