

If you want someone to be able to contact you or submit information on a website, an HTML form is a pretty standard way to achieve that.
But accepting form submissions usually requires an additional service or complex server-side code. How can we take advantage of Netlify to easily create new forms?
- What is Netlify?
- What are we going to build?
- How much does this cost?
- Part 1: Creating a contact form with HTML
- Part 2: Adding a custom Netlify form to a Next.js React app
What is Netlify?
Netlify is a web platform that lets you easily deploy new web projects with easy to configure workflows. This includes deploying a static website, lambda functions, and like we’ll talk about here, custom forms.
Their form service works as part of the build and deployment pipeline. When we include a form with a specific attribute to our page, Netlify will recognize that form and configure it to work.
What are we going to build?
We’re going to build a contact form that will allow people to send you a note through your website.
The form itself will be pretty simple. Like a standard contact form, we'll ask for someone's name, email address, and a message.
We’re going to build this out using plain HTML to demonstrate how it works and then build it with Next.js for creating a form in a React app.
How much does this cost?
Netlify forms are free to get started. This free tier is limited to 100 form submissions per website per month, so if you stay under that, it will always be free.
That said, if you exceed 100 form submission on any particular site, the first tier is going to be $19+ at the time of writing this. You can check out the latest pricing plans on Netlify’s website.
Part 1: Creating a contact form with HTML
To get started, we’re going to create a basic form with pure HTML. It’s a quick win to demonstrate how this works.
Step 1: Creating an HTML form
For our form, we can really use whatever we want. Contact forms can be as simple as an email address and a message field or it include a variety of options to help a business answer specific questions.
We’re going to start with something simple. We’ll create a form that asks for someone’s name, email address, and a message.
To get started, create a new HTML file in the root of your project. This HTML file should include the basic structure of an HTML document. Inside of the body, let’s add our new form:
<form name="contact" method="POST" data-netlify="true">
    <p>
      <label for="name">Name</label>
      <input type="text" id="name" name="name" />
    </p>
    <p>
      <label for="email">Email</label>
      <input type="text" id="email" name="email" />
    </p>
    <p>
      <label for="message">Message</label>
      <textarea id="message" name="message"></textarea>
    </p>
    <p>
      <button type="submit">Send</button>
    </p>
  </form>
In the snippet above, we’re:
- Creating a new form
- The form has a name attribute, a method, and a
data-netlifyattribute set totrue - Creating 3 form fields with labels, each identified with a name attribute
- Creating a button to submit the form
The thing we want to take most notice of is the data-netlify attribute and the form name. When Netlify reads the site, it will see those fields and use those to turn your form into an actively working form.
I’m also going to add a little bit of CSS to make the labels look a little more consistent. You can optionally add this to the <head> of the document:
<style>
  body {
    font-family: sans-serif;
  }
  label {
    display: block;
    margin-bottom: .2em;
  }
</style>
And at this point, we should have a basic form!
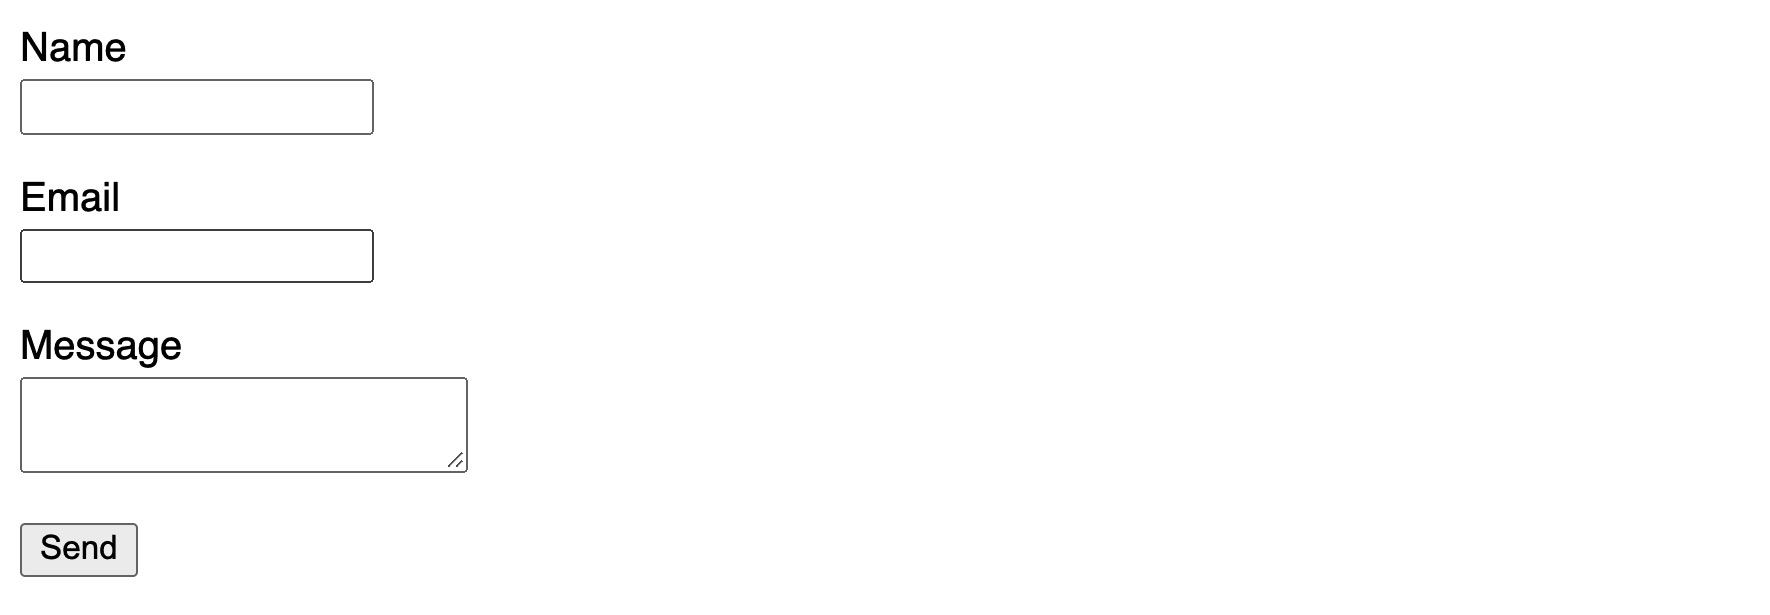 Basic HTML form
You’ll now want to put this form on GitHub or your favorite Netlify-supported Git provider and we’ll be ready for the next step.
Step 2: Configuring a new form with Netlify
Once our form is pushed to our Git provider, we can now sync it up with Netlify.
First create an account or use an existing account with Netlify and click the New site from Git button.
Here, select whichever Git provider you used. I'm using GitHub in my example.
 Connecting a Git provider in Netlify
Once selecting your Git provider, it will ask you to authorize access so that Netlify can find your Git repository.
After you successfully connect your account, you should now see a list of the repositories you provided access to. Find the repository you added your form to and select it.
 Connecting a Git repository to Netlify
If you’re following along with me, our form is pure HTML, meaning, there should be no build steps or no special directory it gets published to. But feel free to tweak these settings if you did something different.
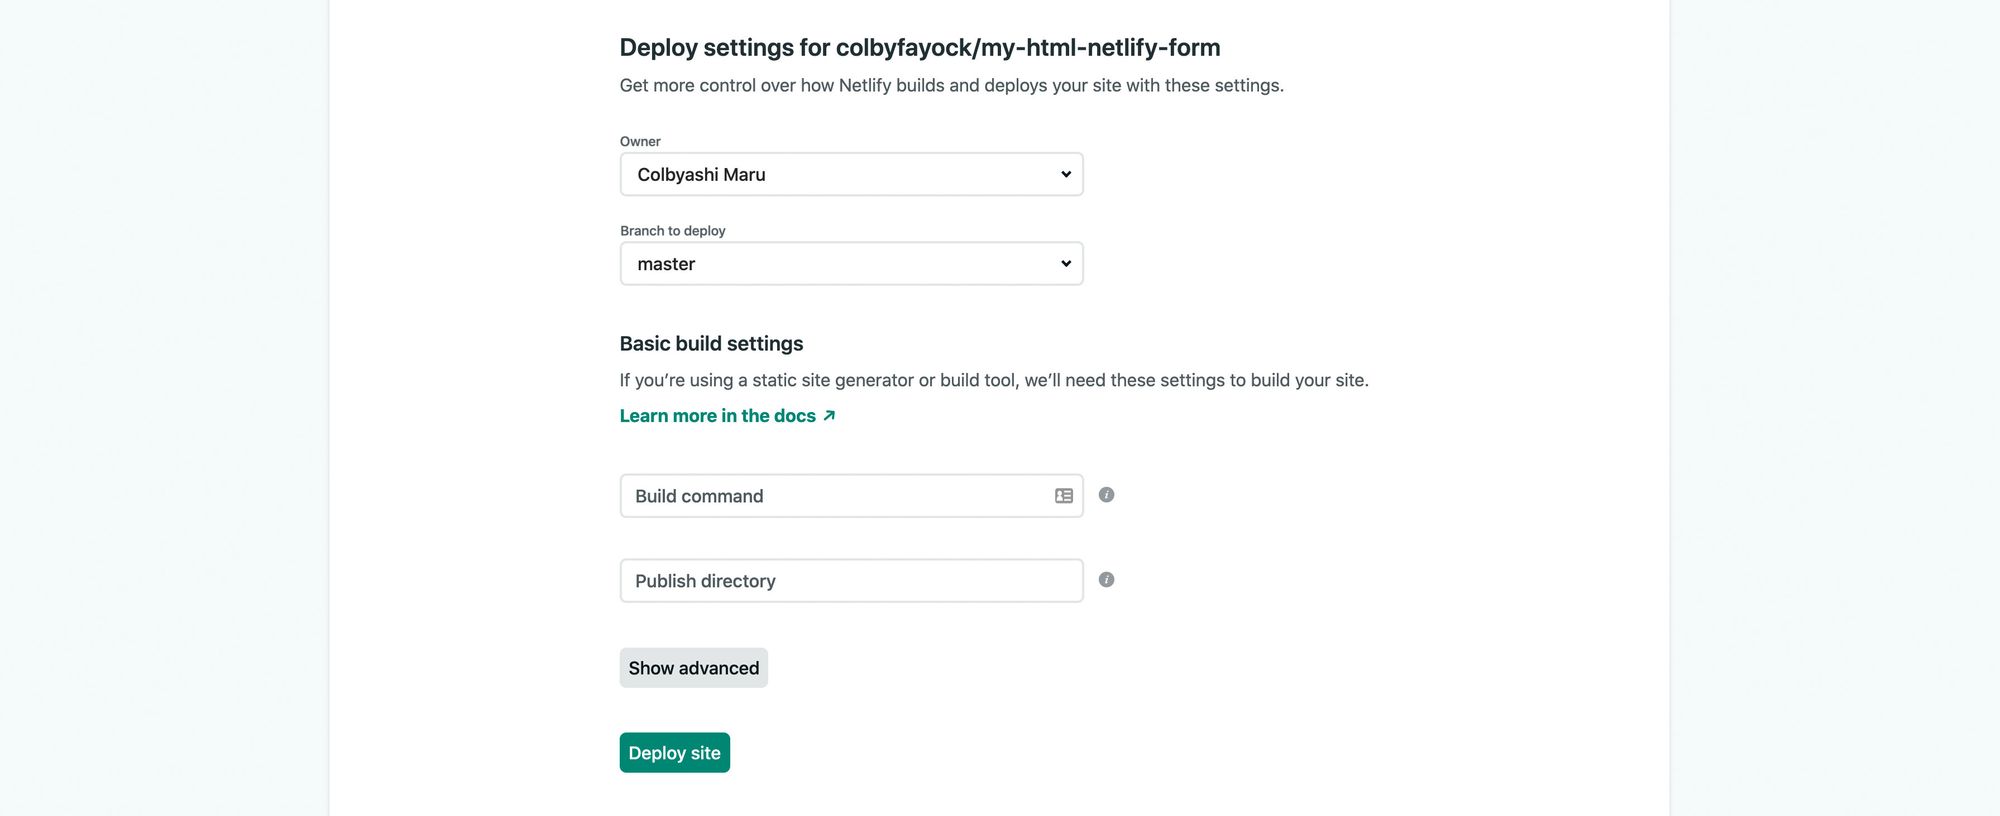 Configuring the build steps in Netlify
Now, click Deploy site which will open up a new page in Netlify and in no time your site will be successfully deployed.
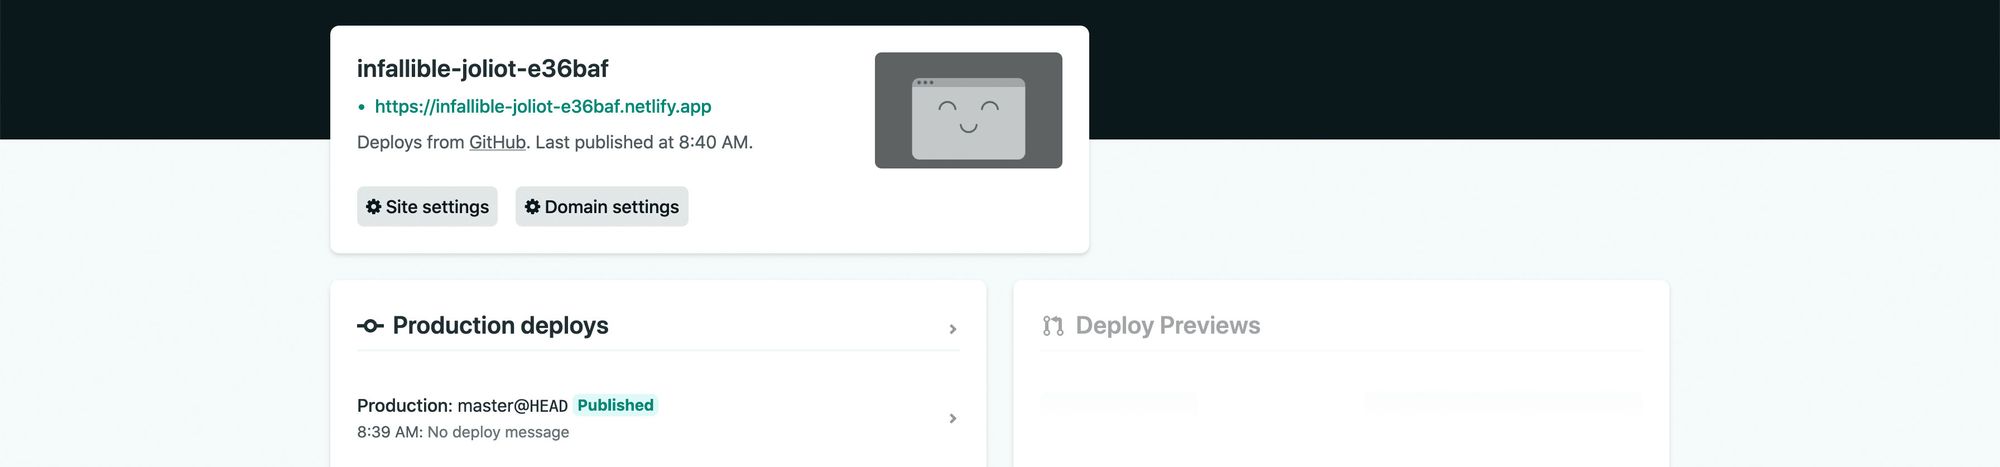
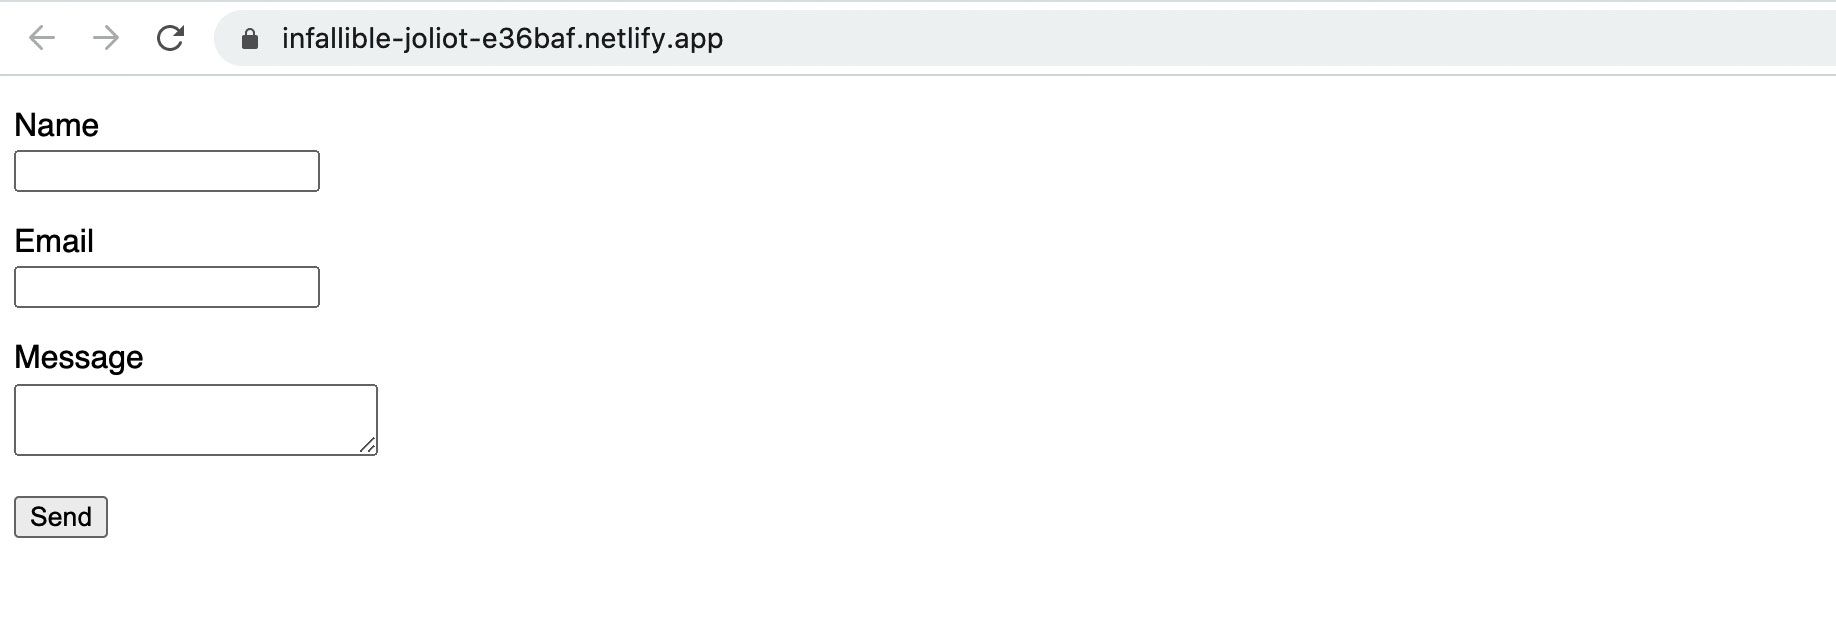
Finally, click the URL at the top of the Netlify project dashboard that ends in netlify.app. Once it's loaded, you’ll see your form!
Step 3: Viewing form submissions
Now that we have our form, we ultimately want to see responses.
To get started, add some information to your form and click submit.
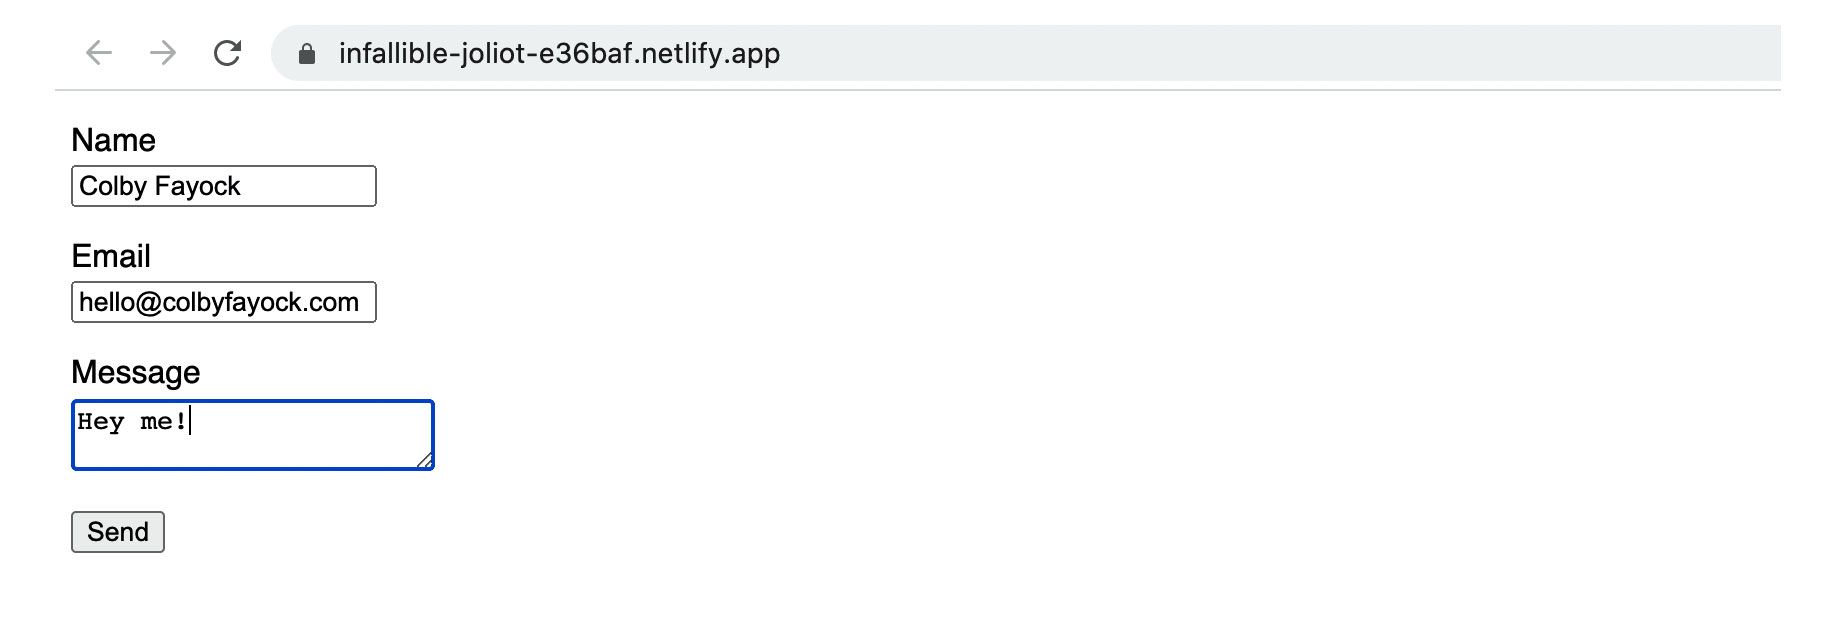 Testing HTML form
Once you submit, you’ll notice you get taken to a Netlify page that says the form was successfully submitted.
You can now go back to your Netlify project dashboard and scroll down a little bit where you can now see a box with Recent form submissions as well as your new submission.
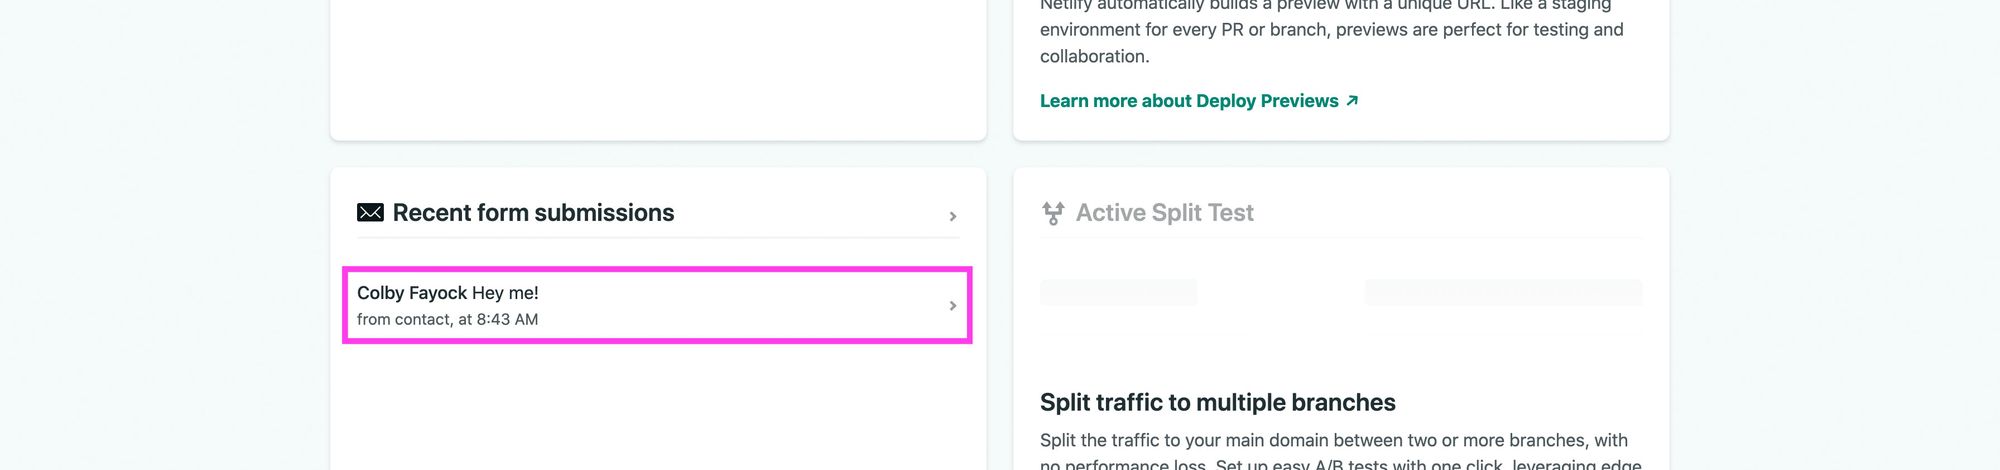 Netlify Form submission
Part 2: Adding a custom Netlify form to a Next.js React app
If the form is going to live by itself and not be part of a bigger site, there are a lot of advantages to leaving your form as pure HTML. But often, we want our contact form to be part of our website or app.
Here we’ll walk through adding a form to a Next.js app.
Note: our demo of using Next.js is a statically rendered app. If you’re loading your form client side, meaning the underlying HTML doesn’t include the form, check out the notes at the bottom of this page for more information on solutions.
Step 0: Creating a Next.js app
To start off, we need an app. We’re going to use Next.js since we can pretty easily spin up a new app from scratch.
To do this, you can navigate to where you want to create the app and run:
yarn create next-app [project-name]
# or
npx create-next-app [project-name]
I’m going to name my project my-nextjs-netlify-form.
Once Next.js finishes installing dependencies, it’ll give you instructions to navigate to your project directory and start your development server.
And after you run yarn dev or npm run dev, you should be ready to go with your Next.js app:
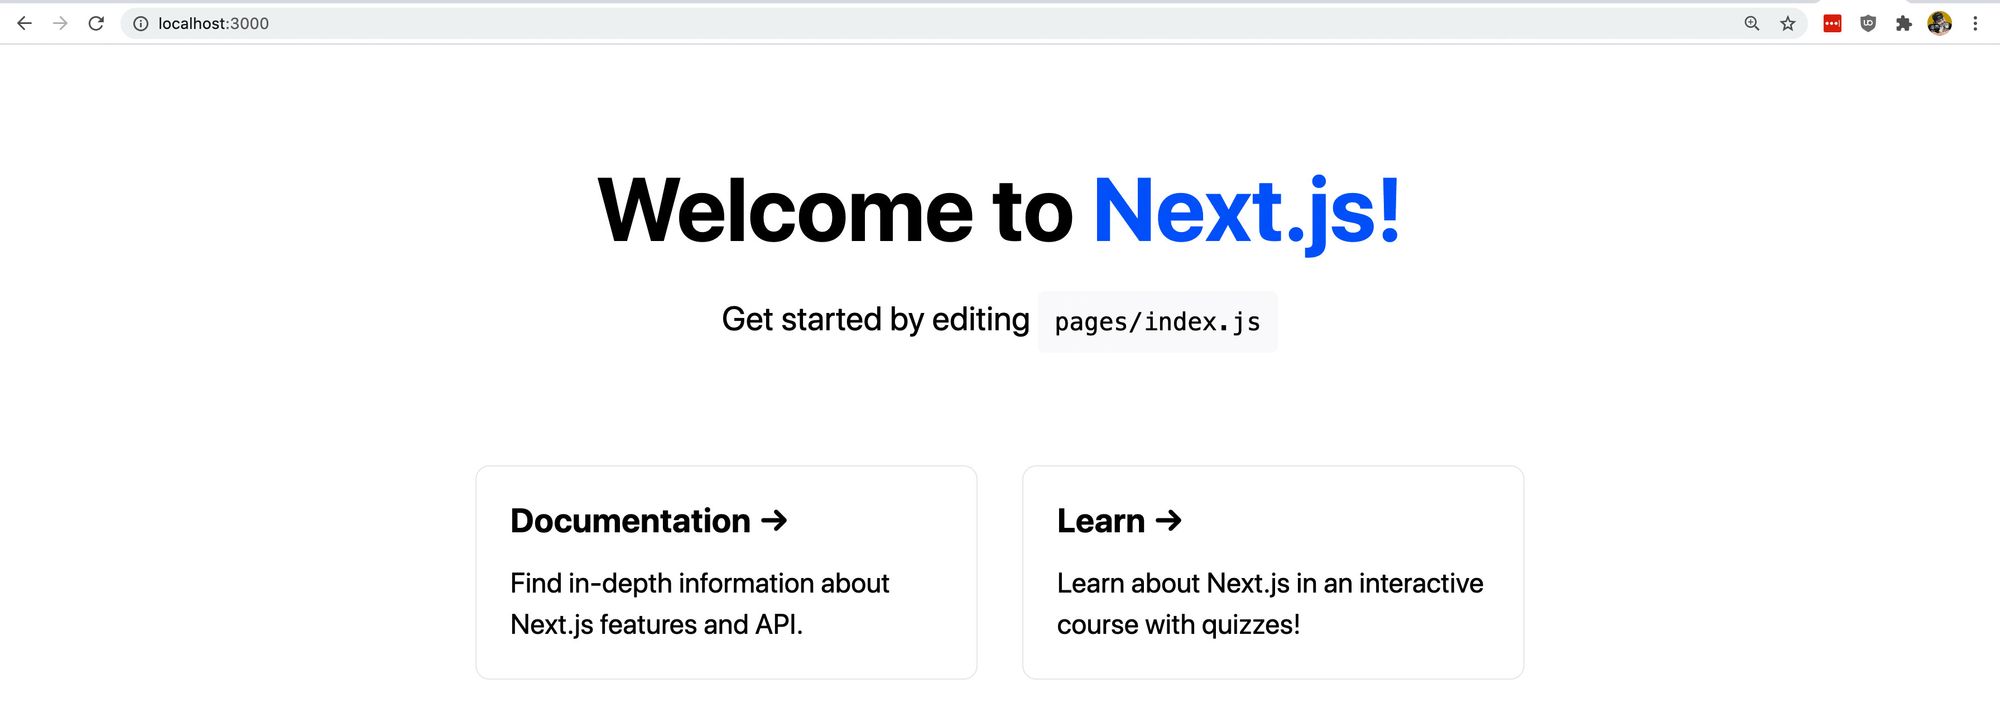 New Next.js app
Step 1: Adding an HTML form to a Next.js app
Our Step 1 is going to look very similar to Part 1.
Inside of pages/index.js, we want to find our grid wrapper and we’ll use that to add our form.
Find <div className={styles.grid}> and replace the entire block with the following:
<div className={styles.grid}>
  <div className={styles.card}>
    <form name="contact" method="POST" data-netlify="true">
      <p>
        <label htmlFor="name">Name</label>
        <input type="text" id="name" name="name" />
      </p>
      <p>
        <label htmlFor="email">Email</label>
        <input type="text" id="email" name="email" />
      </p>
      <p>
        <label htmlFor="message">Message</label>
        <textarea id="message" name="message"></textarea>
      </p>
      <p>
        <button type="submit">Send</button>
      </p>
    </form>
  </div>
</div>
Here’s what we’re doing:
- We’re taking advantage of the existing grid from Next.js
- We’re also taking advantage of the existing card that we’ll include our form in
- Inside of the card, we’re pasting in the exact same HTML form as Part 1
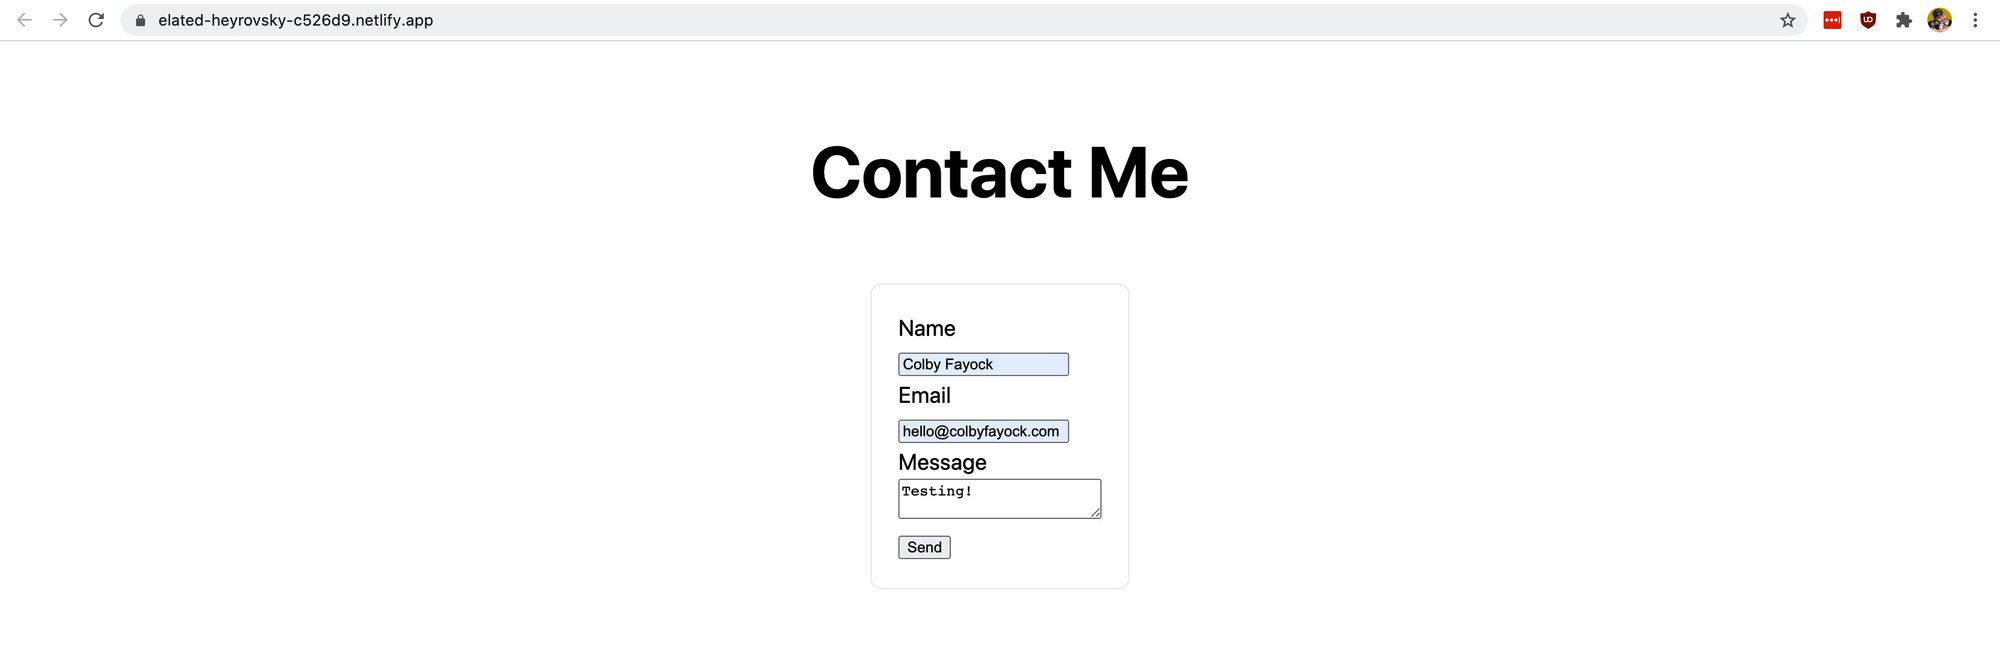
If we reload the page, we can now see our form inside of a card, like this:
 Adding a form to a Next.js app
Now before we move on, we want to do 2 things.
First, because we’re creating this form in a JavaScript app, Netlify recommends that we add a hidden input with our form name.
Inside of our form, add the following input at the top of the form element:
<input type="hidden" name="form-name" value="contact" />
Make sure the value of that input is the same as your form’s name.
Second, because the card that we’re reusing is intended for a list of links, Next.js includes some hover effects. This makes the form confusing to use, so let’s remove those
Remove the following from styles/Home.module.css:
.card:hover,
.card:focus,
.card:active {
  color: #0070f3;
  border-color: #0070f3;
}
For an extra bonus step, I’m going to update my page title to “Contact Me” and remove the description. Feel free to make this whatever you want.
 Updating the form title
And once you’re ready, similar to before, add this as a new repository to GitHub or your favorite Git provider.
Step 2: Setting up and deploying your Next.js app to Netlify
Deploying our app to Netlify will look pretty similar, but before we get there, we need to set up our Next.js app to be able to export on build.
In our Next.js app, inside of the package.json file, we want to update the build script to:
"build": "next build && next export",
Now when you run the build script, it will compile the app to static HTML, CSS, and JS inside of the out directory. This will let us deploy it to Netlify. You can even try it locally on your machine if you want.
With that change, commit that and push it out to your Git provider.
Next, deploying the app will mostly look similar to Part 1. The only difference is because we have a Next.js app, we need to add our build steps.
To get started, we’ll want to connect our Git provider just like in Part 1.
Once we get to the Deploy Settings page, we want to configure our Build command and our Publish directory.
Our Build command will be yarn build or npm run build depending on what package manager you used and the Publish directory will be out.
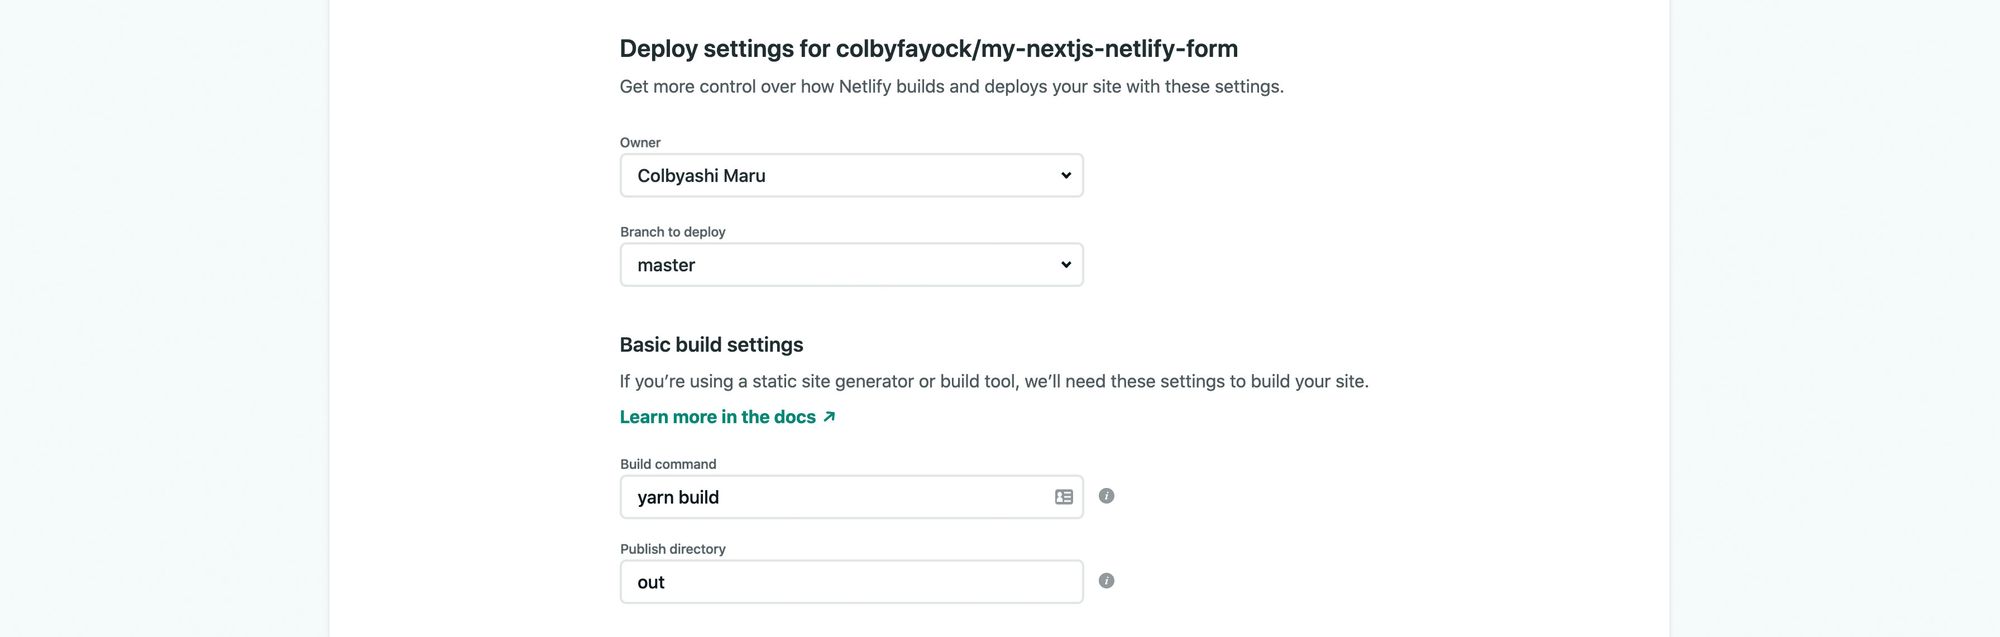 Deploy settings for a static Next.js app
After that, click Deploy site, and it will kick off just like before.
Once it’s finished deploying, we’ll now be ready to open the app.
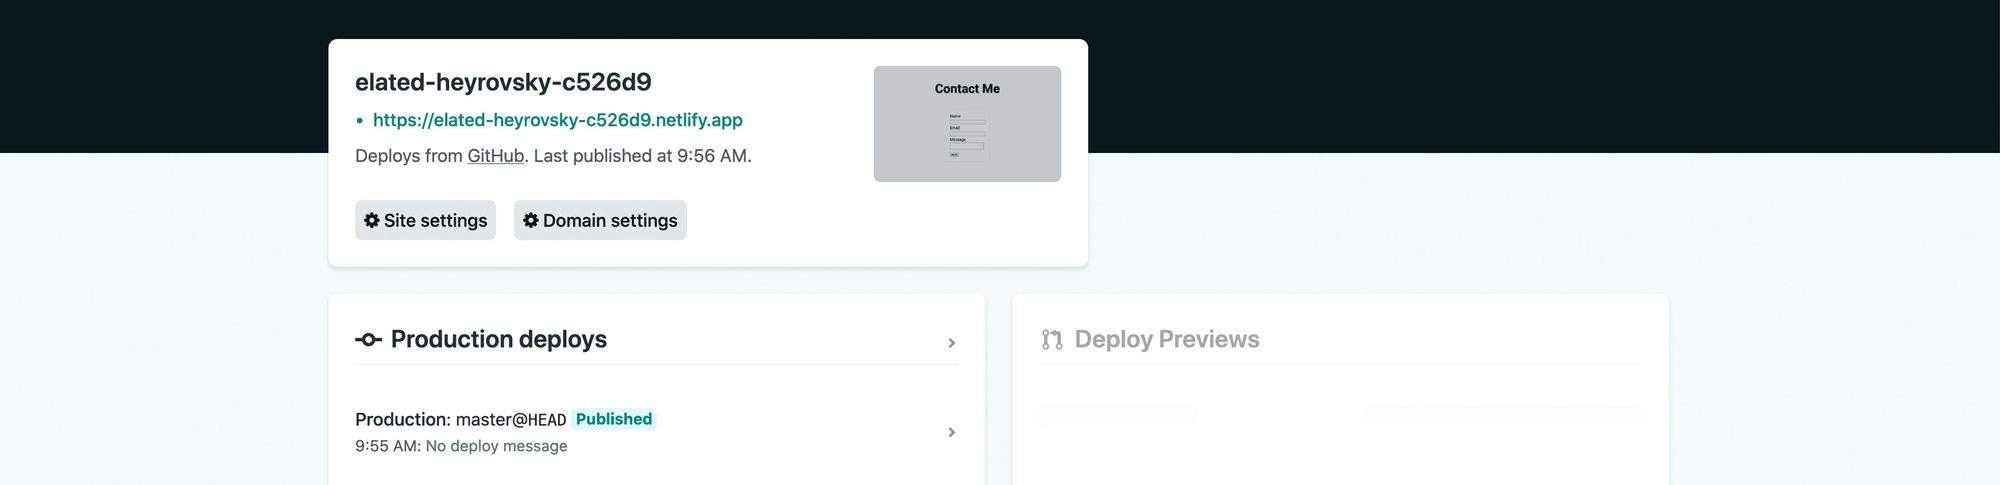 Successfully deployed Next.js app on Netlify
And once we open up our app we can test our form by filling it out and hitting submit.
Similar to before, we’ll land on a Netlify success page. But if we go back and look inside of our Netlify dashboard, we’ll now see our submission!
 Succesful Next.js form submission on Netlify
Bonus: Keep people on your website with a success message
Another cool feature with Netlify forms is that it allows you to set up your form to keep people on your website by configuring the form right on the page.
You have a lot of options here, whether it’s redirecting someone to a new page or configuring messaging on the page they submitted from.
For this demo, we’re going to set up a URL parameter that we can detect to show a success message if we see that parameter.
To do this, on your HTML form, add the following attribute:
action="/?success=true"
This will tell Netlify we want to stay on the homepage (since we only have one page) but apply the URL parameter so we can detect it in our app.
Next, we can use the useState and useEffect hooks to see this parameter and update the page.
At the top of the file, let’s import these hooks:
import { useState, useEffect } from 'react';
Inside of our Home component at the top, let’s add our state:
const [success, setSuccess] = useState(false);
And to detect the URL parameter, we can use the useEffect hook:
useEffect(() => {
  if ( window.location.search.includes('success=true') ) {
    setSuccess(true);
  }
}, []);
Note: this is a simple way of achieving this result for the demo. If you have a more complicated app, you might want to name the parameter something more logical and properly parse the URL parameters for the value.
What this is doing, is when the component renders, it will fire this useEffect hook, checking the parameters in the URL, and looking for success=true. If it finds it, it will update our success state variable to true!
Next, under our page title (<h1>), let’s add the following snippet:
{success && (
  <p style={{ color: 'green'}}>
    Successfully submitted form!
  </p>
)}
Here we’re looking to see if success is true, and if it its, we include a line of text that says the form was successfully submitted.
While you can’t submit your form locally, you can test this out by visiting your app running locally with the ?success=true URL parameter like:
http://localhost:3000/?success=true
 Testing success message locally
Finally, you can push these changes out to your Git provider and Netlify will automatically rebuild your site.
And once it’s finished, you can submit your form like before and see the success message.
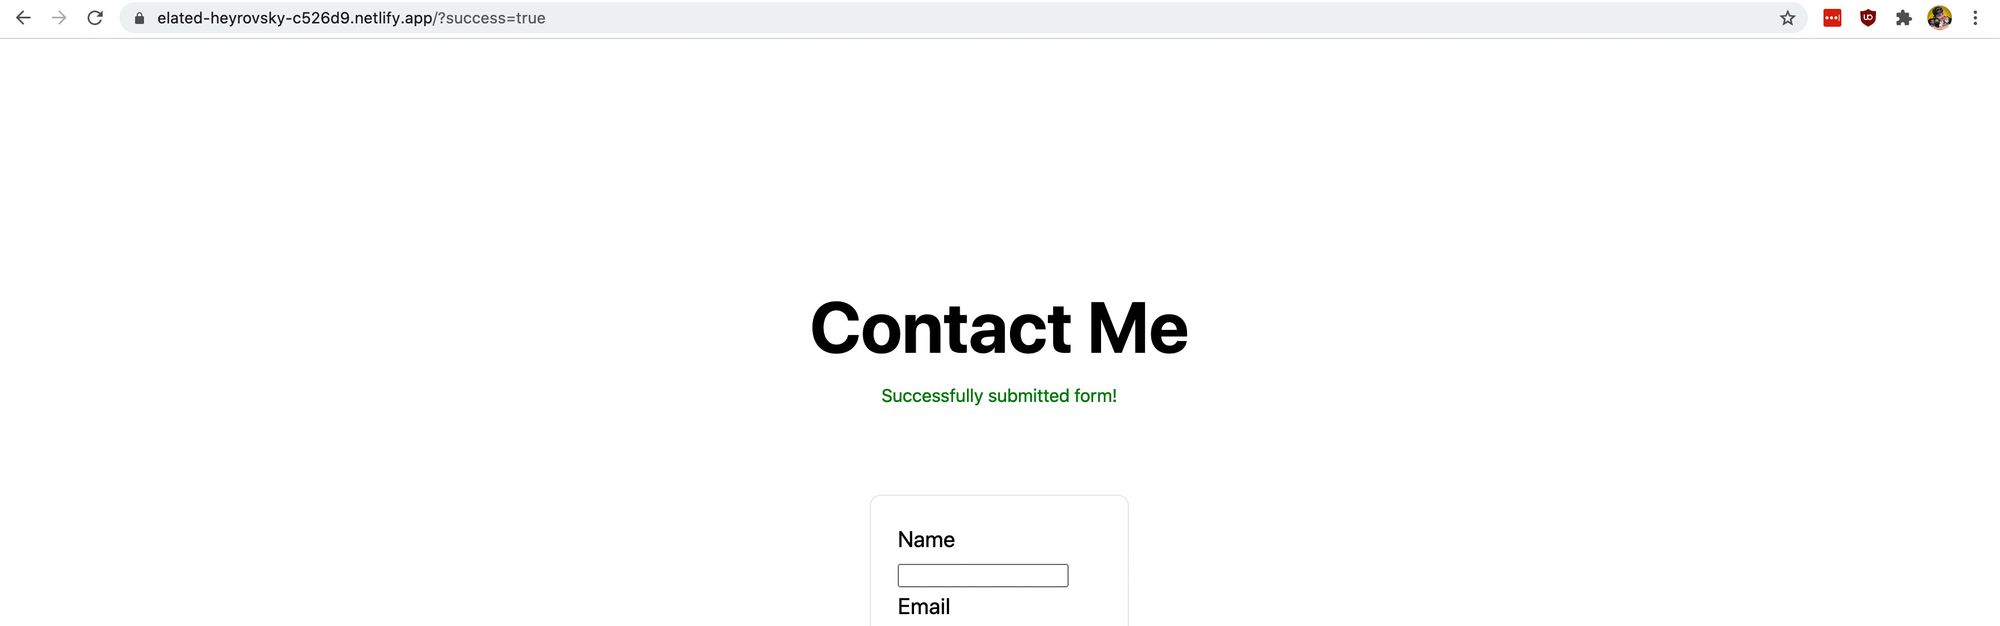 Successful form redirect on Netlify
And see that our form is still submitting!
 Successful form submission on Netlify
Netlify forms and client-side code
One thing to take note of with Netlify’s solution is this only works this “simply” for static HTML pages.
If your page uses JavaScript to manage the content of that page, such as not adding a form until after the page loads, you’ll need to check out Netlify’s documentation on how you can make this work with an additional form attribute.
Netlify also gives an example on how you can submit your form dynamically with JavaScript so you can create a custom experience in your app.
What else can you do?
Setting up advanced workflows with other tools
Netlify lets you integrate with other tools to allow you to wrangle your form submissions. Notably, Netlify works with Zapier, meaning you can accept incoming submissions and do whatever you want with them.
https://docs.netlify.com/forms/notifications/
Preventing spam with reCAPTCHA
Spam is also a real thing. You don’t want your inbox flooded with spam, so you can take advantage of Netlify’s built-in Honeypot field or they walk you through how to add reCAPTCHA 2.
