

If you want to delete a photo album on an iPhone, it only takes a few simple steps.
In this short article, I will walk you through the six steps to delete an album from your iPhone.
Step 1: Go to the Photos app on your phone
First, you need to open the photos app.

Step 2: Go to Albums
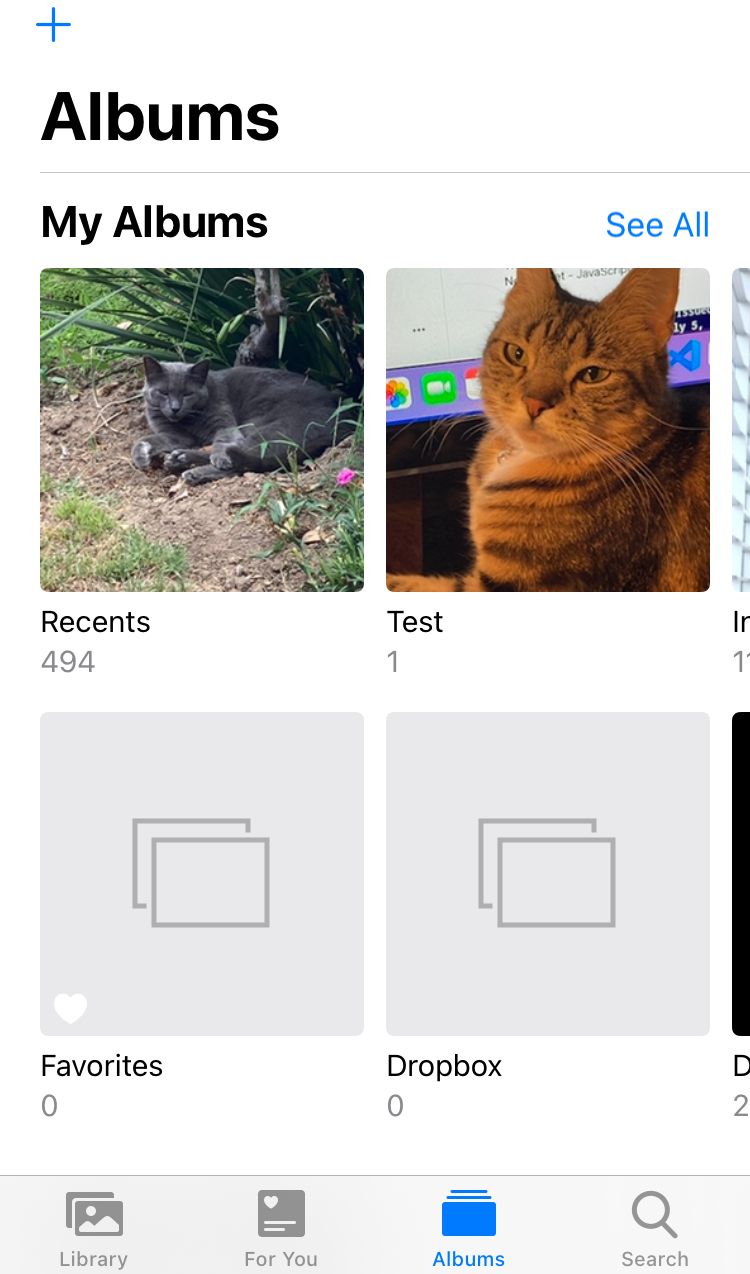
Next, go to the "Albums" tab in Photos.

Step 3: Click "See All"
To see all your albums, you'll need to click the "See All" button located at the top right hand corner
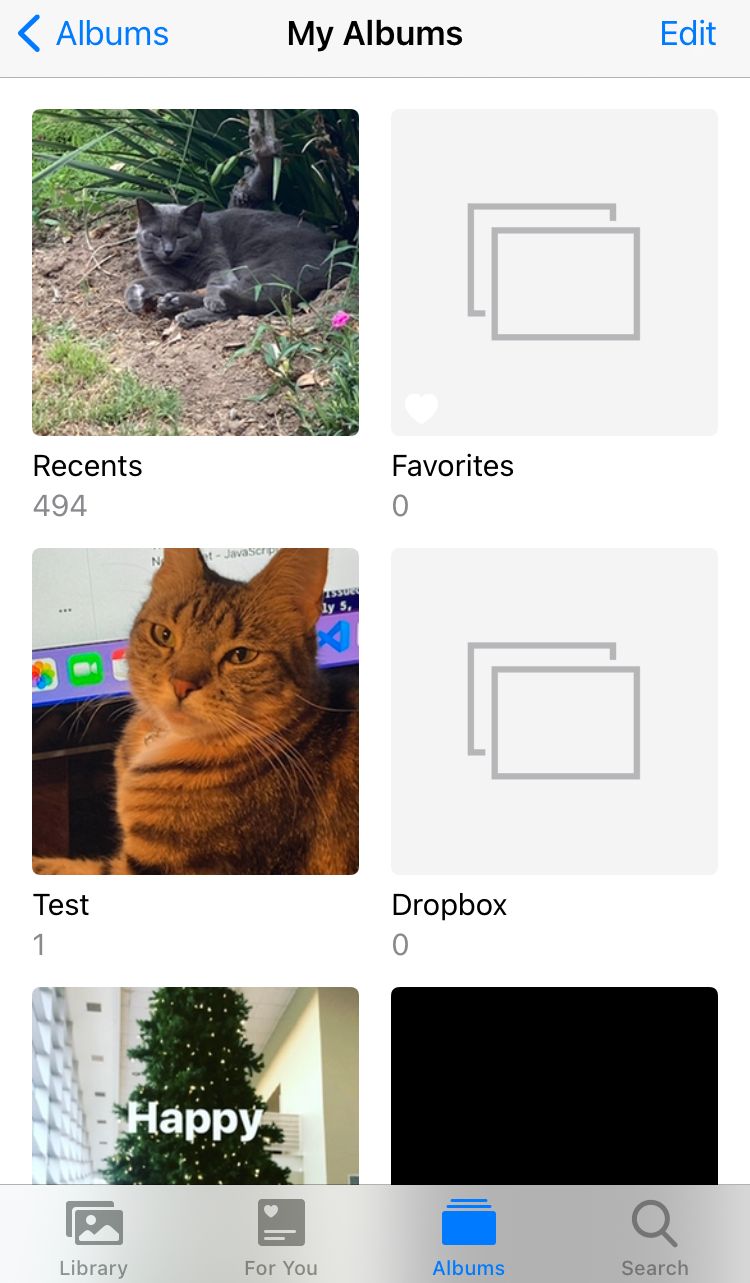
Step 4: Edit the Albums
Then you'll click on Edit located at the top right hand corner.
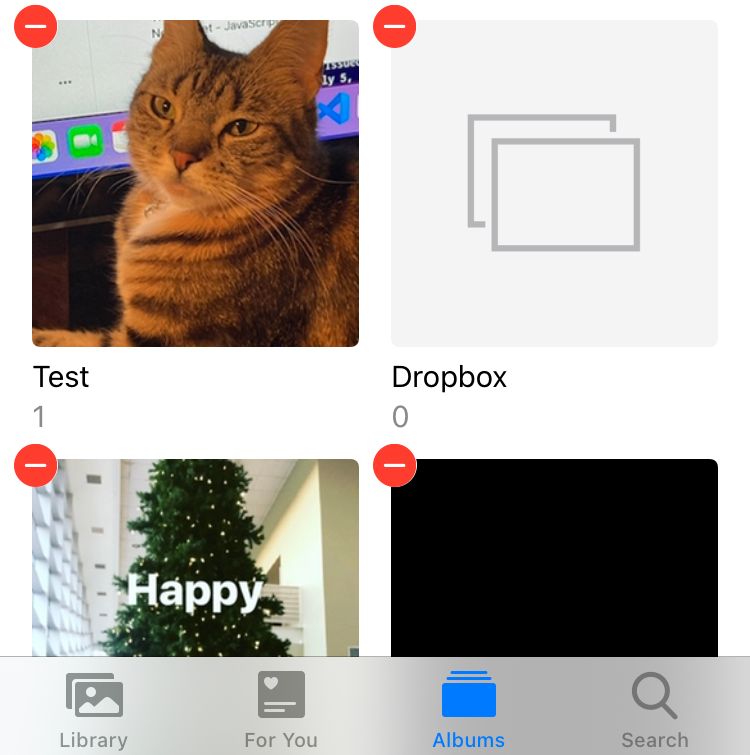
Step 5: Select the album(s) you want to delete
Click on the red circled dash on the album you want to delete. This will select it.
Step 6: Delete the album(s)
Click the red Delete Album text and the album will be deleted.
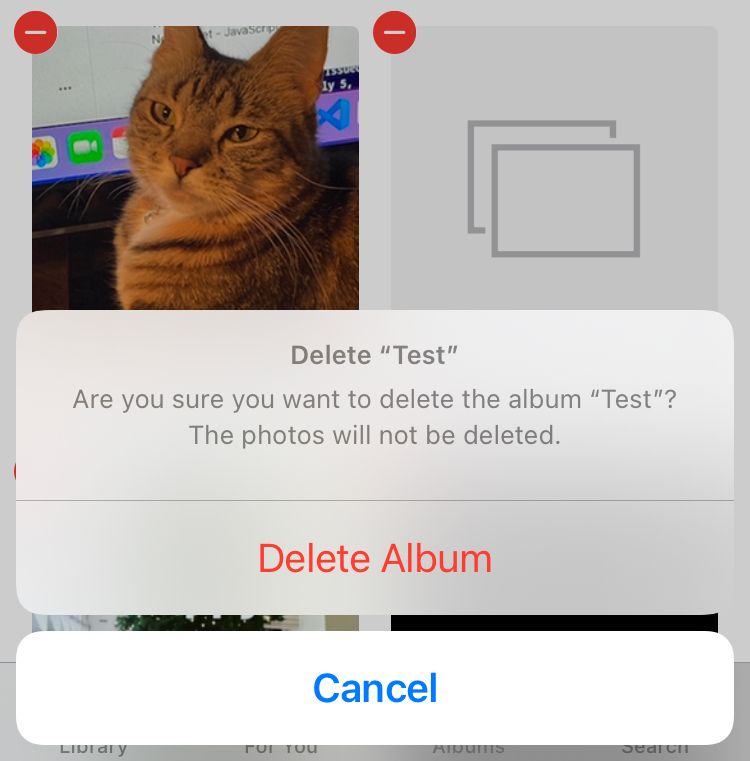
It is important to note that if you delete an album it does not delete the photos from your phone.
If you want to delete a photo, then you will need to choose the photo from the library and click on the trash can icon on the bottom right hand corner.
Why can't I delete all of the albums from my phone?
There are certain albums on the iPhone that you cannot remove. If you followed the steps above, you will notice that there is no red dash above the Recents or Favorites albums.
Those are the default albums that already come on the iPhone. Other default albums like Screenshots and Selfies cannot be deleted, either.
You can only delete albums that you have created on your phone yourself.