

In this article, we'll learn the most popular ways of deploying a React app to Netlify. We'll also learn the configuration changes you'll need to make to deploy a Routing-based React app.
The thing I love about Netlify is that it provides a lot of useful features
for free such as:
- A way to deploy a static website within seconds
- Continuous deployment, which means when you connect your Github/Gitlab/Bitbucket repository, it automatically triggers deployment when new commits are pushed to the repository
- Assurance that your website never goes down, even during new deployments
- Allows you to easily rollback to any previous working version of your site with a single click
- Lets you quickly preview any of the previously deployed versions of the app
- Change the domain or subdomain of your site instantly
and much more.
So let's see how to deploy a React app to Netlify.
Want to learn Redux from the absolute beginning and build a food ordering app from scratch? Check out the Mastering Redux course.
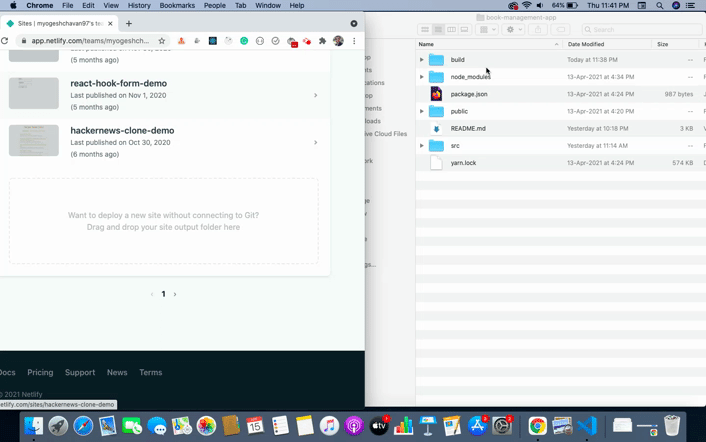
Drag and Drop the Build Folder in Netlify
The fastest and easy way to deploy a React application is just to drag and drop the build folder in Netlify.
To create a build folder, just execute the npm run build or yarn build command from the command line from your project folder.
Once the build folder is created, you just need to drop the folder in the drop area under the sites menu, as shown below:
How to Deploy an App to Netlify from a GitHub Repository
This is my favorite way of deploying applications on Netlify.
Because whenever you push any changes to the GitHub repository, it will automatically be deployed to Netlify. You can also see all deployed versions and easily roll back to any previously working version of code with just a single click.
If you already have a repository pushed to GitHub, then you just need to connect it.
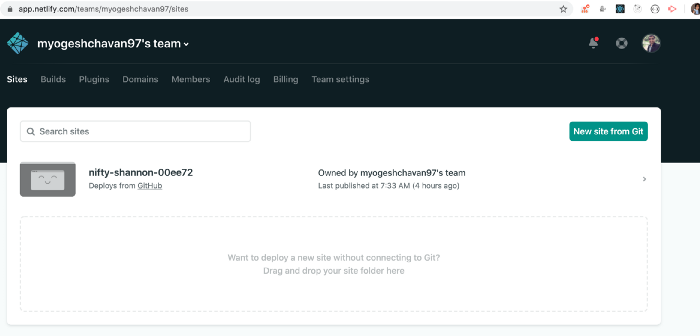
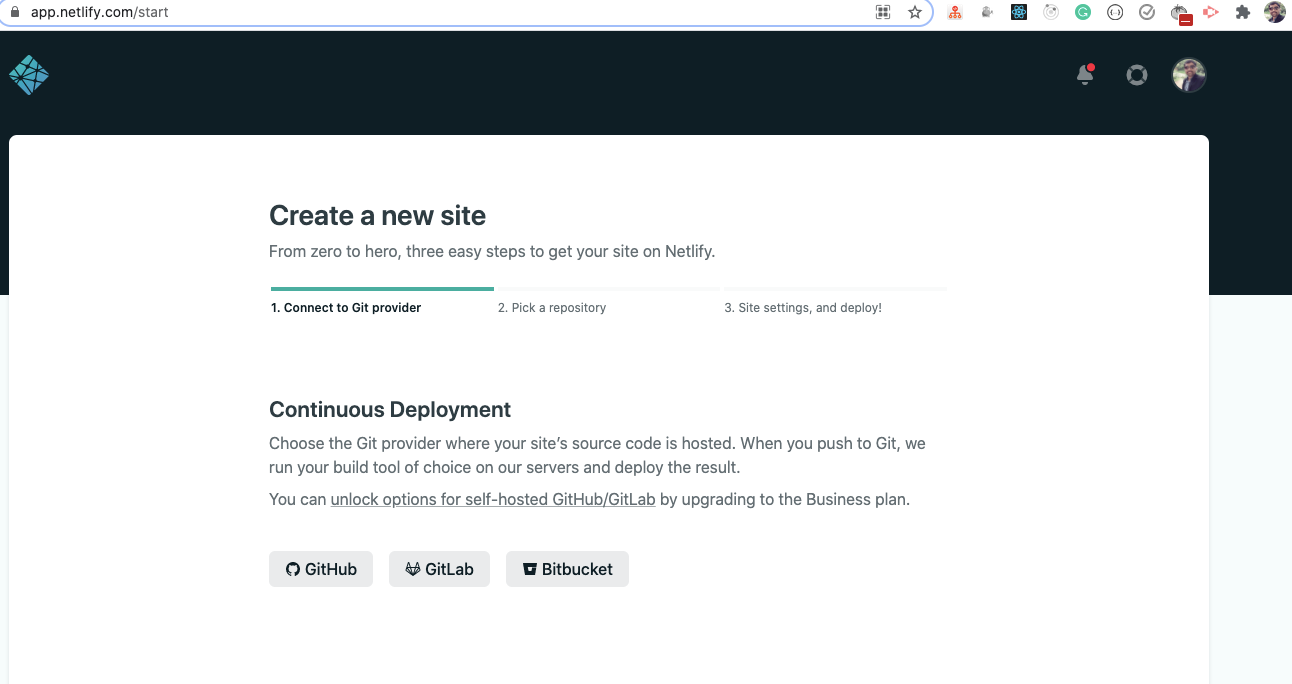
Login to your Netlify account. In the dashboard, click on the New site from Git button.
Click on the GitHub button to connect your GitHub repository.
It will open a new tab. Make sure the popup is enabled in your browser.
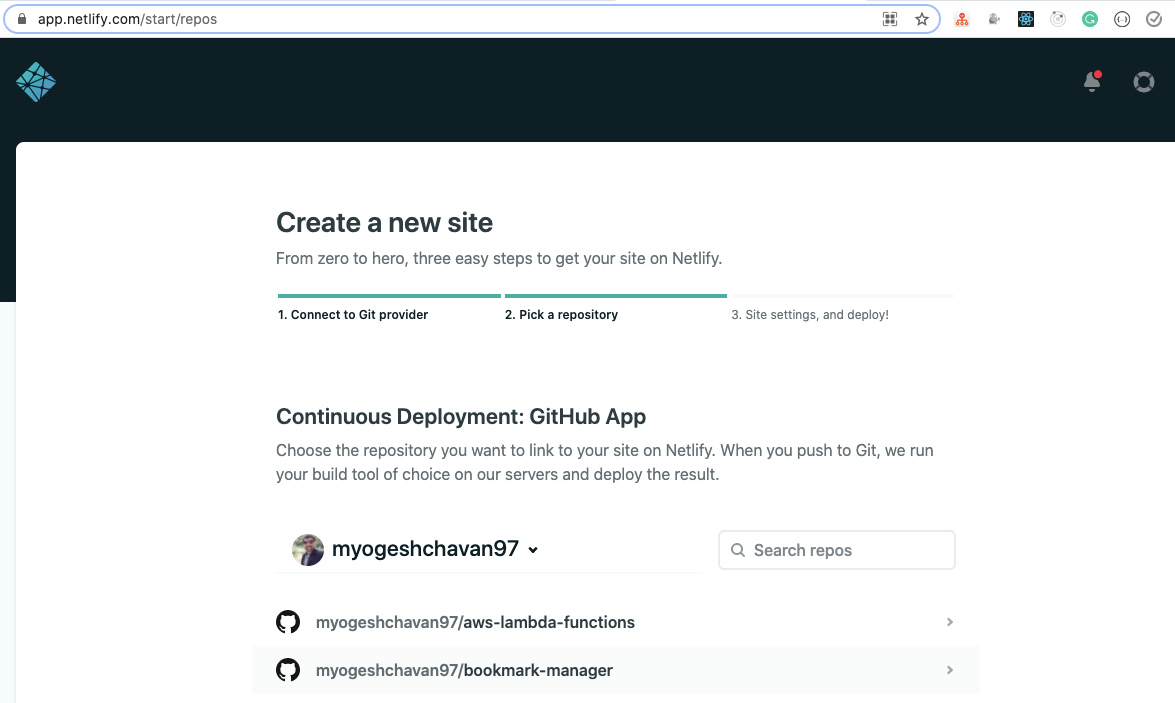
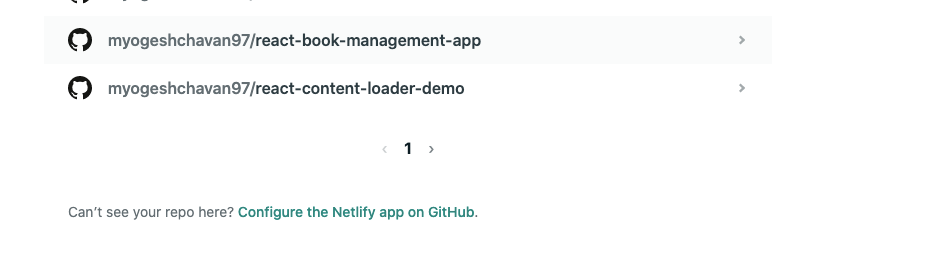
Search for the GitHub repository in the Search repos search box. If your repository is not getting displayed then click on the Configure the Netlify app on GitHub button at the bottom of the page.
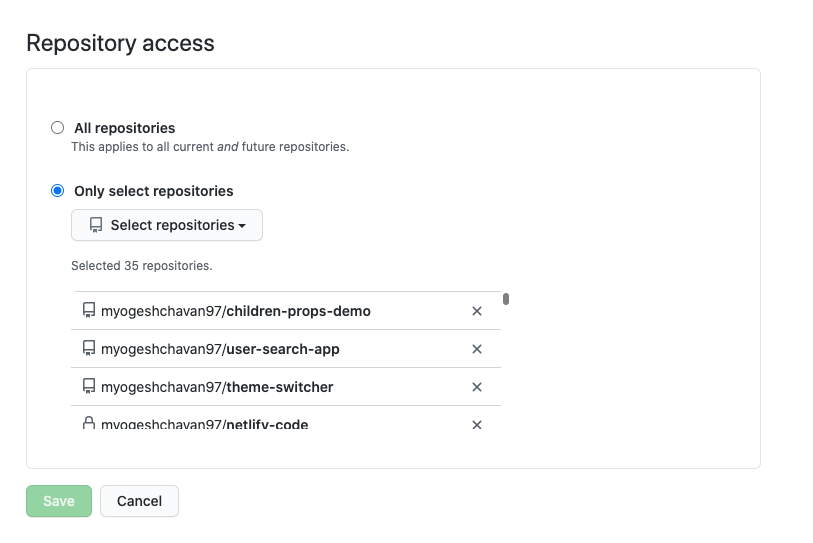
Once clicked, scroll down on the page and click on the Select repositories dropdown and search for your repository and click on the Save button.
You will be redirected to the previous page showing all the available repositories.
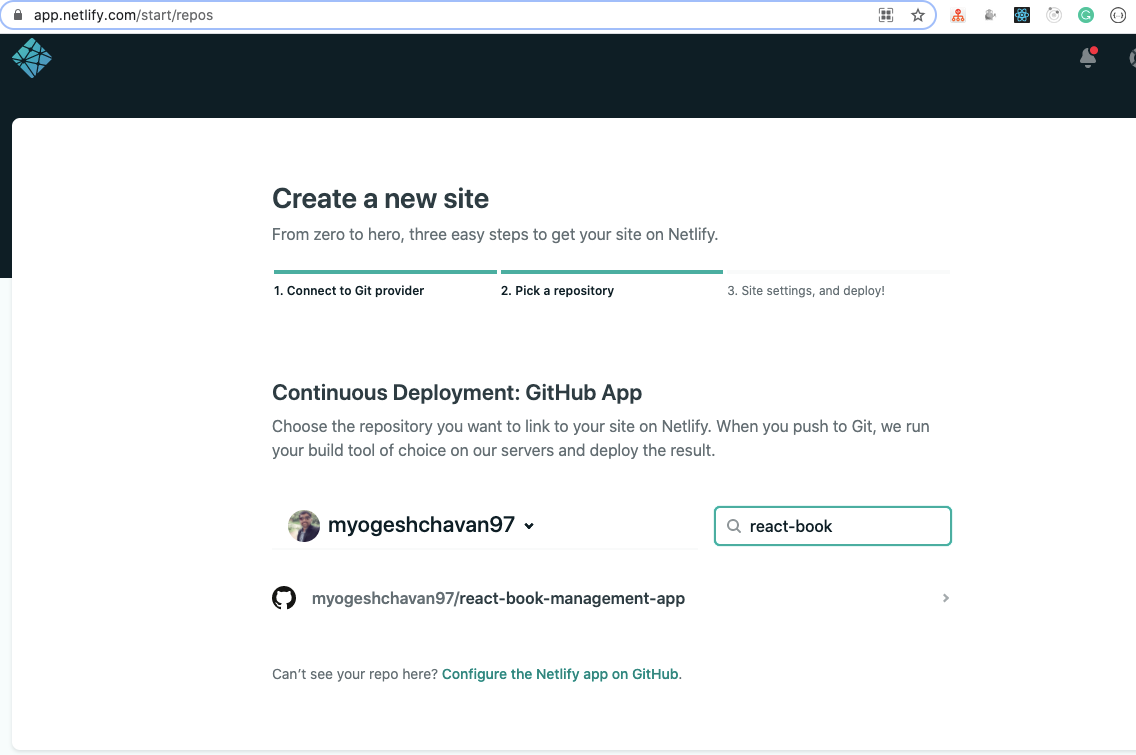
Search for the repository you want to deploy. For this article, I have selected the react-book-management-app repository which we created in my previous article.
Once you select the repository, you will see the following screen:
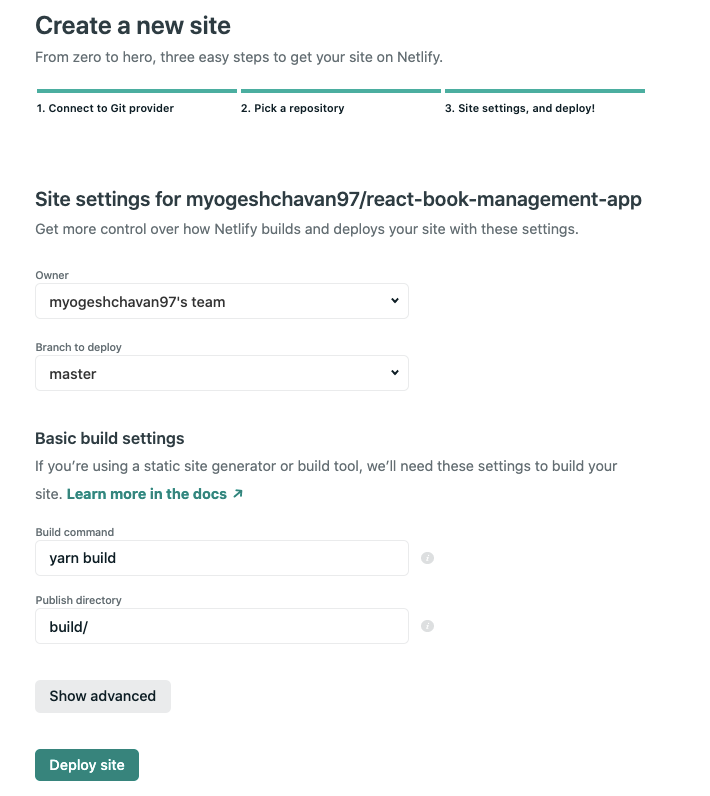
For this application, we don't need to change anything.
Your Build command and Publish directory will be automatically populated. Make sure to enter these fields if you have a different command in package.json to build your app or those fields are not auto-populated.
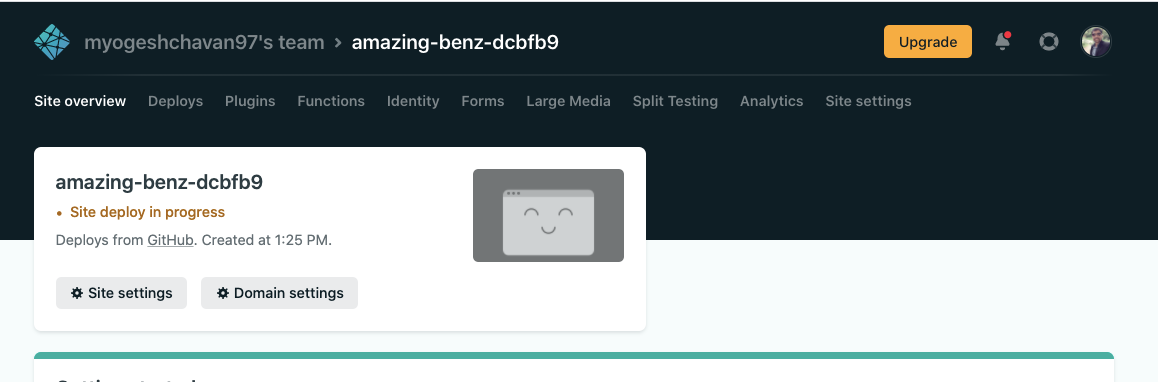
Now, click on the Deploy site button. Once clicked, you will see the Site deploy in progress message.
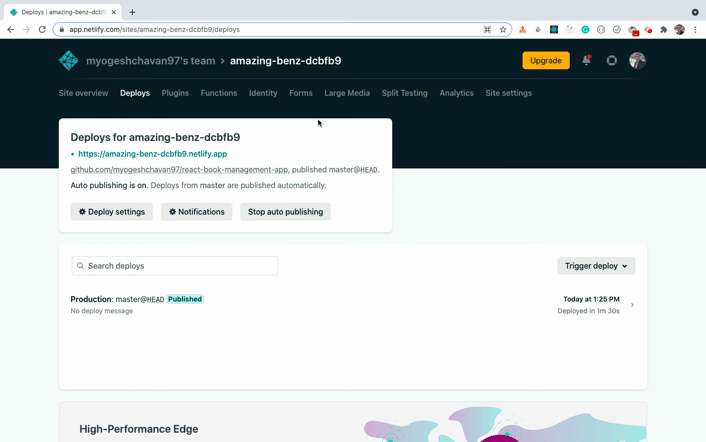
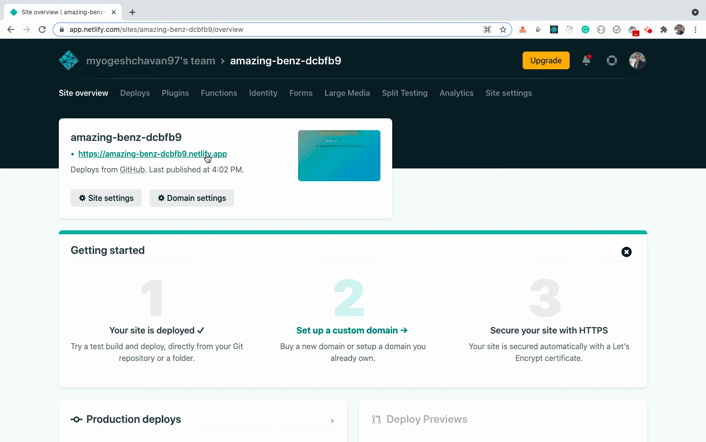
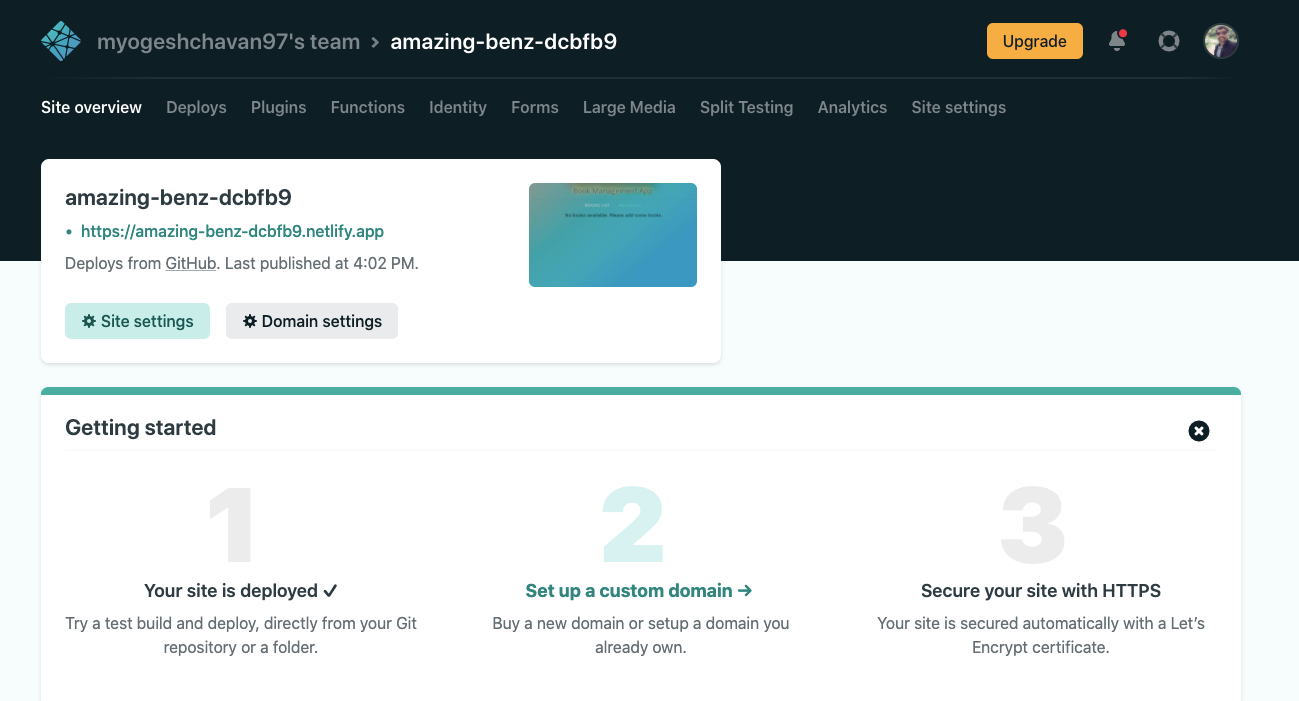
You'll have to wait a little bit while it's deploying. Once deployment is completed, you will see the following screen:
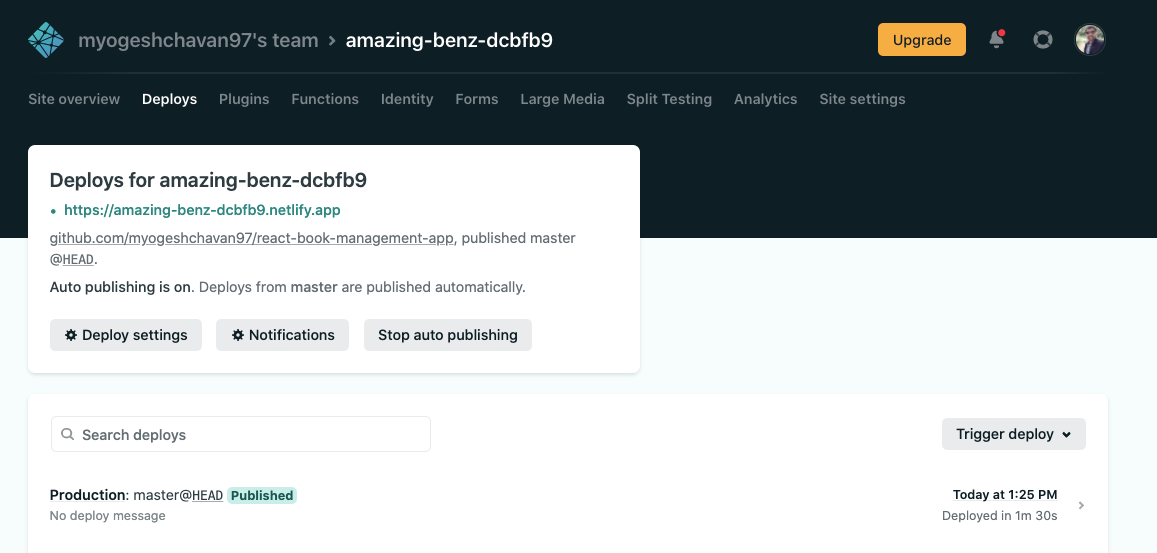
Open the link in the new tab and you will see your application deployed live.
Awesome! Now, if you make any changes in the source code and push that change to GitHub, Netlify will detect that change and re-deploy your application with your latest changes.
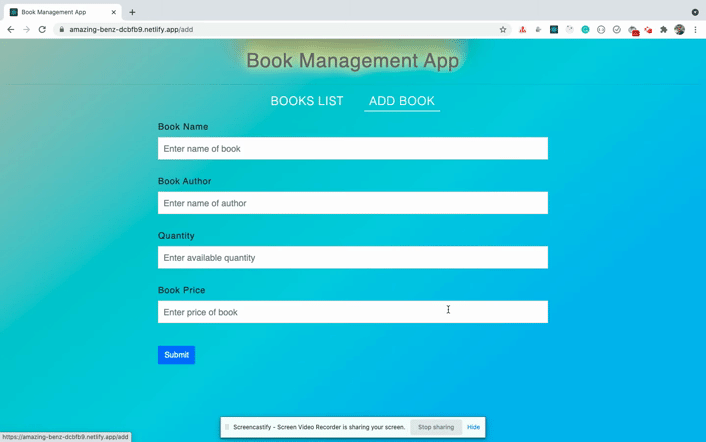
If you check the application, you will see that the application works just fine with the navigation and you're able to add/edit/delete a book.

But there is one issue. If you directly access the /add route or refresh the /add route page, you will get a page not found error as shown below:
You will get the same error if you try to refresh the edit page route.
This is because when we access any route on our local machine, React Router handles the routing. But when we deploy the application on any server, directly accessing the route will send the request to the server itself (Netlify in our case).
But as there is no /add route handler on the server-side, you will see a page not found error. But Netlify provides a way to fix this.
Create a new file with the name _redirects inside the public folder of our project and add the following contents inside it:
/* /index.html 200
Here, we're telling Netlify to redirect all the routes to the index.html file.
The index.html file contains our entire React app code. It gets generated inside the build folder when the yarn build command is executed by Netlify while deploying the app.
And as routing is handled by our React app which is contained in the index.html file, our application will work without a page not found issue.
Now, push the changes to the GitHub repository so Netlify will deploy the app again with these changes.
And once deployed, if you check the deployed application, you will see that the application works fine and we don't get a page not found error.
That's it! We're all done with deploying our application to Netlify.
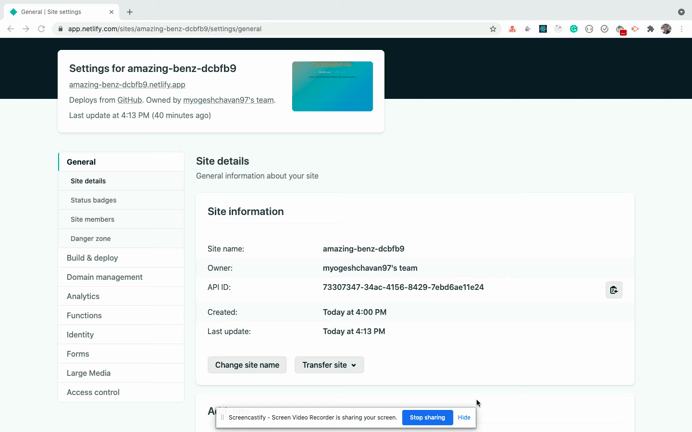
How to Easily Change a Site Name in Netlify
If you check the name of the deployed site you will see that it's not easy to remember, especially if you have lot of applications deployed. But Netlify provides a way to easily change that.
Click on the Site settings button displayed on the Site overview section.
Then click on the Change site name button and enter a new name. Click on the Save button, and now you can access your application with the changed name.
I usually like to give the same name as the repository name so it's easy to find a particular application if you have a lot of deployed applications on Netlify.
If you want to know how to deploy React + Node.js application to production, check out this article.
Thanks for reading!
You can find the complete GitHub source code along with this redirection change in this repository.
You can see the live demo of the deployed application here.
Want to learn all ES6+ features in detail including let and const, promises, various promise methods, array and object destructuring, arrow functions, async/await, import and export and a whole lot more from scratch?
Check out my Mastering Modern JavaScript book. This book covers all the pre-requisites for learning React and helps you to become better at JavaScript and React.
Check out free preview contents of the book here.
Also, you can check out my free Introduction to React Router course to learn React Router from scratch.
Want to stay up to date with regular content regarding JavaScript, React, Node.js? Follow me on LinkedIn.
