

Windows Sandbox is a temporary lightweight desktop environment that you can use to safely run Windows applications in an isolated space.
The software or applications that you install inside the Windows sandbox environment remain "sandboxed", and they all run separately from the host machine. So whatever happens in the sandbox remains there, and your host machine stays 100% safe.
As the Sandbox is a temporary instance of your host machine, when you close it, all of the software, data, files, and the state also get deleted instantly. So you should copy all of the necessary data/software that you'll need later from the sandbox to the host machine before closing it.
Whenever you open the Sandbox, each time you'll get a completely brand-new instance of it. This also means you will get a completely new instance of your host machine that acts as a temporary experiment lab. There you can experiment with any Windows application/data you want, without having the risk of breaking your original host machine.
According to the Microsoft Docs,
Windows Sandbox has the following properties: Part of Windows: Everything required for this feature is included in Windows 10 Pro and Enterprise. There's no need to download a VHD. Pristine: Every time Windows Sandbox runs, it's as clean as a brand-new installation of Windows. Disposable: Nothing persists on the device. Everything is discarded when the user closes the application. Secure: Uses hardware-based virtualization for kernel isolation. It relies on the Microsoft hypervisor to run a separate kernel that isolates Windows Sandbox from the host. Efficient: Uses the integrated kernel scheduler, smart memory management, and virtual GPU.
💡(Windows Sandbox enables network connection by default. It can be disabled using the Windows Sandbox configuration file).
In this article, I am using Windows 11 Pro. Windows sandbox is also available to Windows 10 as the documentation says, and the processes are almost the same.
Virtualization with Windows Sandbox
This is an important part of the sandbox. As it runs on an elevated space, it must need the virtualization feature. You have to make sure that you already have enabled virtualization.
If you're wondering how to know whether you've enabled virtualization or not, then don't worry – I am going to show that to you!
Open task manager. You can right click on the Windows logo and click Task Manager, or you can use the shortcut Ctrl + Shift + Esc for that.

After opening the task manager, go to the Performance tab. Then click CPU and check the virtualization status like below.

If the virtualization status says that it has already been enabled like it does on mine, then you are ready to proceed to the next steps.
If it says that it has been disabled, then you need to enable it from the BIOS. I'll show you how to enable virtualization below.
How to enable virtualization on your computer
First, go to BIOS. Depending on the manufacturer of your BIOS, it can be one of these keys to enter into BIOS during booting: Del, Esc, F1, F2, or F4.
When your screen goes black during the reboot process, you have to tap the BIOS key (mentioned above) quickly until the BIOS menu appears. If the key you are using does not work for you, then try rebooting your computer and do the exact process by using the other keys from the keys mentioned above until you get the key working for you.
After entering into BIOS, you have to find the section for your CPU configuration. You may find it under the CPU, Processor, Northbridge or Chipset tab. You may find the configuration section as Advanced or Advanced mode section in your case.
After getting into the CPU configuration section, you have to find the option where it allows you to enable the hardware virtualization. Depending upon your system, you may find names like Hyper-V, Vanderpool, SVM (usually motherboards of Gigabyte use this), AMD-V, Intel Virtualization Technology or simply VT-X.
Enable that option that appears in your case. If you see AMD IOMMU or Intel VT-d, enable them as well.
Then you have to save the changes. You can use the shortcut keys for that as well which should be displayed on your BIOS. Most of the manufacturers use F10 for saving the BIOS configuration.
Then you have to exit the BIOS. Your computer will restart once again. Then if you check the virtualization status from your task manager, you will see that it has been enabled!
Now, I can safely assume that the virtualization has been enabled on your computer.
How to Enable Windows Sandbox
Click the start button or search button and search for Windows features.
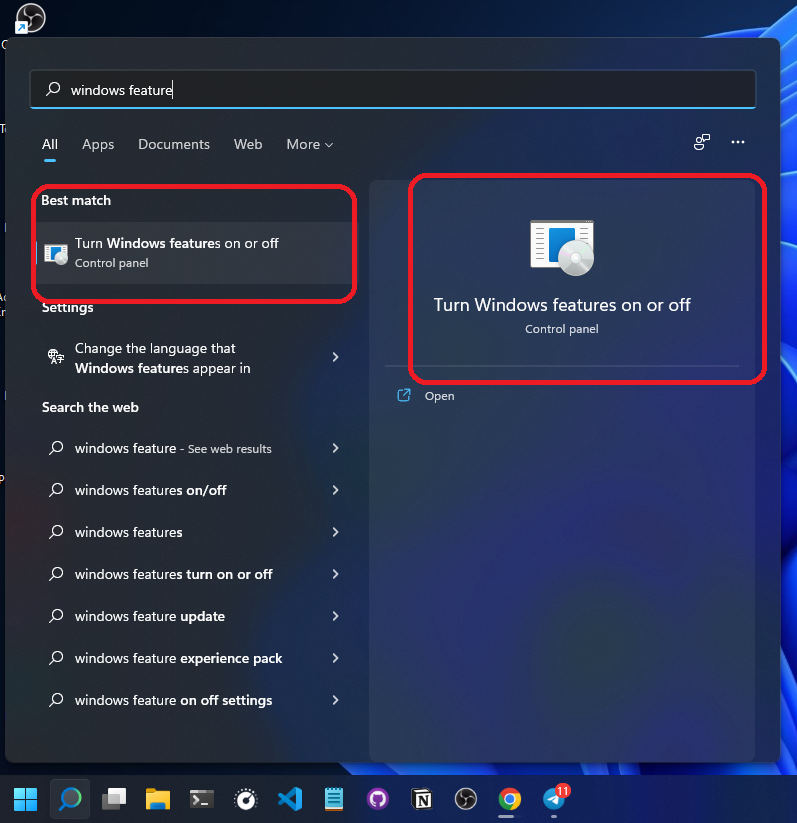
Click Turn Windows features on or off.
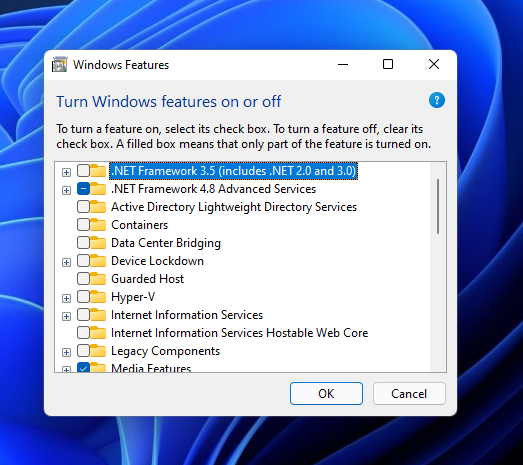
It will open the Windows Features window like the above picture.
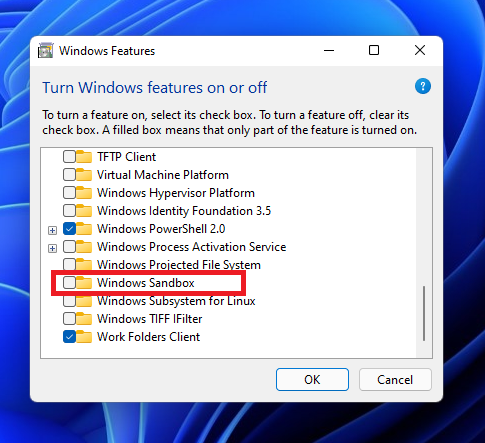
Scroll down until you find Windows Sandbox:
Make sure that you have checked the box like below:
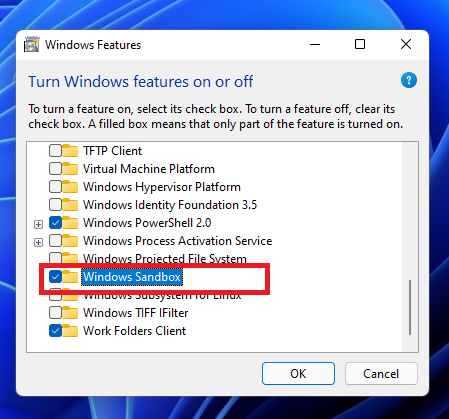
Then click OK.
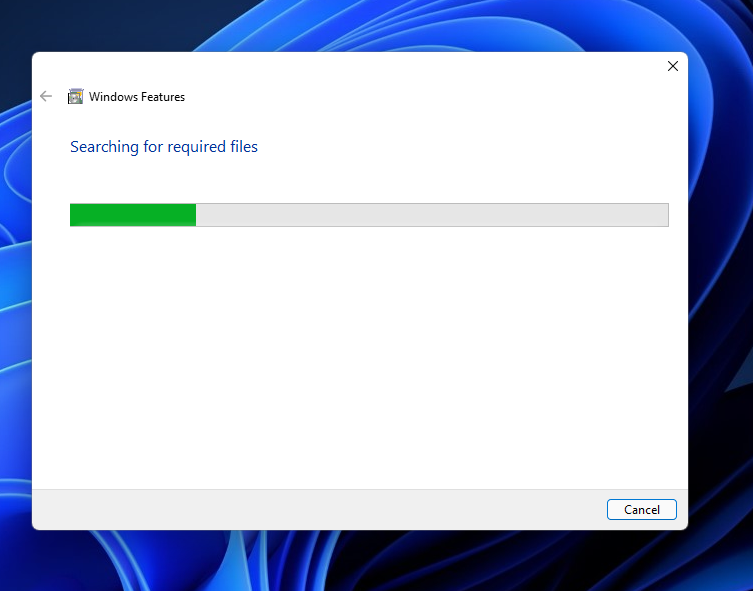
It will start searching for the required files.
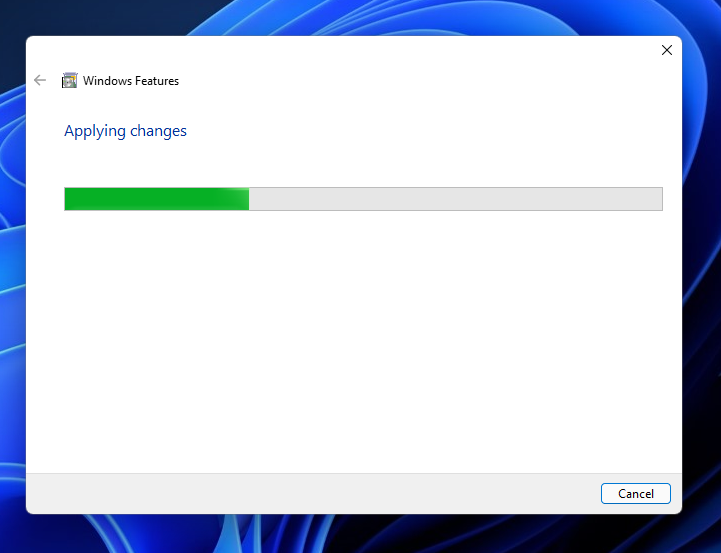
Then it will apply the changes all by itself.
After completing the requested changes, it will ask you to restart your system.
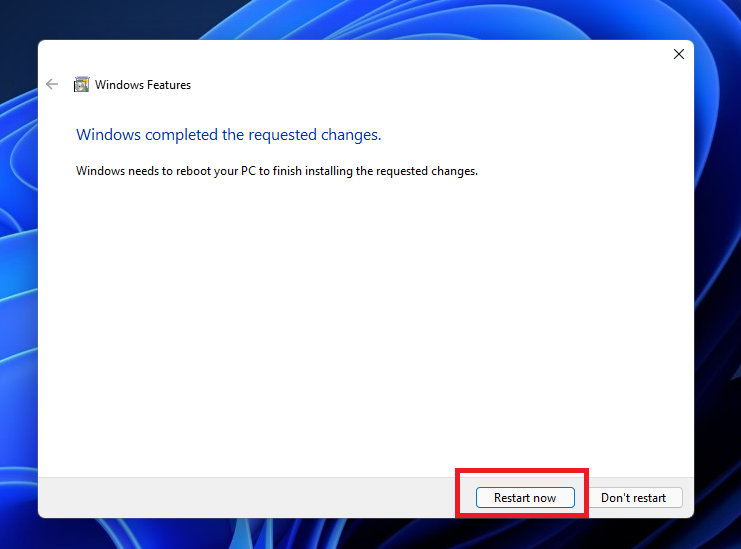
Click Restart now.
After rebooting your computer, your computer is completely ready to use the Windows sandbox.
How to Test Windows Sandbox
Click the start menu or search bar and search for Windows Sandbox.

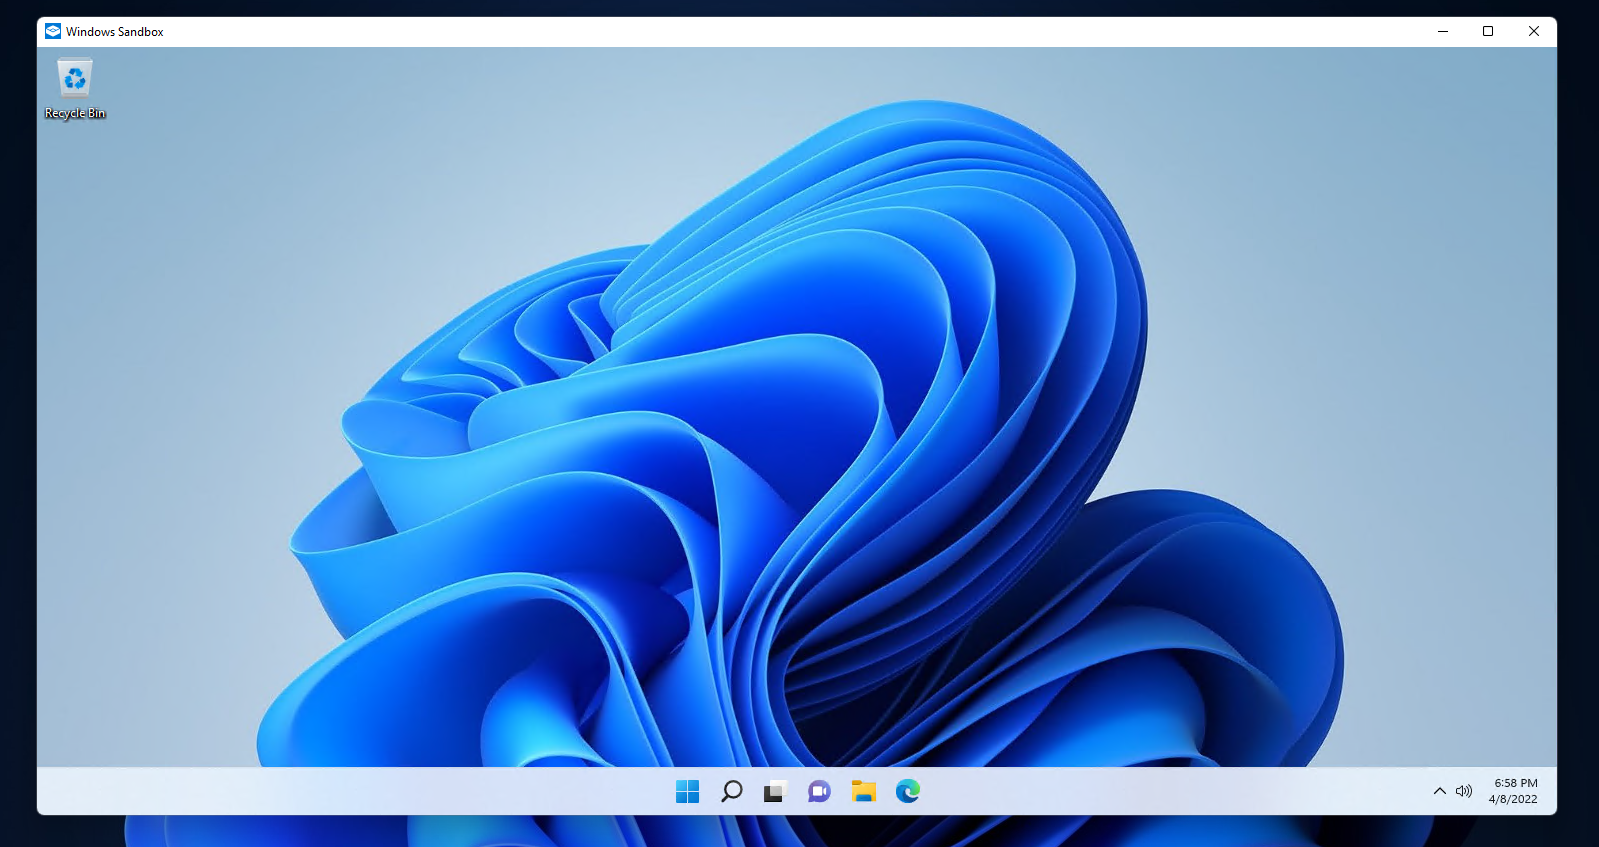
Windows Sandbox will be opened after that. Do not fear if you get a dark screen like below as it is normal when you first start the sandbox.
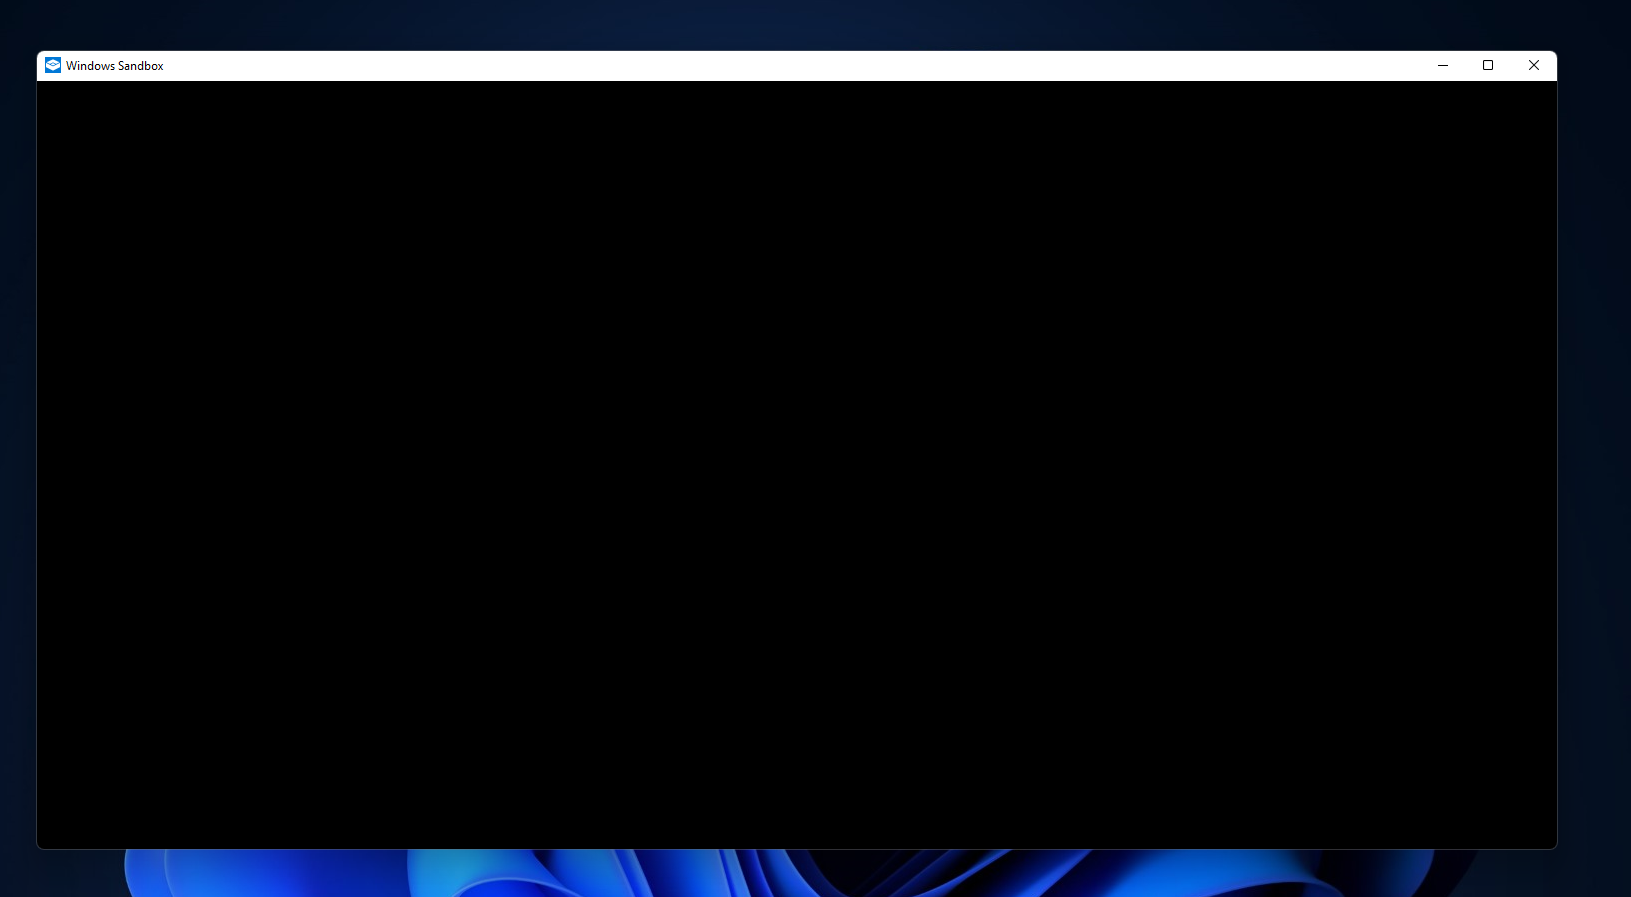
After a while, you will see that a new instance of your host machine has appeared right before your eyes.
You can maximize the sandbox window if you want.
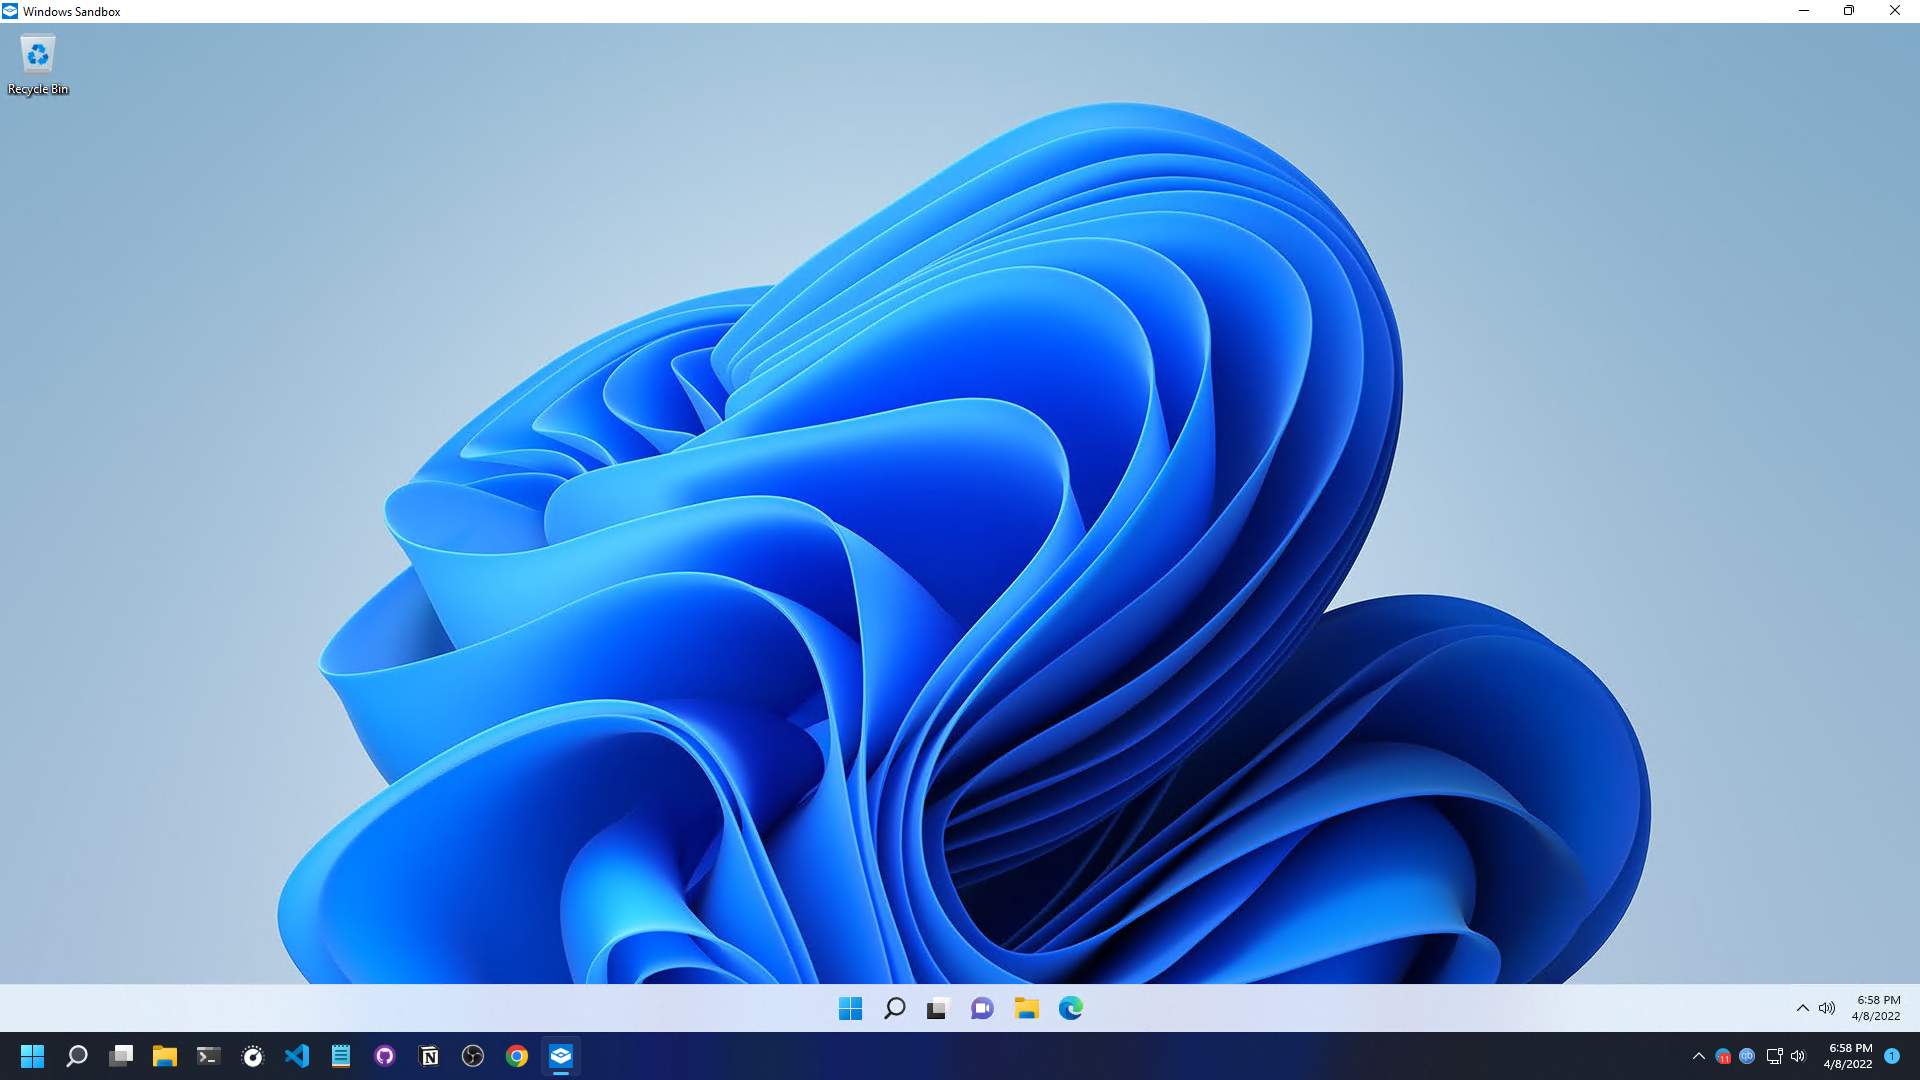
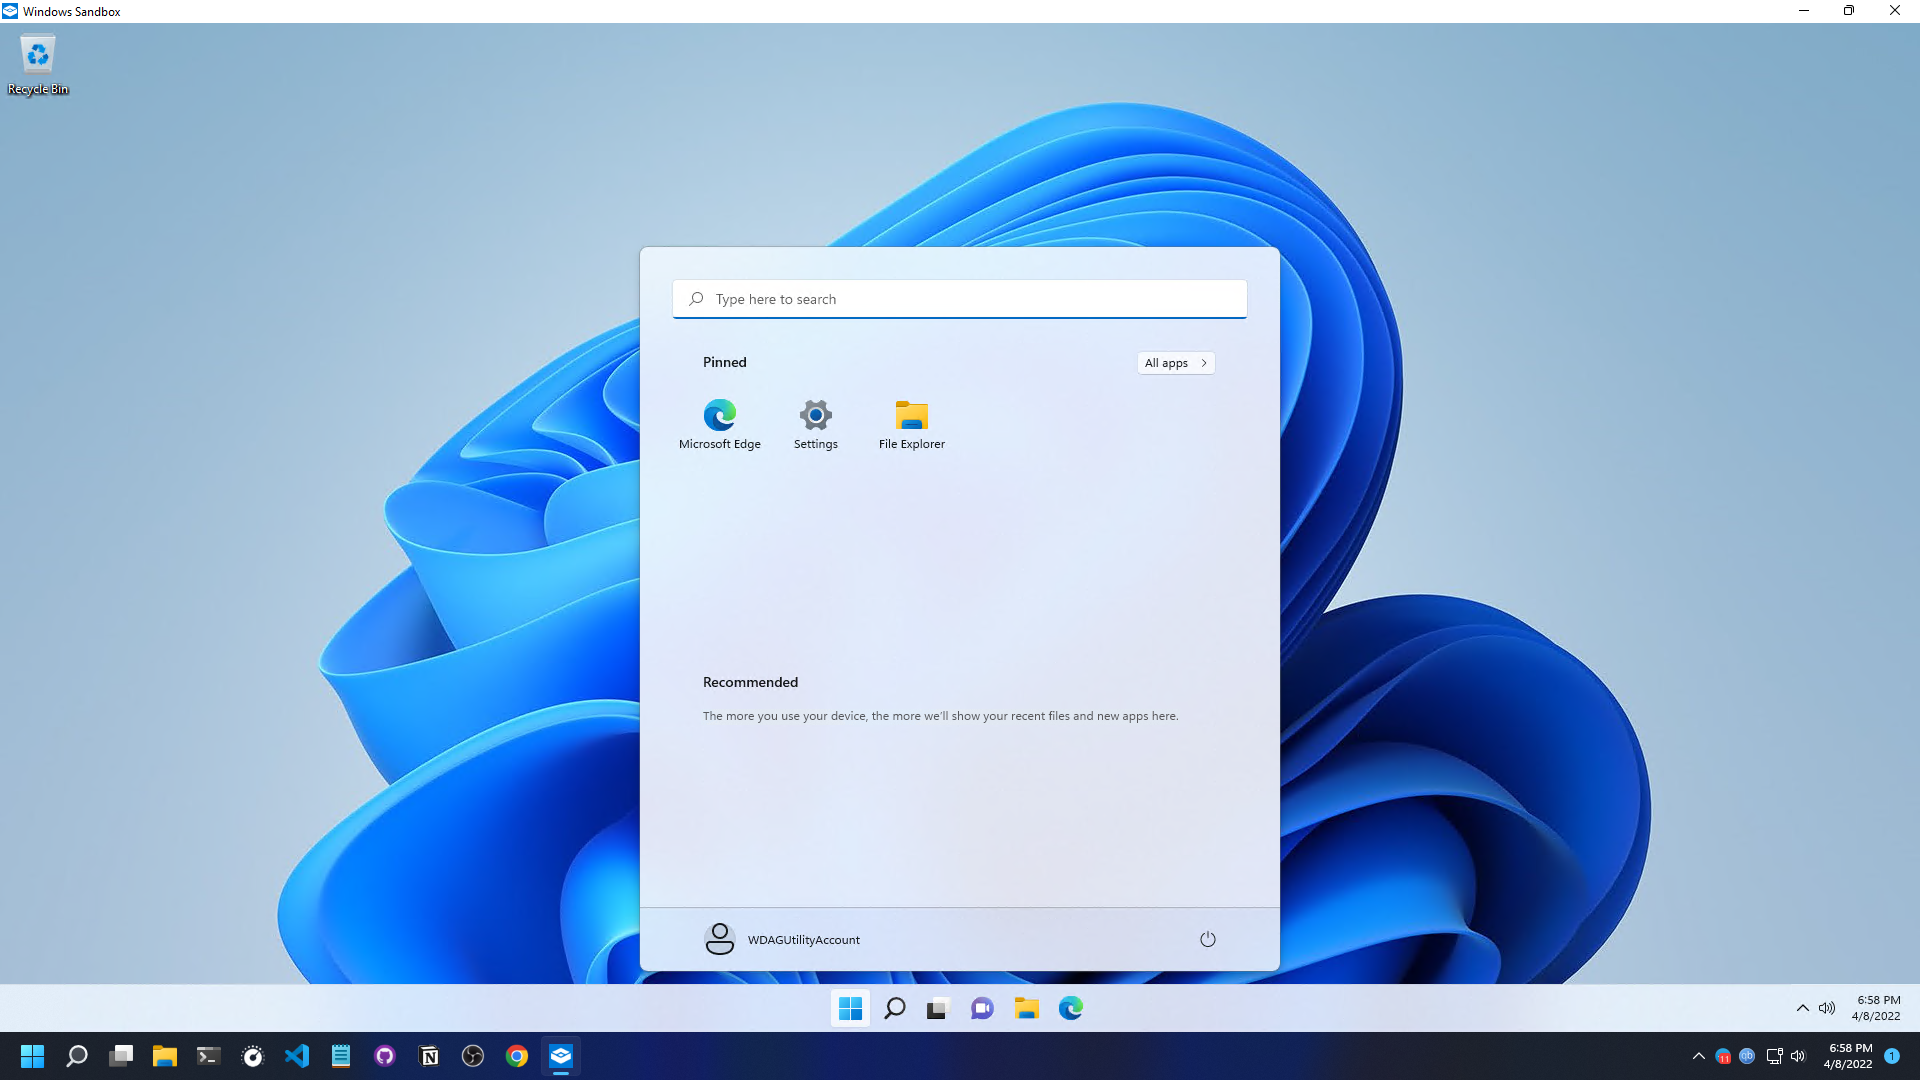
Now you can experiment in your sandbox. It will feel like you are using your main host machine, but you're not. You are using a temporary virtual machine with elevated privileges in an isolated environment – and whatever you do in this sandbox, your host machine will remain intact!
How cool is that, right! 😍
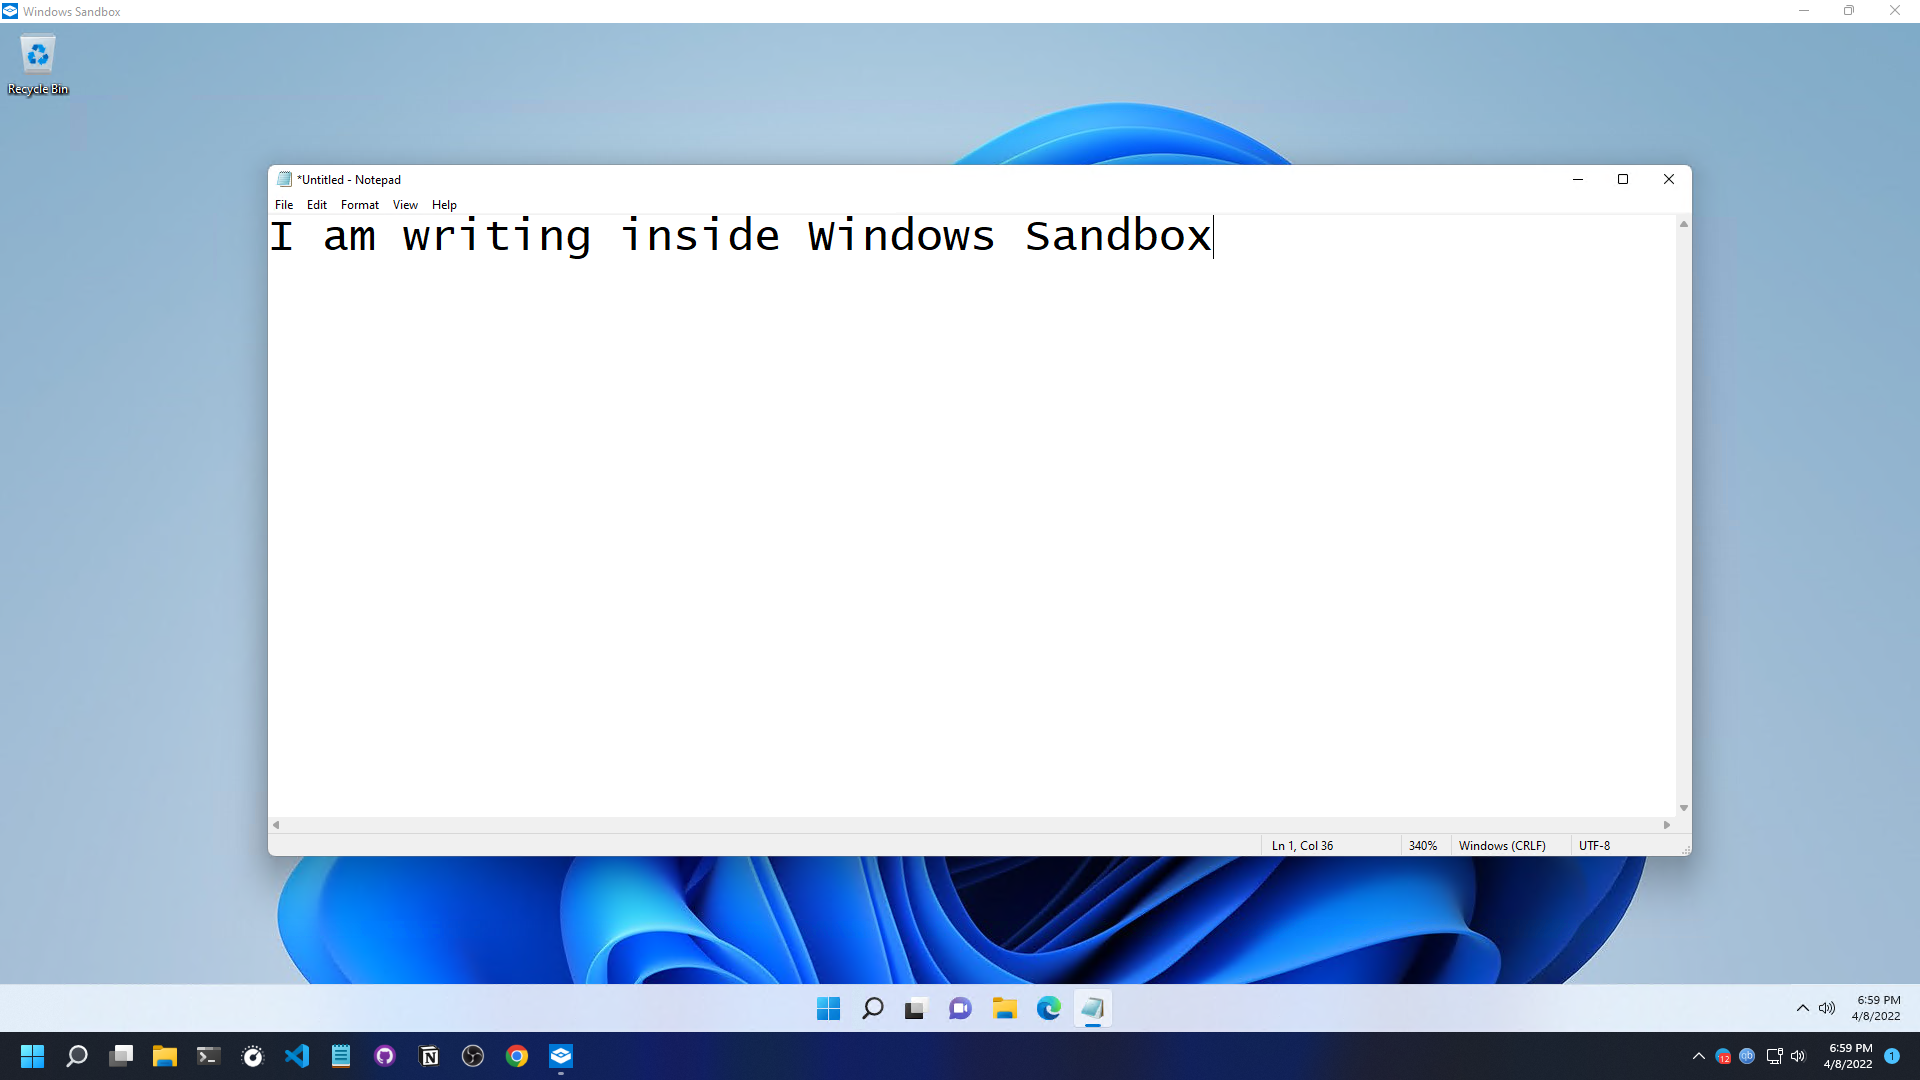
If you want to add data/software inside your sandbox, then you have to copy-paste them as you normally do on your computer. Simply copy the file/software that you want to use inside the sandbox, and in the sandbox window, simply paste them in.
How to Close the Sandbox
Be careful here! Whatever you are doing and keeping in your sandbox is happening in a temporary instance. Remember that it's not getting saved anywhere else in your host machine for later use.
Once you close the sandbox, all of the data/apps you are keeping in that sandbox will get deleted instantly.
Before closing the sandbox, you have to make sure that you have not kept anything important in the sandbox that you might need afterward, even after closing the sandbox.
When you want to close the sandbox, simply close the sandbox window. A prompt will appear telling you that once you close the window, all of the files/applications you have in the sandbox will be gone forever.
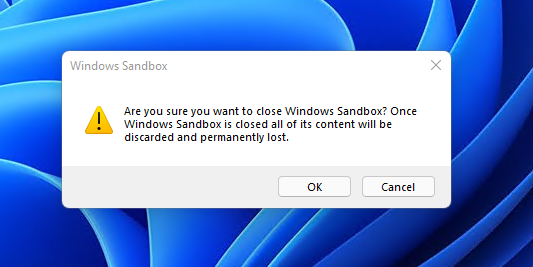
If everything is okay, then simply click OK. It will close the sandbox.
If you need to open the sandbox again, simply open it like earlier and do your tasks. All of the processes are exactly the same.
Conclusion
Thanks for reading the entire article. If it helps you then you can also check out other articles of mine at freeCodeCamp.
If you want to get in touch with me, then you can do so using Twitter, LinkedIn, and GitHub.
You can also SUBSCRIBE to my YouTube channel (Code With FahimFBA) if you want to learn various kinds of programming languages with a lot of practical examples regularly.
If you want to check out my highlights, then you can do so at my Polywork timeline.
You can also visit my website to learn more about me and what I'm working on.
Thanks a bunch!