

In this article, I will talk about how to get started with your first freeCodeCamp project and provide some tips along the way.
Here is what we will cover:
- Understanding the instructions
- What is CodePen and how do I use it?
- Do I have to use CodePen or can I use a different code editor?
- What is the test suite?
- Tackling the user stories
- Styling the page
- How to submit your project
Understanding the instructions
Should I copy the sample?
The objective states:
Build a CodePen.io app that is functionally similar to this: https://codepen.io/freeCodeCamp/full/zNqgVx.
The words "functionally similar" just mean that you need to create a project that passes the tests. The goal is not to copy or recreate the sample.
You are encouraged to create your own content and style. You should choose your own subject matter and images.
Do I need to use JavaScript? Bootstrap? Sass?
The answer is no. The only requirement is to use HTML and CSS.
If you have previous experience with JavaScript, Bootstrap, Sass, and so on, then you can choose to use it. But you don't need to.
What is CodePen and how do I use it?
For these projects, you have the option to use an online code editor called CodePen.
How to create a free CodePen account
You can create an account with the following options you see below.
Once you create your account, you should receive an email asking you to verify your email address with CodePen.
What is the difference between a Pen and a Project?
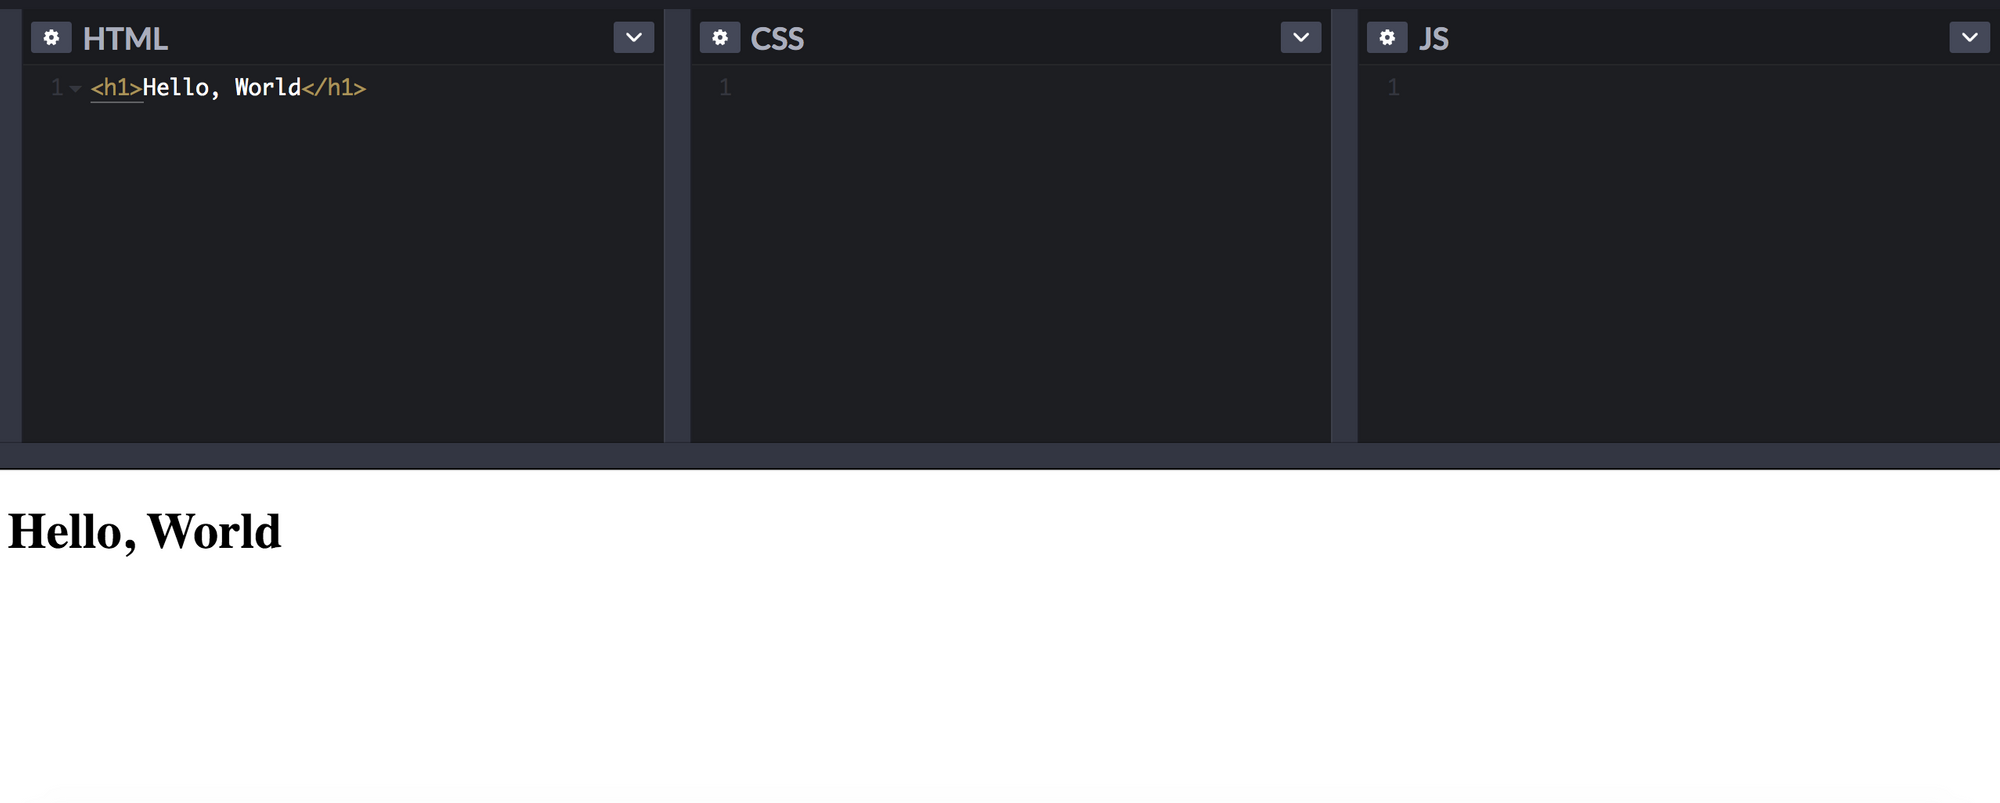
A Pen is an editor with only three sections for HTML, CSS, and JavaScript. This is what you will use for the freeCodeCamp projects.
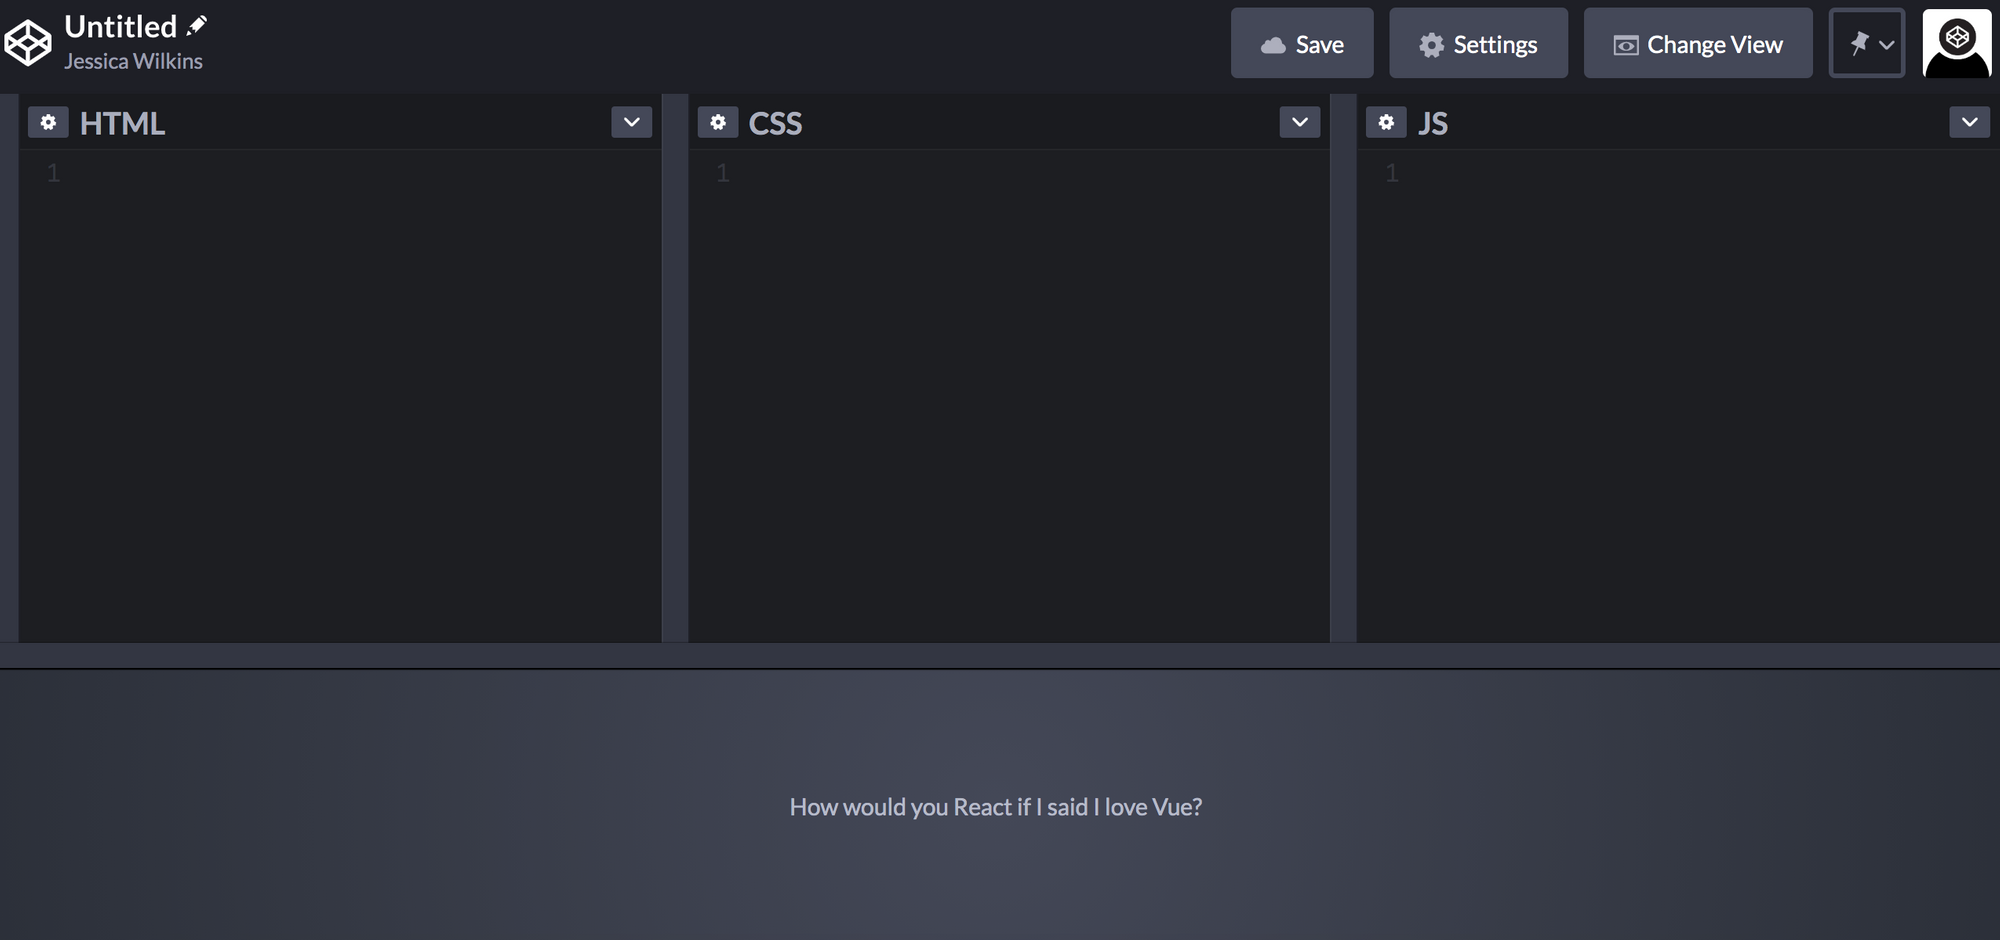
You can write code directly into those editors and see your results in the preview window.
A project supports multiple HTML, CSS and JavaScript files. In the free version you are allowed to create one project and as many Pens as you like.
Useful Features of CodePen
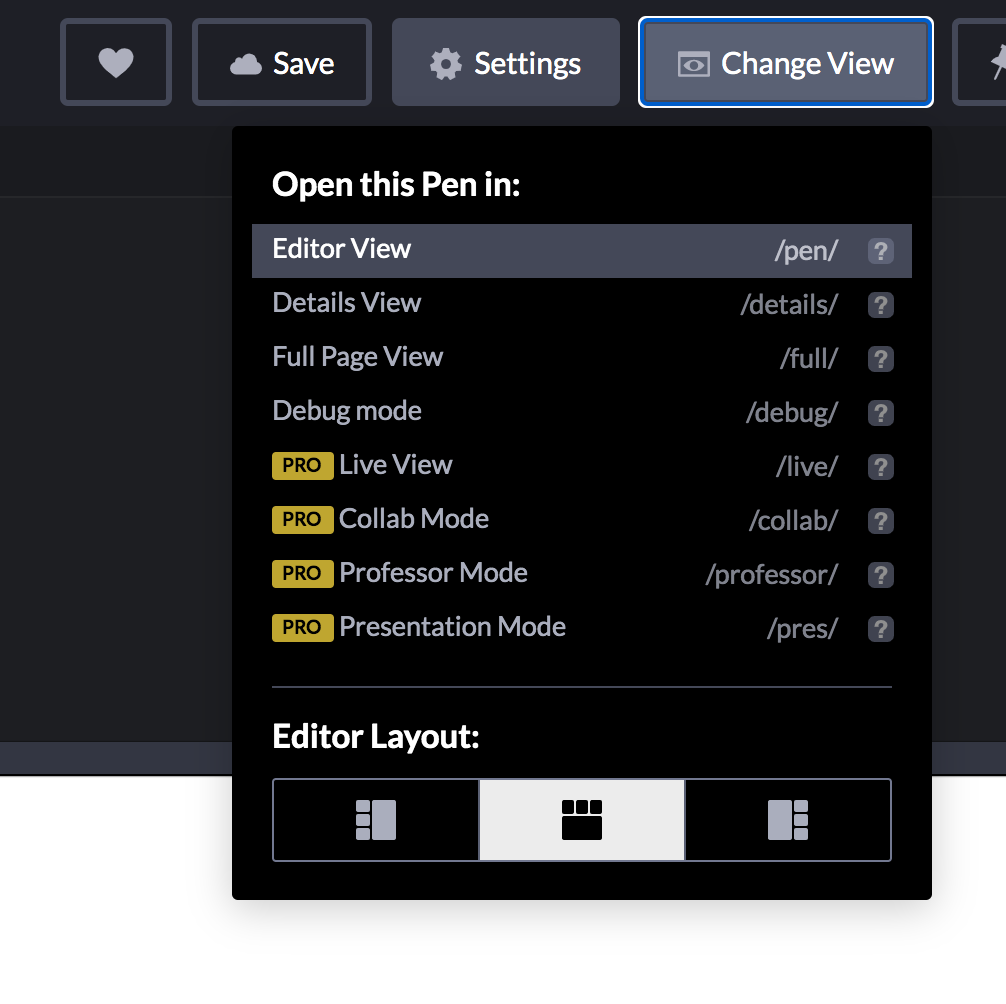
One helpful feature is the ability to change the view of your editor layout.
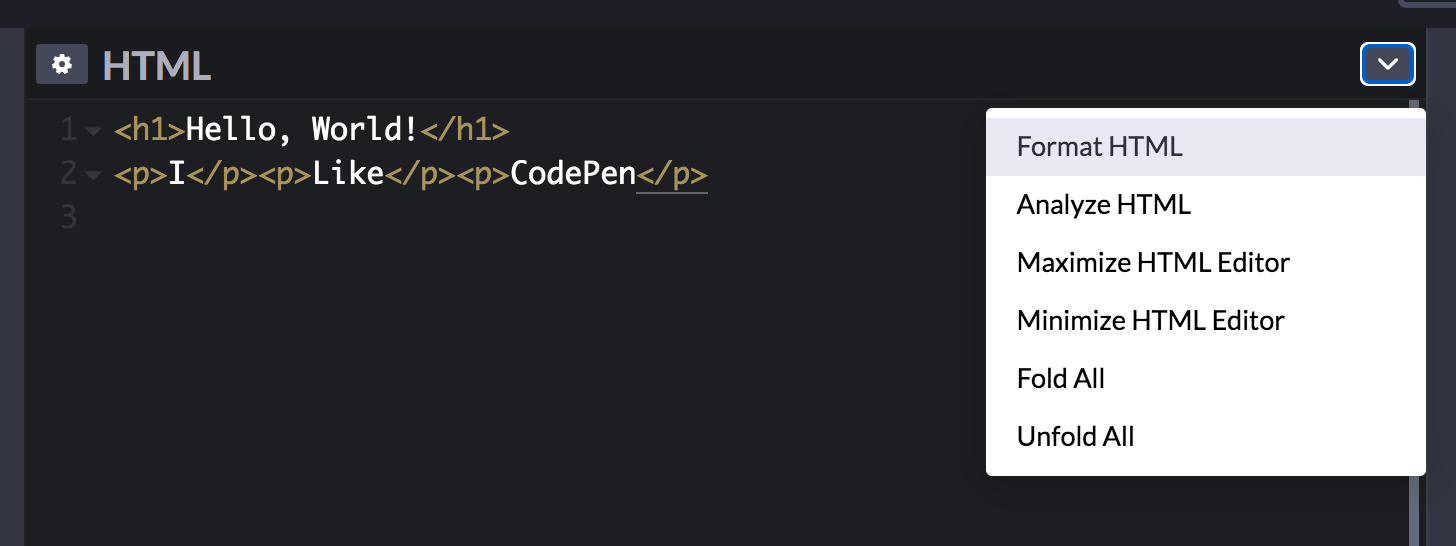
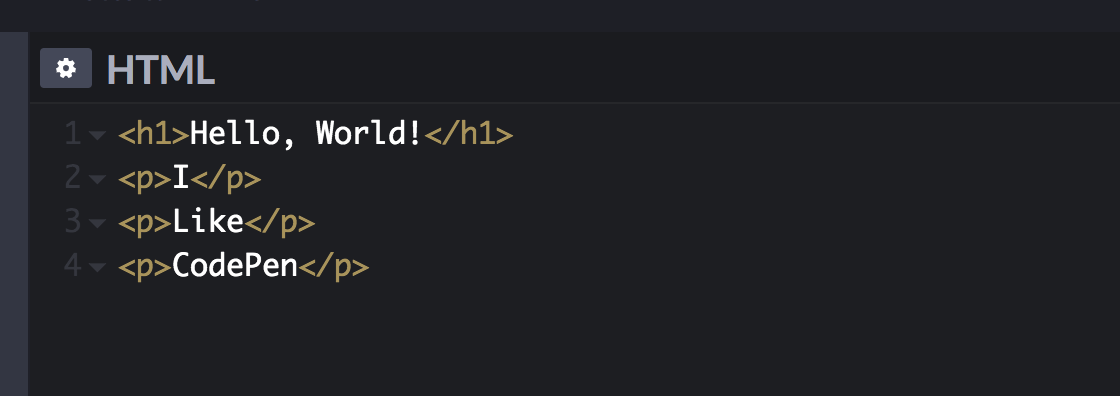
CodePen also has the option for you to format your code. It is really important to have properly formatted code so other developers can easily read it.
This is before formatting:
This is after formatting:
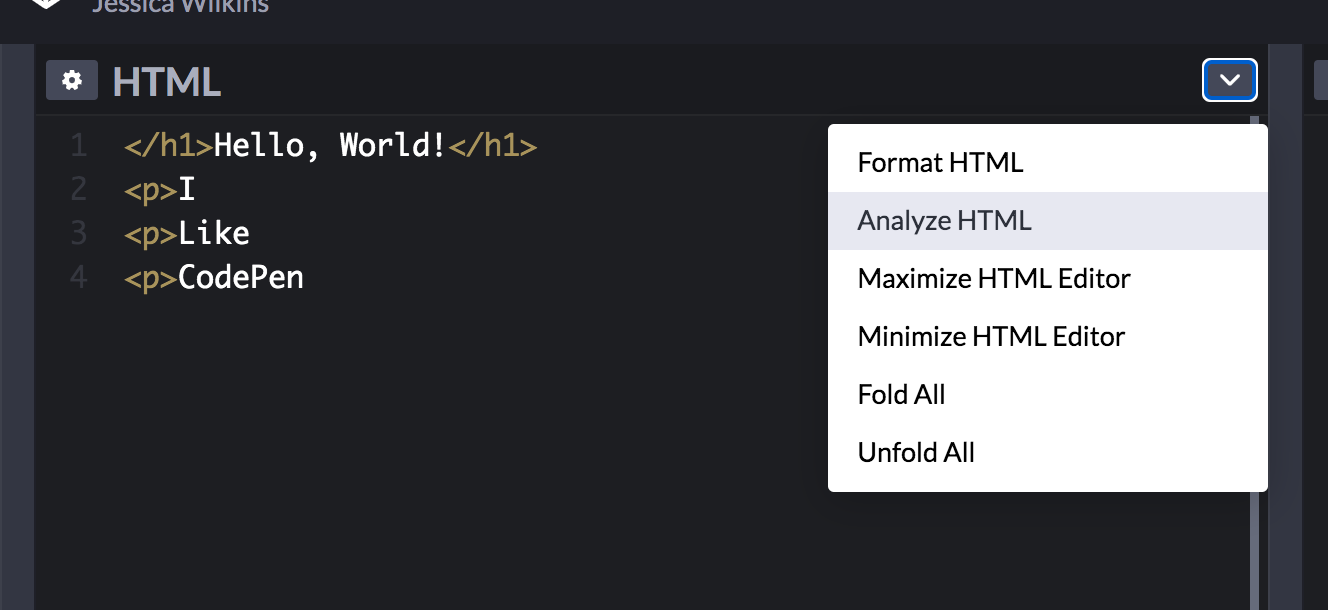
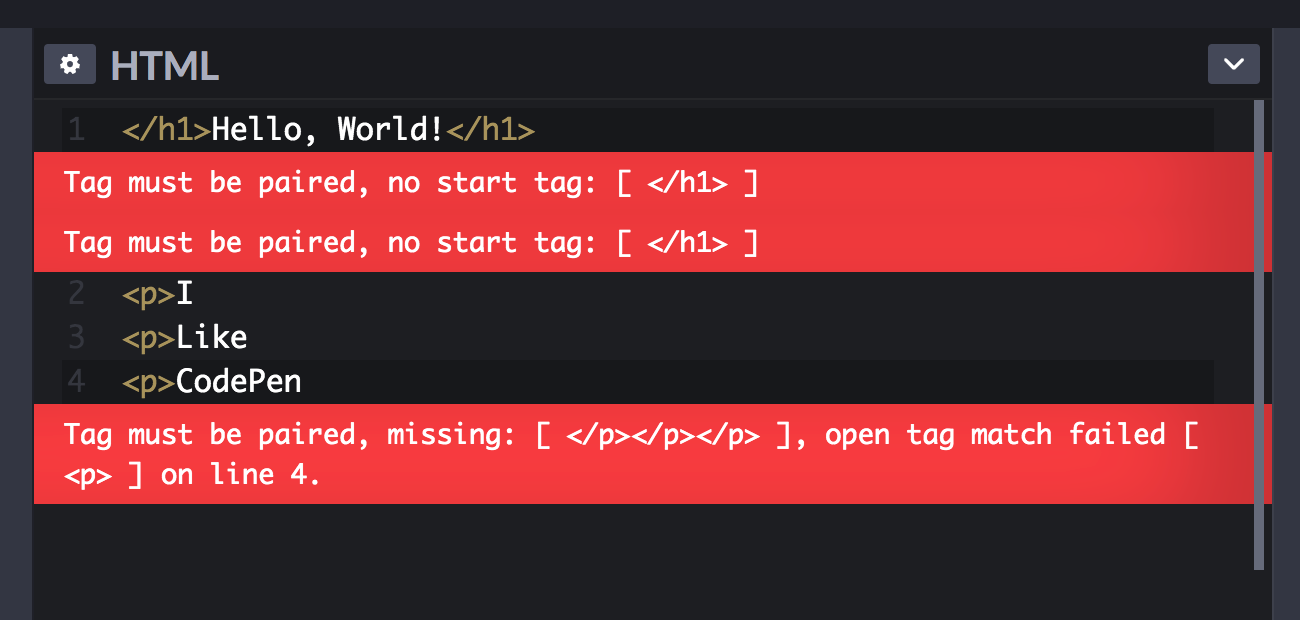
Another cool feature is the analyze tool. It will help you find errors in your code as you are building out your project.
With CodePen, you do not need to include the <!DOCTYPE html>, <html>, <head>or <body> tags because they are already built into the editor.
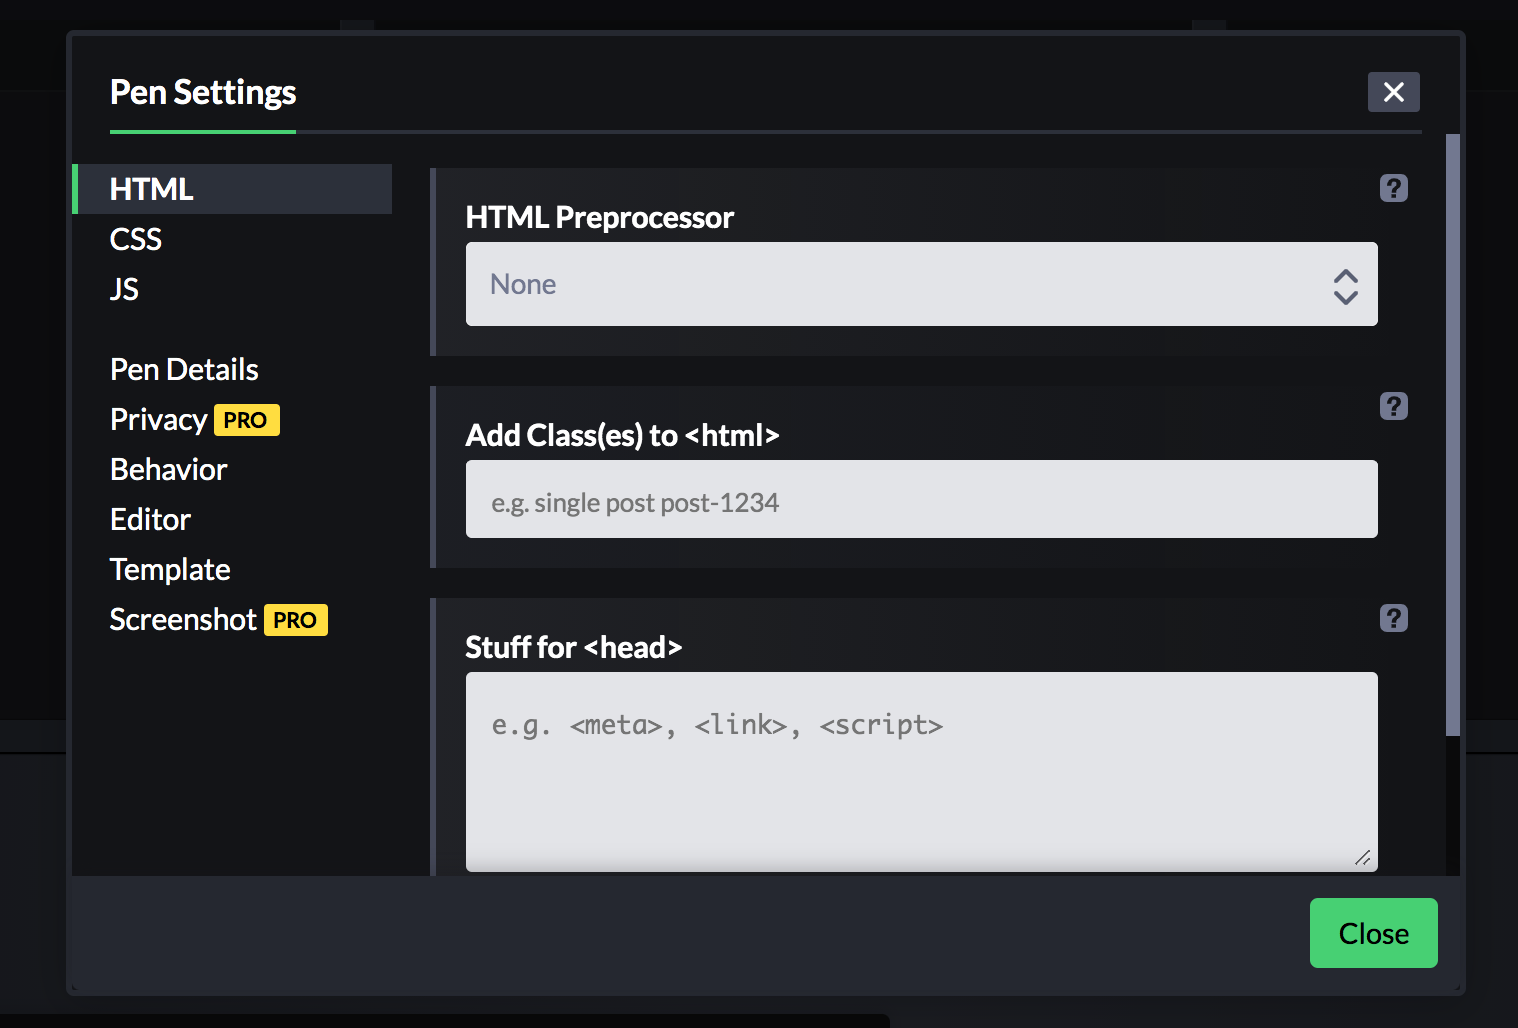
If you need to include links for the head section you can add that in the HTML settings of the pen editor.
Do I have to use CodePen or can I use a different code editor?
You do no have to use CodePen to build your projects. If you feel more comfortable using another code editor than you are free to use that.
What is the test suite?
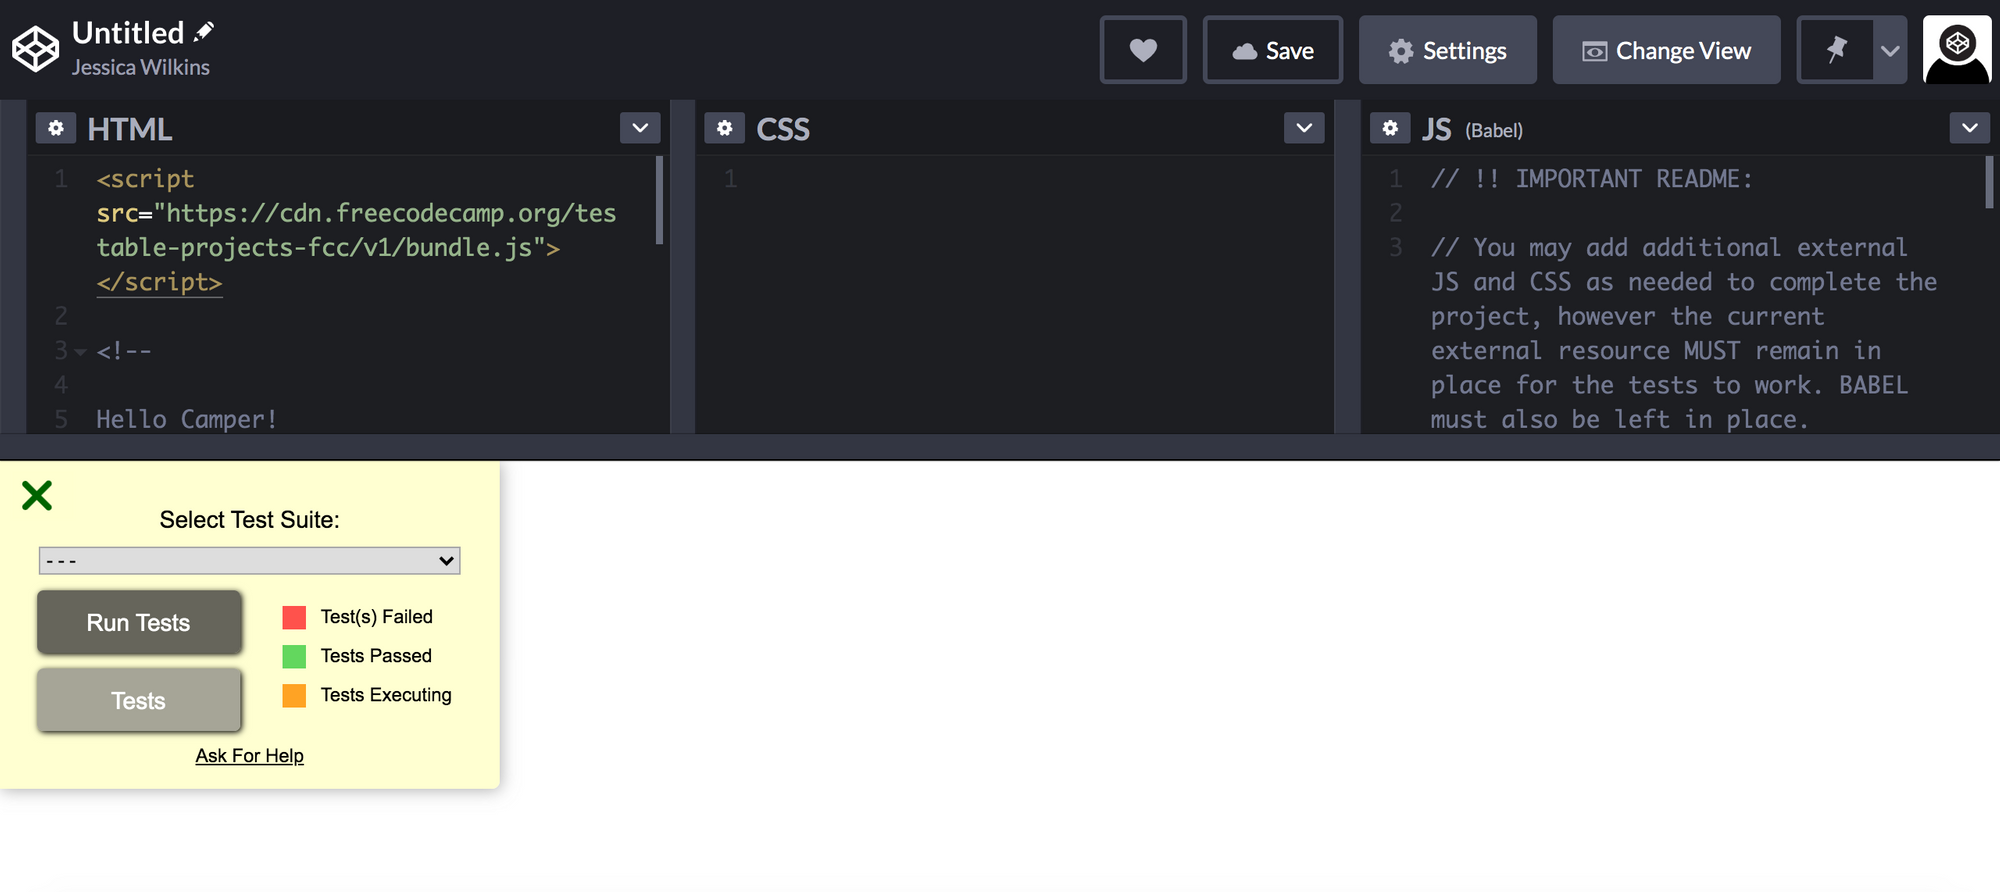
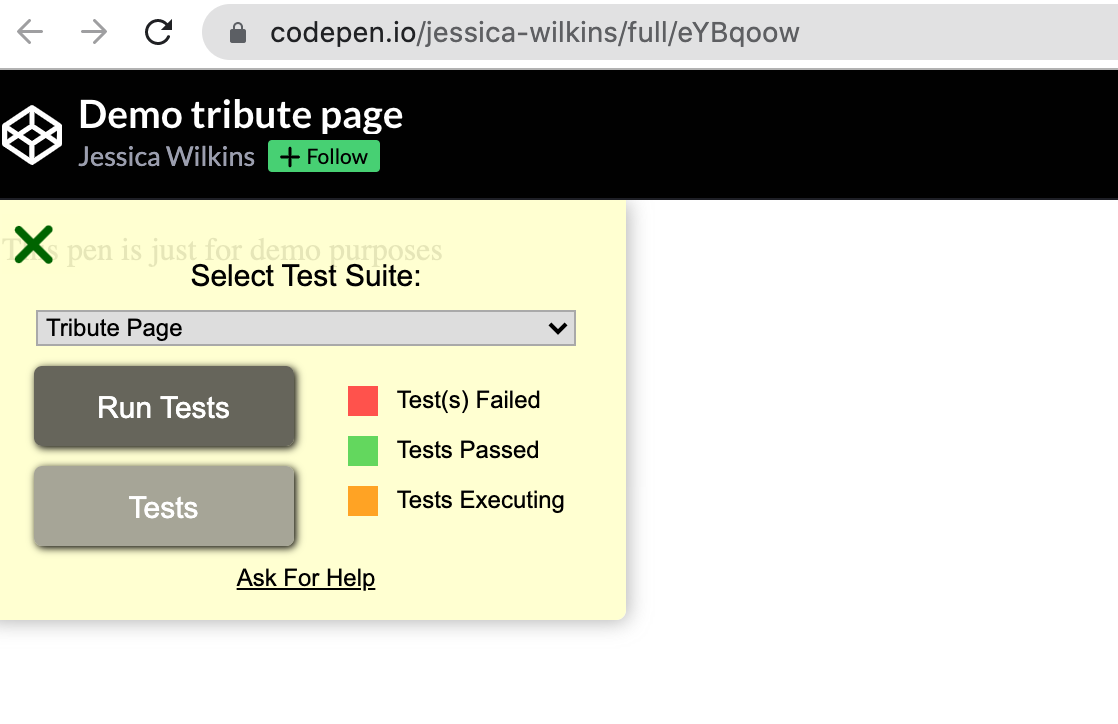
In order for freeCodeCamp to ensure that you are passing all of the required user stories, they have created a test suite.
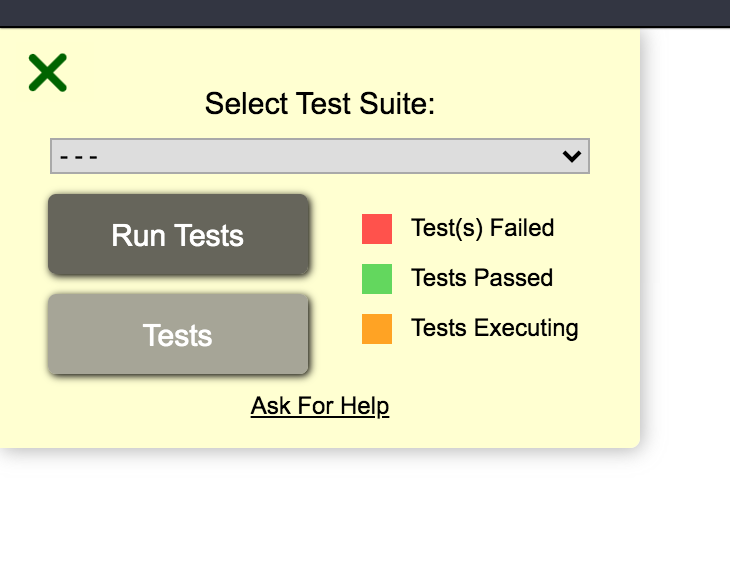
In the dropdown menu, you can choose the project you are working on and click Run Tests. It will then show you how many tests are passing.
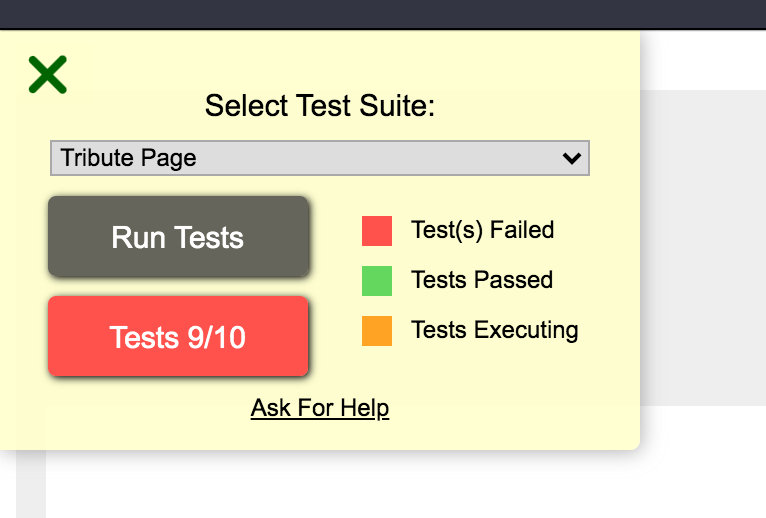
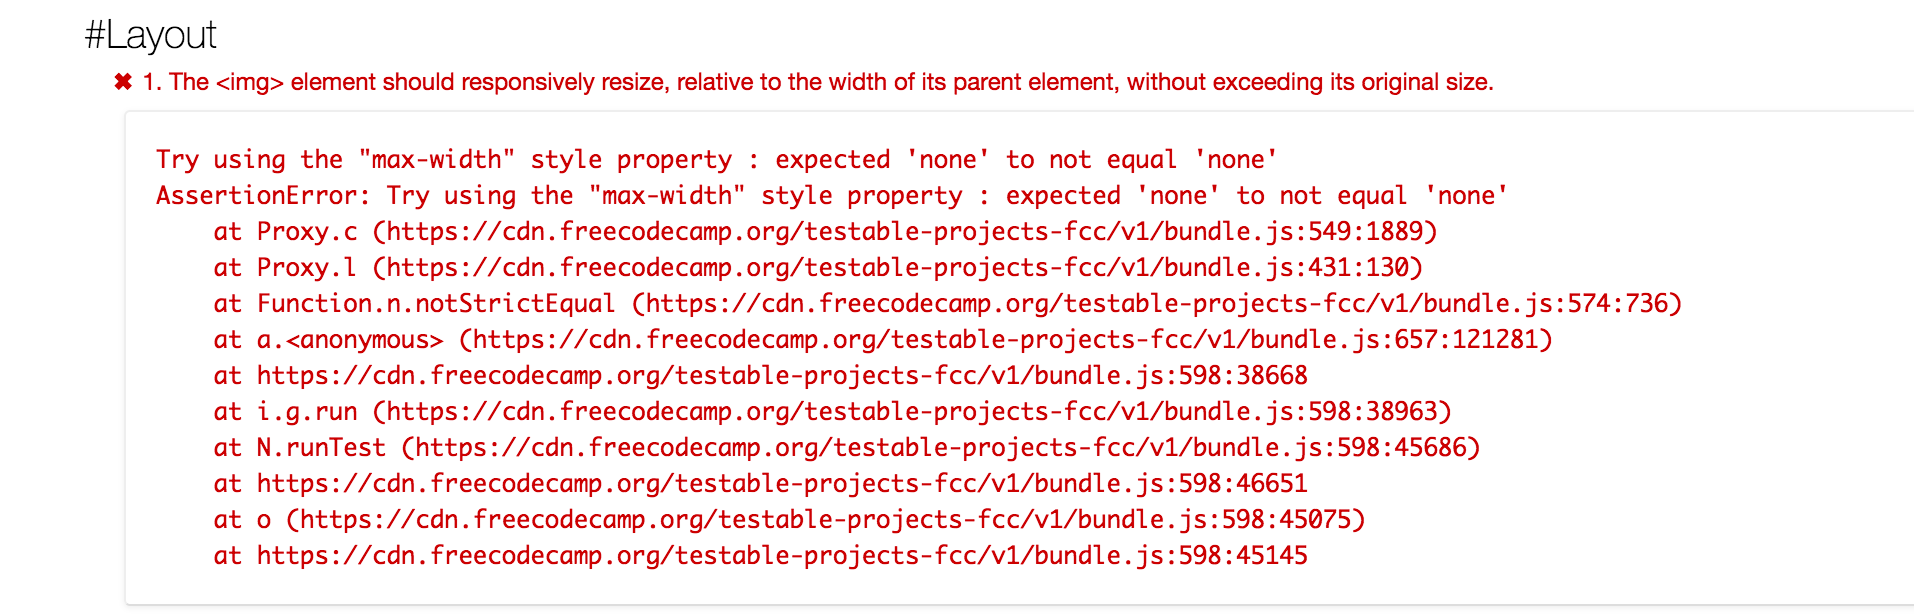
If you click on the red Tests button it will show you the full error messages. Make sure to read the entire error message because it provides helpful information on how to fix the problem.
How to add the Test Suite in CodePen
- Login to your account
- Go to this URL https://codepen.io/pen?template=MJjpwO
- Click Save
You should see this as the result and the URL should include your username in it.

It is important to make sure that URL address at the top of the page includes your username. If you try to submit a project with the same URL as the template, then it will not be accepted.
How to add the Test Suite in your code editor of choice
If you are building the project using another editor like Visual Studio Code, then you will need to use the CDN link.
CDN stands for Content Delivery Network. You will place this CDN link https://cdn.freecodecamp.org/testable-projects-fcc/v1/bundle.js in a script tag and place that script tag at the end of the body tags.
<!DOCTYPE html>
<html lang="en">
  <head>
    <meta charset="UTF-8">
    <meta name="viewport" content="width=device-width, initial-scale=1.0">
    <title>Demo Tribute page</title>
  </head>
  <body>
    <p>I just added the test suite in VS code</p>

    <script src="https://cdn.freecodecamp.org/testable-projects-fcc/v1/bundle.js"></script>
  </body>
</html>
Tackling the user stories
What are user stories?
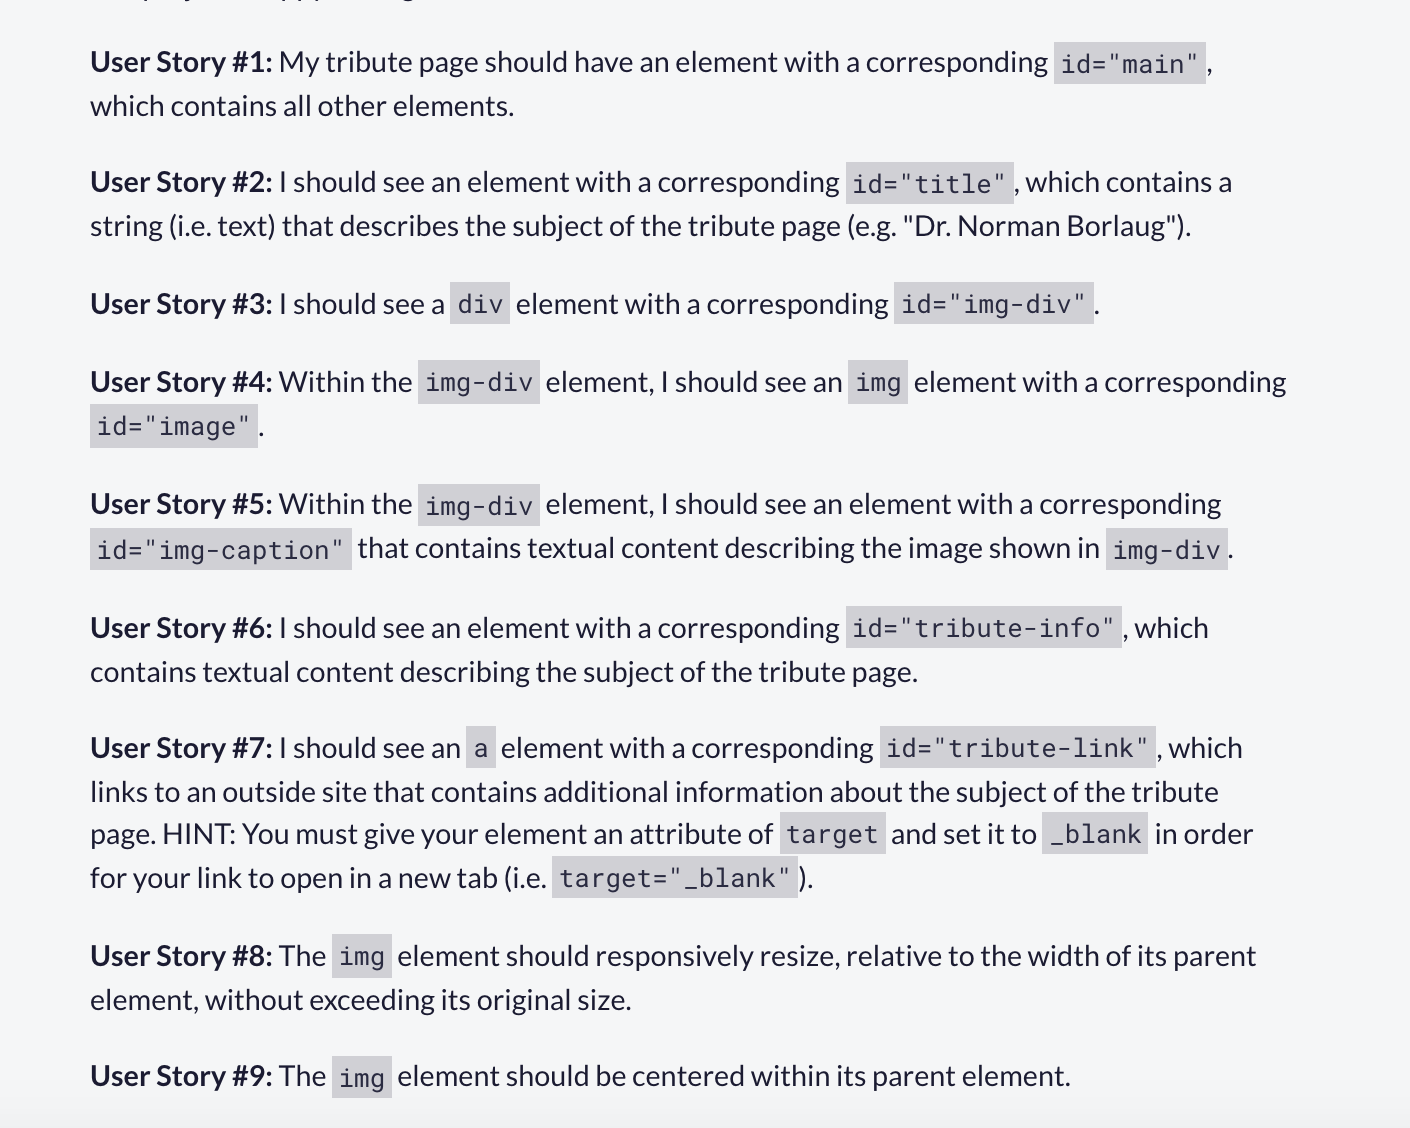
In software, user stories are descriptions of features that the user wants to see implemented in the project. For the tribute page, there are a list of nine user stories that you need to include in this project.
I would suggest focusing on passing the user stories first and then worrying about styling the page later.
Take it slow and go through each user story one at a time. If you don't understand one of the user stories then there is a way to find the answer.
For example, if you are having trouble with the first user story, then you can head over to the freeCodeCamp forum and use the search bar. You do not need to have a forum account to use the search function.
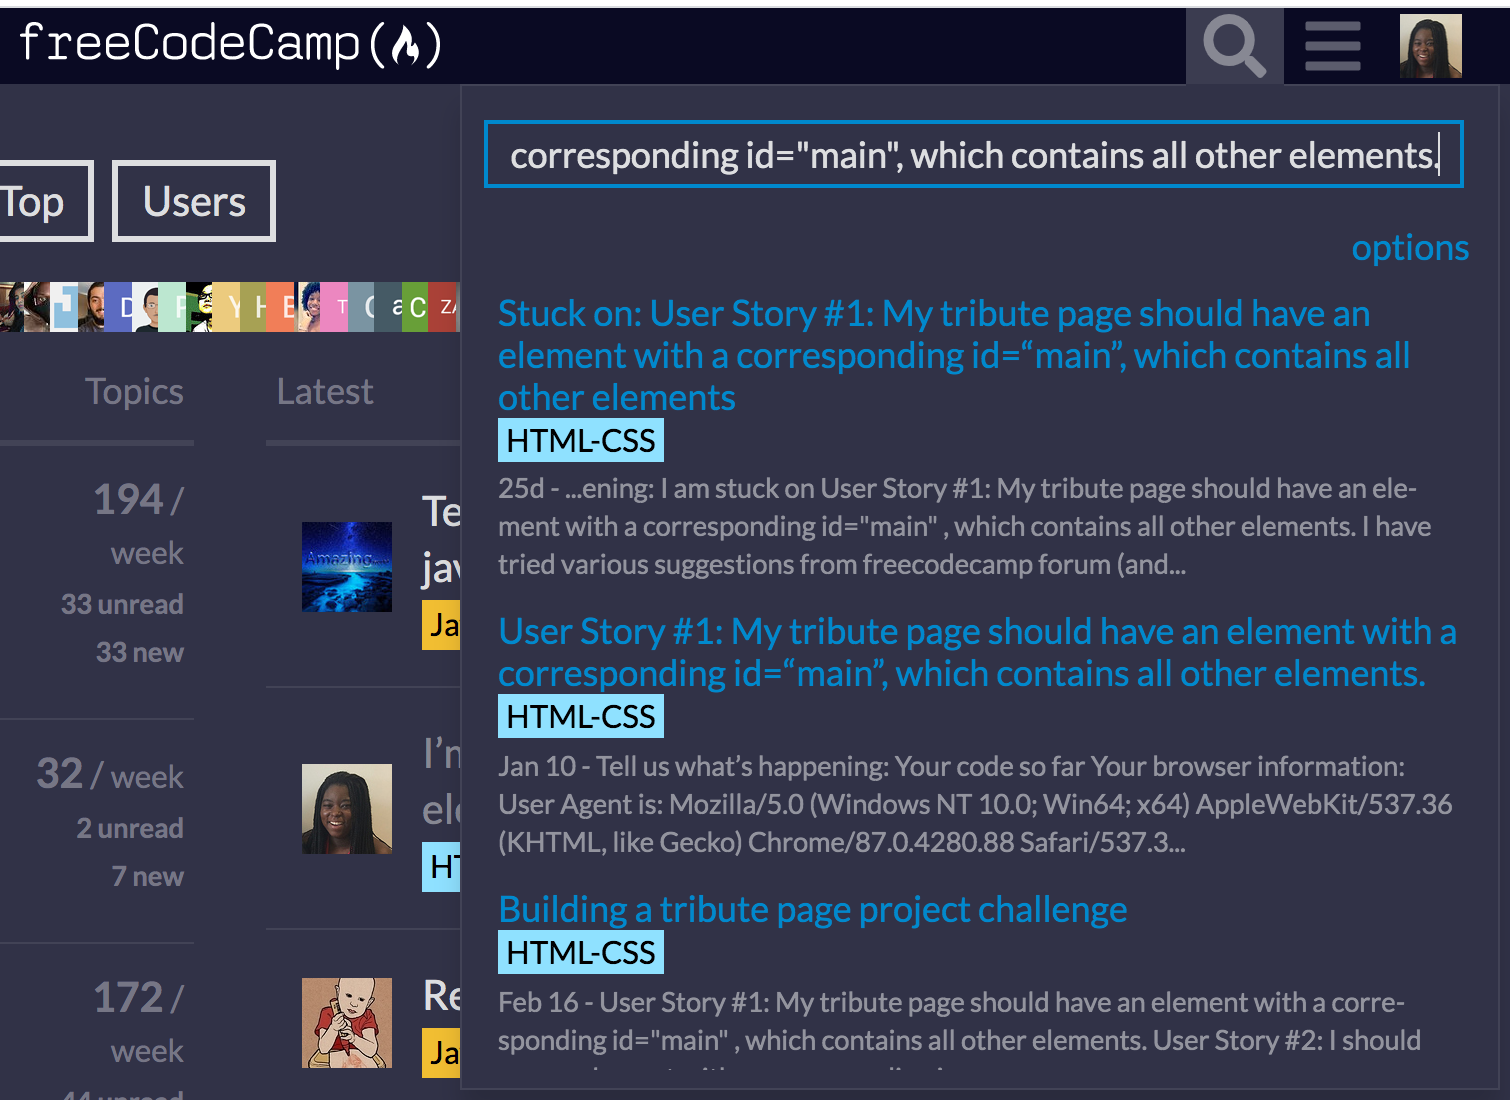
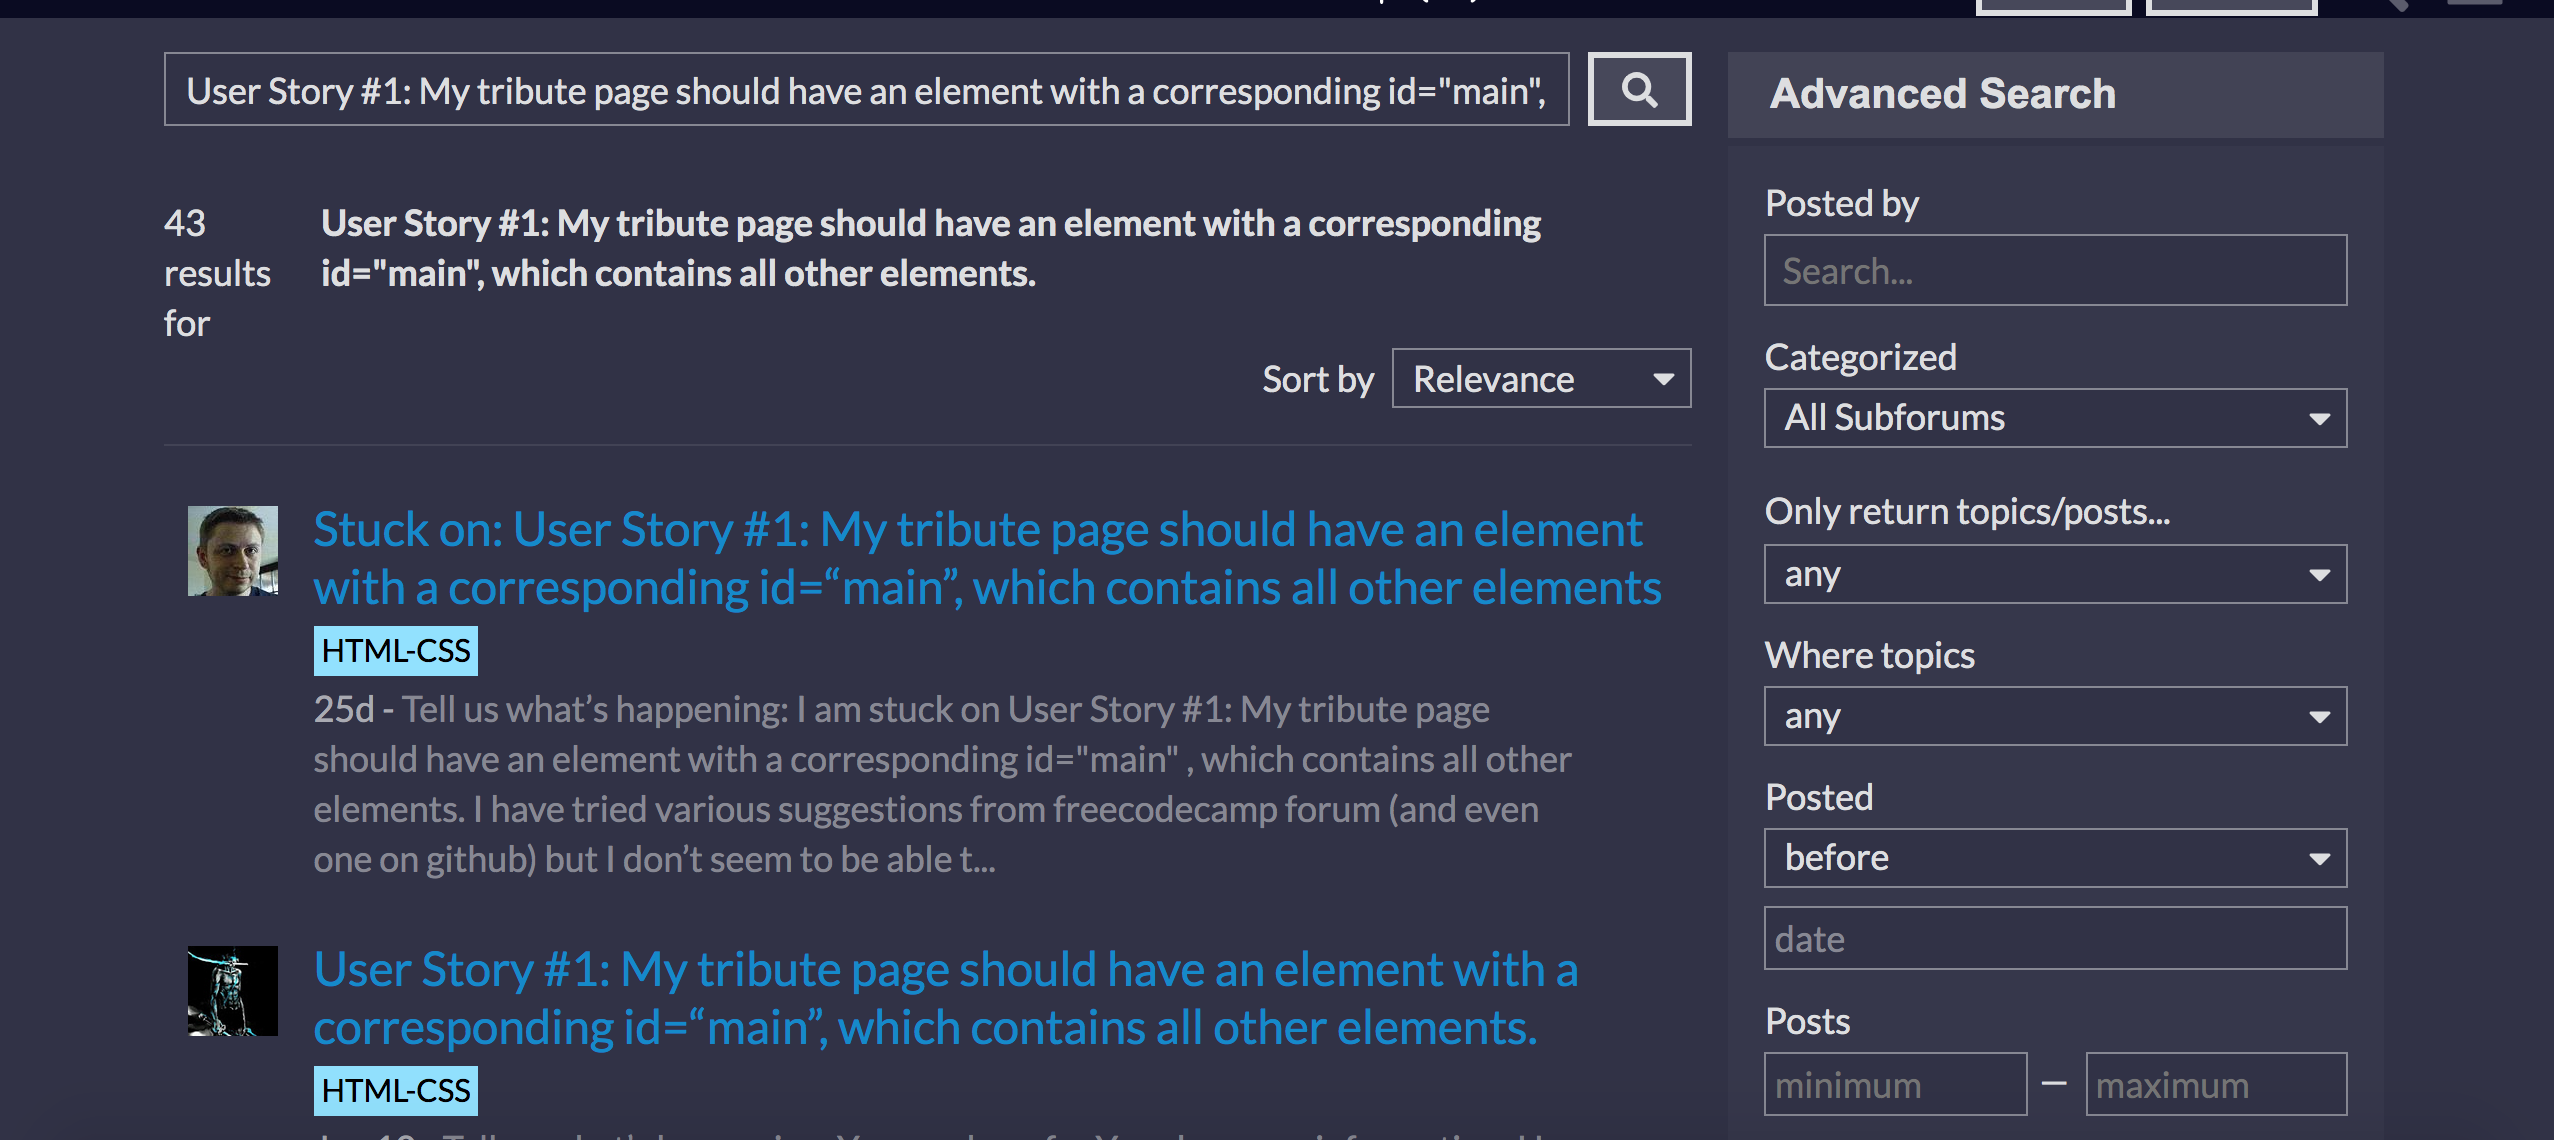
As you can see, plenty of people have experienced the same issue. You can click on any of the posts and read through the discussion to better understand the instructions.
You can also create an account on the forum, and ask for help there. There are plenty of knowledgeable people that would be happy to assist you.
Google is your friend
An important skill for developers is knowing how to use Google.
For example, you can use Google to help you pass the last two user stories.
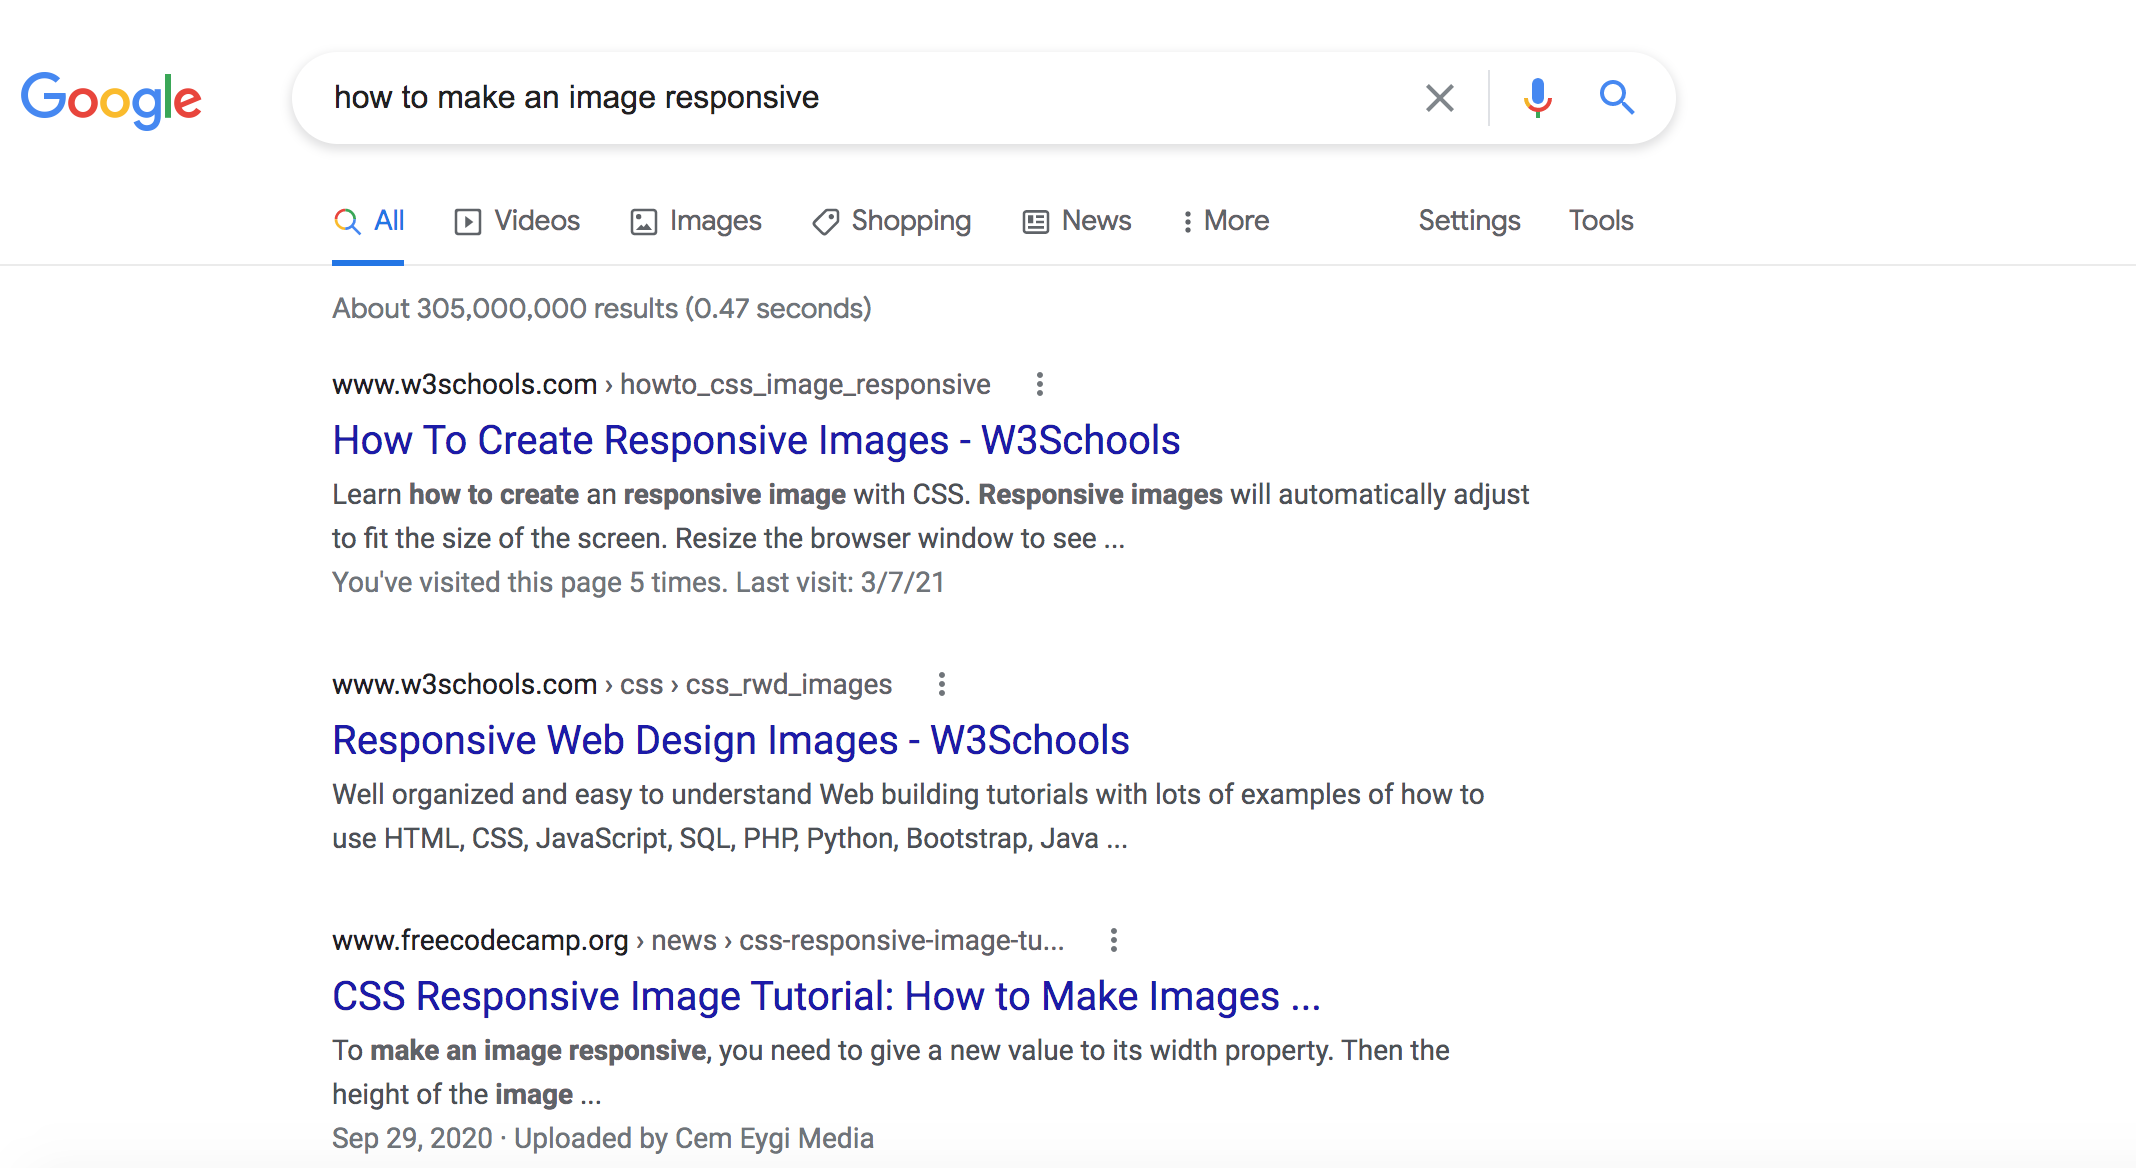
User Story #8: The img element should responsively resize, relative to the width of its parent element, without exceeding its original size.
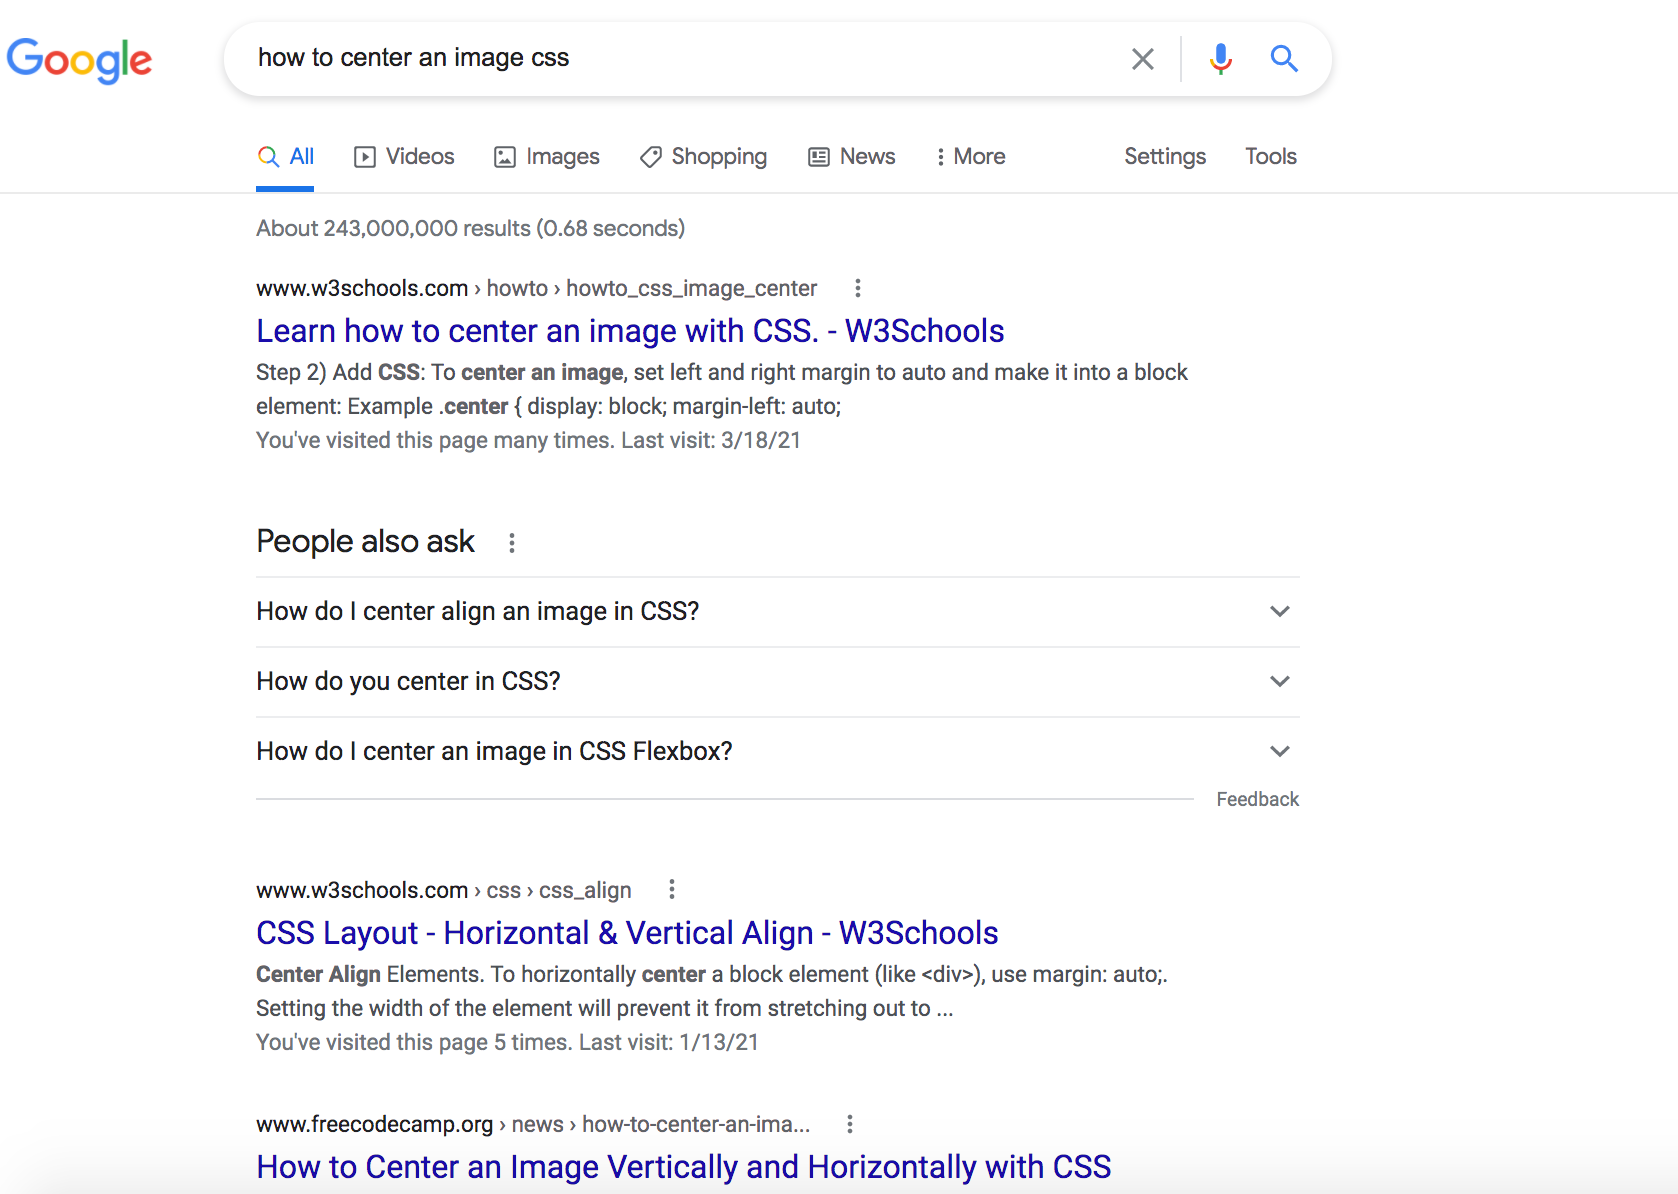
User Story #9: The img element should be centered within its parent element.
If you Google, "how to make an image responsive" then there will be plenty of results to choose from.
You can also Google "how to center an image css" to help with the last user story.
Tips for styling your page
Once you have passed all of the user stories, then you can focus on styling your page.
The goal is not to recreate a professional quality design for your very first project. Just do the best you can and keep it simple.
Make sure your page is easy to read and doesn't have two many conflicting colors or animations that make for a poor user experience.
These projects give you an opportunity to experiment with different features in CSS. Remember that you can use Google to learn how to do things in CSS.
Here are few things you might want to Google:
- How to create rounded images in CSS
- How to use google fonts in CSS
- How to add a background image in CSS
- How to use CSS animations
- How to make an image gallery with CSS Grid
You don't have to feel pressured to use any of those suggestions. It is entirely up to you how intricate of a design you want to make it.
How to submit your project
Once you are finished and all of the tests are passing, you will need to submit it to get credit for the project.
- Copy the URL for your project.
Go the Tribute page instructions https://www.freecodecamp.org/learn/responsive-web-design/responsive-web-design-projects/build-a-tribute-page
Paste your project URL where it says Solution Link
Click on I've Completed this Challenge
Click on Submit and go to the next challenge
If you were building your project using another editor like Visual Studio Code, then you need to copy and paste your code into CodePen. Then you can copy the URL to submit the project.
You also have the option to use something else like Github pages if you have experience with Git and GitHub. As long as you submit a URL to a live working site then that is all that matters.
I hope this guide will help you.
Happy coding!