By Dennis Temoye Charity
Security is critical in the field of web development, particularly when dealing with user credentials such as passwords. One security procedure that's critical in web development is password hashing.
Password hashing guarantees that plaintext passwords are difficult for attackers to find, even in a situation where a database is compromised. But not all hashing methods are created equal, and this is where bcrypt stands out.
Node.js, a popular framework for developing web applications, provides a robust ecosystem for constructing secure authentication systems. In this article, we'll look at using bcrypt in Node.js to hash passwords. We'll look at how bcrypt may be smoothly incorporated into Node.js applications to improve security and safeguard user credentials effectively.
Whether you're an experienced Node.js developer looking to strengthen your authentication practices or a beginner looking to learn the best techniques for secure password management, this article will be helpful to you. Let's have a look at how you can use bcrypt to hash passwords in Node.js.
Here's what we'll cover:
- What is Hashing?
- What is Bcrypt?
- How to Install Bcrypt in Nodejs
- How to Set Up Bcrypt in Node.js
- How to Hash Passwords With Bcrypt
- How to Verify Passwords With Bcrypt
- Security Best Practices with Bcrypt
- Conclusion
What is Hashing?
Hashing involves converting a given key or string of characters into another value. This is typically represented by a shorter, fixed-length value or key that represents the original value and facilitates the retrieval.
What is Password Hashing?
Password Hashing is a process of converting an input password into a fixed-length string of characters, typically for the purpose of securely storing and transmitting the password.
Password hash functions are designed to be one-way functions. This means it should not be computationally possible to reverse the process and get the original input password from the hashed value.
For example, suppose we want to hash a password like "password123". The password will be transformed into a fixed-length character string using a hash algorithm like bcrypt. And we'll get a hashed result once the hash function has processed our password.
The hashed output of "password123" using bcrypt, for instance, would look like this:
e234dsdom3k2kmdl3l43iwes9vjro44223m3n32kn5n2ksdo4
Now that you understand the basics of how password hashing works, it's time to dive deeper into the practical application of hashing a password using the bcrypt algorithm.
But before we proceed with that, let's learn a bit more about bcrypt so you understand its workings and installation process, as well as how to integrate it into a Node.js project.
Firstly, let's gain insight into bcrypt – what it is, how it operates, and its significance in password security. Then we'll discuss how to install bcrypt and integrate it seamlessly within a Node.js environment. This will include a detailed walkthrough on setting up bcrypt within your project and leveraging its functionalities effectively.
By the end of this article, you'll have a comprehensive understanding of bcrypt, equipped with the knowledge to securely hash passwords in your Node.js applications. So, let's embark on this journey to enhance the security of our projects through bcrypt integration.
What is bcrypt?
bcrypt is a type of cryptographic algorithm used to securely store passwords. It scrambles a user's password into a unique code. This way, even if a thief takes the database, they won't be able to recover the original passwords readily.
How Does bcrypt Work?
bcrypt works by combining hashing and a technique known as salting, which is specifically developed to make stored passwords more safe.
Here's a breakdown of the procedure:
- Hashing: Bcrypt processes a user's password using a sophisticated mathematical function. This function converts the password to a fixed-length string of characters that appear random and meaningless. The hashed value is what is kept in the database, not the original password. Because the hashing function is one-way, reversing the hash will not produce the original password.
- Salting: To improve security, bcrypt incorporates a random number called a salt. This salt is unique to each password and is attached to it before hashing. The combined value (password + salt) is then passed to the hashing function.
How to Install Bcrypt in Nodejs
Before you install bcrypt, you'll need to have a Node.js project already set up. If you haven't created one yet, follow these steps to create a new Node.js project:
Create a directory:
This command creates a new directory (folder) where your Node.js project will reside. It's named bcrypt-password-hash.
mkdir bcrypt-password-hash
mkdir: This command stands for "make directory." It's used to create a new directory.bcrypt-password-hash: This is the name of the directory you're creating. You can choose any name you prefer for your project directory.
Change into the newly created directory:
This command navigates you into the newly created directory so that you can start working on your project within it.
cd bcrypt-password-hash
cd: This command stands for "change directory." It's used to move from one directory to another.bcrypt-password-hash: This is the name of the directory you want to navigate into.
Initialize a new Node.js project:
This command initializes a new Node.js project within the directory you created. It creates a package.json file, which is used to manage dependencies and configuration for your Node.js project.
npm init -y
npm init: This command initializes a new Node.js project using npm (Node Package Manager).-y: This flag automatically accepts all default values for thepackage.jsonfile, so you don't have to manually provide input for each field.
After running these commands, you should have a new directory (bcrypt-password-hash) with a package.json file, indicating that you successfully created a new Node.js project. You can now go ahead and install dependencies and write code.
Create a file named index.js where you will write your code:
To create a file named index.js where you will write your code, you can use the touch command in your terminal. Here's how to do it:
touch index.js
touch: This command is used to create a new file. (Note that you must have already installedtouchon your machine to use it. If
you haven't, you may run this command in your terminal to install
touch:npm install touch-cli -g.)index.js: This is the name of the file you want to create. In this case, you're creating a JavaScript file namedindex.js.
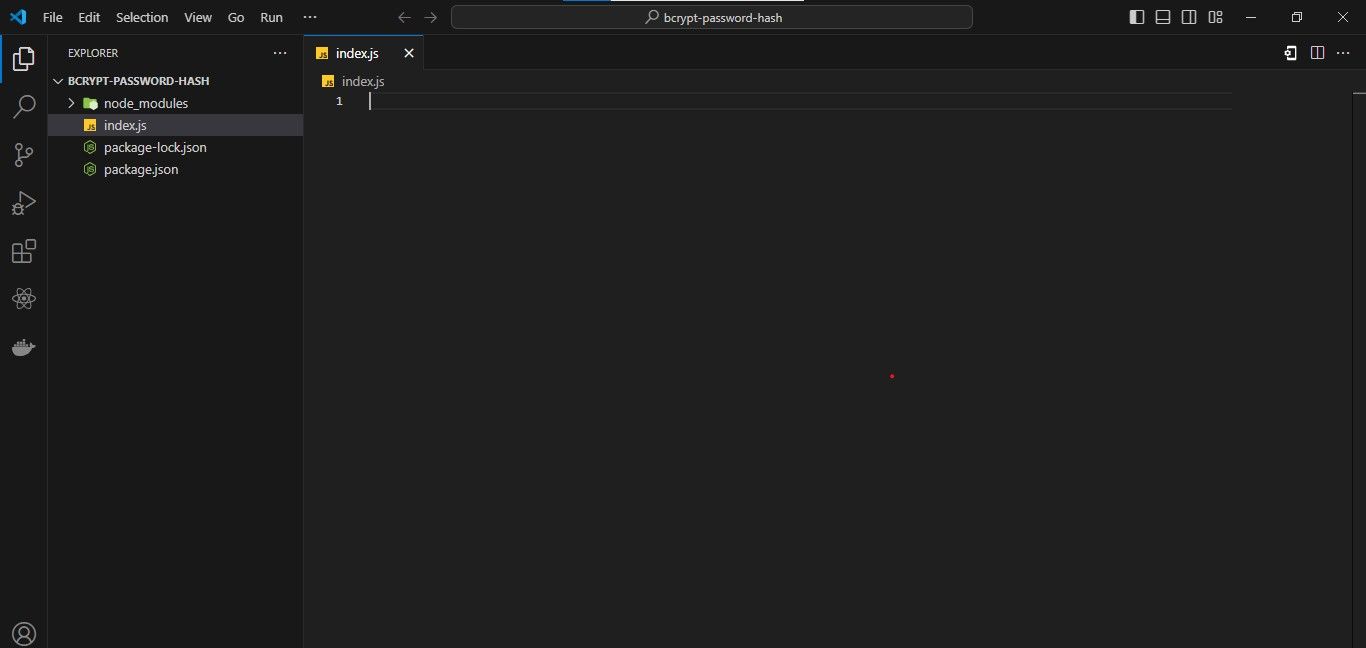
After running this command, you'll have a new file named index.js in your project directory where you can write your Node.js code just like you can see in the image below:
Now that we've correctly constructed a Node.js project, we can install bcrypt in our project.
Install the required dependencies (bcrypt):
To install bcrypt, you'll use npm, the Node.js package manager. Here's the command to install bcrypt:
npm install bcrypt
npm install: This command is used to install packages from the npm registry.bcrypt: This is the name of the package you want to install. bcrypt is a popular package for hashing passwords securely in Node.js.
When you run this command, npm will download and install the bcrypt package and its dependencies in the node_modules directory of your project. This directory will include all of the dependencies required for your project, including bcrypt.
How to Set Up Bcrypt in Node.js
Once Bcrypt is installed in your Node.js project, you can seamlessly integrate its functionality into your application. Here's how to proceed:
Firstly, after installing the bcrypt package using npm, make sure you import it into your Node.js application index.js file to utilize its features effectively.
Here's how to do it:
const bcrypt = require('bcrypt');
This line of code ensures that the bcrypt package is accessible within your application, allowing you to leverage its powerful capabilities for secure password hashing and verification.
With bcrypt integrated into your project, you can enhance the security of user authentication and data protection.
bcrypt provides two primary functions for password hashing and comparison:
bcrypt.hash(): This function is used to generate a hash of a plaintext password. It takes the plaintext password and a salt factor (optional) as input parameters and returns the hashed password asynchronously.bcrypt.compare(): This function is used to compare a plaintext password with its hashed counterpart. It takes the plaintext password and the hashed password as input parameters and returns a boolean value indicating whether the passwords match.
How to Hash Passwords With Bcrypt
Having delved into the significance of password hashing, as well as the concepts of hash and salt, let's put theory into practice within our index.js file.
How to Generate a Salt and Hash the Password
As we've learned, a key aspect of secure password hashing involves incorporating a unique salt into the hashing process. bcrypt simplifies this by handling salt generation and password hashing seamlessly.
To begin, we require the bcrypt module in our Node.js application:
const bcrypt = require('bcrypt');
To ensure the strength of our password hashes, we determine the number of salt rounds. This value dictates the computational cost of hashing and, consequently, the level of security:
const saltRounds = 10; // Typically a value between 10 and 12
With our configuration established, we can generate a salt asynchronously using the bcrypt.genSalt() function. This salt will be unique for each password hash, enhancing security:
bcrypt.genSalt(saltRounds, (err, salt) => {
if (err) {
    // Handle error
    return;
}

// Salt generation successful, proceed to hash the password
});
Once the salt is generated, we combine it with the user's password to compute the hash using the bcrypt.hash() function. This results in a securely hashed password ready for storage:
const userPassword = 'user_password'; // Replace with the actual password
bcrypt.hash(userPassword, salt, (err, hash) => {
    if (err) {
        // Handle error
        return;
    }

// Hashing successful, 'hash' contains the hashed password
console.log('Hashed password:', hash);
});
By leveraging bcrypt for password hashing in our Node.js application, we ensure the robust security of user credentials. The incorporation of unique salts for each password hash, coupled with the computational complexity of bcrypt, fortifies our defense against unauthorized access and malicious attacks.
In the next section, we'll explore how to verify passwords and discuss best practices for securely managing hashed passwords.
How to Verify Passwords With Bcrypt
Now that we've covered the process of hashing passwords using bcrypt within our Node.js application, let's shift our focus to verifying passwords during user authentication.
In this section, we'll explore how bcrypt facilitates password verification, ensuring a secure and seamless authentication process.
How to Retrieve a Hashed Password from the Database
Before we can verify a user's password, we need to retrieve the hashed password associated with the user's account from the database.
Assuming you have a user authentication system in place, you'll typically query the database to fetch the hashed password based on the user's username or email.
Once you have retrieved the hashed password from the database, you're ready to proceed with the password verification process.
How to Verify Passwords
To verify a password using bcrypt, use the bcrypt.compare() function. This function compares a plaintext password provided by the user during login with the hashed password stored in the database.
Here's how you can implement password verification using bcrypt in your Node.js application:
const storedHashedPassword = 'hashed_password_from_database';
const userInputPassword = 'password_attempt_from_user';

bcrypt.compare(userInputPassword, storedHashedPassword, (err, result) => {
    if (err) {
        // Handle error
        console.error('Error comparing passwords:', err);
        return;
    }

if (result) {
    // Passwords match, authentication successful
    console.log('Passwords match! User authenticated.');
} else {
    // Passwords don't match, authentication failed
    console.log('Passwords do not match! Authentication failed.');
}
});
In this code snippet, storedHashedPassword represents the hashed password retrieved from the database, while userInputPassword is the plaintext password provided by the user during login. The bcrypt.compare() function compares these two passwords and returns a boolean value indicating whether they match.
In the next section, we'll discuss best practices for securely managing hashed passwords, including considerations for password storage and handling.
Security Best Practices with bcrypt
Now that we've discussed the principles of password hashing and verification with bcrypt, let's look at some important security best practices to ensure the integrity of our authentication system.
Robust Password Guidelines
Encourage users to create strong and complex passwords that are resistant to dictionary attacks. Provide guidance on password length, the inclusion of alphanumeric characters, symbols, and the avoidance of common patterns.
Salting
Always use a unique salt for each password hash. This prevents attackers from using precomputed rainbow tables to crack passwords. bcrypt automatically handles salt generation, ensuring that each hash is unique.
Adaptive Hashing
bcrypt employs adaptive hashing, allowing developers to adjust the computational cost of hashing over time. Periodically increase the number of hashing rounds to keep pace with advancements in hardware and computational power.
Secure Storage
Store hashed passwords securely in your database. Ensure that access controls are in place to prevent unauthorized access to user credentials. Avoid storing plaintext passwords or using reversible encryption algorithms.
Error Handling
Implement proper error handling mechanisms when working with bcrypt functions. Handle errors gracefully and avoid leaking sensitive information that could aid attackers in exploiting vulnerabilities.
Conclusion
In conclusion, we have explored the essential aspects of password security and the role of bcrypt in safeguarding user credentials within Node.js applications. From understanding the fundamentals of password hashing and salting to implementing secure authentication mechanisms, we have covered a wide array of topics aimed at enhancing the security posture of our applications.
By leveraging bcrypt for password hashing and verification, we ensure that sensitive user data remains protected against unauthorized access and malicious attacks. bcrypt's robust algorithm, combined with adaptive hashing and salt generation, provides a reliable defense mechanism against common password-based vulnerabilities.
We also discussed security best practices, including strong password policies, secure storage practices, and error handling. By adhering to these best practices and staying vigilant against evolving threats, we can create a secure authentication system that instills confidence in our users and upholds the integrity of our applications.
Let's continue to prioritize security and strive for excellence in our pursuit of building robust and trustworthy applications.
Thank you for joining me on this exploration of password security with bcrypt. Together, we can create a safer digital environment for all users.
Happy Coding!