

SVG is an awesome way to bring vector images into a design and development workflow. But collecting and organizing SVG files on your computer can be challenging.
How can Iconset help take away the pain and get us more productive?
- What is SVG?
- What is Iconset?
- What are we going to learn?
- Part 1: Getting started with Iconset
- Part 2: Adding icons to Iconset
- Part 3: Using Iconset with design software like Figma
- Part 4: Using Iconset in development like with React
- Part 5: Syncing Iconset across multiple computers with Dropbox
What is SVG?
SVG is a nearly 20 year old image file format. And while it’s been around for a while, it has only recently been gaining momentum in the development community.
SVG is great for a number of reasons. First of all, it’s a vector format, meaning it scales as big or small as you want.
But it’s also flexible in that you can use SVG right in your development project with a typically small file size and infinite scale. You can even animate it!
But trying to collect and organize a bunch of files can be challenging. What do you name them? Do you have a computer that can easily preview them? What about search?
What is Iconset?
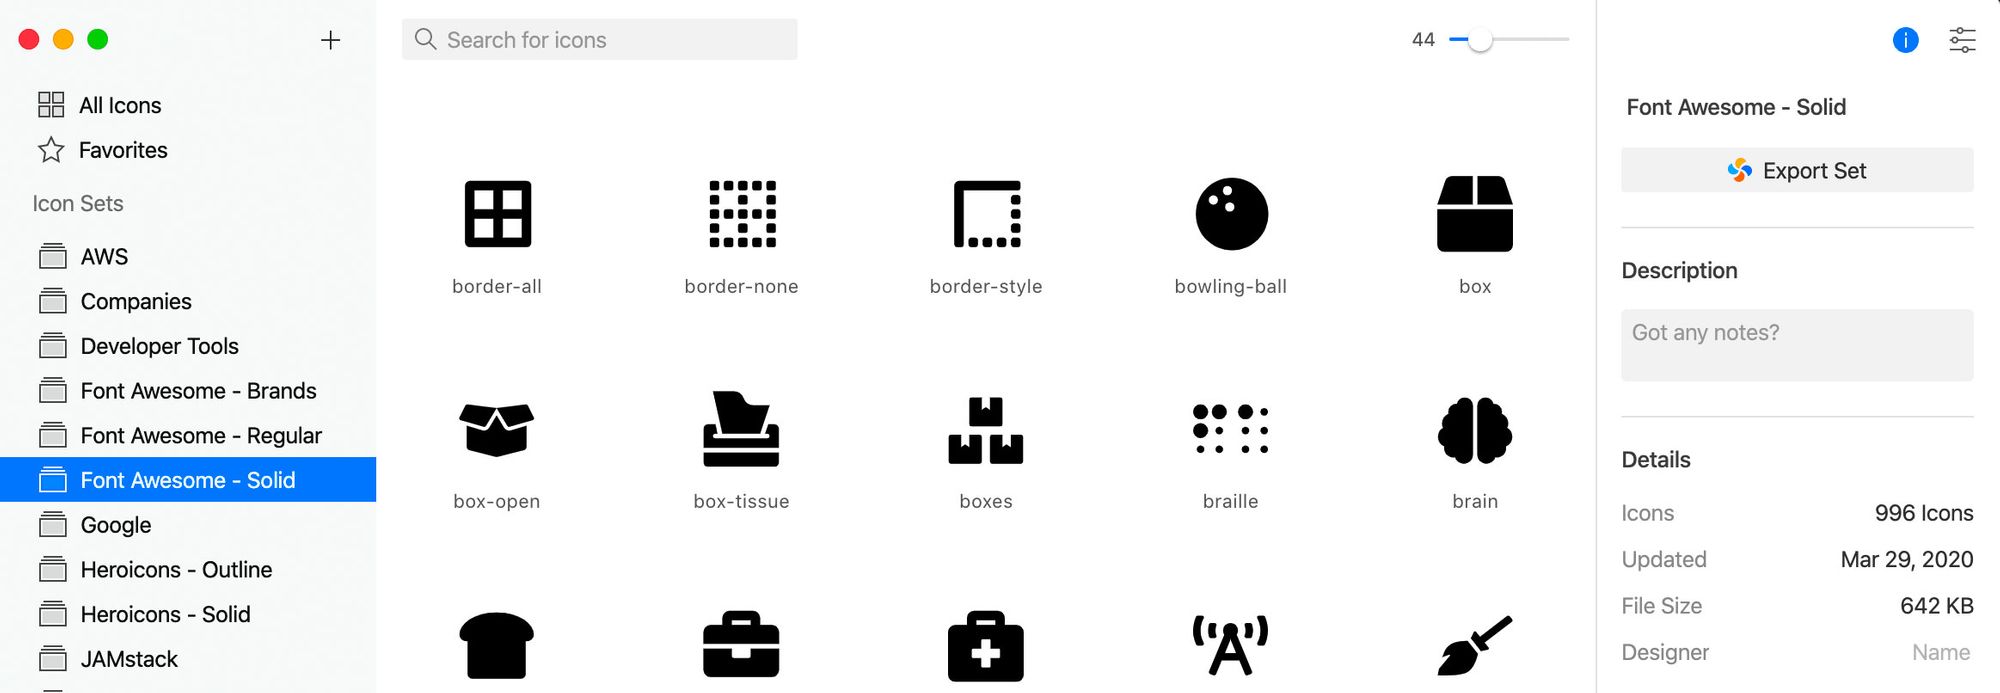
Iconset is a free cross-platform tool that allows you to collect and manage all of your SVG files in one place.
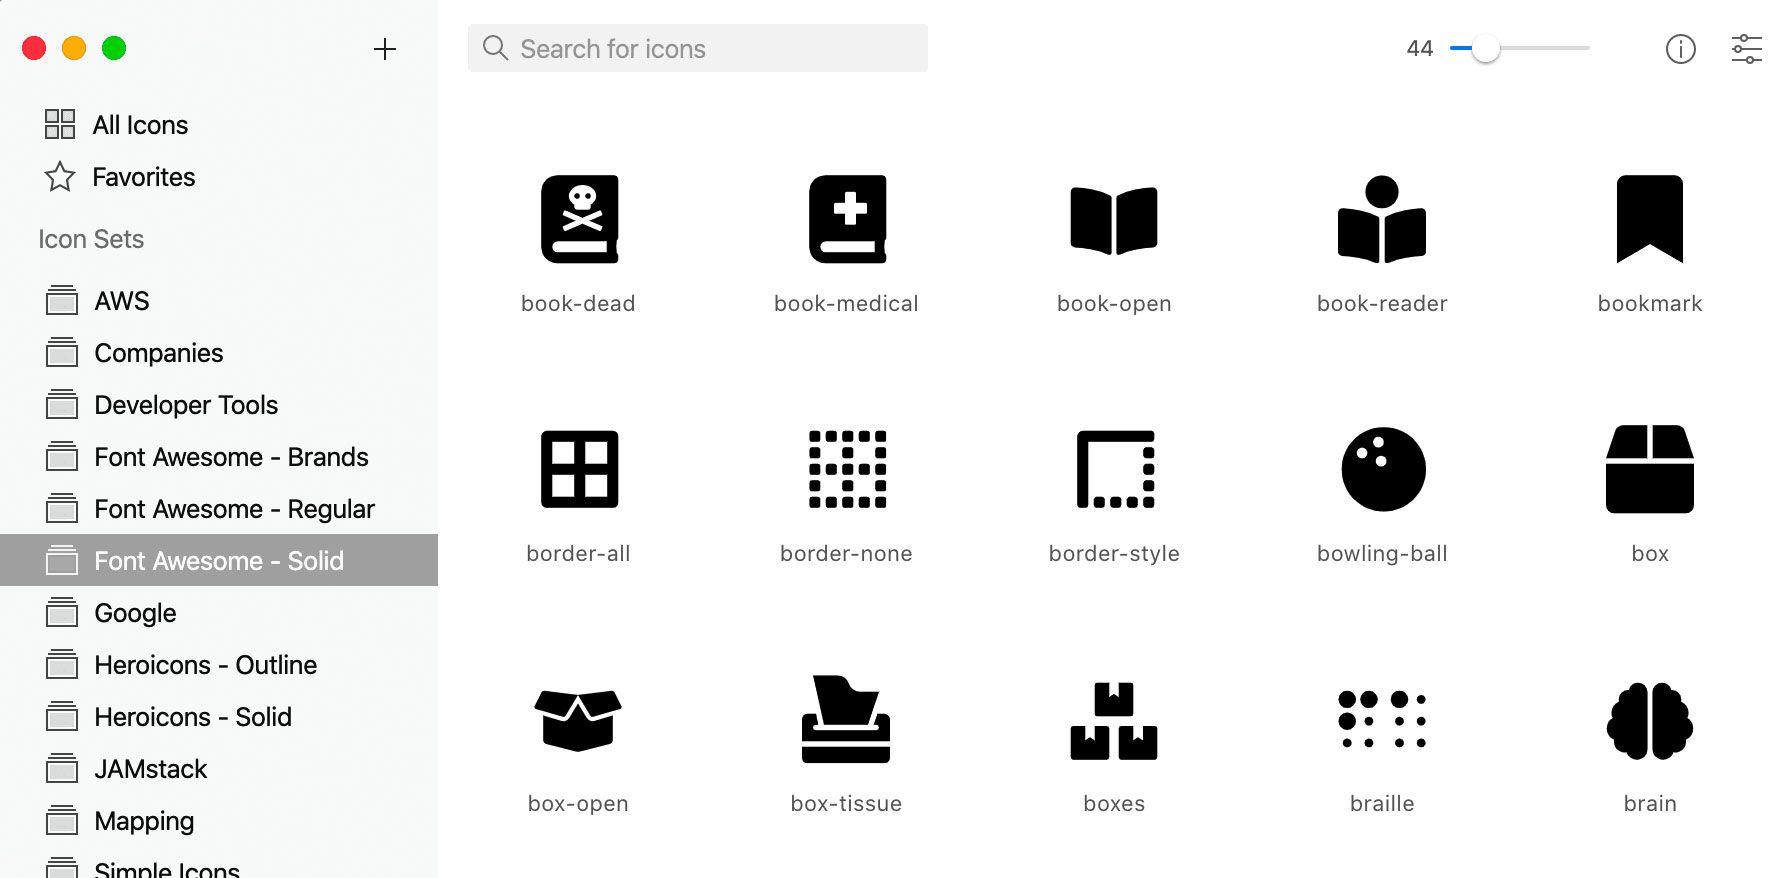 Iconset library
Love to quickly move between Font Awesome and heroicons but don’t want to keep switching libraries? You can use Iconset to make a quick search and drag it right into your project.
If you’re planning on using it for a React project, you can even copy the file as JSX and dump it right into your project!
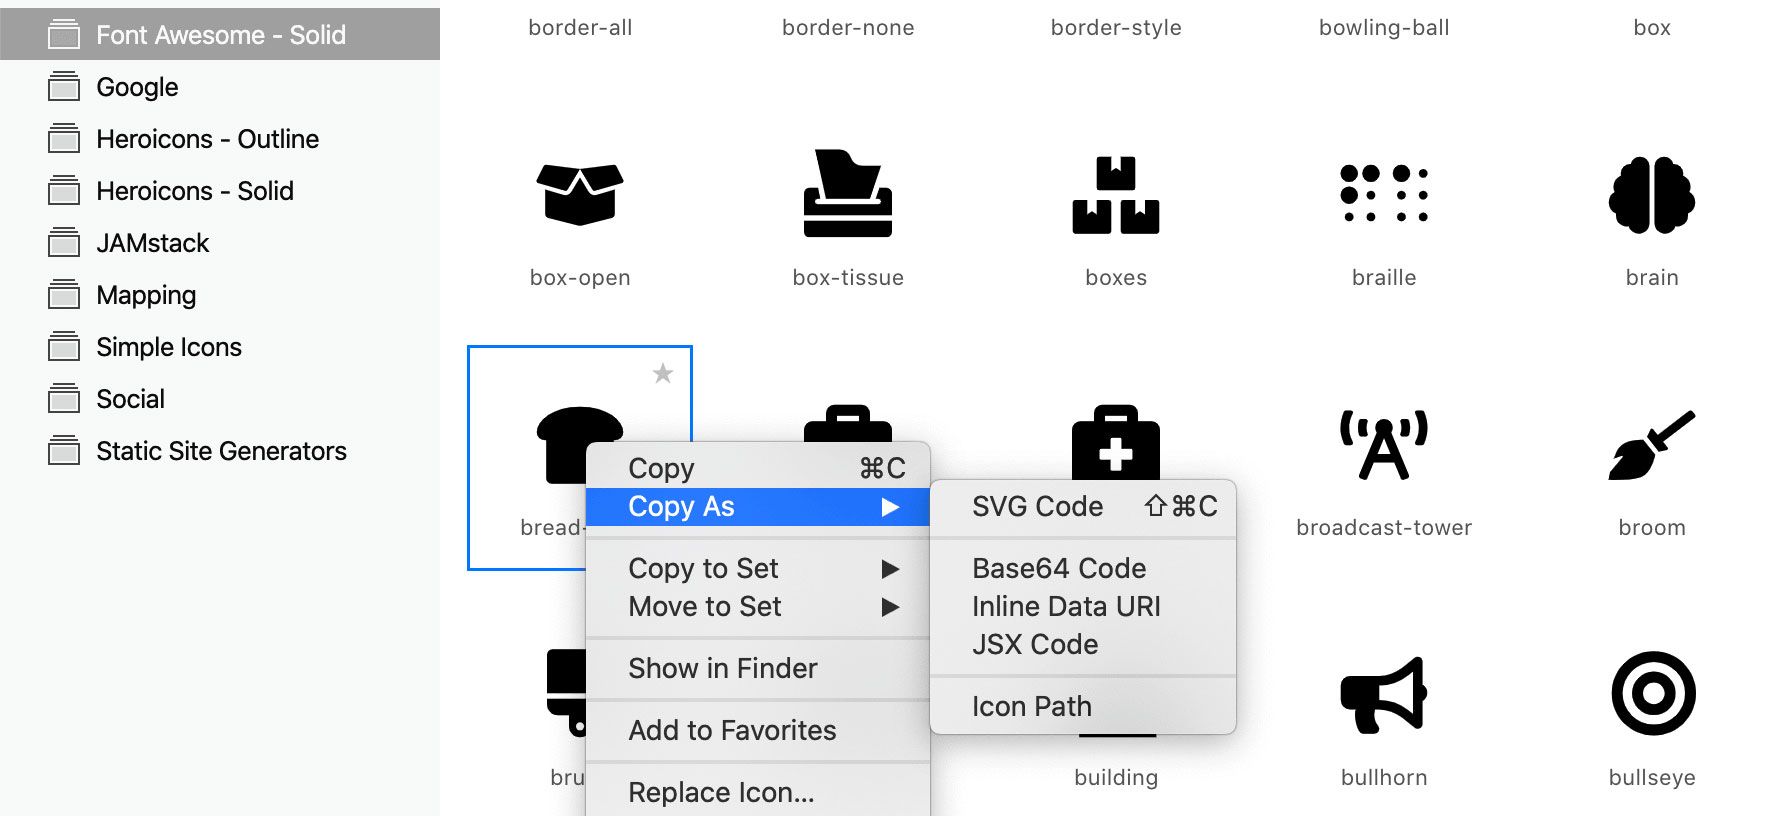 Iconset "Copy As"
What are we going to learn?
We’re going to walk through a few different scenarios that'll show us how Iconset is useful.
We’re also going to walk through how you can easily manage Iconset between different computers or environments so you can have the same great library anywhere you work.
Part 1: Getting started with Iconset
To get started, you’ll need to first install Iconset locally. It should be a similar installation process as any other application.
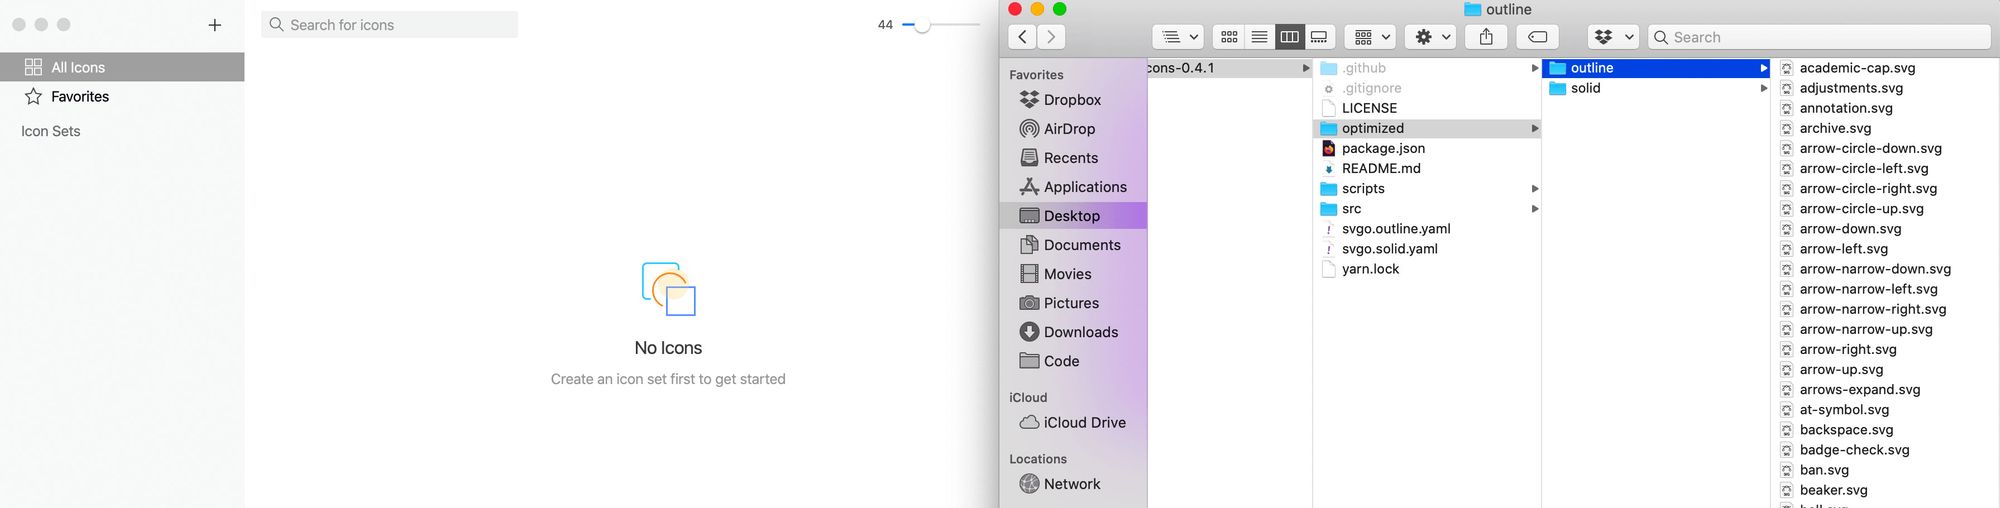
![]() Iconset with no icons
Iconset with no icons
Once it’s ready and available locally, you should be able to open it up and see a UI with No Icons, which is expected, as it doesn’t come with any icons out of the box.
Part 2: Adding icons to Iconset
Adding icons to Iconset is as easy as dragging in, but you have a few options during the process.
To get started, let’s download the free icon set heroicons.
Download at: https://heroicons.com/.
On the heroicons website, you should see a big Download all button, which will download a zip file including all of the files.
 Downloading heroicons
If you navigate to the optimized folder, you’ll see that there are two different versions: solid and outline.
Now to get these into Iconset, select each folder individually and drag it right into Iconset.
![]() Dragging heroicons into Iconset
Dragging heroicons into Iconset
Once there, you have a few options.
- Set: Since this is our first set, you’ll automatically be creating a new one. If you had existing sets, you could import into those sets.
- Set Name: Here we can name the set something that we’ll remember. For this, I recommend naming it “heroicons - Outline”.
- Import Options: these are optional settings, but I typically select the optimize and clean option to make sure any icons are immediately ready to get working with.
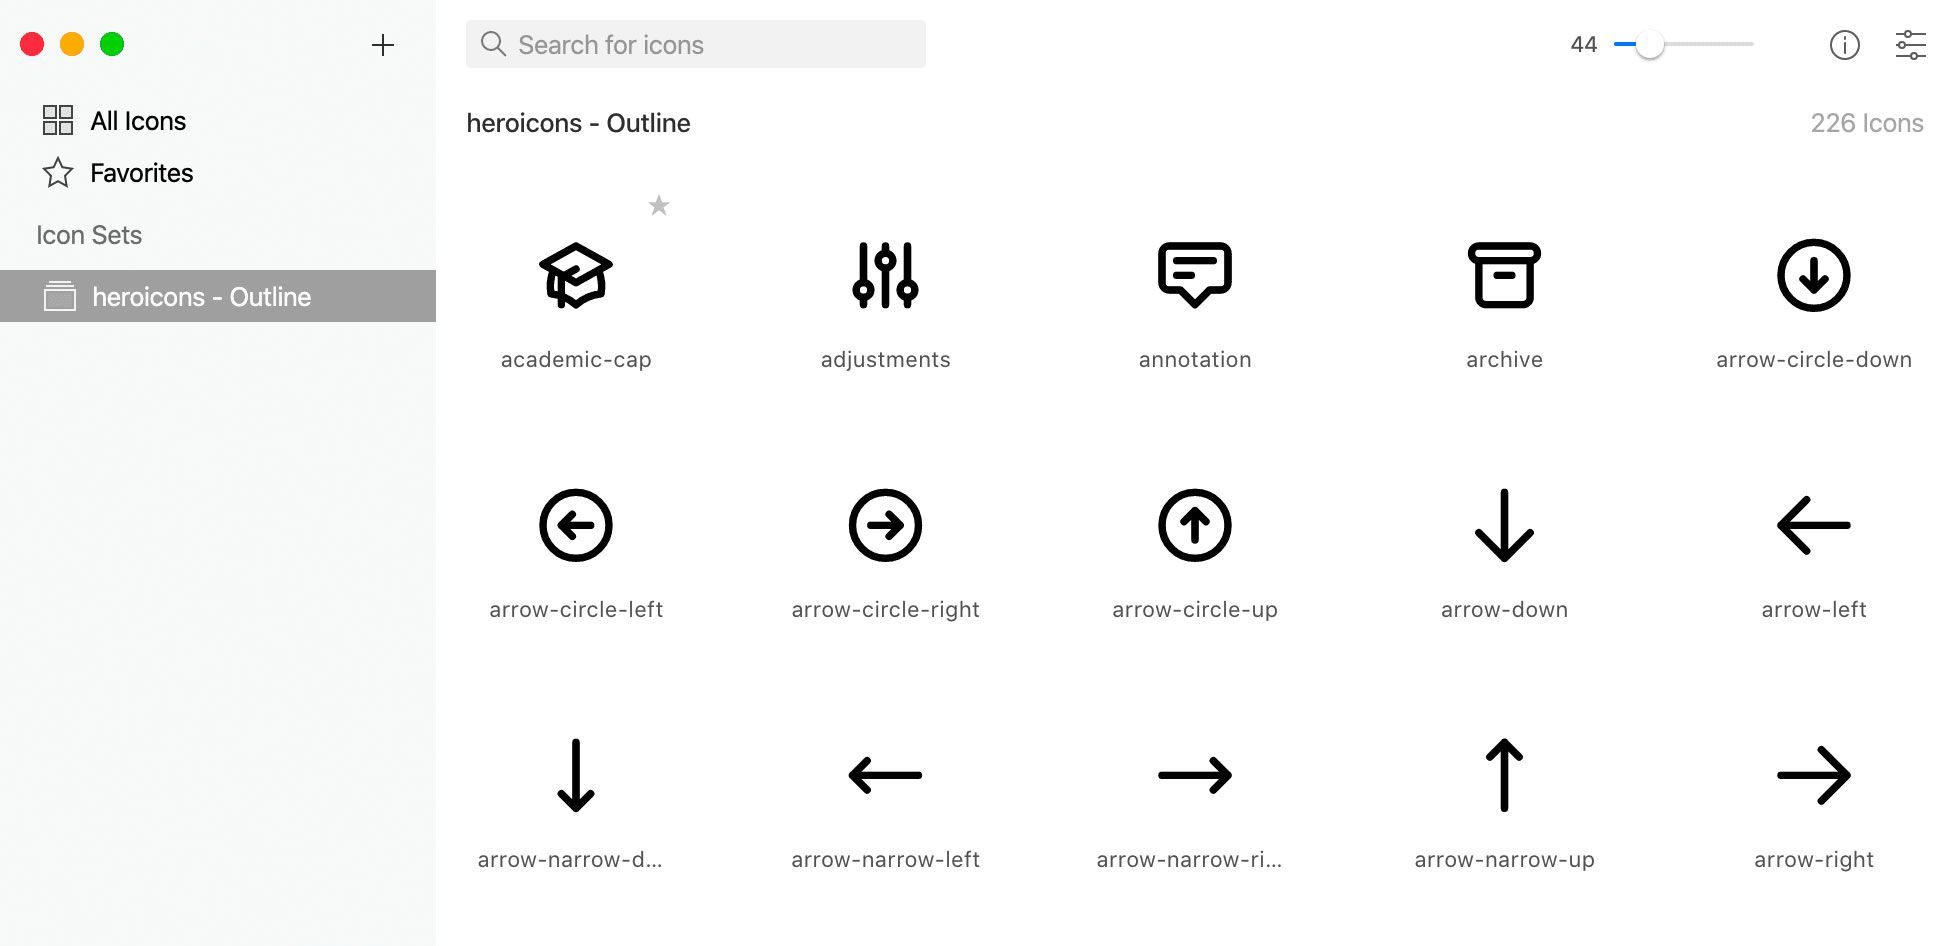 Iconset with heroicons set
And once you click Import, it will do it’s thing, and you’ll now have your first set of icons in Iconset!
You can go ahead and do the same thing with the solid directory so then we’ll now have our two sets ready to go.
 Iconset with Outling and Solid sets of heroicons
At this point, you can use Iconset to search through your icons and see all of your files currently available in your collection.
Part 3: Using Iconset with design software like Figma
The great thing about Iconset is how easy it is to use it with design software like Figma.
If I wanted to add an envelope icon to my website so people could contact me, I could search for the mail icon, and simply drag it onto my canvas:
![]() Dragging mail icon into Figma
Dragging mail icon into Figma
I can then treat it like any other vector design element and immediately use it in my project.
![]() SVG Mail icon in Figma
SVG Mail icon in Figma
Part 4: Using Iconset in development like with React
Another cool thing is how easy it is to use in a project like React.
Out of the box, you get a few different ways you can copy the file and use it in development like copying it as JSX.
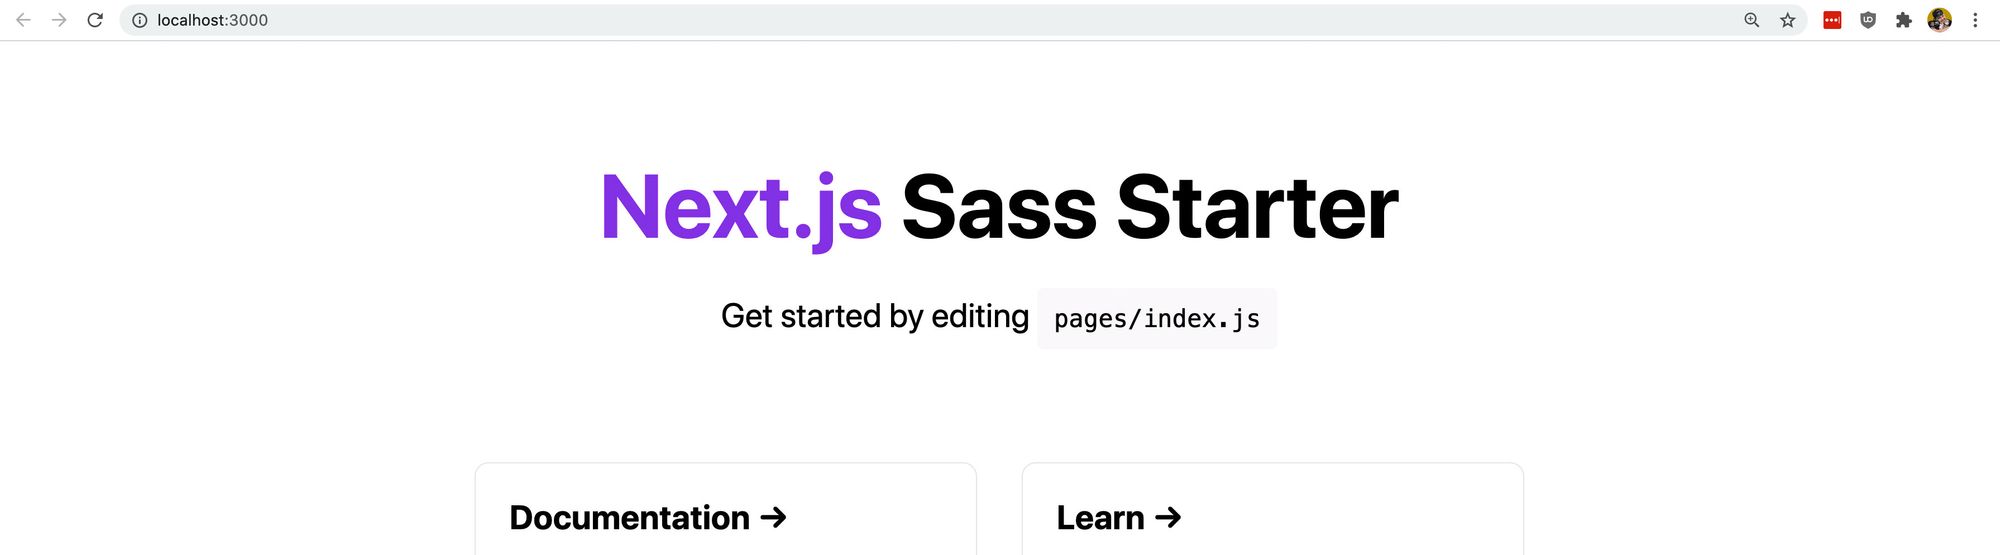 Next.js Sass Starter
If I feel like my Next.js Sass Starter could use some icons on the page, I can right-click any icon I want and under Copy As select JSX I can paste it right into my project!
![]() Copying icon from Iconset as JSX
Copying icon from Iconset as JSX
And while it will need some styling once you drop it in just like any other image or icon, it’s immediately ready to go.
![]() Using icon JSX in Next.js React app
Using icon JSX in Next.js React app
Part 5: Syncing Iconset across multiple computers with Dropbox
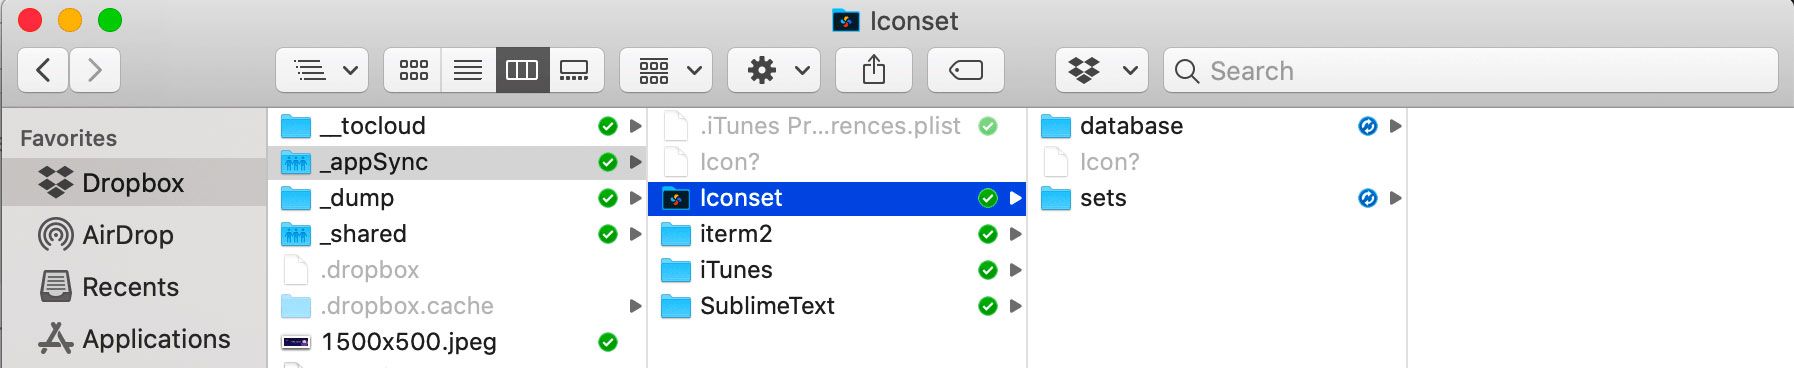
With Iconset, you have the ability to switch between different libraries. But importantly, you can also set the location of your library.
When Iconset creates your library, it stores everything as files and a database on your computer.
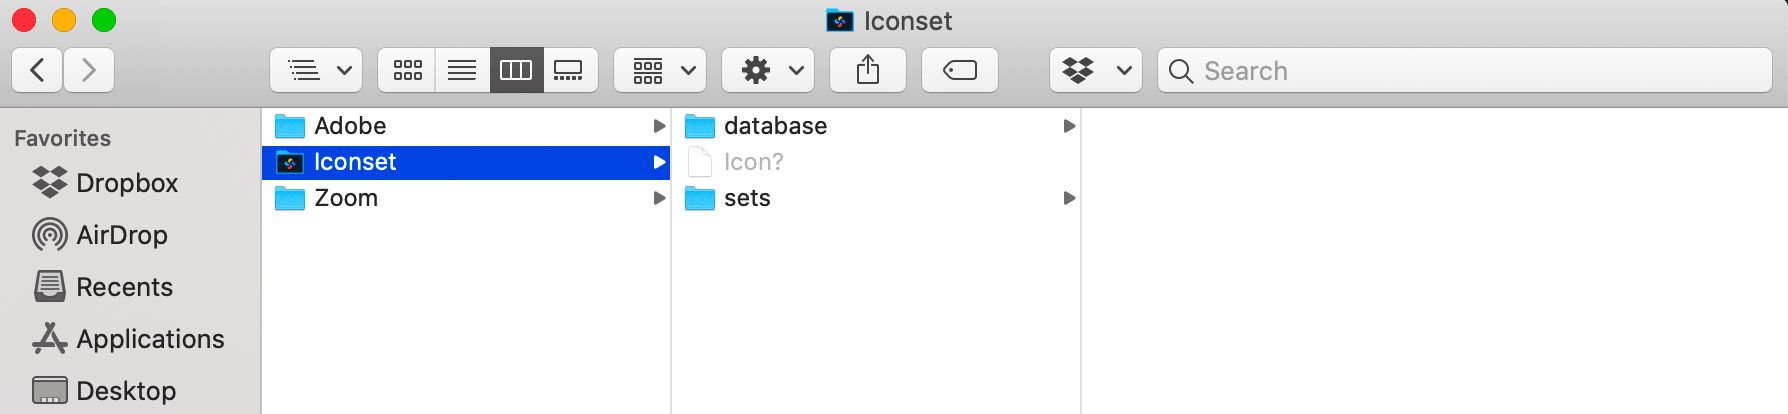 Iconset library folder
And inside the Iconset UI, we can both Move and Switch the location we use.
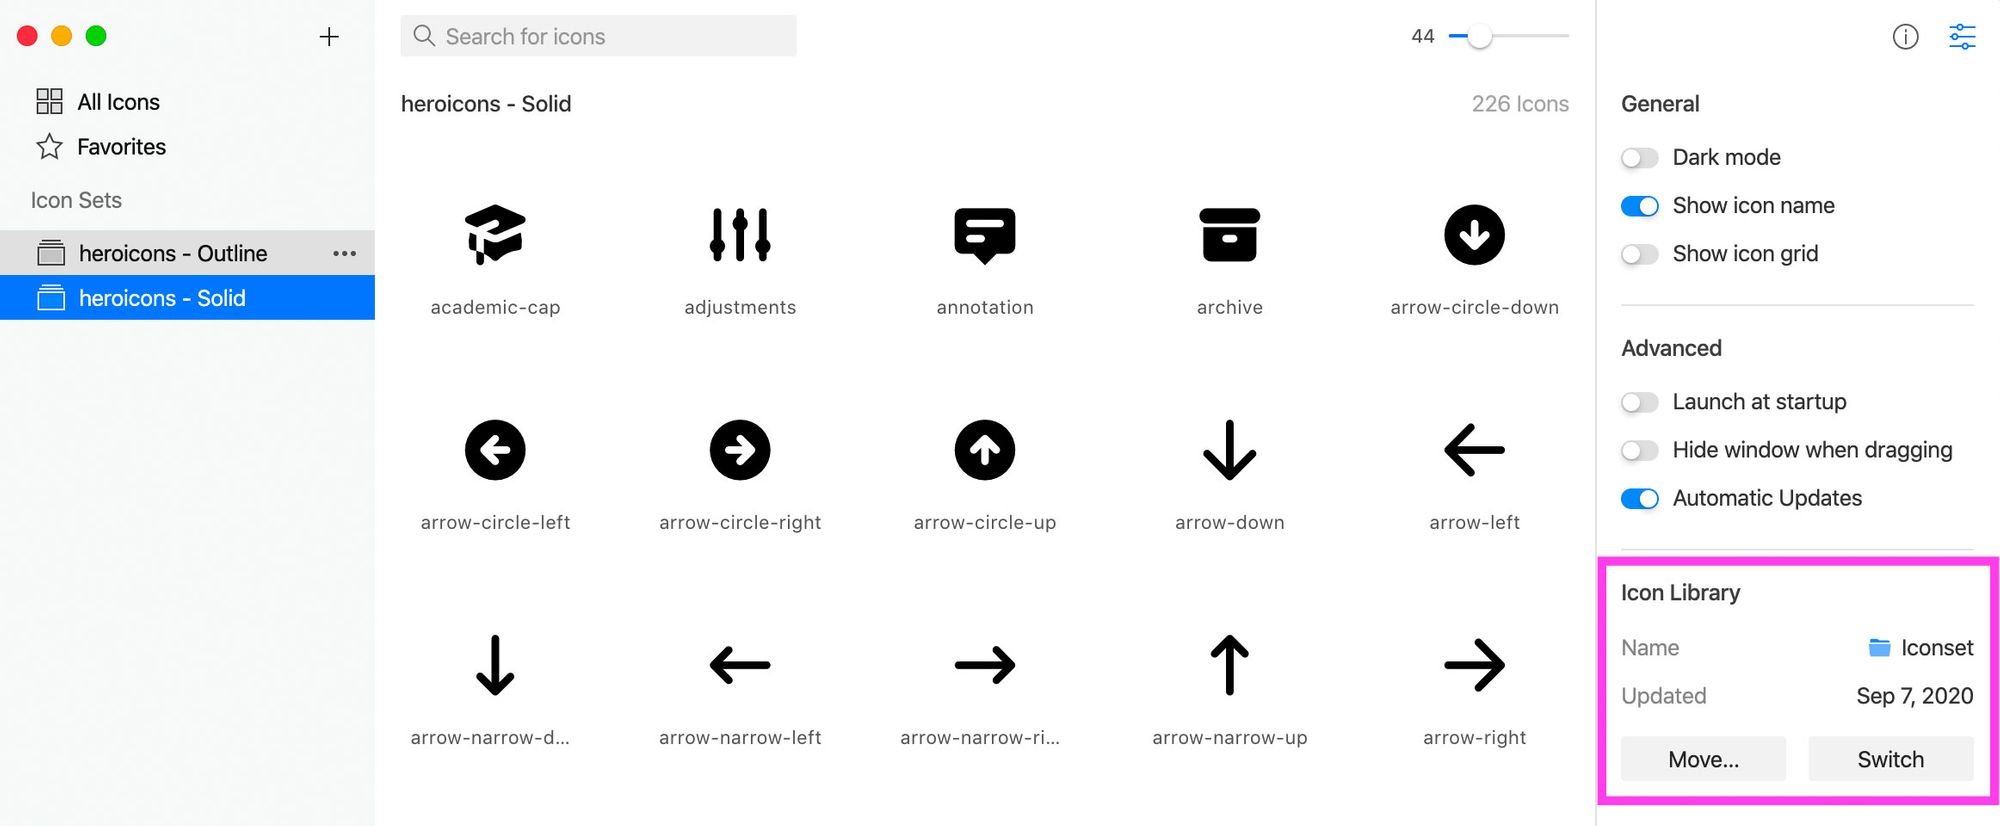 Iconset library settings
If this is your first time setting up Iconset, you can start by clicking Move and then selecting the location you want to sync it to.
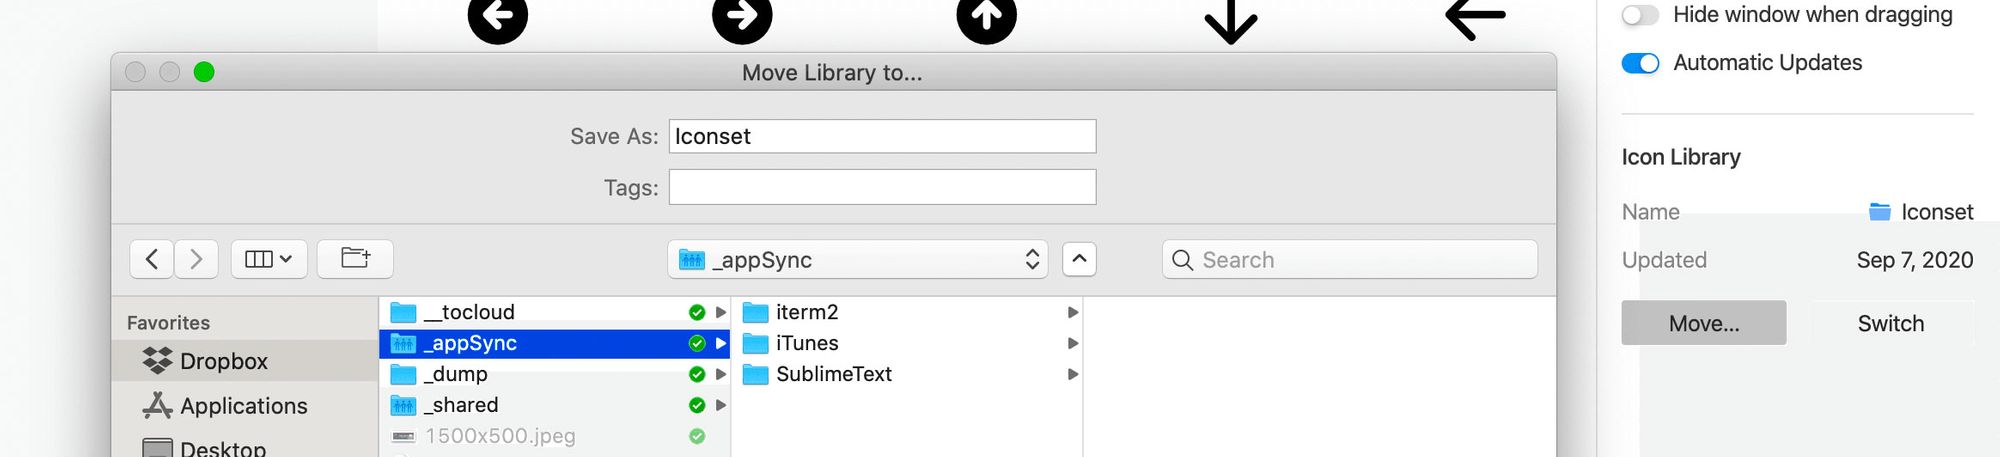 Moving Iconset library location
And once you click Move, it will move it to that directory, like a folder on Dropbox, and sync to the cloud like any other folder and file.
 Syncing Iconset library with Dropbox
Alternatively, if you already have a shared Iconset library or if you’re setting this up on a new computer, you can use the Switch option, and select that option right from Dropbox.
 Switching Iconset location
And once you hit Switch, you’ll now load up your shared library and be ready to get productive.
 Iconset with full library
What else can you do?
Publish and share icon sets
Another cool feature is that you can export sets and share them. If you’ve spent a lot of time on a collection and want to share it with others, export it, publish it, and share it with the community!
More organization
Iconset also supports features like Folders and Favorites. This makes it even easier to group and collect the icons however it makes sense to you to keep you productive.
It also supports tagging, making it even easier to search.
